ITALERI
[ Page 4 ]
F-35A in 1/32 scale: kit review & modelling report of the ITALERI kit
page 2
page 3
page 4
page 5
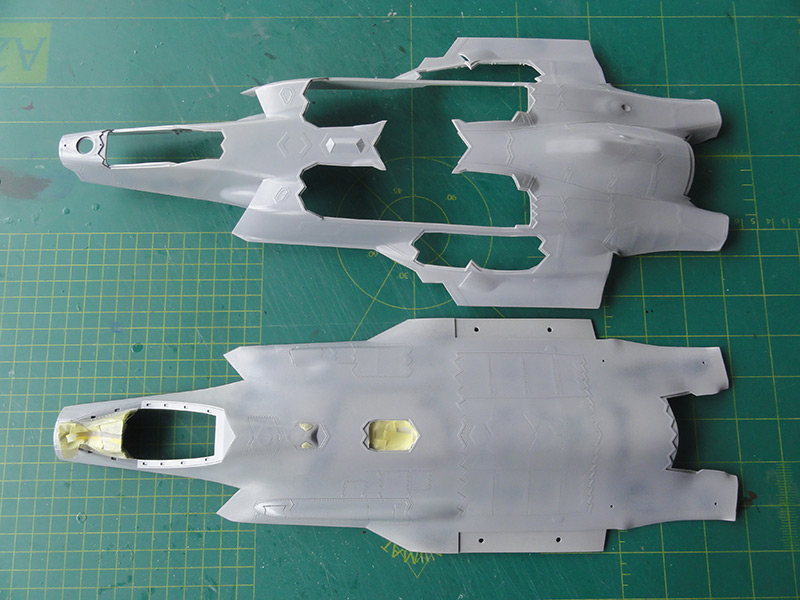
Inside the upper fuselage the refuelling panel was set in place. There were still some gaps, so these were closed with strip.

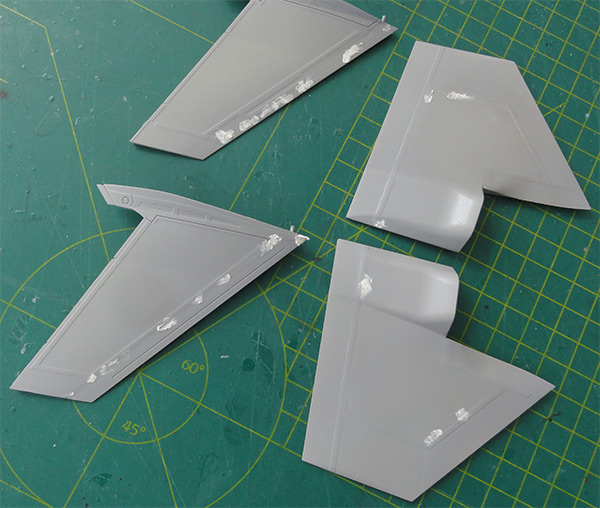
The spine glass panels were installed and their rear area shielded with metal foil tape.
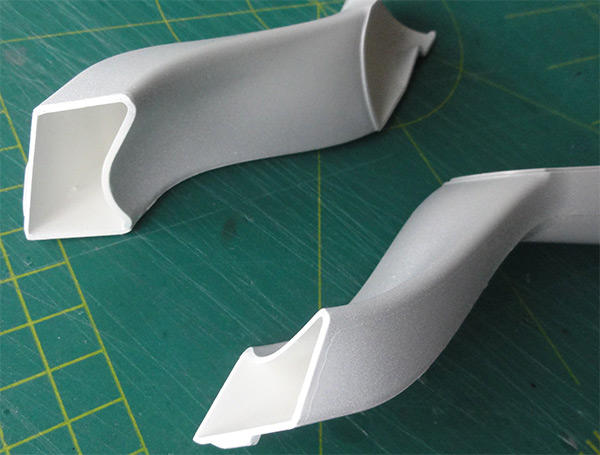
The intake ducts had injector pins marks. Also, you can still see the assembly pins on the insides so these were shaved off and all imperfections filled.
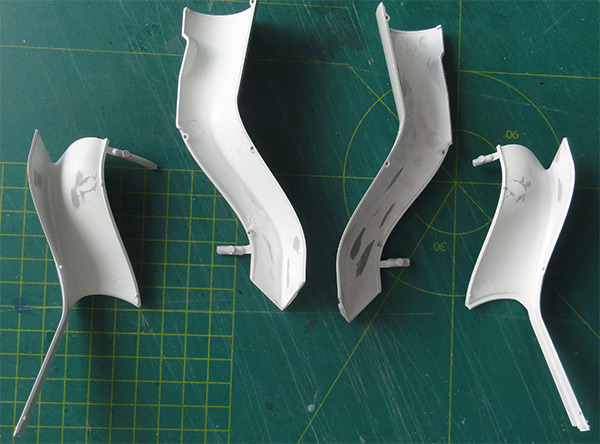
When dry, these were sanded and inner areas got another white base coat with the airbrush. Next the intake ducts were assembled. There are still tiny gaps. These were filled with White Glue. When dried, again several layers of white were airbrushed.
The insides of the lower fuselage section at some areas near landing gear bays and weapons bays were also airbrushed white. This avoids a lot of masking work later on.
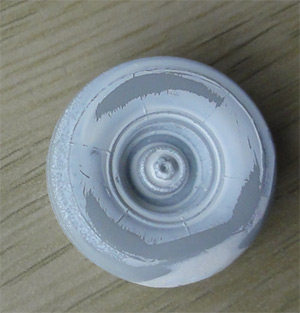
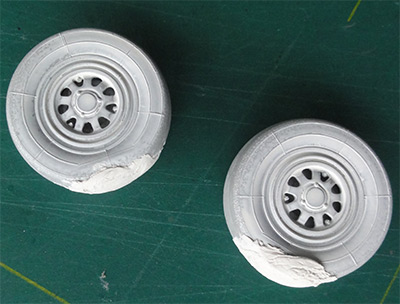
As I was not happy with the flattened wheel tyres, I did some correction work. So added a bit of plastic card, filled the area and sanded the wheels. Here the much better nose wheel is seen....
 ....
....
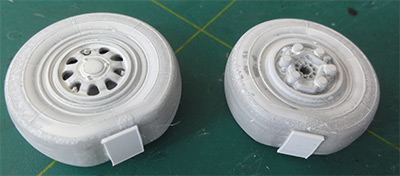
And the main wheels got a similar treatment though I kept a little flattened area..

Now what colours to apply?

The official F-35 grey Fed.Std colour is FS26170 semi-gloss or 36170 mat (as seen on page 1....) and above. I also found that the grey is quite brown as well.
I had purchased the acrylic Vallejo paint no.71.280 as well as the thinner and Vallejo Aluminium 71.062 acrylic
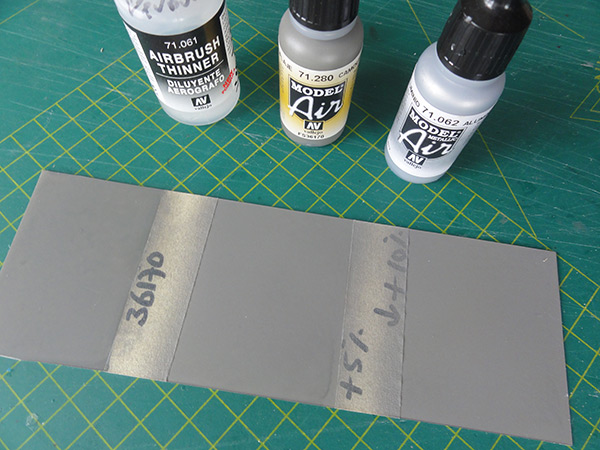
I wanted to see if adding a bit of aluminium would give a better "stealthy like" finish.
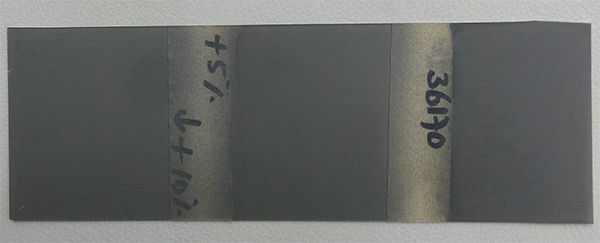
Three chips were airbrushed fcomparison and shown below :
- on the right the plain grey paint FS 36170;
- in the middle with 5% added aluminium mixed in; (so about 1 drop Alu to 20 drops of grey paint)
- on the left with 10% aluminium mixed in; (so about 2 drops Alu to 20 drops of grey paint)
These mixes can be achieved by counting the "drops of paint" which the Vallejo bottles make easy to do.
I feel that the best overall "stealthy" colour of the F-35 is the one with mixed in aluminium. But some variations on the model will surely look good.
So I recommend: a mix of 90% FS26170 Vallejo 71.280 + 10% aluminium Vallejo 71.062.
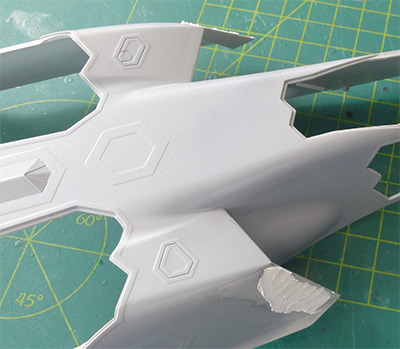
It was also decided to do a lot of pre-painting work to make it much easier to add all those zig-zag panellines of different lighter colours. (NOTE: the fuselage halves had already gotten a base coat of grey with some darker grey areas as well to suggest later on some different sheens).
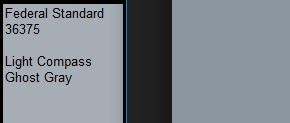
The lighter "zig zag" panels are indicated by Italeri as to be FS 36375 but they than look a bit too light and should have a brown hue to it. But photos vary a bit here as well. I thought that RAL 7001 would be better but this is very similar to FS 36375 .
I will probably use a mix of 36170 and 36375, MORE ON THAT LATER ON.
At this stage the upper and lower fuselage halves as well as the other areas like wing halves, doors, stabilizers and so on got a base 36375 grey colour through airbrushing Gunze Sangyo acrylic H308. Next was a mix of 36170 and 36375 that will add the seen brown hue to the grey.
Meanwhile found out with the glossy grey paint applied that a long sink mark was present at both intake sides. These were filled with putty and sanded smooth. (better do this earlier obviously).
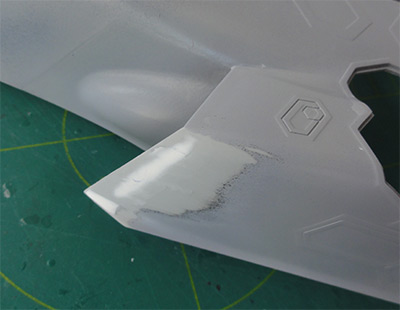
The result is fine when again airbrushing this area...
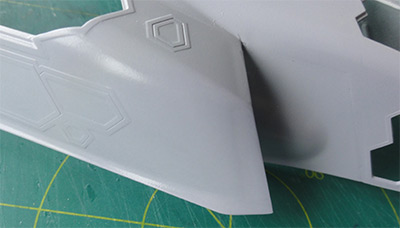
Some other areas particularly the tail planes and tails showed tiny gaps and imperfections. But as noted: do not fill all long running gaps as on the real F-35 these are well seen! Study photos like the ones seen on my F-35 photo scrap page here....
The smaller imperfections were again filled and sanded when dried. Another grey coat was airbrushed.
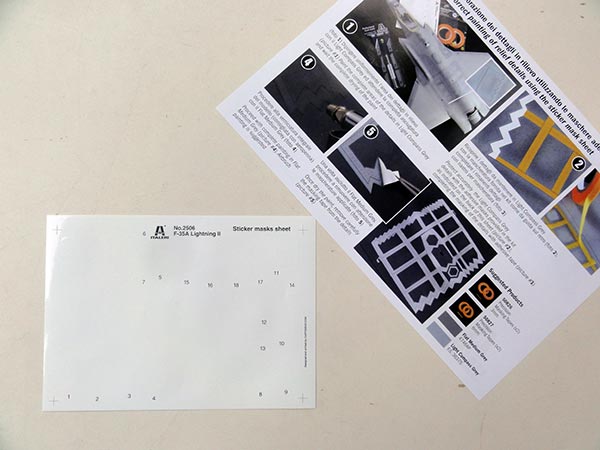
The next step is to figure out a better mixed colour for those zig-zag panels and do the masking. Italeri provides some masks in the kit but not for the lower areas and not all of them.
On to next [ Page 5.... ]
Back to 1/32 Models
(c) Copyright "designer"/ All rights reserved. Your comments are welcomed by webmaster
Created this page
May 1, 2017