Atlantis (Aurora)

Douglas DC-9 in 1/72 scale
NOTE: you can also view this modelling report on YouTube:
https://www.youtube.com/watch?v=uSx8RAjd-Nc
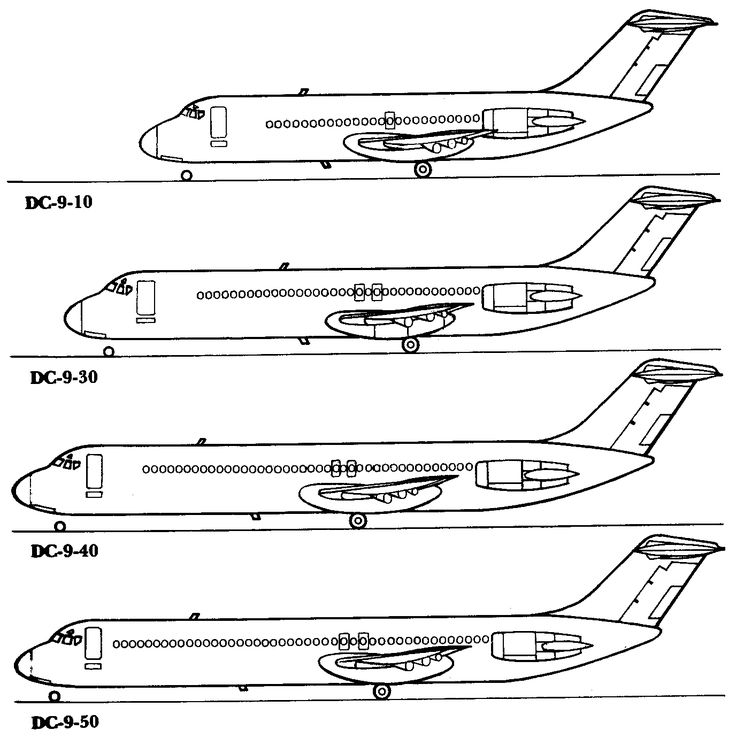
In the fifties the jet age saw many new aircraft including airliner jets. The Douglas company designed a single aisle airliner for short to medium range. The DC-9-10 first flew on February 25, 1965 en entered service beginning 1966. The DC-9 had 2 rear-mounted Pratt & Whitney JT8D engines and had a T-tail. It was flown by 2 pilots. Over the years many DC-9 versions were developed with longer fuselage and many other upgrades. The Series 10 seated 90 passengers whereas the Series 30 seated 115 passengers and the Series 50 even 135. When deliveries ended in October 1982, 976 DC-9's had been built.
The DC-9 was followed by the McDonnell (which took over Douglas) MD-80 series in 1980, MD-90 and MD-95.
For more detailed information about the differences, look at the excellent "Ultimate Guide" article online by David Hingtgen listed here...
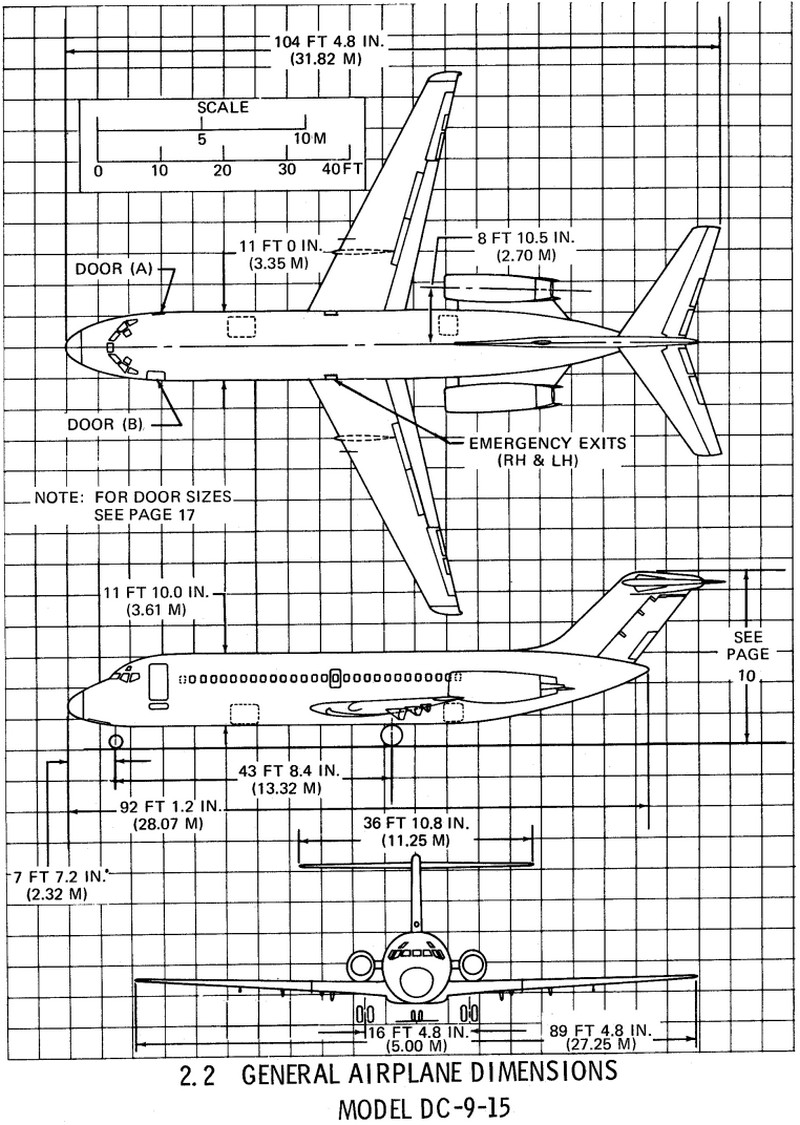

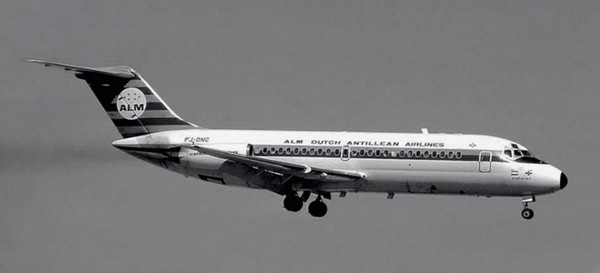
photo credit: LuchtvaartKennis
As a kid I frequently saw DC-9's flown by the Antilliaanse Luchtvaart Maatschappij (ALM) living on the Dutch Caribbean island Curaçao. Bert, a friend of my brother Siep, was pilot with the ALM in the 1970s flying DC-9's and later DC-8 on longer routes. Bert and Siep took me in "those were the days" along in a small Cessna when I was a kid, really excited to fly over our house with my mother waving on the ground.
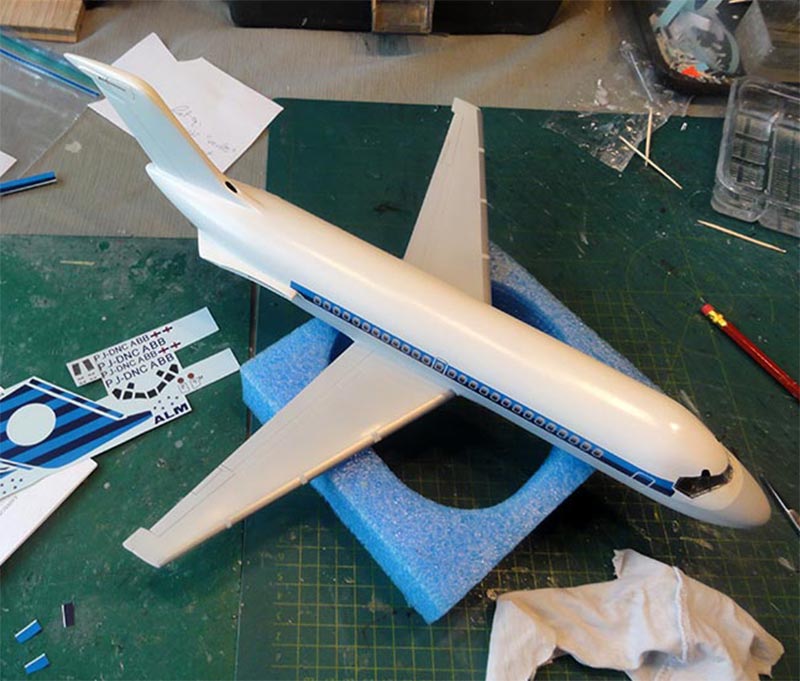
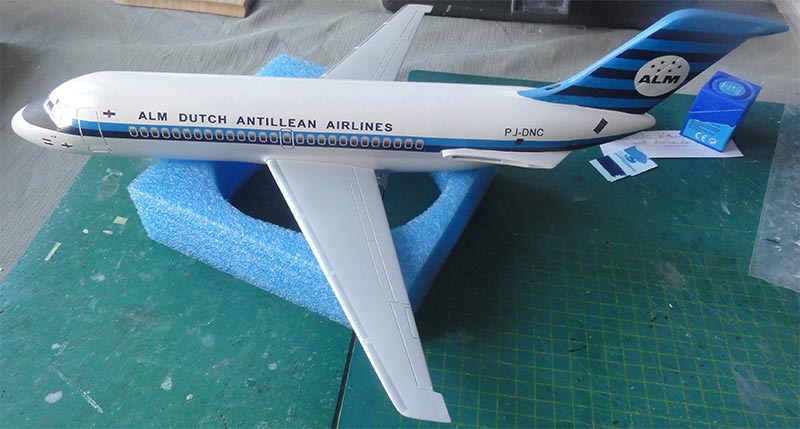
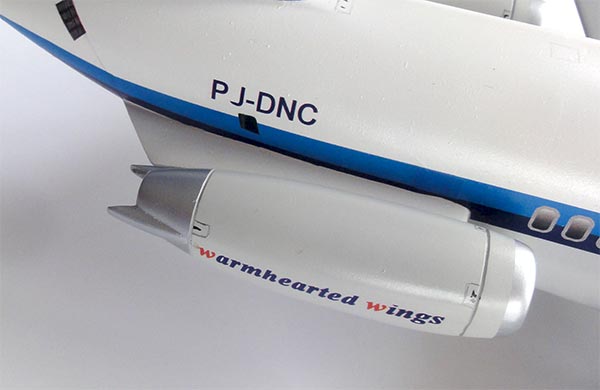
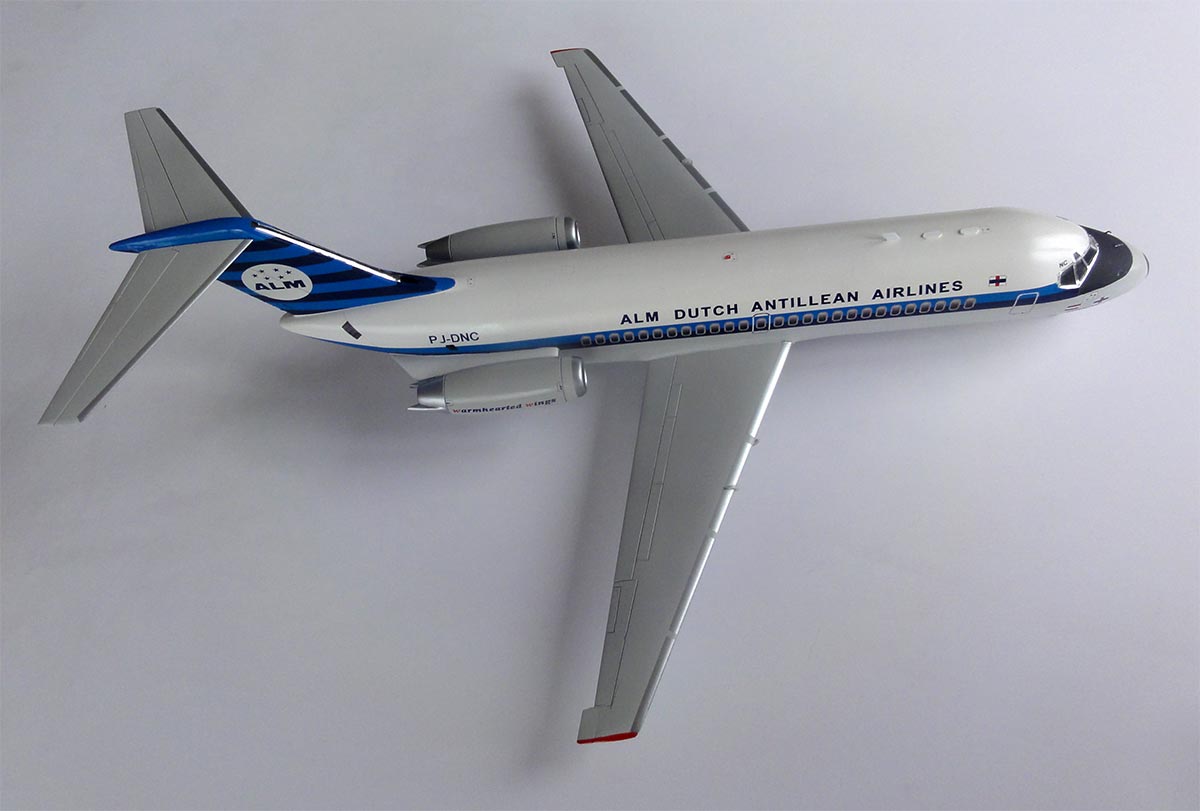
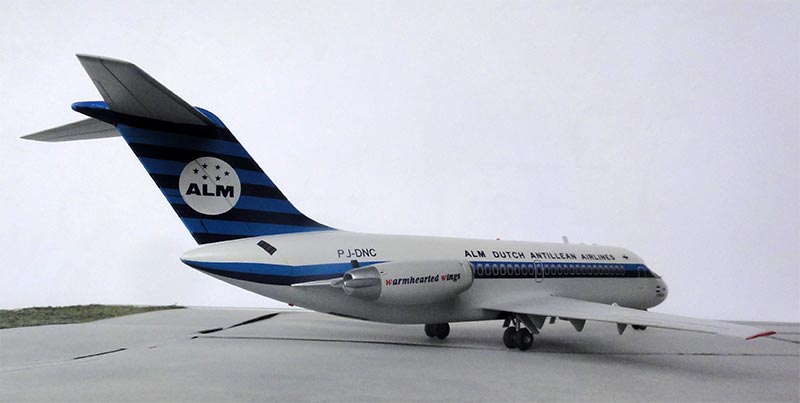
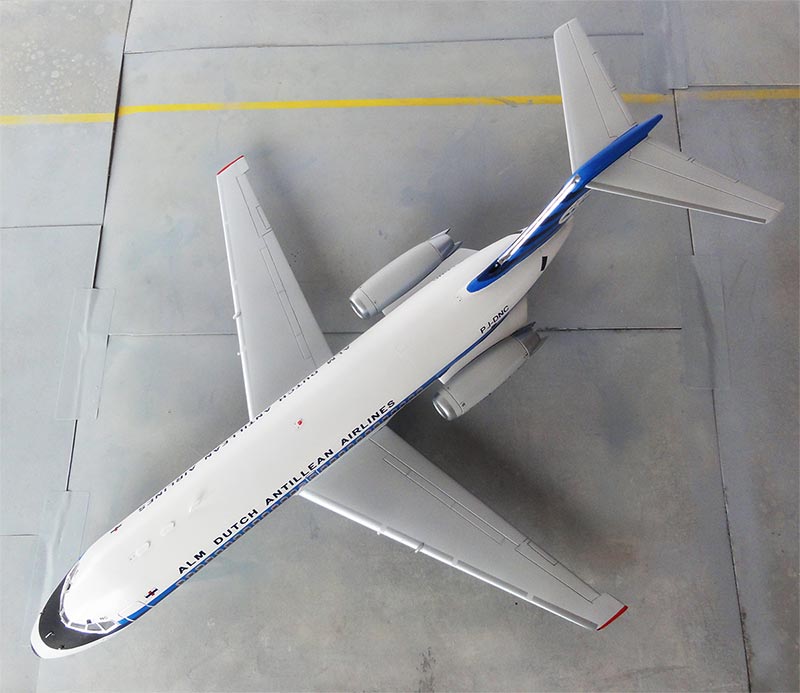
It was decided to make a DC-9-15 of the ALM and just a few changes to the kit would be needed. For the ALM scheme I would have to design my own decals and to have these custom printed. The ALM DC-9-15 registred PJ-DNC with name "Curaçao" island would be made. It was the former KLM machine "PH-DND" that was transferred to the ALM in 1970.
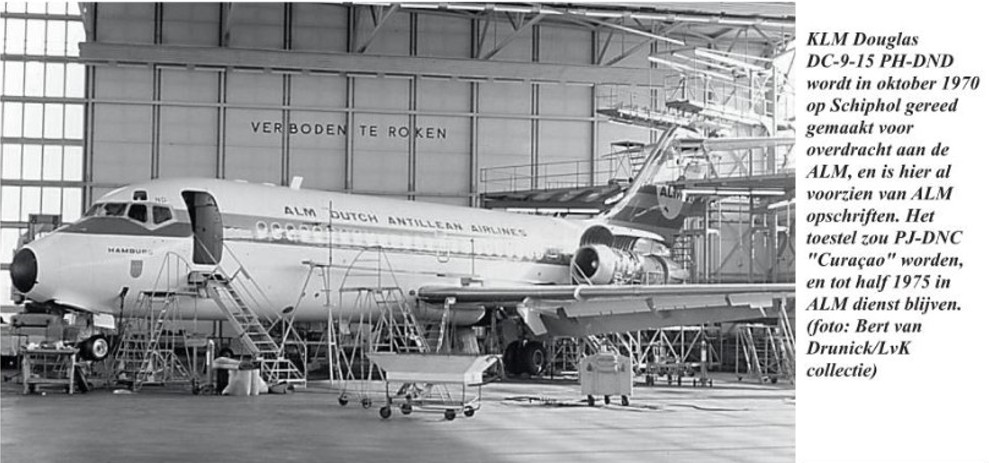
photo credit: LuchtvaartKennis (LvK)
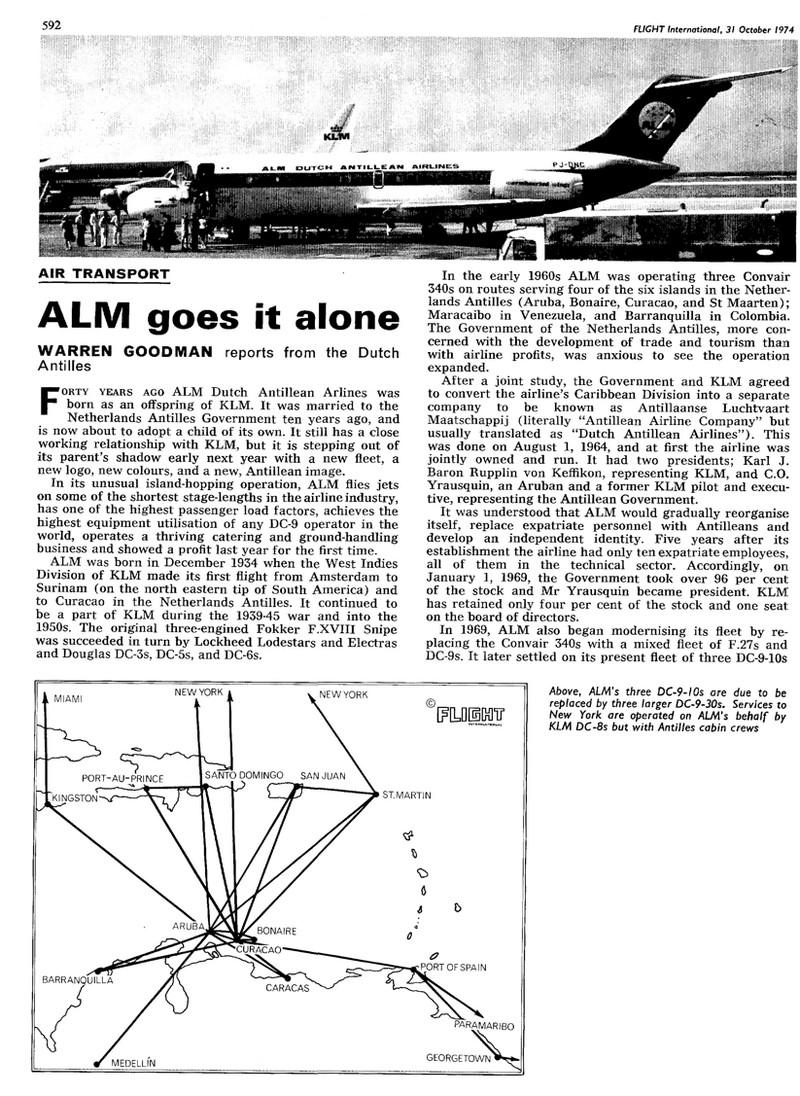
Flight magazine, article, 31 October 1974: (note; these were not -10 but -15 Series models)
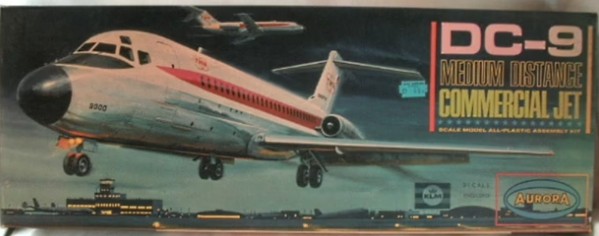
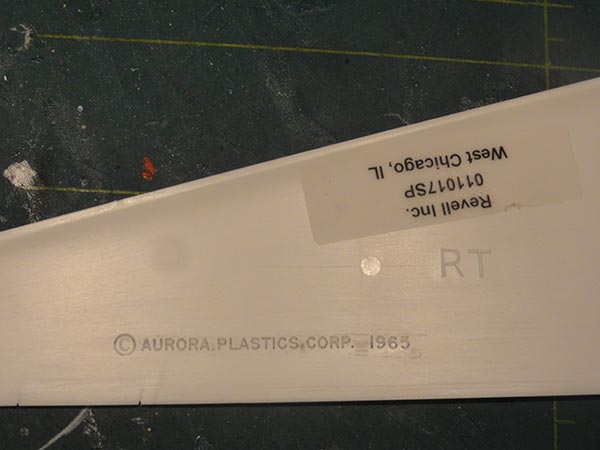
In 1/72 Aurora issued a DC-9 in 1965. It was released in a few different boxes with different decals. I have a very rare Aurora kit #356 with basic and inaccurate DC-9 decals of the Dutch KLM. A check kit revealed that the kit fuselage and wing are OK in dimensions for the Series 10 DC-9-10, 11, 12, 14 , 15.
The mould of this old Aurora 1/72 kit was bought by Atlantis Toy & Hobby in 2017 and this was a chance to get another kit at a reasonable price. Here a detail of the package...
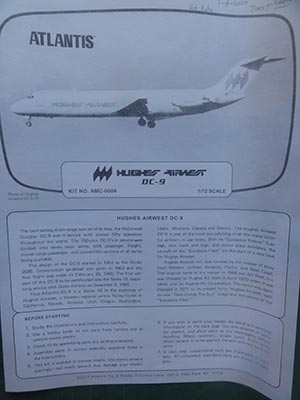
I got Atlantis kit AMC-6004 with this box:
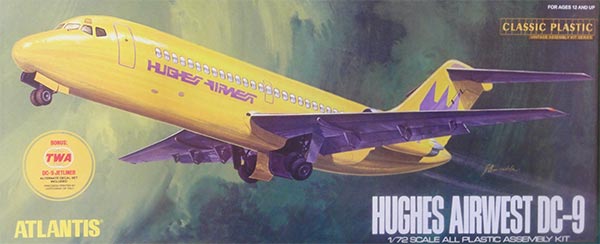
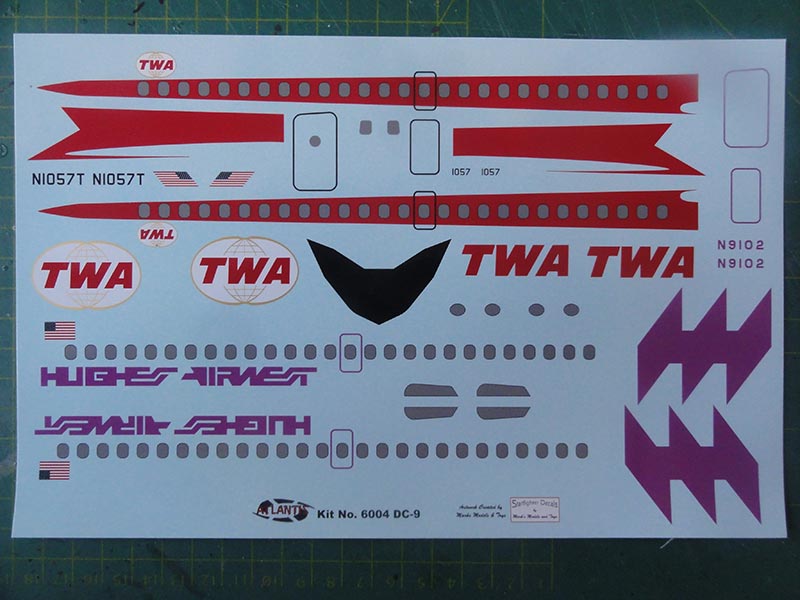
This release had decals for Hughes Airwest for a yellow DC-9 and TWA scheme (though this scheme is not drawn in the kit instructions).
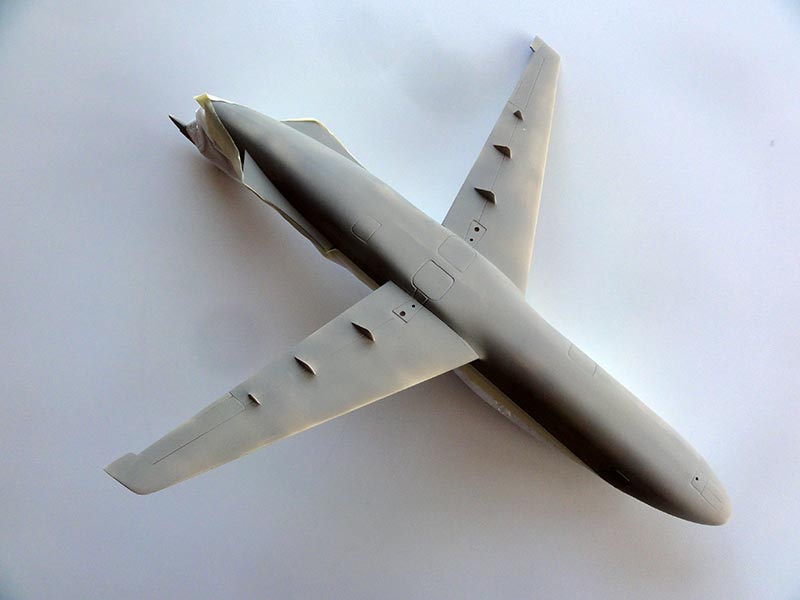
The shapes look good and there are only about 35 parts in hard white plastic and a single transparent part.
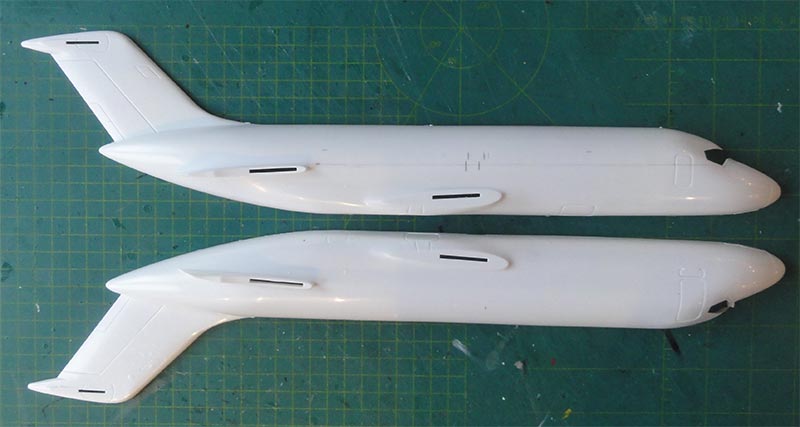
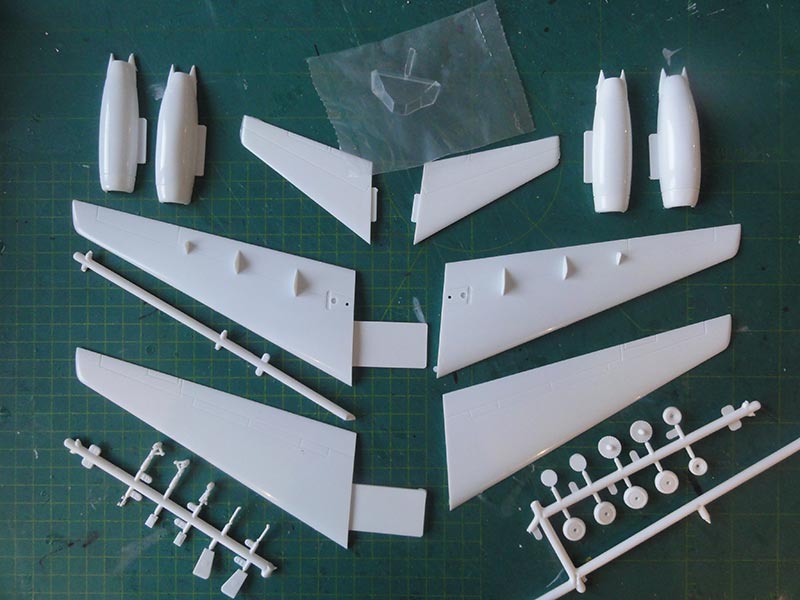
Hardly any detailed parts are provided in the kit, the cabin windows are moulded closed so a decal should suggest the windows. The cockpit main window is a single transparent part but the small eye brow cockpit windows are moulded closed with no transparencies. You get an undercarriage though but the main gear bays are undeep/ closed.
The parts need a bit clean-up with sand paper but for such an old mould are quite good. I removed any vague raised panel lines and filled with putty the small mould sink marks.
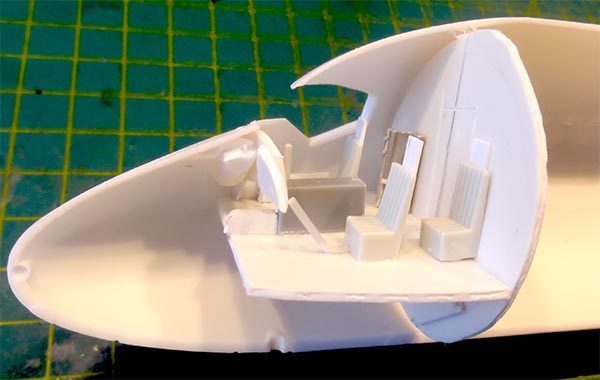
In the cabin no details are parts are provided. As the cockpit transparent window is clear and quite large, it was decided to add a cockpit interior from scrap. With some plastic card, a bulkhead and floor was made and some bits form the spares box made it look better. Some light grey and other colours were painted.
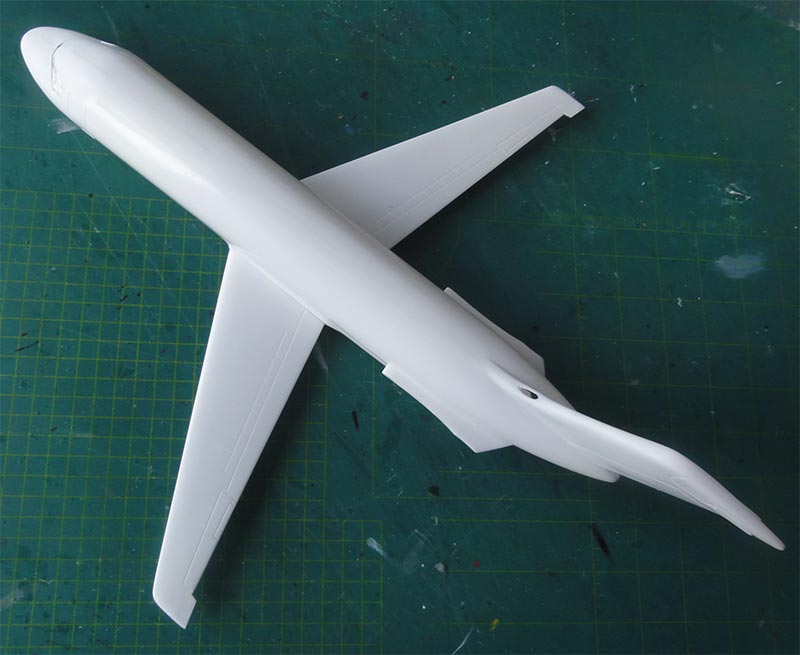
The wing of the kit has an incorrect cross profile shape. But nothing can be done about this. But with adding a few small modifications, you will get a more accurate DC-9-15.
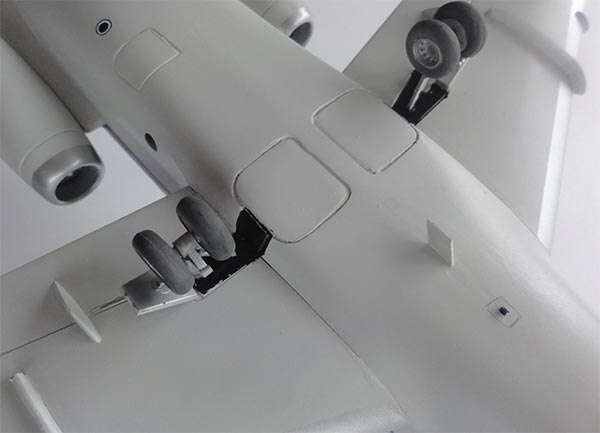
The wing parts were assembled and the main gear bays kept as per kit (though a bit undeep).
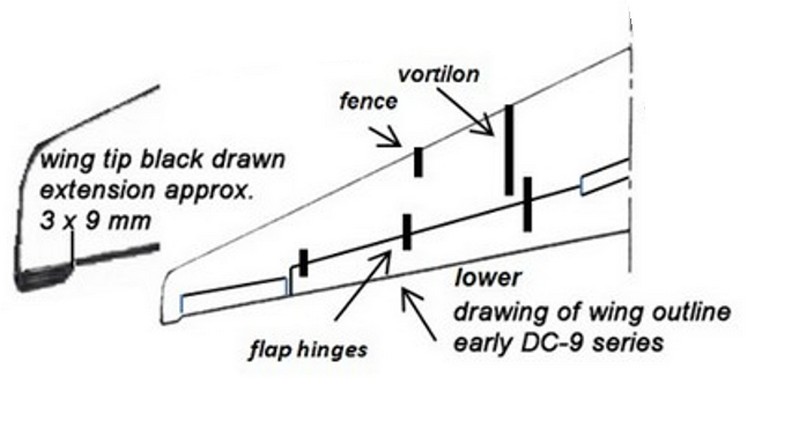
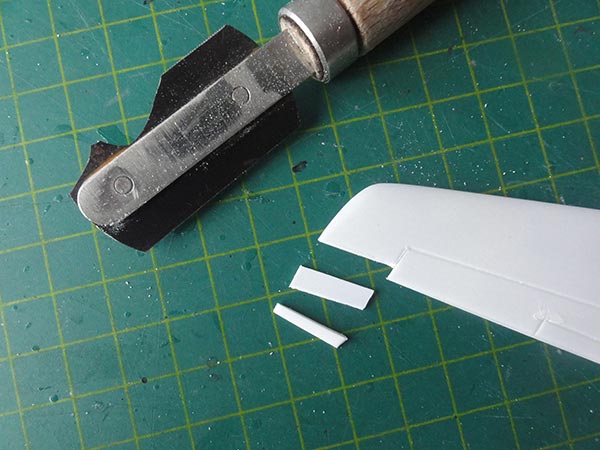
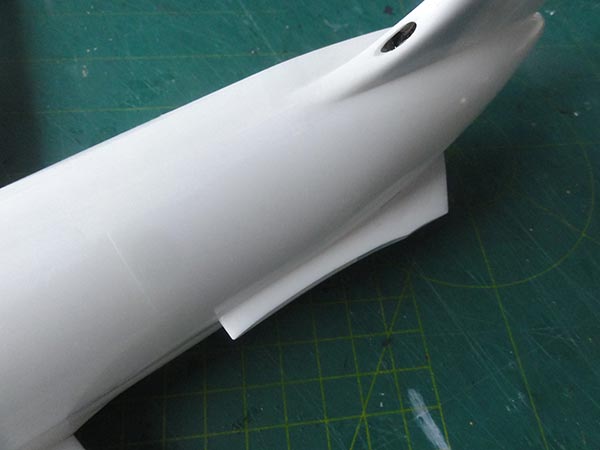
Next, at the wing tip a small chord trailing edge extension was made of 9 mm wide and 3 mm long at each wing tip. This sketch gives and idea and plastic card was used.
A small section was cut off and new card added. Sand and blend in with putty.
The wing trim tabs were inscribed at the ailerons. There are flap hinge parts in the kit, but the "vortilon" and a few missing wing fences will be added later on.
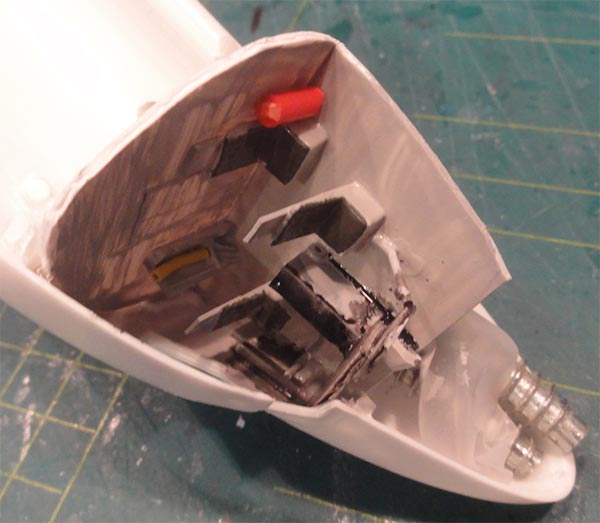
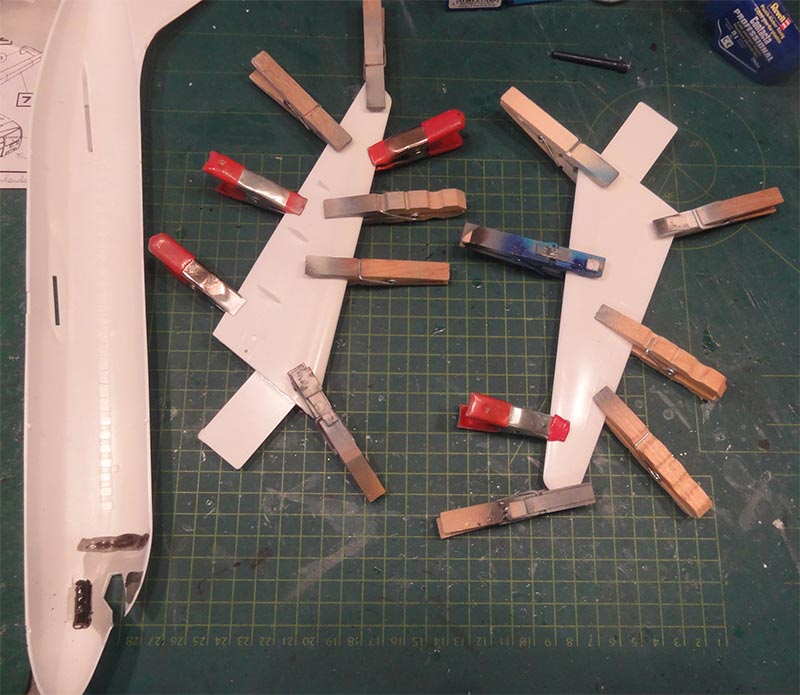
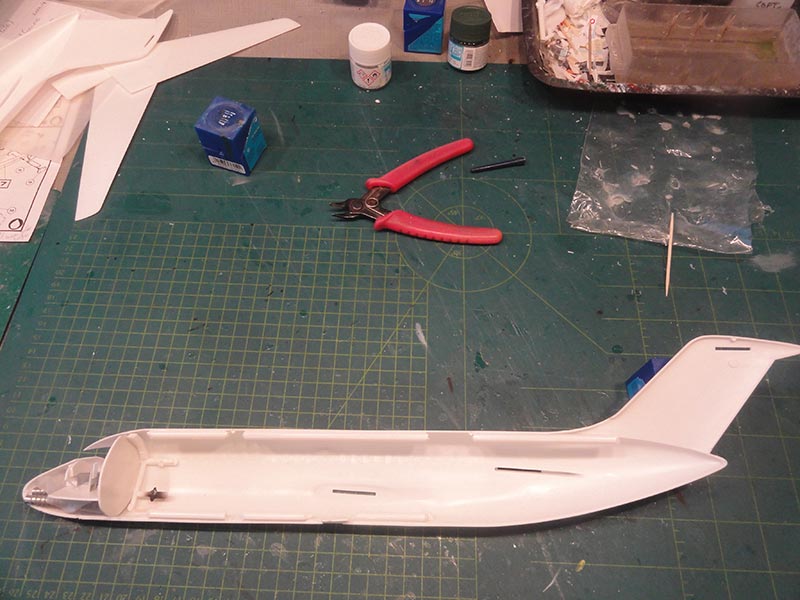
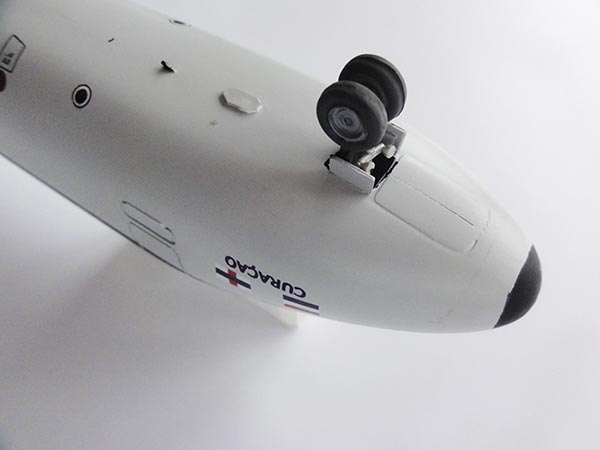
The fuselage has a slot for a posing stand, this was closed up. The nose gear bay was not further opened up, hardly any thing is seen when the model would be complete. A small pipe was added a the fin base for the air intake. I added nose weight to avoid a tail sitter. At the fuselage edges, long pieces of sprue were glued to get stronger joints. The fuselage halves were joined.
At this stage it is clear the long joints needed sanding, putty and sanding a few times. Airliner modellers will recognize this as being essential to get a good looking final finish.
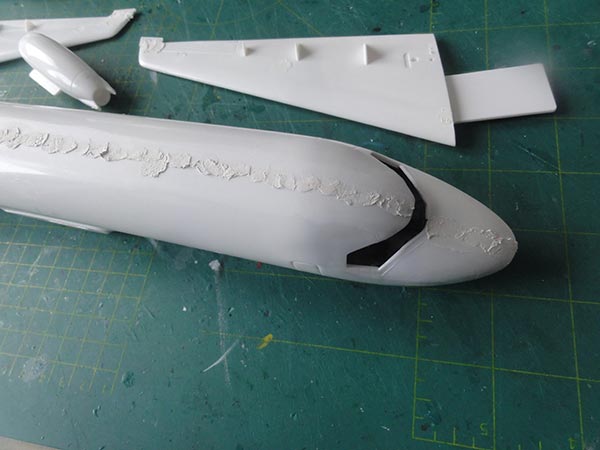
Take time here and check over and over again. This was all done before further assembly being done.
All the long joints were puttied....
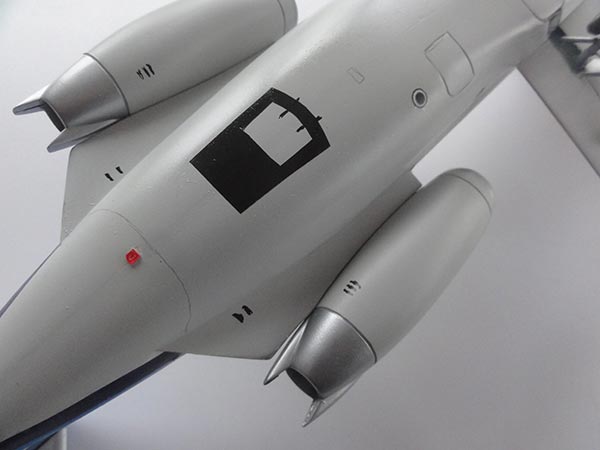
The engine nacelles are simple but acceptable and were assembled.
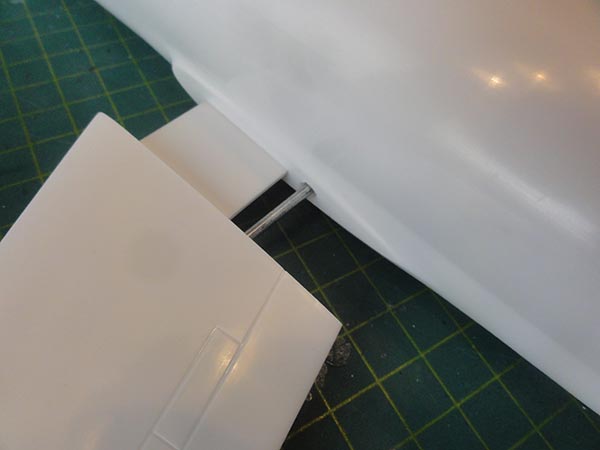
Though the wing halves had a good tab to get a strong fuselage joint, it was decided to add a metal rod for added strength. A bicycle wheel rod was used here and holes were drilled to get the rod running from left wing halve <-> fuselage <-> right wing halve.
Again, putty all the junction joints.
NOTE: the horizontal tail was not yet installed to avoid handling damage. Same with the landing gear, to be added later.

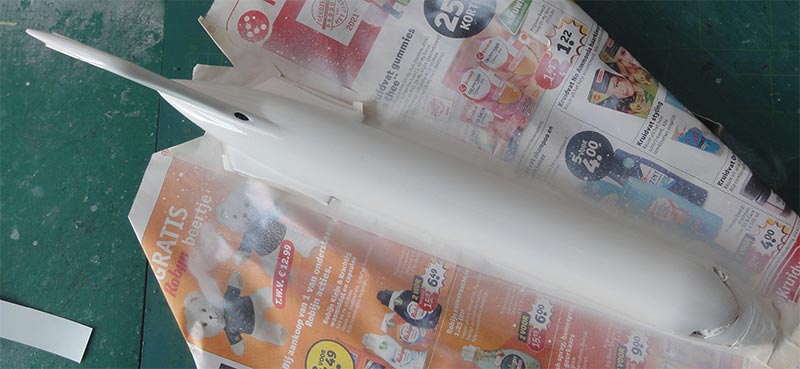
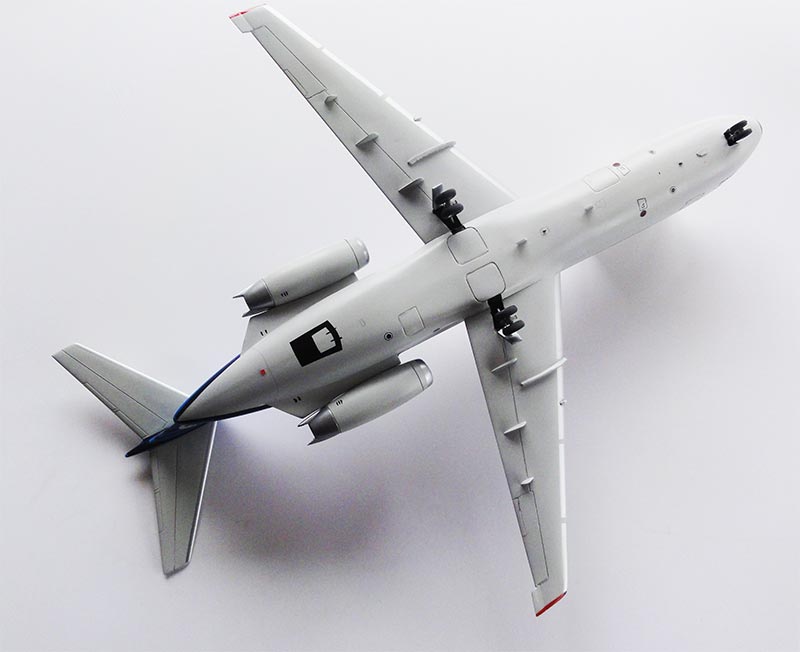
The model now got a base grey coat using my usual Revell Aqua 75 acrylic with the airbrush. Again, corrections were needed to get smooth surfaces at the fuselage joints. When it all looked OK...
Note: the extra vortilons and wing fences are not yet seen above installed on the lower wing.
Next it was time for the ALM paint scheme. The ALM basic scheme has big similarity with the KLM Royal Dutch Airlines scheme. The cheatlines and tail would be covered with my custom made decals (*more on that later). The airframe top colour is gloss white and the lower area and wing seem to be light "gull grey".
The gull grey colour was airbrushed first on fuselage, nacelles, wing (and not yet fitted tailplanes). I used about FS36495 for this, airbrushing Gunze Sangyo 338 acrylic paint.

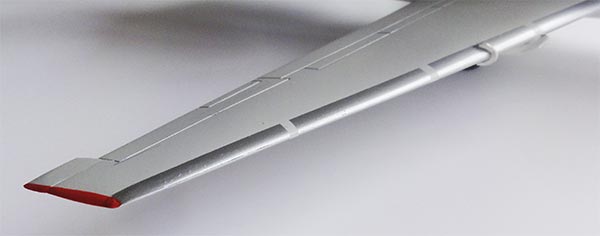
The wing leading edges were than masked and airbrushed aluminium/ metal with Revell Aqua 90 Silber; same with the horizontal tailplanes. NOTE: later I was informed that the vertical tail also has a metal leading edge.
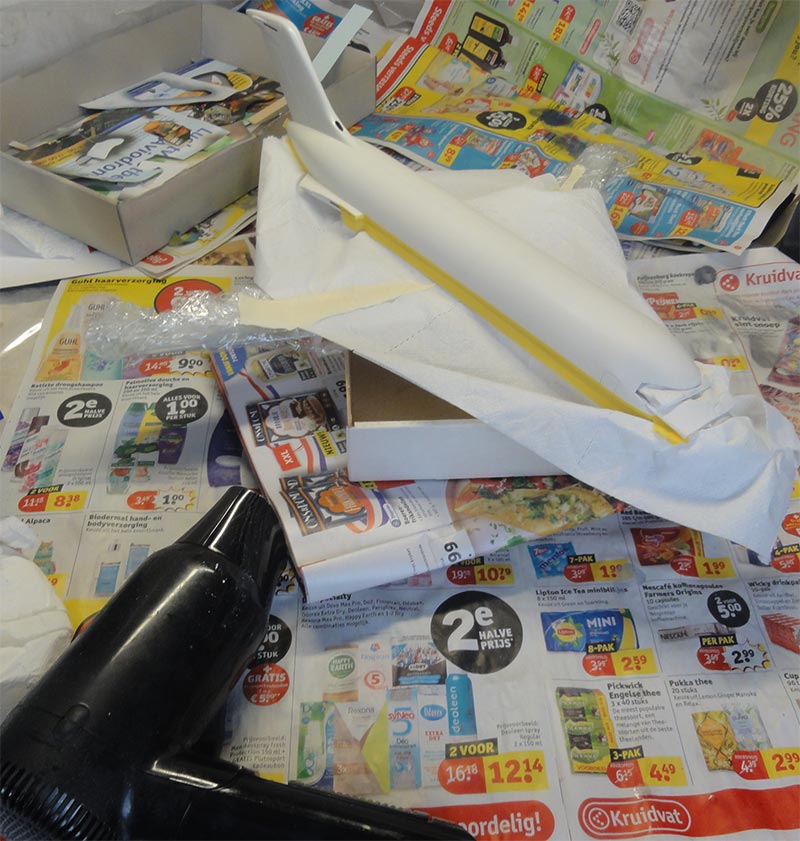
Than followed masking and the white upper section of the fuselage, first mat white, than gloss white. Ensure a correct horizontal demarcation line setting where the cheat lines would go later on. Several thin layer of white acrylic paints were applied, note the hair dryer I use to speed up a bit the drying process.
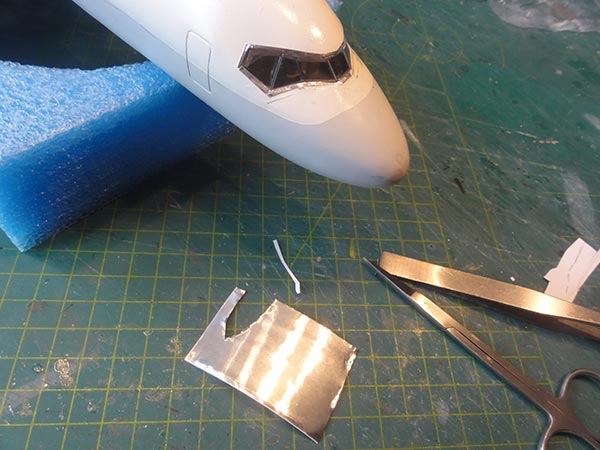
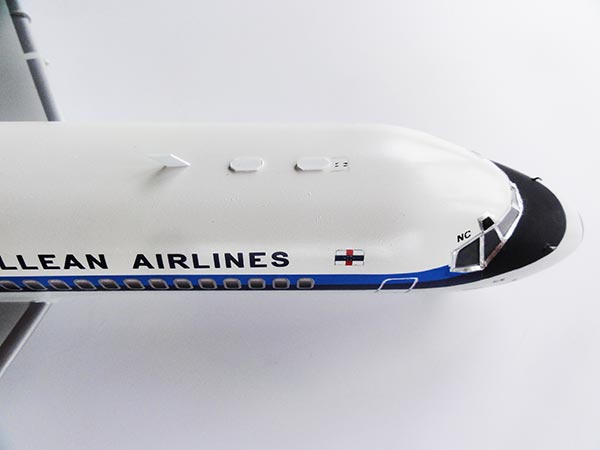
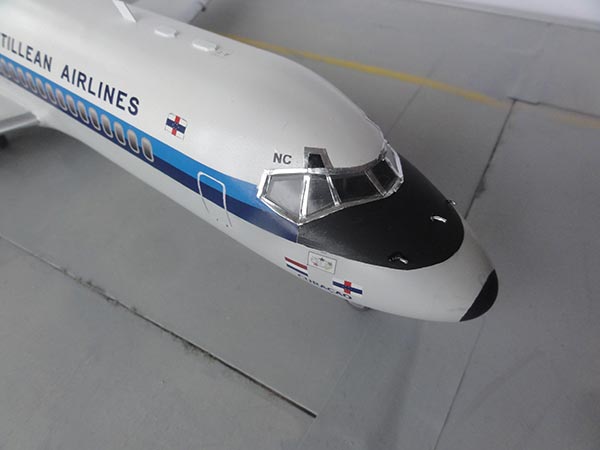
The single transparent cockpit glazing was set but a few gaps were still there at the edges. But luckily the real ALM DC-9 has metal edges at the cockpit framing and the gaps were closed with sections of stripes of adhering aluminium foil.
For the ALM airline scheme, I designed my own decals with a design PC program which took quite some time, looking at many photo's, "counting the cabin windows etc". Also scaling the decal design to the correct 1/72 size is not that easy. On the prepared sheet design, some extra spare decals were also set including a few other registrations and also the very early ALM scheme. I designed the cheat lines "longer" in order to have enough margin and started with the long mid areas.
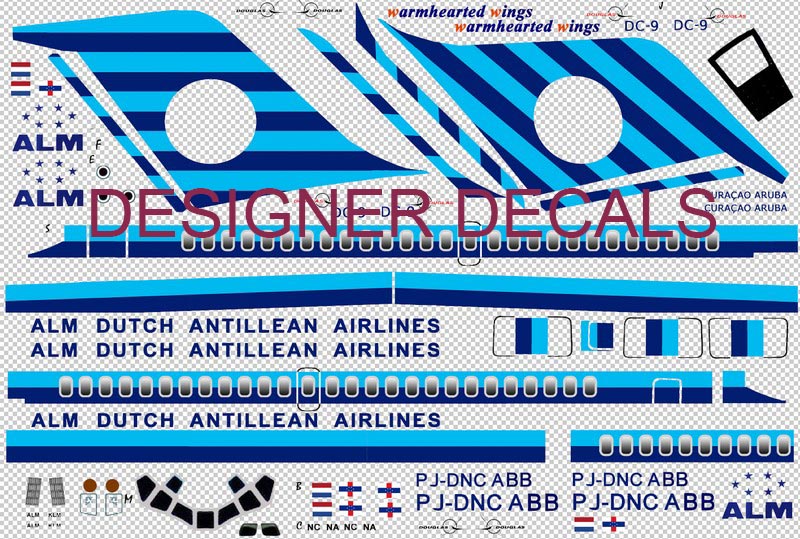
After the design was made, the decals were custom printed by a Third Party on clear decal sheet with an OKI 5-colour laser printer "including the white sections".
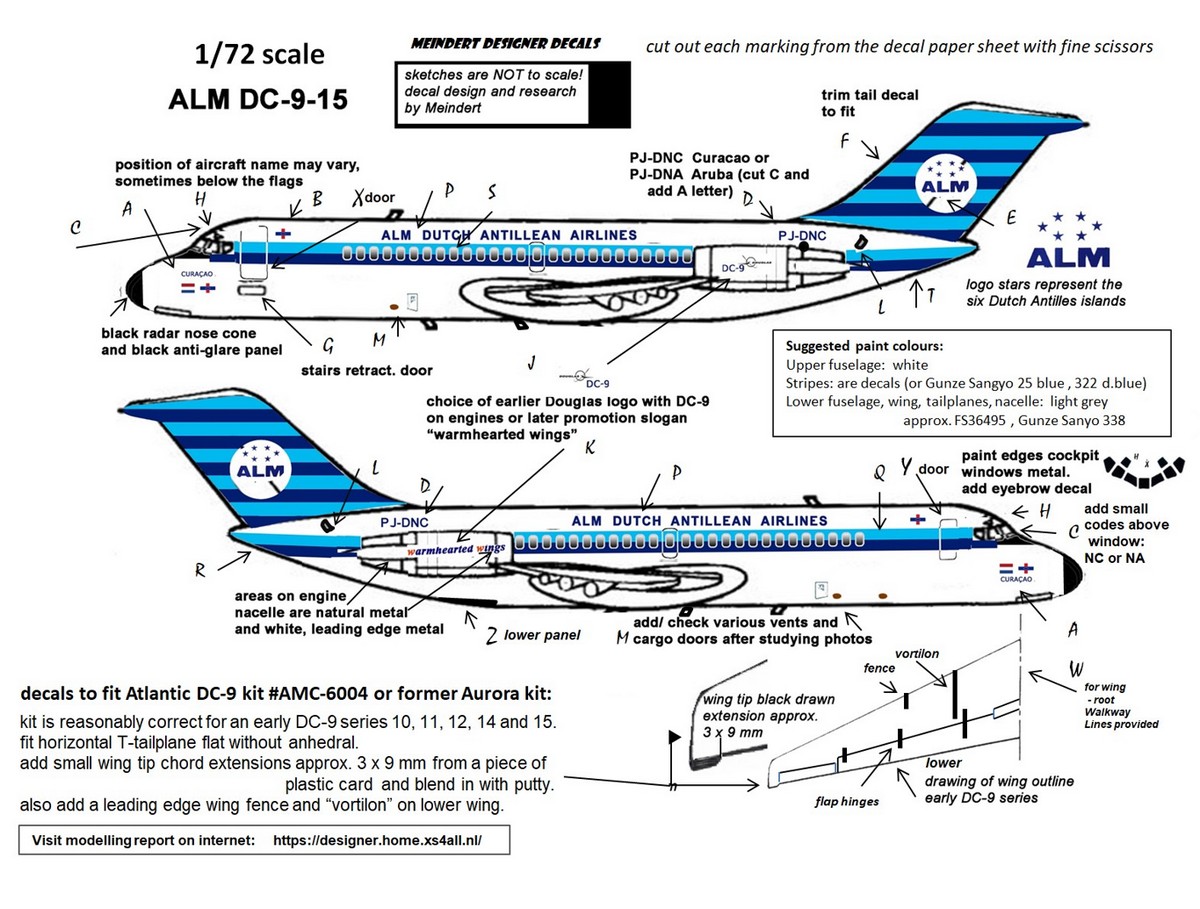
Seen here is my own drawing for the ALM DC-9 scheme and the details.
If you want these decals for your model, send me a mail. Look at my decal page here...
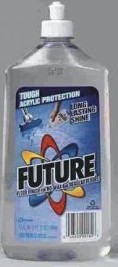
The model got a few layers of gloss varnish to get better decal adherence and avoid "silvering". I airbrushed my favourite Johnson Future/ Pledge varnish thinned with some IsoPropylAlcohol.
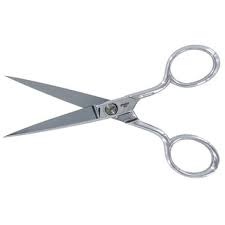
The printed decal is on one piece of decal film, so each decal had to be cut-out with fine scissors. And applied onto the model.
This takes quite some time, particularly at the rear fuselage and cockpit windows.
The edges of the vertical tail needed some blue paint; for the darker blue I used Gunze Sangyo 322 and for the lighter blue paint a mix of 80% Revell Aqua 50 + 20% Aqua 51 blues.
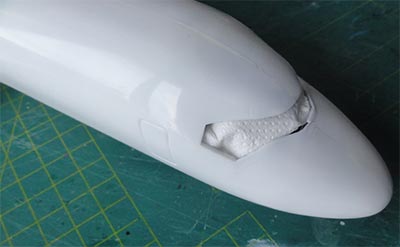
Some parts were after masking airbrushed mat black such as the radar nose and the anti-glare panel. The eye brow windows were suggested with black paint with gloss top coat.
The extra vortilon and wing fence were added (see drawing above).
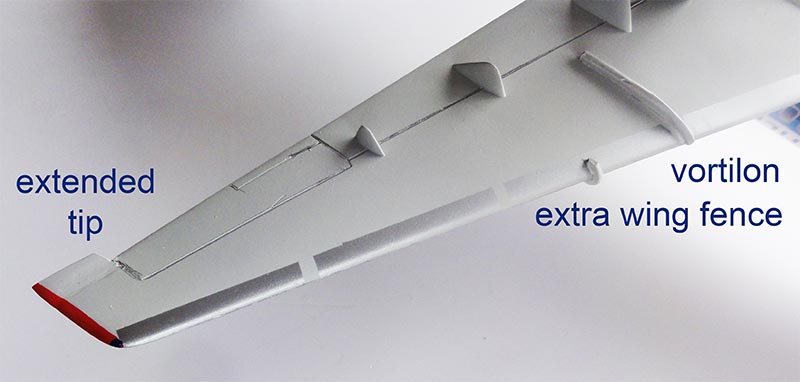
The wing tip was painted bright red as well as the red and dark blue tip-anti-collision lights.
The nacelles got a few metal areas airbrushed and installing these is easy, some white glue closed the tiny gaps and painted with a fine brush. Than, a few decals were added on these.
The remainder of the model was now handled. The undeep gear bay panels were painted gloss black to suggest some depth. The landing gears were installed and painted aluminium and the tyres very dark tyre grey.
At the fuselage a few small antenna's were set made from thin plastic card. Some on the belly, some on top.

Also, the smaller ground service markings designed were added as was just some "weathering" done with a pencil and wash.
On the nose 3 small pitot tubes were set.
The tailplanes had no anhedral/ dihedral and were set to the vertical tail. I added a metal rod in drilled holes connecting the halves with the verticail tail.
At the lower fuselage there is a sort of black panel, this was made with decal as well. I also added a fuselage anti-collision light from clear red plastic below the tail and on top of the mid-fuselage.
Finally another few layers of gloss Johnson Future/ Pledge varnish were airbrushed to get an even sheen and protect the decals.
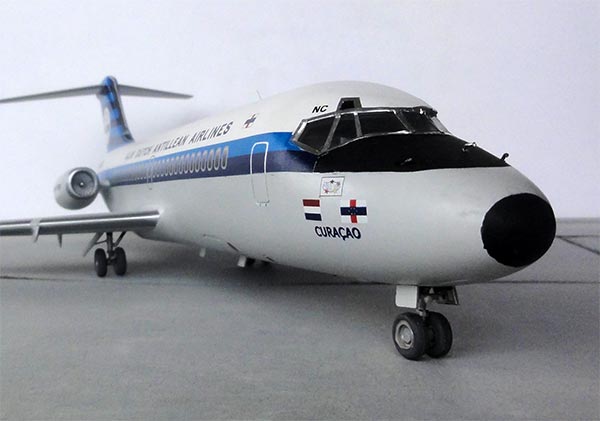
After so many years after seeing the first real ALM DC-9, a nice model was completed for the ALM DC-9-15 PJ-DNC named "Curaçao". It was used on various routes from the Dutch Antillean islands in the early 1970s.


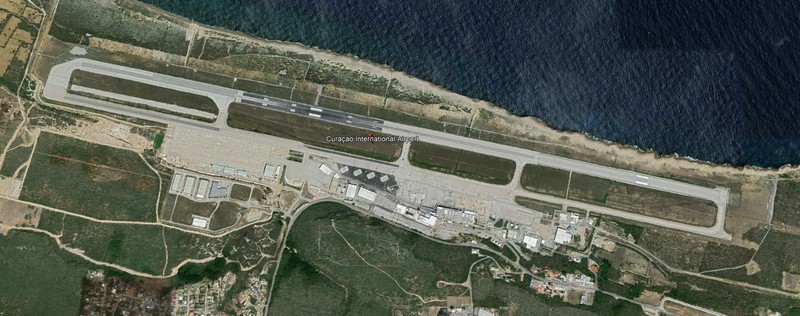
... set at Hato Airport, Curaçao
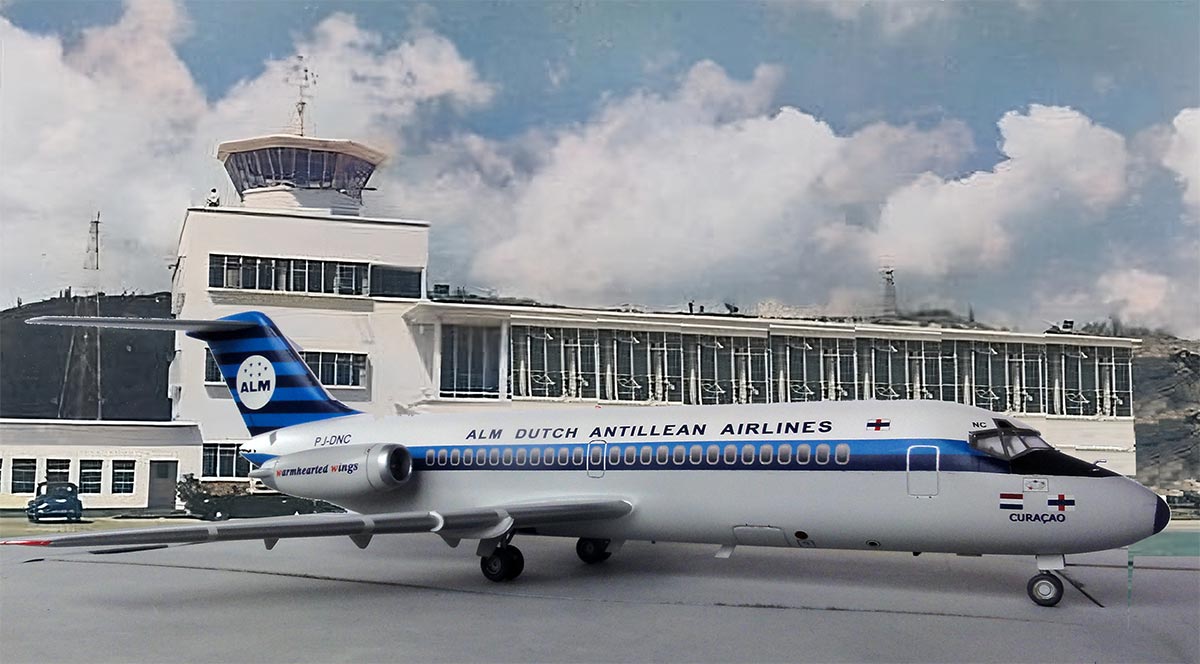
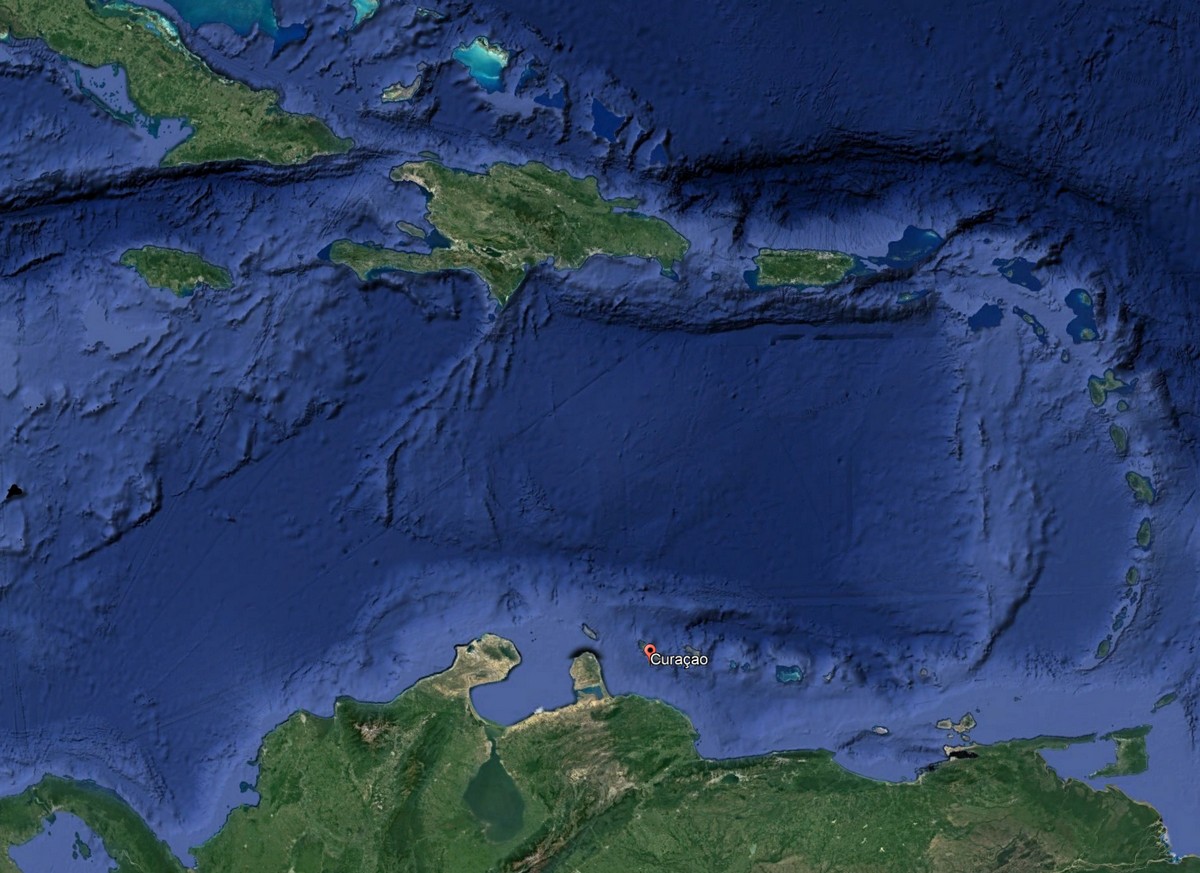
Google Earth views of Curaçao in the Caribbean and Hato airport

Hato airport with a single large runway
REFERENCES
- ALM, airline article magazine Luchtvaartkennis 2014-4, (in Dutch)
- Air international, June 1980
- Jane's All The World's Aircraft 1976–77, Taylor
- Fundamentals of Flight, R.S. Shevell, Douglas designer, Prentice Hall publishing, ISBN 0-13-339060-8 , 1983
Special Antillean aviation book:
HATO, Luchthavenontwikkeling Curaçao 1913-1976, Rudy Sprock, www.pumbo.nl (own publisher); Curaçao, released 2021
Internet:
- Wiki page DC-9
- Ultimate DC-9 / MD-.. Guide, David Hingtgen (on AirlinerCafe
NOTE: you can also view this modelling report on YouTube:
https://www.youtube.com/watch?v=uSx8RAjd-Nc
Back to 1/72 Models
(c) Copyright "designer"/ All rights reserved. Your comments are welcomed by webmaster
Created this page
February 25, 2022