Hasegawa conversion
1/72 scale Hasegawa / Falcon conversion for a F9F Cougar of the US NAVY
The Grumman F9F-T8 is a trainer version of the single seat Cougar. Look here for some history at the 1/32 scale kit modelling report....

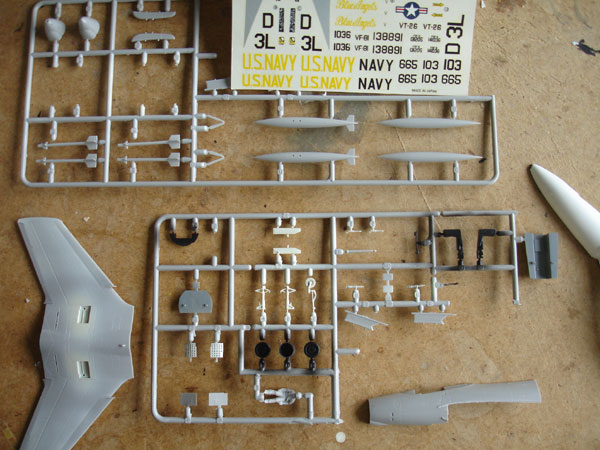
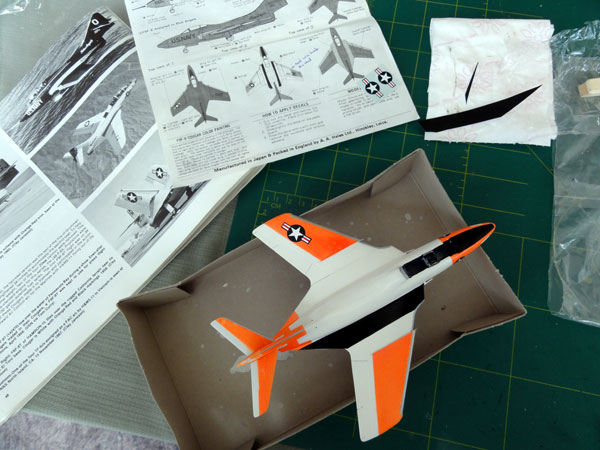
OK, let's first look at the Hasegawa kit required.
The kit is simple being quite old and with raised panel lines. It also has a very simple cockpit tub. It was decided to only detail it in some areas and built bit otherwise rather straight from the box. The kit is a very simple and quick build with only about 50 parts.
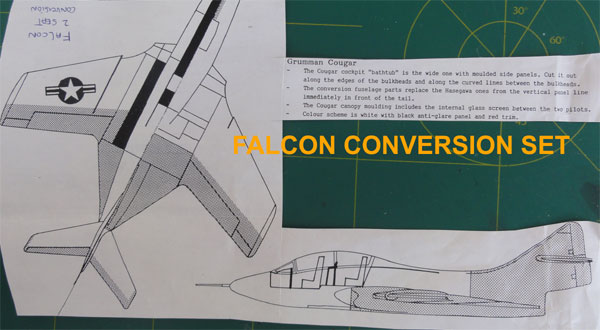
The FALCON F9F-8T conversion set
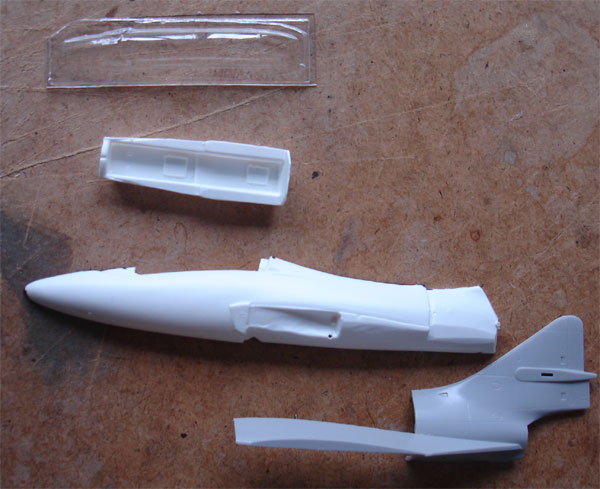
has 2 vacuform parts for the forward fuselage. The two vacuform parts were
removed from the plastic sheet, leaving a 2 mm edge around the parts. Subsequently,
with sand paper the parts were trimmed to match the required contours.

Of the Hasegawa kit, I started with
spraying some parts while still on their sprues, eg. various coats of white
on the doors, gear legs and wheels. Also, some parts were sprayed metallic.
After drying, moved on to assembly....
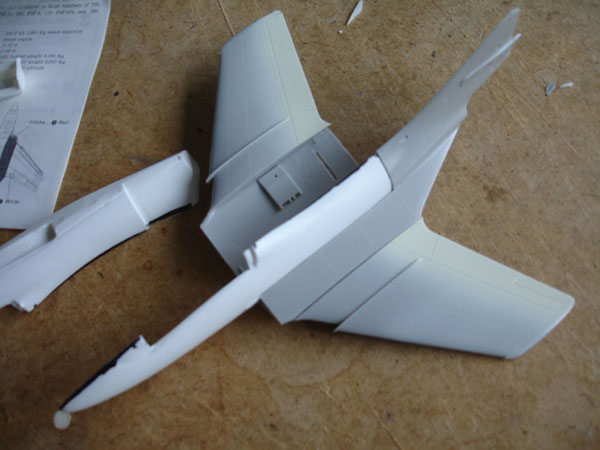
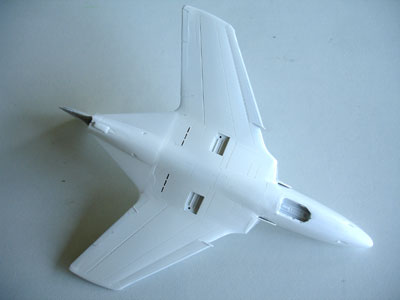
Above, a first check of fitting the
parts
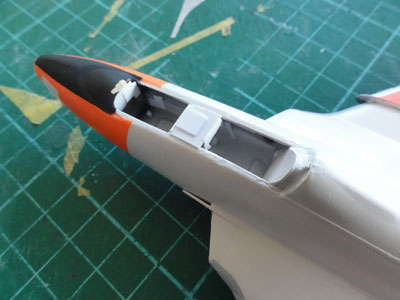
Starting with the cockpit, I simply added the tub part D16 and instrument panel E3. Also, I closed the hole aft of the tub with thin card to form a bulkhead. a floor was added and the nose gear bay wheel box fitted
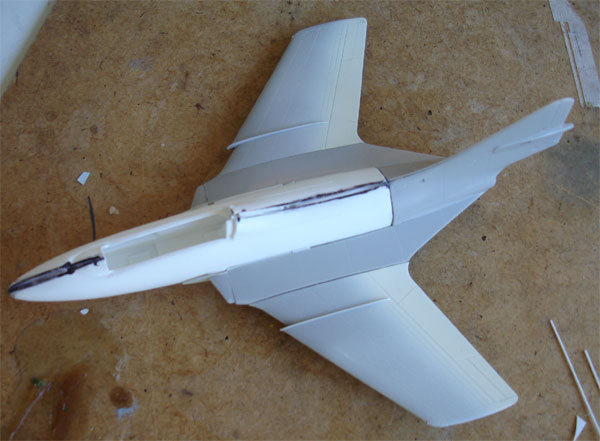
Also add a nose weight before closing
the fuselage and the main halves set together.
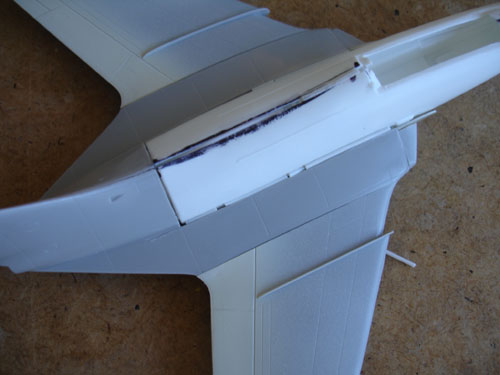
Between the vacuform parts and the plastic, gaps were filled with rod to get a stronger joint and base for the filler.
The intakes are OK but you see a blocking end plate in each intake parts D5 and D6, it may be nice to open these.
I did not fit yet jet exhaust part D20, this will be painted first burned metal and added later on.
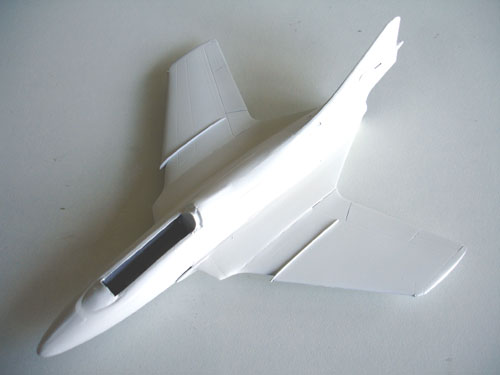
The overall model got a grey base
coat to check for any flaws. Next came a white coat.
The edges of the wing moving surfaces and rudder were "cut in" with a razor saw to better suggest the gaps on these moving surfaces.
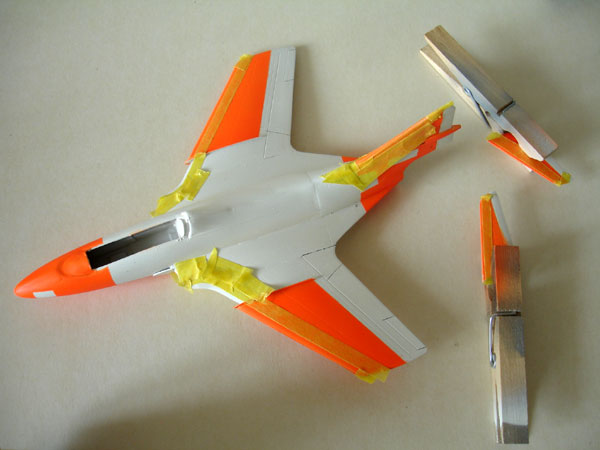
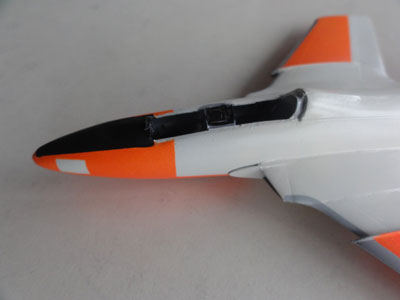
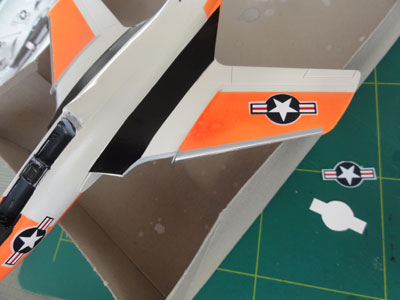
The scheme is a white Fed.Std FS16875 with
orange panels using Lifecolor LC23
acrylic. The panels were masked with TAMIYA
masking tape. Note the white panel in the tail fin to receive the serials
and Buzz numbers.
Next followed the metallic leading
edges of the wings and horizontal and vertical stabilizers. These were
masked off and sprayed.
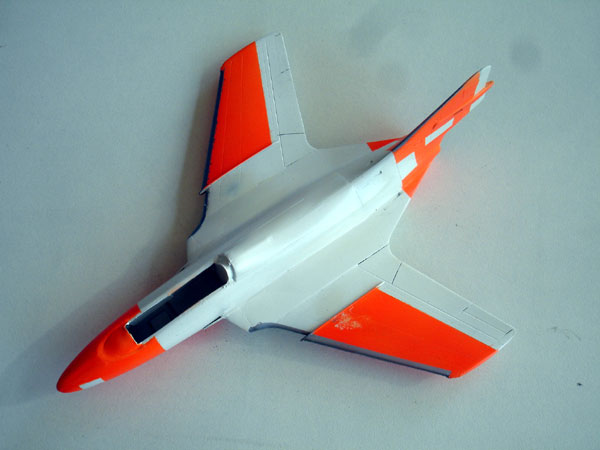
The black nose and anti glare panel
was painted on as well with some details in areas.
 .
.
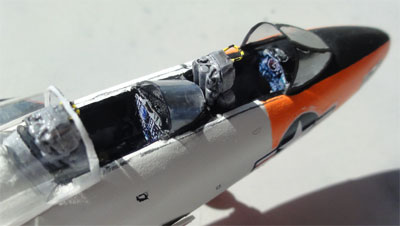
In the cockpit the instrument panels
and mid console were added made from plastic card. Also the usual throttles
and some details from card were added.
 .
.
![]()
Adding the decals is now easier to
do than later on to avoid damage. First the model was given a coat of Johnson
Pledge/ Future to get a good even gloss coat.
The decals used were to be sourced
from the decals spares box. It was decided to make an "ANES" aircraft of
the US NAVY.
Replace kit decals for the US "stars
and bars" with markings from e.g. Microscale
or Cutting Edge.
![]()
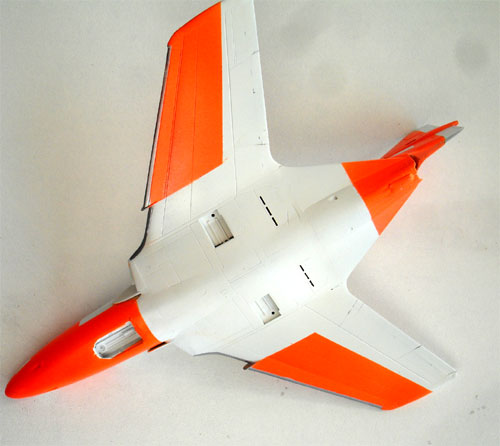
The wing walkways were made from black
decals.
STEP 3
Final assembly was now done.
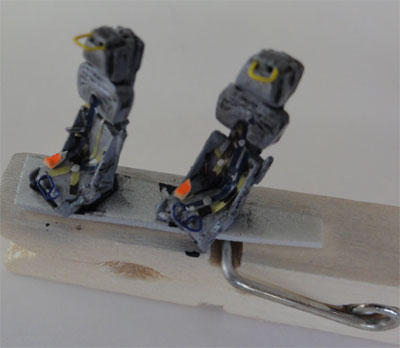
The kit seats were replaced by metal
seats. I found some in the stack, probably from AEROCLUB. Seat straps were
made from tape.
Cockpit instrument panels were suggested with plain decals for the instruments from the spare decal box.
The main gear legs are difficult to
align properly and I could not figure out the exact correct position related
to the holes where they are supposed to be glued. I used some scrap plastic
to set the legs at the correct position in the main bay and to get a strong
joint. Also, the doors C11 and C12 would not really fit, I cut off their
ends.
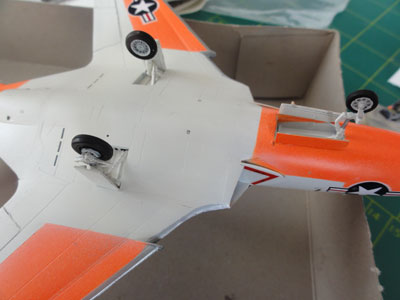
Next, some tubes and details were added from stretched sprue in the main gear bays.
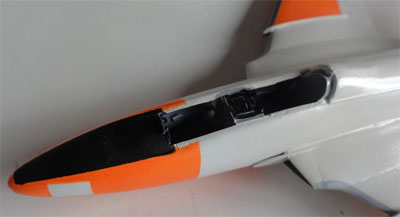
The FALCON canopy and wind screen was cut with scissors and some internal detail added from tin plastic sprue. The gap between wind screen and fuselage was closed with white glue. When dried, painted black. Also note the tiny screen between the two cockpits at the mid console, made from a spare piece of acetate plastic.
The sliding canopy white frames were hand painted and inside a medium grey frame was painted.
Only very limited weathering was applied on the moving surfaces gaps with PROMODELLER black wash, to suggest some oil streaks. Remember, these training aircraft were kept in good condition. The wing tip anti-collision lights were painted on and given a drop of Microscale Kristal Kleer.
Some panel lines (these were raised on the kit) were high lighted with some pencil stripes.
The overall model was finally given a overall gloss coat with Johnson Pledge/ Future. It now looks fine with an even shine.
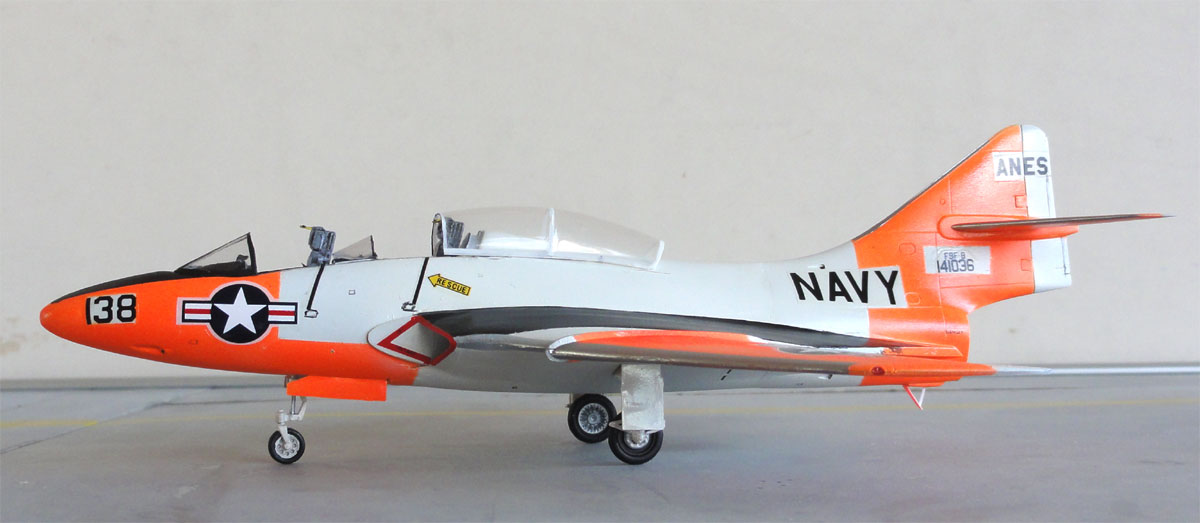
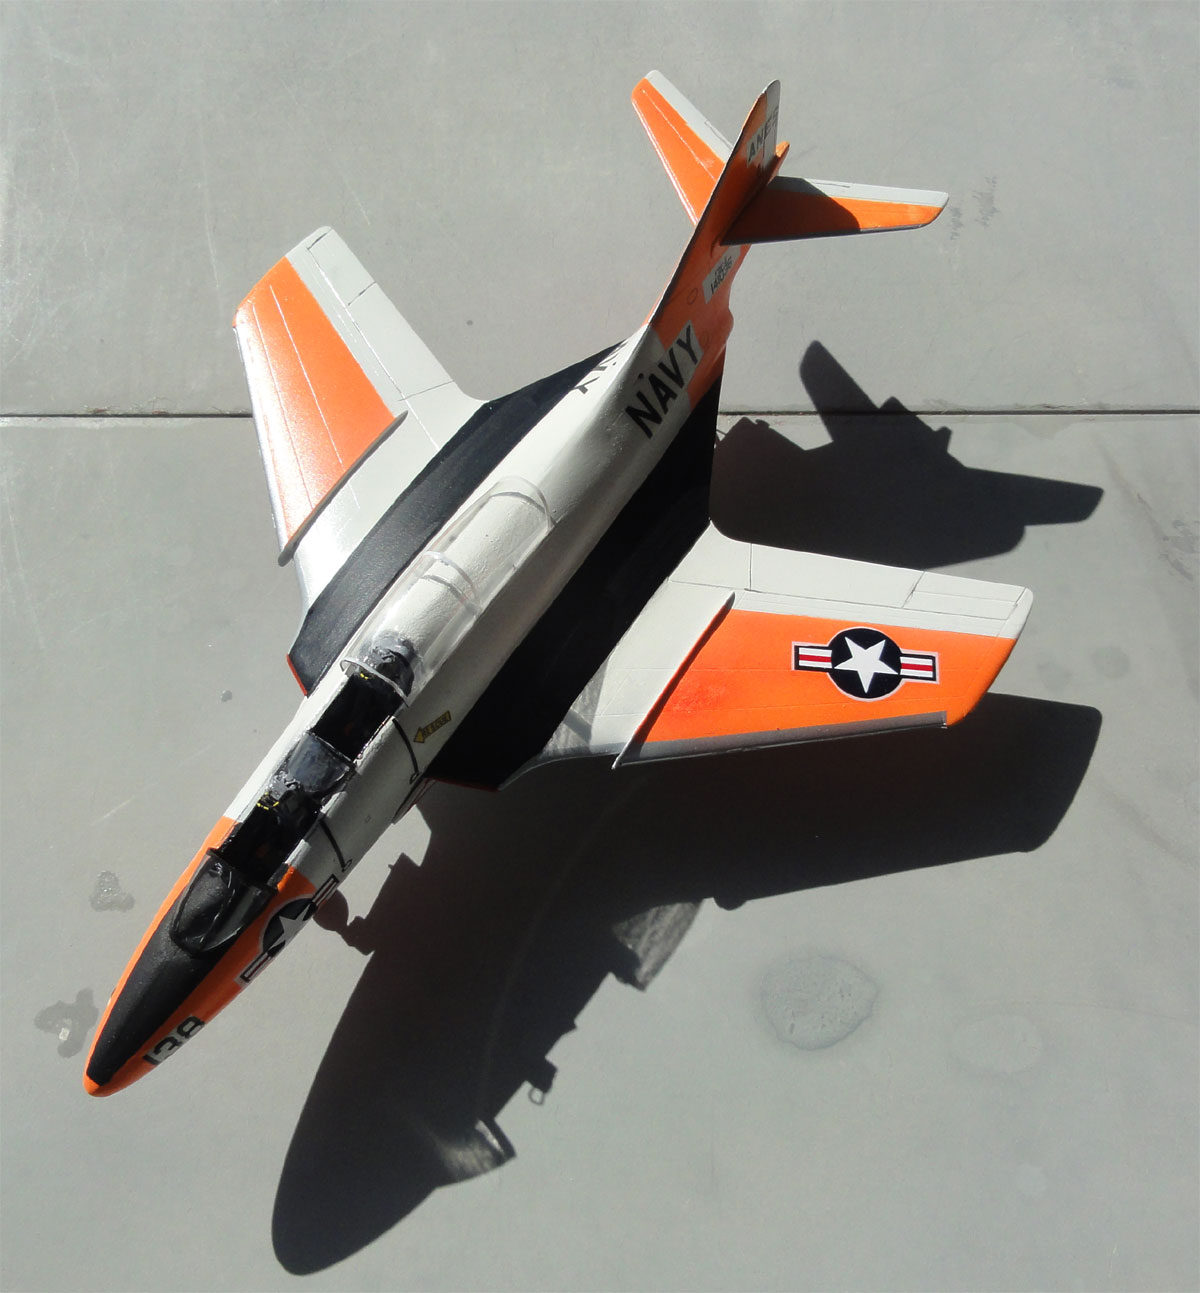
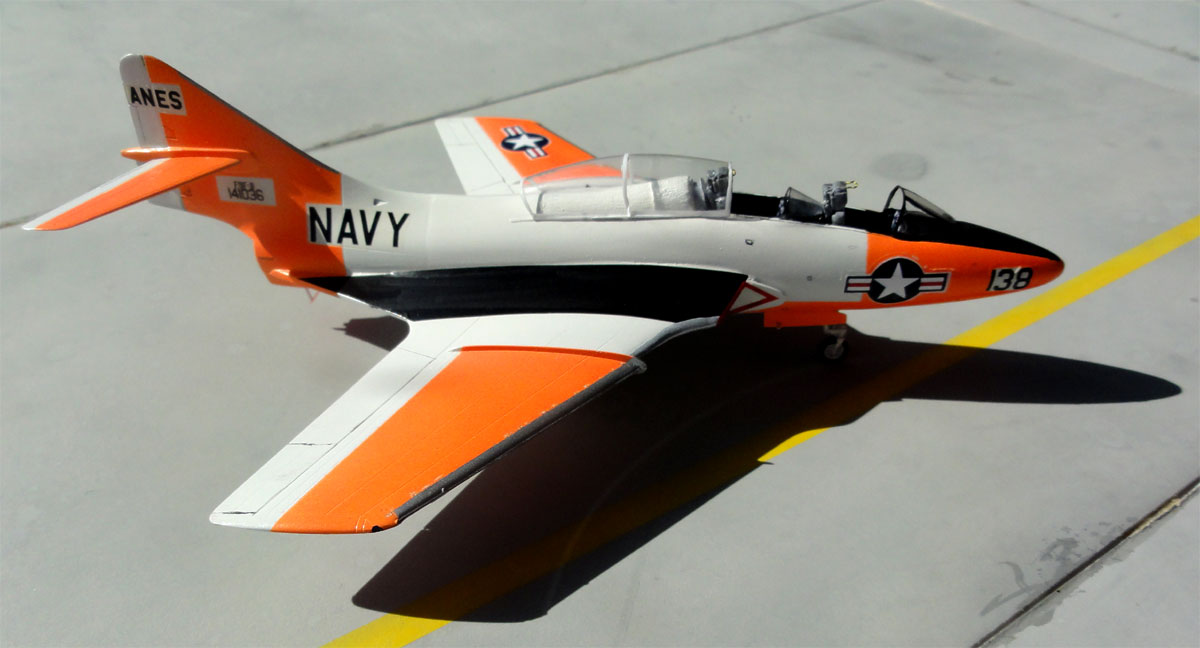
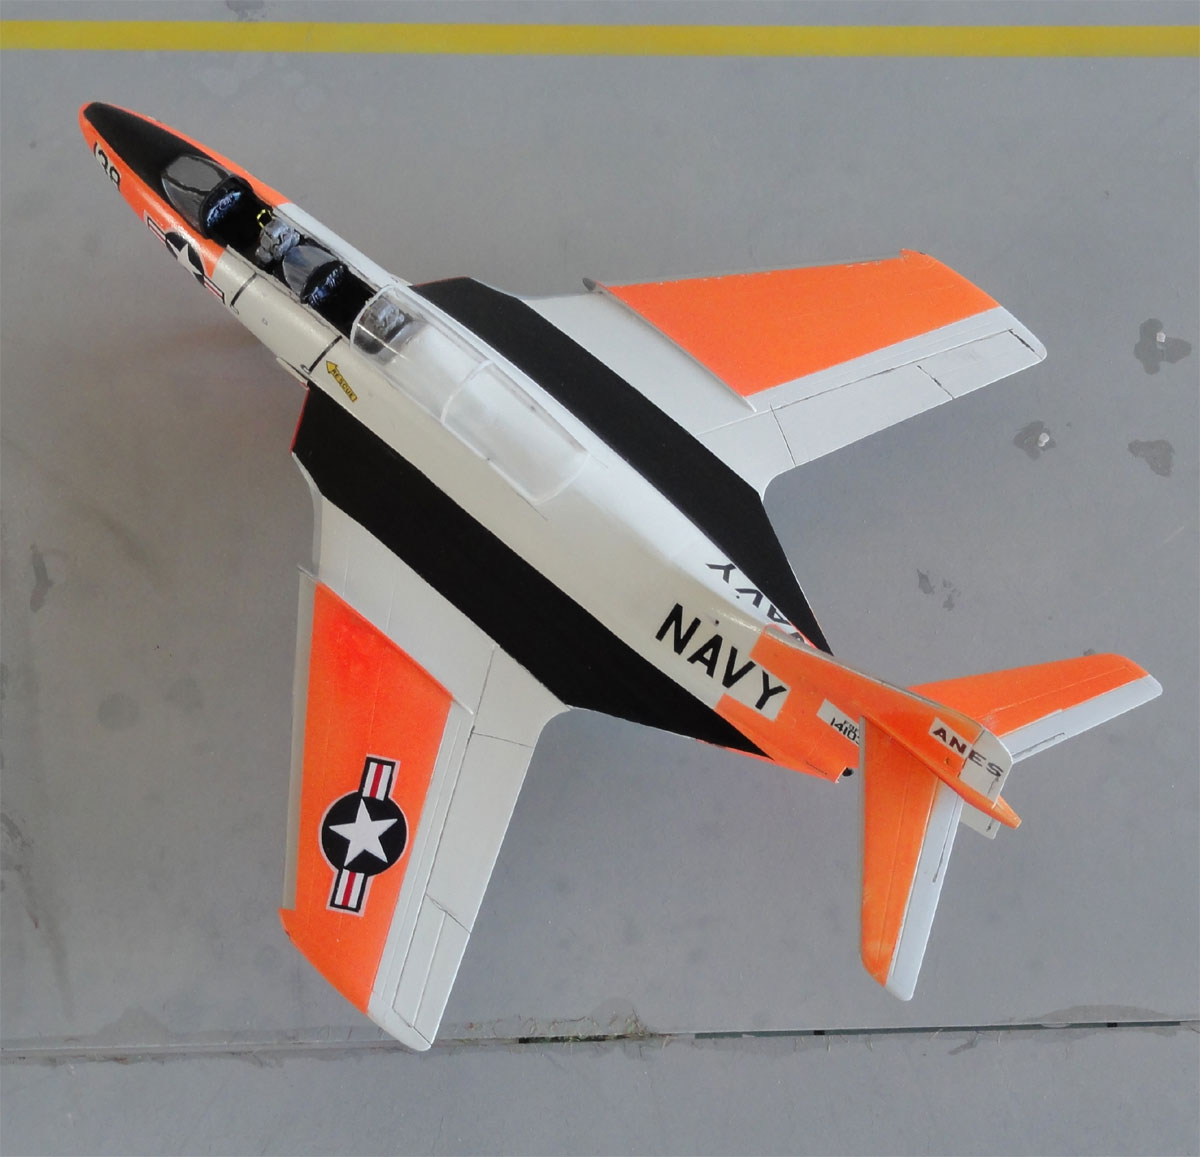
And there
she is... a Grumman Cougar trainer .......
- Squadron Signal publications series, F9F Panther / Cougar book
- F9F Panther / Cougar, Detail and Scale, Bert Kinzey, TAB books
- Squadron Signal publications, US NAVY flying colours
Back to 1/72 Models.......
(c) Copyright "designer"/ All rights reserved. Your comments are welcomed by webmaster