F9F-5 Panther
[Page 1]

Panther model in 1/32 scale of FISHER MODEL AND PATTERN
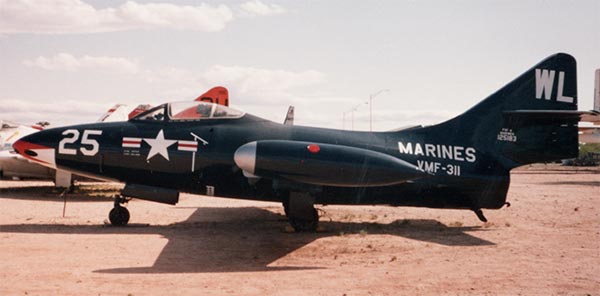
Panther photographed by me at Pima in 1991
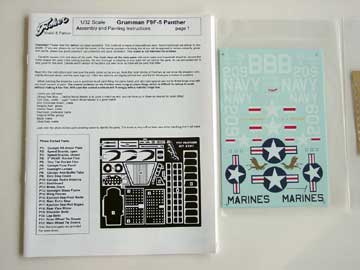
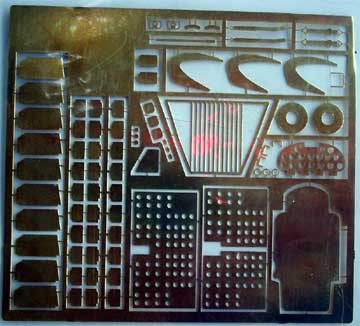
Fisher Model and Pattern issued a 1/32 kit of the Grumman F9F-5 Panther as kit number #3201 in 2005. It is a very impressive kit in full resin with additional etched metal parts and nice decals including stencilling.
The Panther kit costs about U$ 150,= and although that looks not cheap, you get a very impressive and nice model well worth the money. Certainly compared to good injection moulded 1/32 kits, the price is competitive.
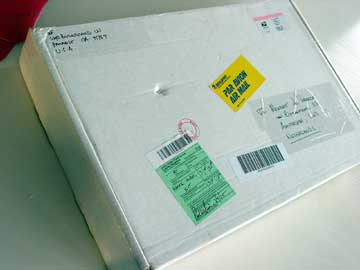
The kit was ordered directly through the Internet http://fishermodels.com/ site
... and came in a very sturdy box
within a month.
Instructions are comprehensive and
have a personal touch as Paul Fisher clearly shows you how to get most
out of this model with a step by step description and black and white pictures.
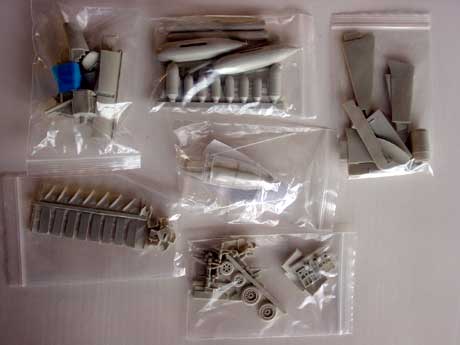
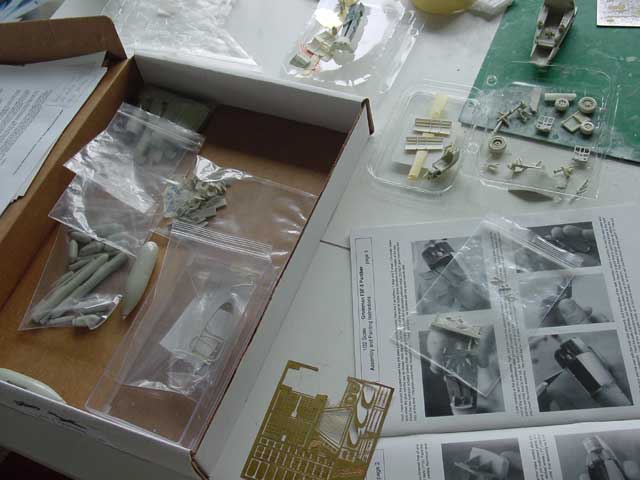
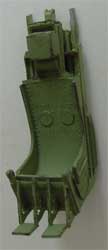
The resin parts are executed in a superior
fashion with a clever kit parts breakdown. The resin is very sturdy and
has a fine surface texture and need minimal trimming and removal of resin
flash.
The decals are also very well printed.
Cleaning up the parts takes no more
than a few hours. Clearly, this company has a lot a experience moulding
resin models, most of them being very nice resin kit of cars. Resin may be harmful, so read my resin handling tips here...
You get in the Panther kit various
optionable parts such as separate flaps, choice of how to make the canopy,
choice of weapons and stores and also very nice additional options such
as speed brakes. All the parts of mainly resin and etched metal are impressive.
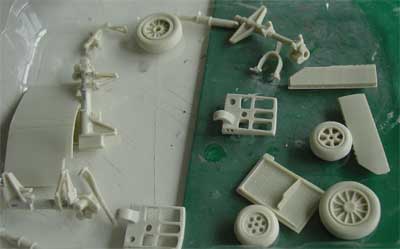
Cockpit is well detailed with a very nice seat, instrument panels, side
walls etc etc.
The undercarriage legs have metal
rods moulded in to get the necessary strength as the model in resin weighs
quite a lot. You also get some "spare parts" in areas in case you loose
on or when there are some options such as tow types of main wheels.
Parts fit is very good with minimal
filler being required at the wing-fuselage junction. Before starting the
assembly and painting, thoroughly clean up all the parts with a bath of
water and soap.
Assembly is rather simple just as
a "normal kit" using superglue and two-component bonding glue.
OK, let's begin...
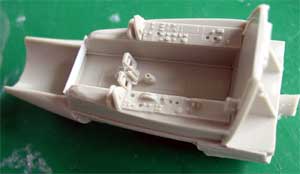
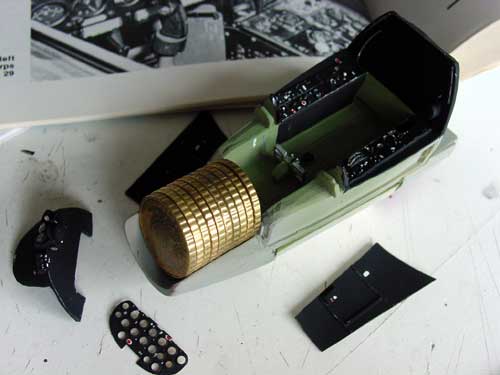
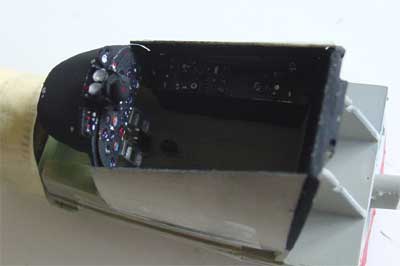
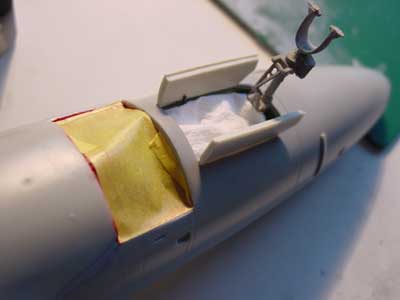
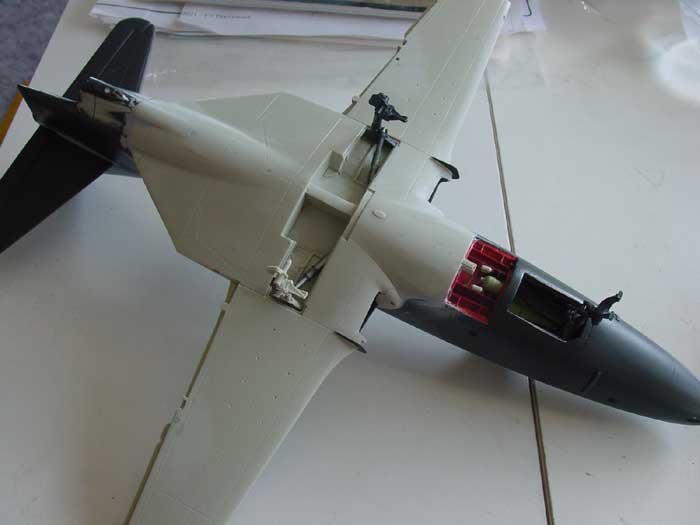
The cockpit section is very well detailed.
Drybrushing revealed the various details on the side walls etc.
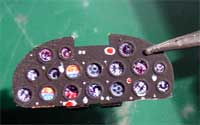
I used some home made instrument decals
to make the main instrument panel.
The seat is very nice with straps
to be added from masking tape.
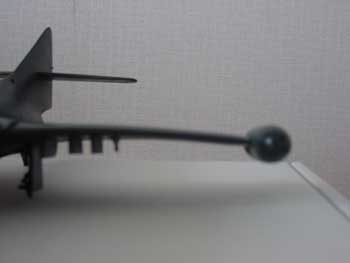
Also add enough counter weight! Use
small "Dollar" or "Euro" coins.
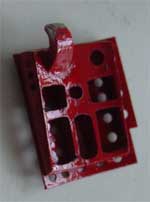
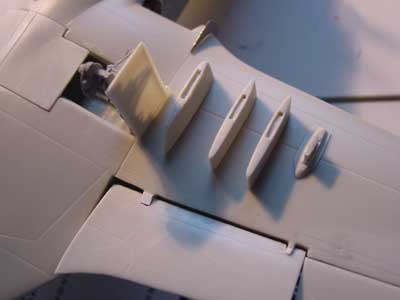
Speed brakes were set half open and
have nice detail (with metal parts). The bay was painted red and is seen
here masked for spraying.
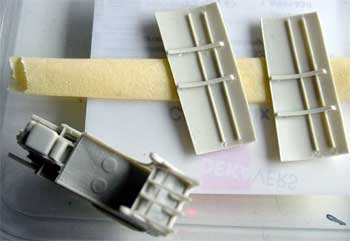
Flaps, aileron and stabilizer are
very nice separate parts. I suspect the slats have to extend and droop
a bit when flaps are also drooped. As the kit has no separate slats, I
only drooped the rear trailing edge flaps a few degrees.
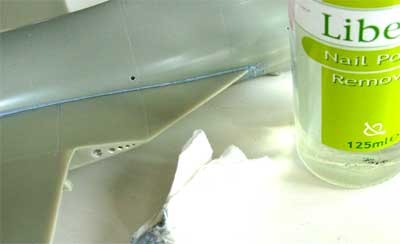
Filled gaps can be cleaned up using
nailpolish remover. This minimizes the otherwise required sanding.
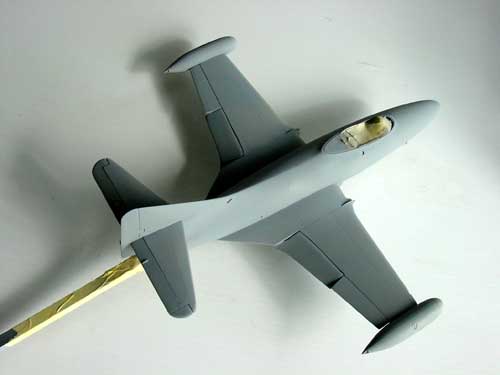
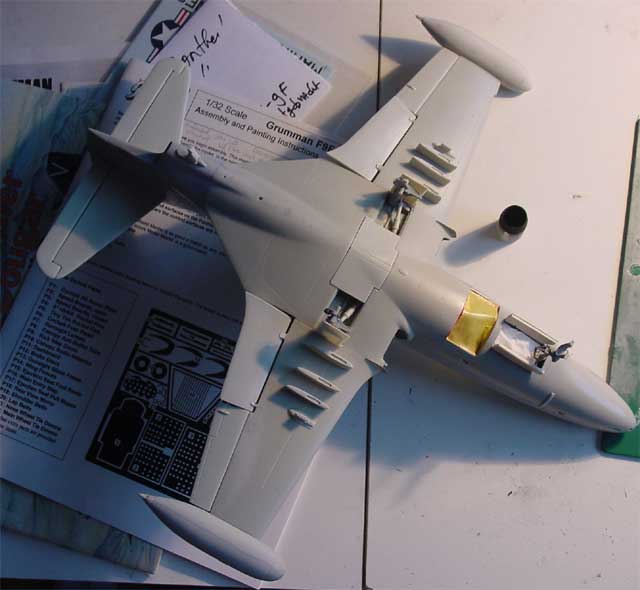
After the assembly, the overall model
got a light grey primer (using Revell 75 light grey) ; this will reveal
any small flaws and gaps that need some attention. After that a first coat
of dark gloss sea blue was airbrushed and the model was side aside for
a couple of weeks.
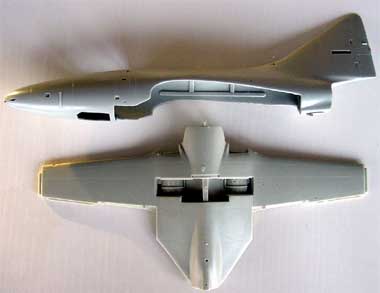
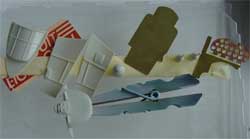
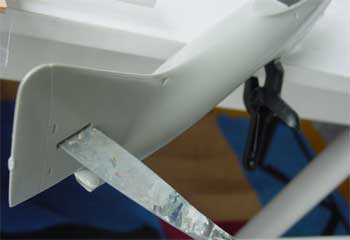
After a while a problem was discovered a big issue with the large wing part. After fitting the heavy tiptanks, it would not stay straight but bended as seen here....
When the model was turned upside down, the bending continued towards the other side using the law of gravity. So the problem was not a "memory" problem in the resin.
After sending an email to Fisher Model and Pattern, I was told that the problem was indeed not caused by the resin having a "memory" but was really caused by an error during resin production and now definitely resolved.
Paul Fisher instantly sent me a new wing and even some extra parts at no cost. So a very dedicated and good customer service from Paul Fisher.
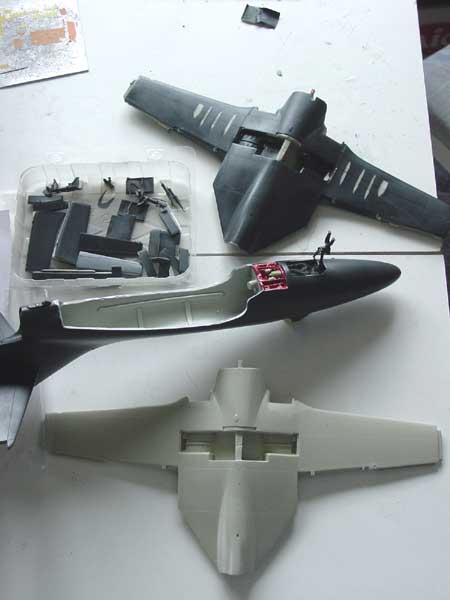
I "brook off the old wing"... a risky thing but it worked out. I fitted the new wing part and the problem was solved. In the picture the upper blue wing is the old wing, the lower gray wing the new straight replacement resin part.
It was fitted to the Panther without further problems.
So now back to assembly.
The undercarriage legs got some extra brake hydraulic lines made from thin metal wire.
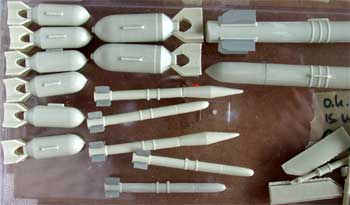
For the under wing stores a lot of optional stores are given which are all excellent. Select what you want and choose the appropriate provided pylon.
For creating the canopy different options are given.
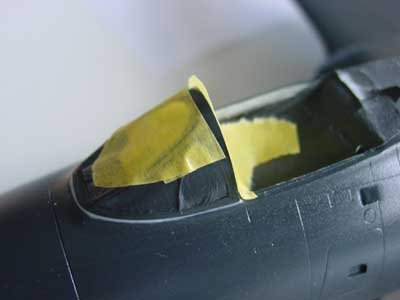
I choose the nice "clear resin" part which was OK.
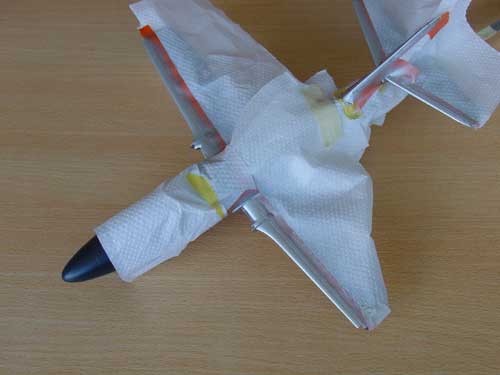
Leading edges were airbrushed in dull aluminum after masking.
...
Squadron Signal Publications : Panther / Cougar book
On Internet:
IPMS NL F9F walk around of my modelling friend Cees
http://en.wikipedia.org/wiki/Grumman_F9F_Panther
http://www.aviation-history.com/grumman/f9f.html
http://www.angelfire.com/space/grumman/aircraft/panther.html
(c) Copyright "designer"/ All rights reserved. Your comments are welcomed by webmaster
Created November 18, 2005