SOVA-M (Amodel)


EMBRAER P-95B model in 1/72 scale
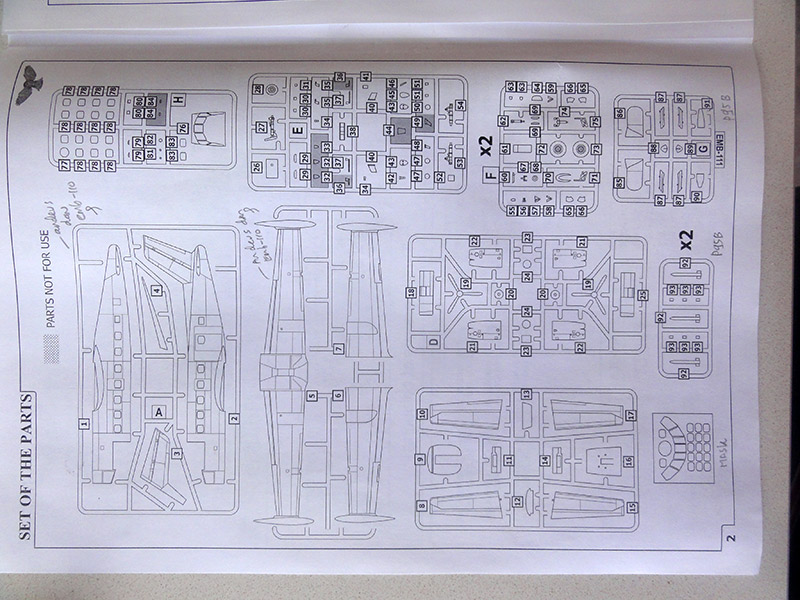
page 2
.. P-95B
P-95BBased on the EMB-110 Bandeirante, EMBRAER developed a maritime patrol variant. It is called the Bandeirante Patrulha but also Bandeirulha. Designated EMB-111, it has a length of 47ft 2in/14.38m) and received 84 US Gal (318 lit) wingtip tanks, plus four weapons pylons, Systems include AN/APS-128 search radar in a nose fairing. It has a crew of seven, plus space for a reserve crew member. It can carry a high intensity searchlight of 50 million candelas. Endurance was some 10 hours. The maiden flight of the patrol version was on August 1, 1977.
The second generation of the P-95 patrol version appeared in 1986 and received the Thomson-CSF DR 2000A Mk II/Dalia 1000A Mk II electronic warfare system, APS-65 autopilot, Omega Canadian Marconi CMA 771 Mk III navigation system and a FLIR system.
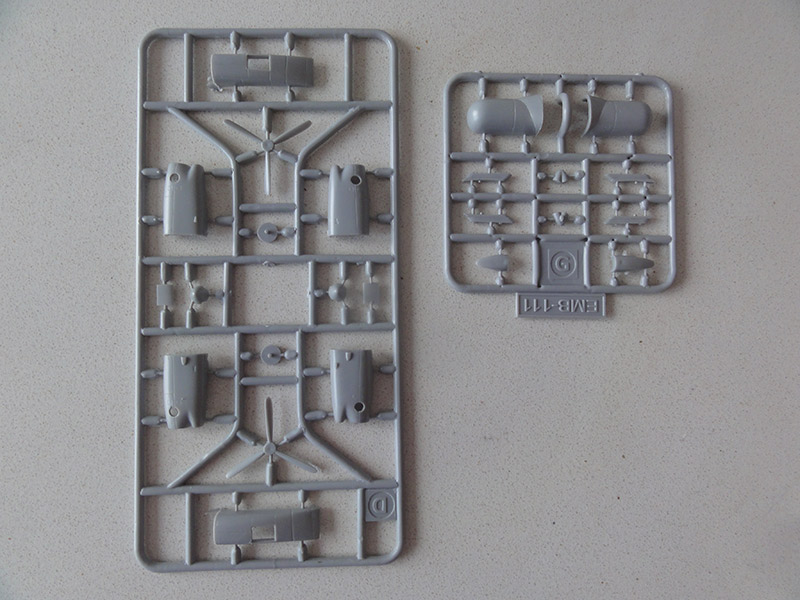
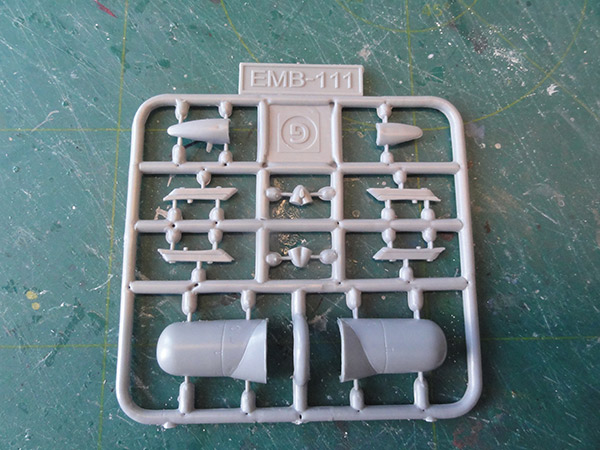
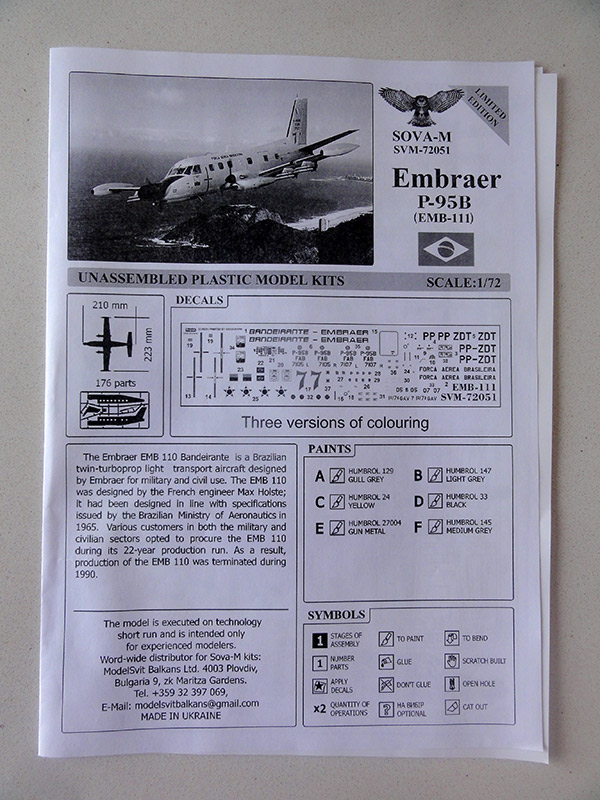
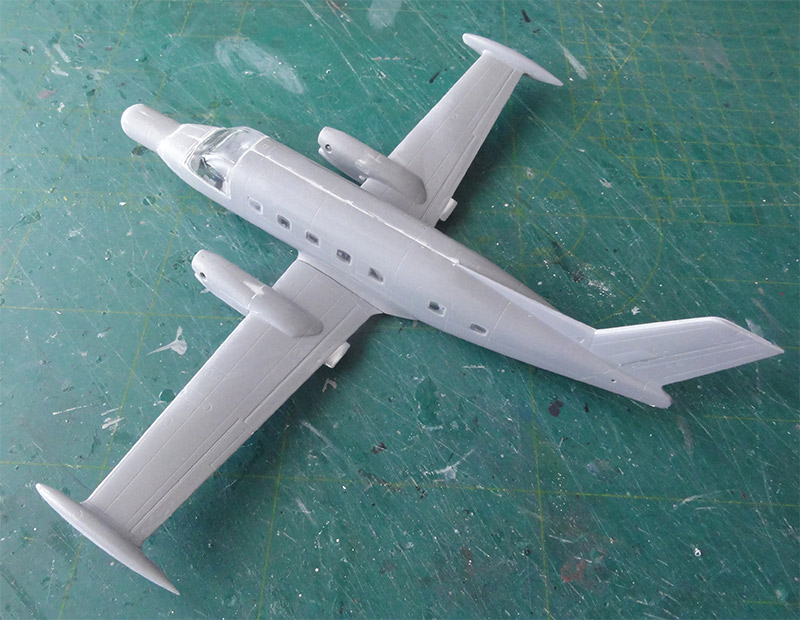
The sister brand of Amodel, SOVA-M issued a 1/72 kit of the EMBRAER P-95 patrol aircraft with kit SVM-72051. The P-95 is a military version of the EMBRAER EMB-110 Bandeirante designated EMB-111. Logically, the SOVA-M kit is based on the 1/72 Amodel Bandeirante kit with some changes and some other sprues.
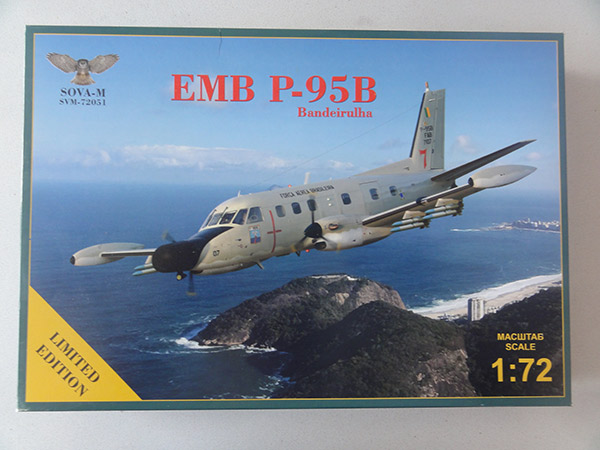
Personal note: the box top artist impression shows an aircraft flying over Copacabana beach towards the Sugar Loaf montain at Rio De Janeuiro, Brasil. I visited Rio ages ago in 1985 during EMBRAER engineering MSc practical study. Look at page here....
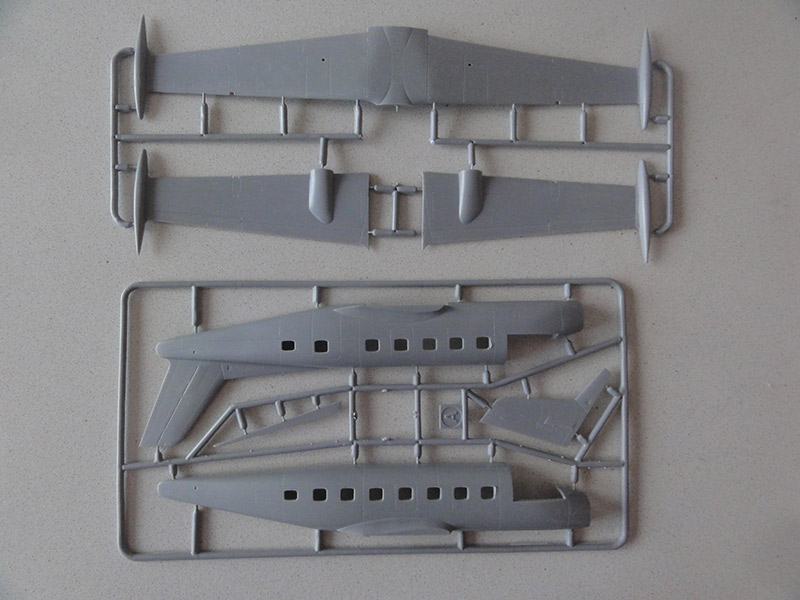
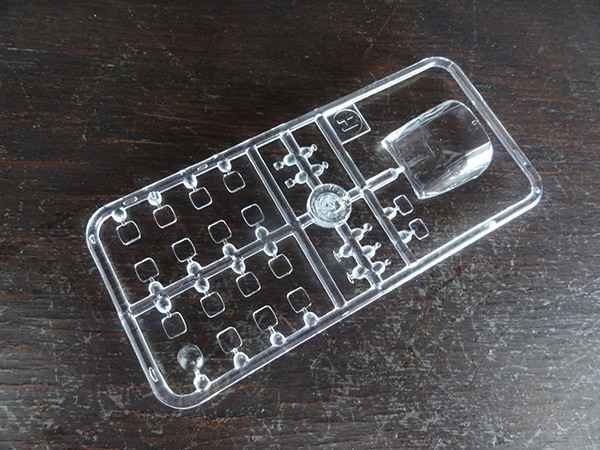
The kit is short run and has about 175 medium grey parts. You get a paint mask and obviously a nice decals sheet.
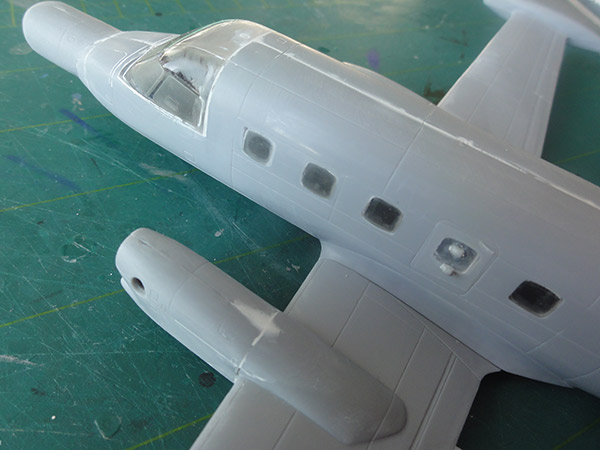
The fuselage is the kit is different and also shorter with few windows. Wing parts are also different and include the wing tip tanks.
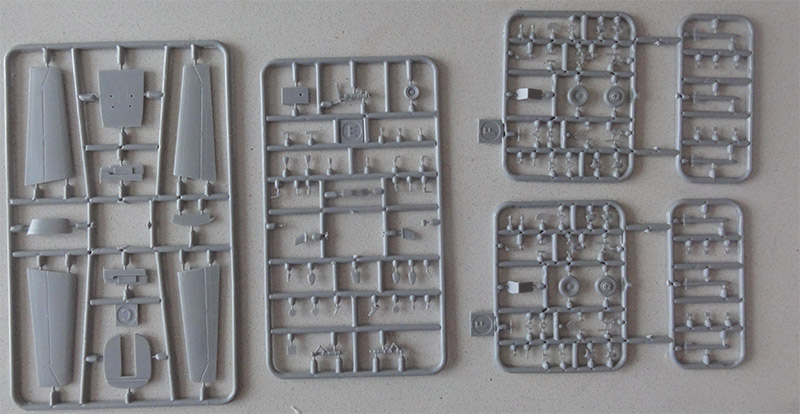
with here the specific P-95 nose parts...
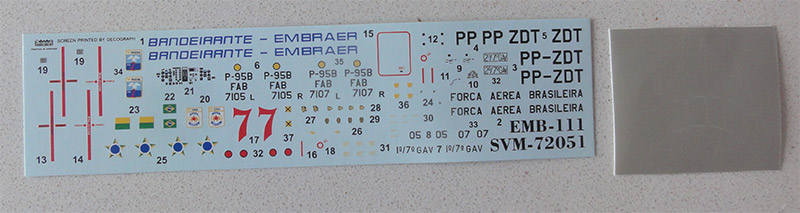
The paint schemes are for 2 P-95B and a EMB-111 with similiar paint schemes but a bit different details. These are shown nicely on full colour pages.
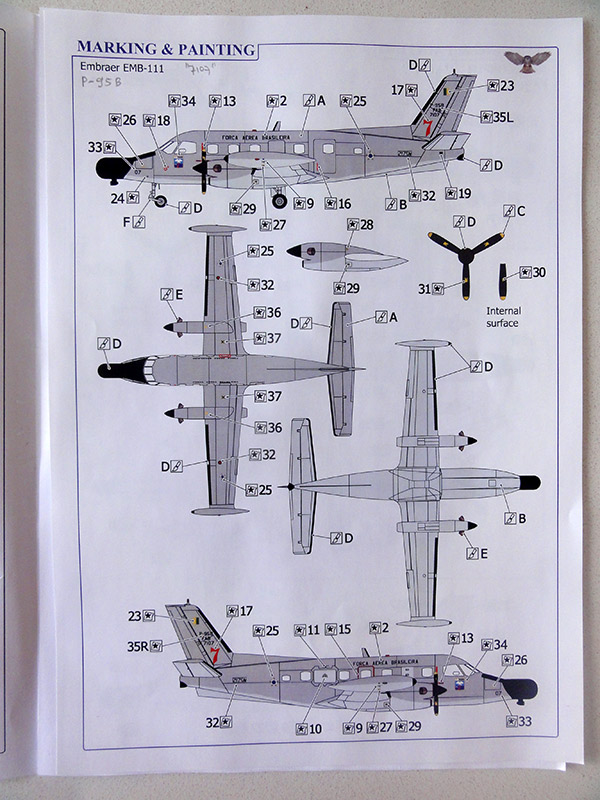
The SOVA-M kit instructions with 12 build STEPS are OK and clear. Humbrol paints are suggested for the details.
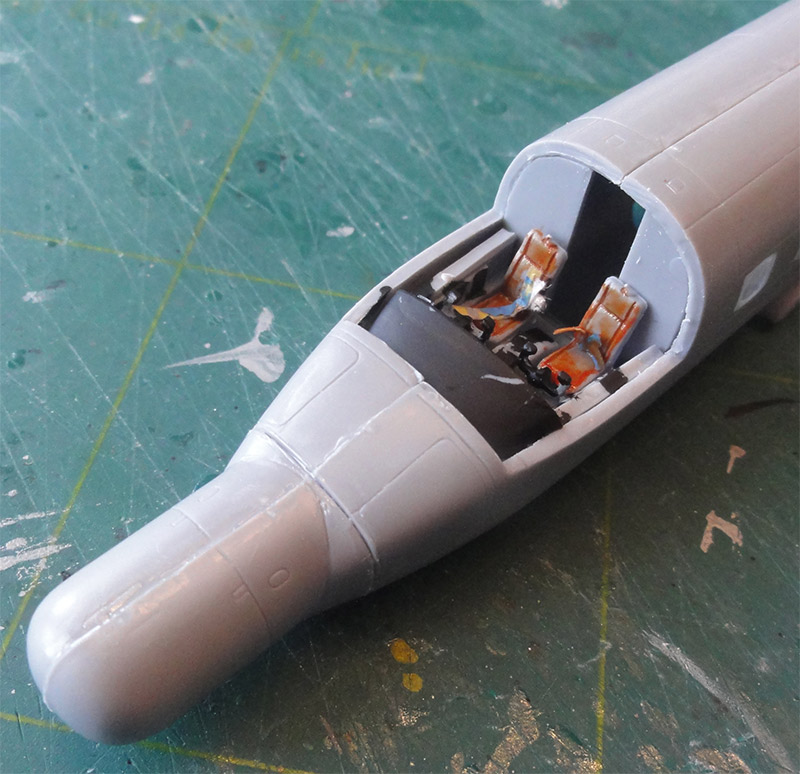
There is an interior for the cockpit but not a cabin interior. But nothing of the cabin will be seen anyway as the windows are small and no separate open doors are provided.
The specific radar nose parts are easy to install but some putty and sanding is needed. Smaller parts are for antennas and ECM warning pods.
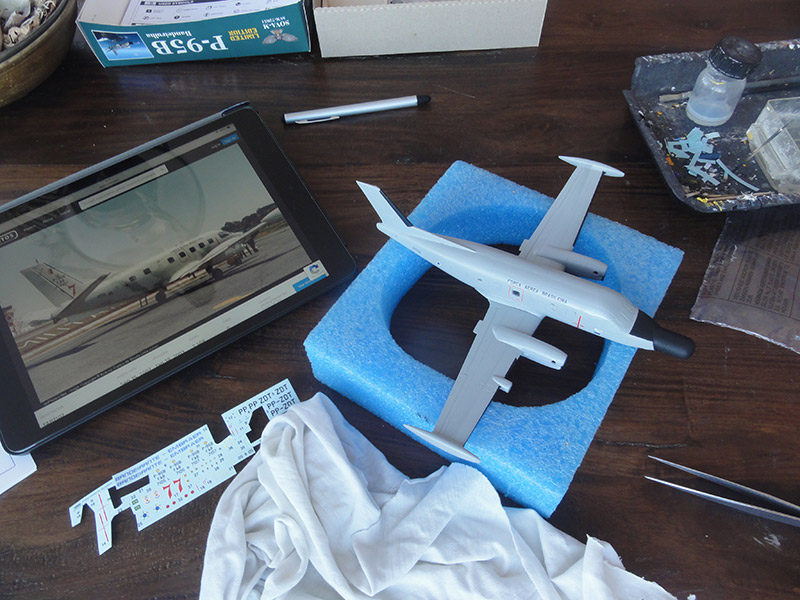
Kit assembly was done as suggested with the instructions but with the exception a better way to get a good result with the windows. Handle these first with each fuselage halve:
The separate windows were glued in each fuselage halve before closing up the fuselage. Do not loose a part! While glueing, ensure each window is set a bit "raised" in order to enable later "flat sanding". Let dry 24 hours.
Than sand the window rows flat. Yes, that is wet sand with fine grade 800 grid sanding paper!
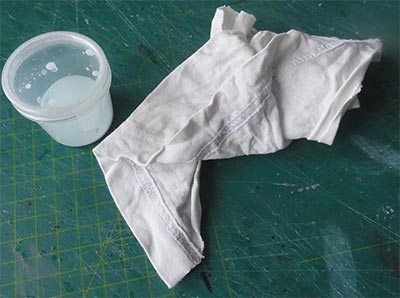
Next polish the windows and do it now. Various polishing pastes can be used, the old fashioned way is simply... tooth paste!
When the cabin windows are flush and look clear after polishing, do a really good clean both insides and outsides. NOTE: a perfect result is difficult to achieve due to the short run clear plastic parts but this way seems to be the best approach for this kit.
Continue with the fuselage... first sand thinner a bit the insides of the vertical tail to get a bitter fit.
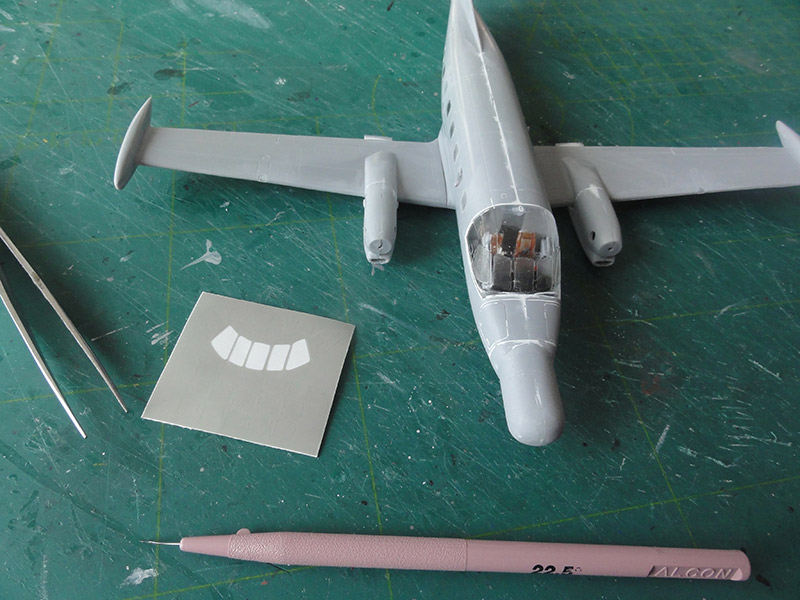
The fuselage assembly is than next. I did not bother to make a full cabin interior, just the kit cockpit parts. I painted the seat cushions orange and add a few seat belts.
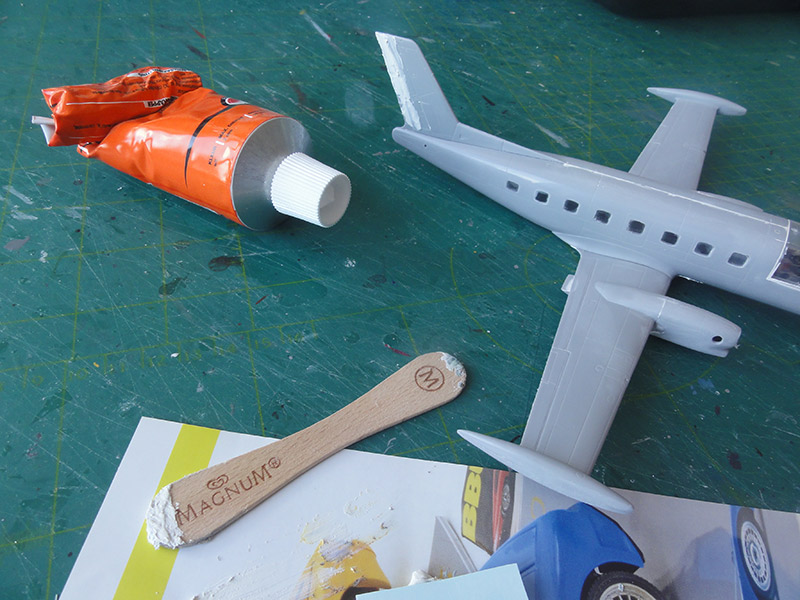
The fuselage halves were joined. The radar nose got some extra weight inside to avoid "tail sitting". Puttying and sanding the joints is needed.
 The cockpit window was installed and masked. Let dry and putty
the gaps and edges. The fit is not bad but some tidying up is needed.
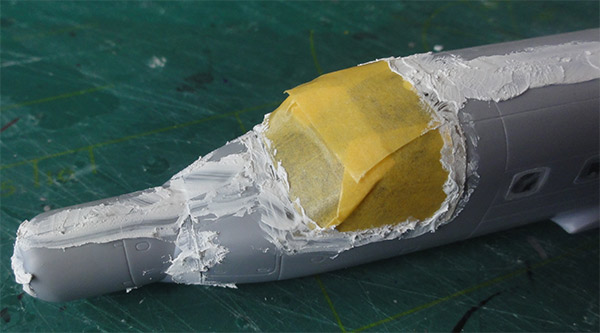
Sand wet but try really to avoid any spills that creep inside the
cockpit.
Sand flush....
The cockpit window was installed and masked. Let dry and putty
the gaps and edges. The fit is not bad but some tidying up is needed.
Sand wet but try really to avoid any spills that creep inside the
cockpit.
Sand flush....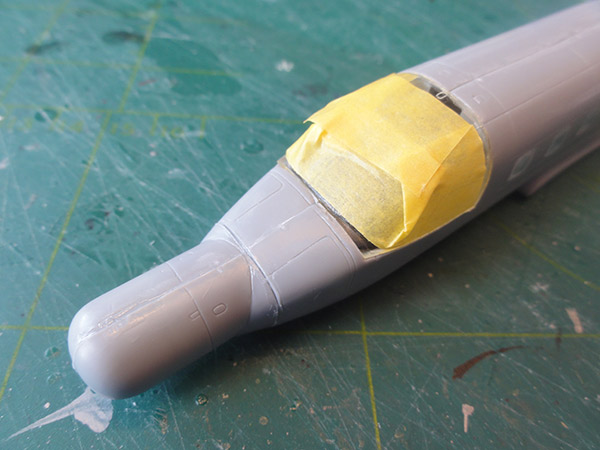
... and the result.
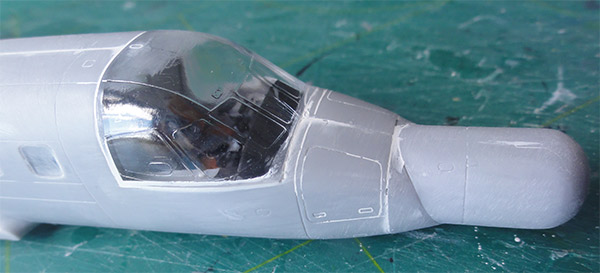
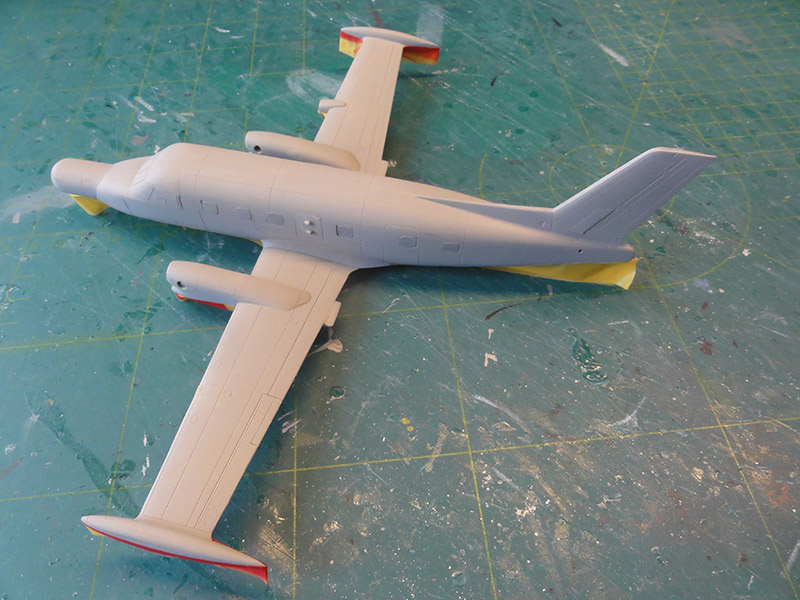
The main P-95 fuselage was now ready.
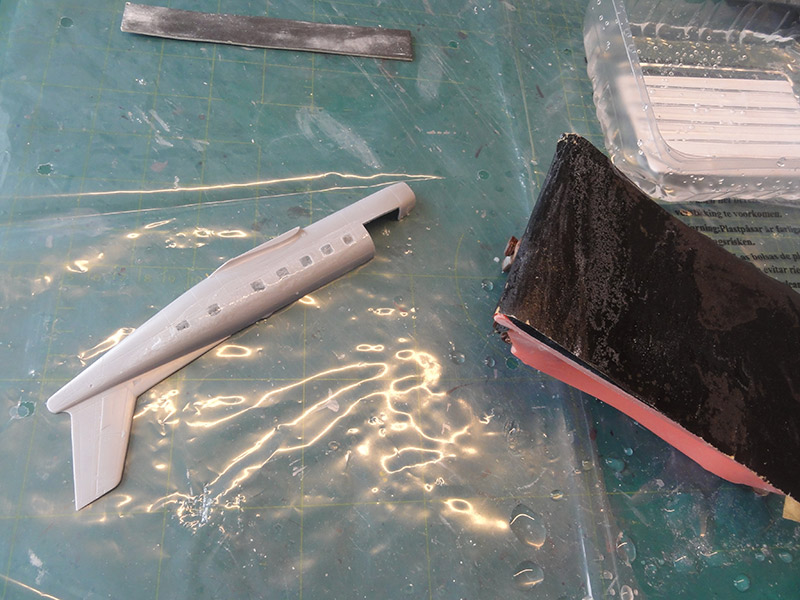
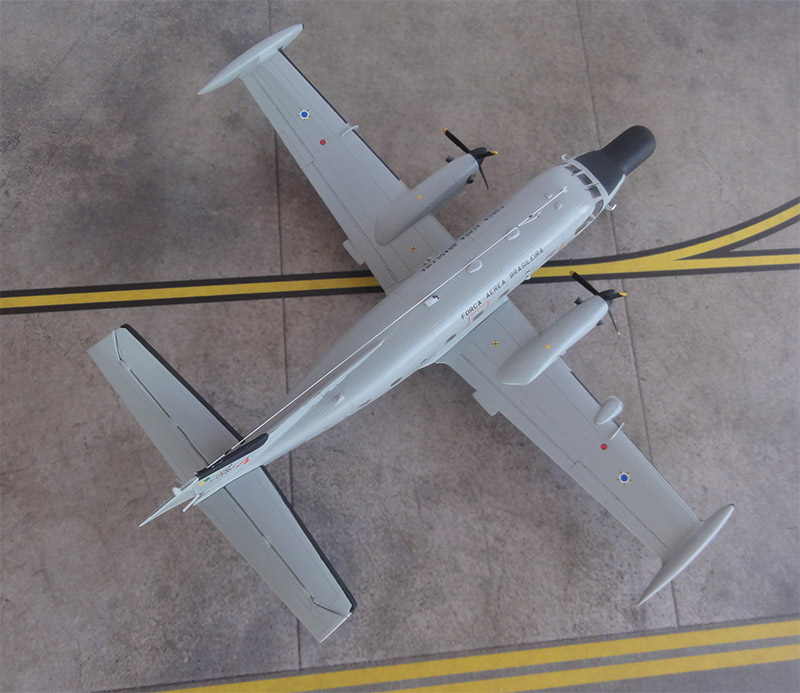
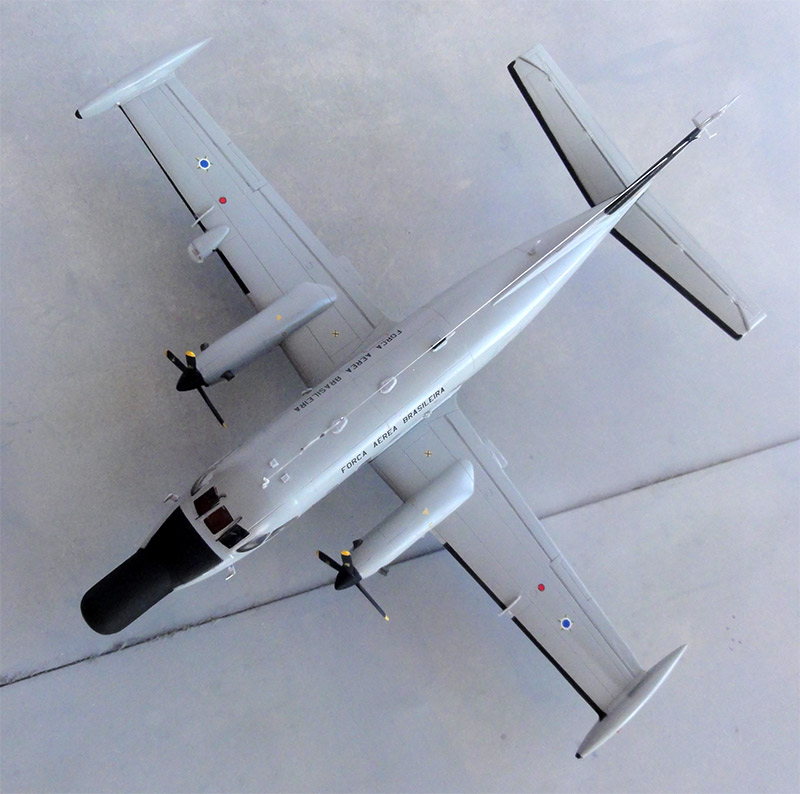
The P-95 wing parts and engine nacelles were assembled as a sub-assembly. Sanding and puttying is needed. The forward gear doors are moulded closed.
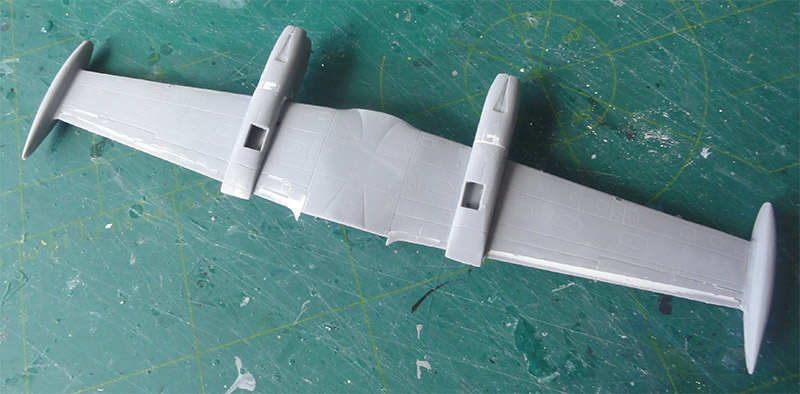
Note the small pair of landing lights in wing leading edges, these are provided parts #80 in the kit. Sand flush and polish up.

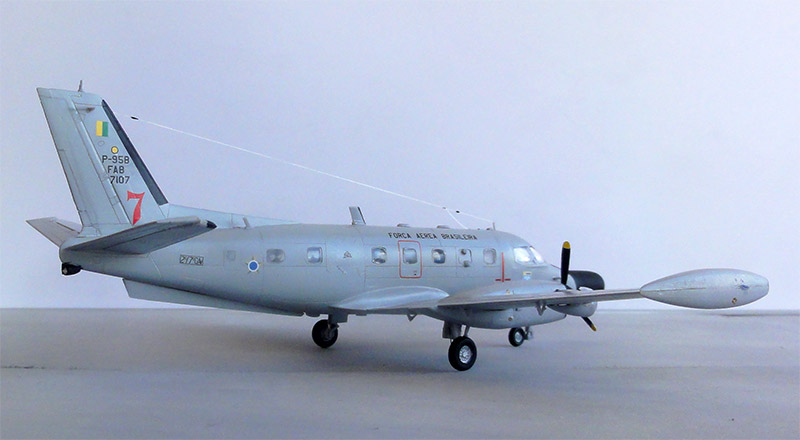
Regarding the horizontal stabilizers (see kit STEP 6), I found that their setting on the EMBRAER Bandeirante family varied in dihedral angle. Early aircraft had horizontal
stabilizers, later on these were installed at 10 degree dihedral and than the stabilizer elevators than were seen drooped on
parked aircraft. The P-95B also had these at a 10 degree dihedral "up" angle.
So on the kit stabilizer' parts the inscribed panels/ elevator hinge lines were scored deeper and cut in; the rear elevators / trailing flaps could than be drooped down. (I forgot to make a photo but can be seen on the finished model).
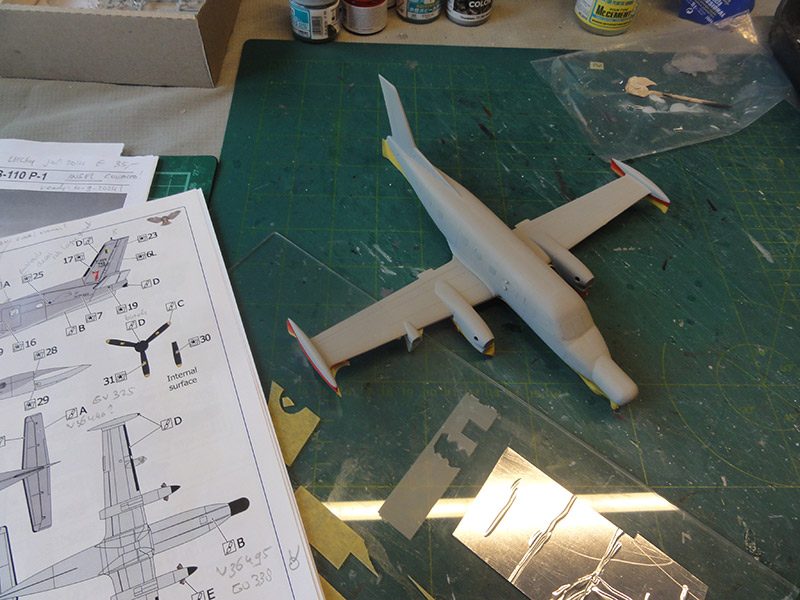
The 2 large sub-assemblies fuselage and wing were joined with putty and sanding at the wing-fuselage joints as well. I also still needed to putty the vertical tail.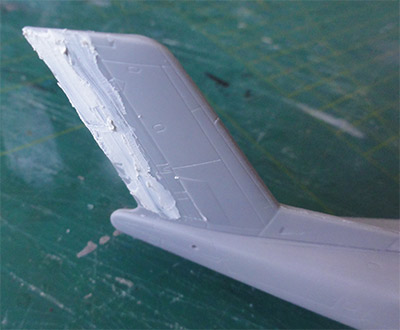
Rescribe some panellines, particularly at the fuselage spine. Note the special window and hatch above the wing.
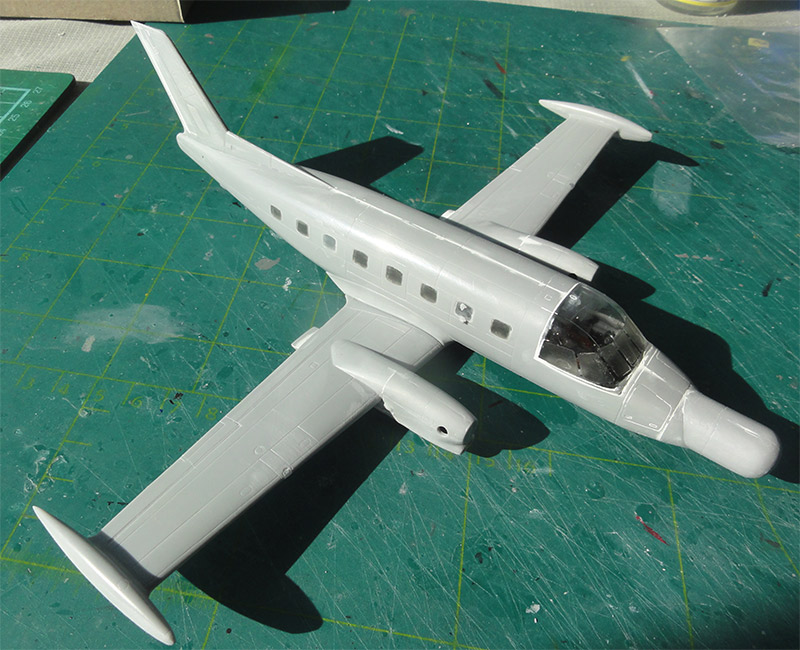
There is a cover/ metal sheet plate at a starboard window, this plate was suggested with thin masking foil and will be oversprayed later.

All windows were now all masked with the masking set provided in this SOVA-M kit. The masks are really good and save a lot of masking time.
The search light fairing at the starboard wing was set. The long ventral fin #4 was now installed but NOT yet the stabilizers.
The smaller parts like landing gears and antennas will be installed later on.
Now a base grey primer was airbrushed with thinned Revell Aqua 75 steingrau acrylic paint. Any flaws were again sanded and puttied.

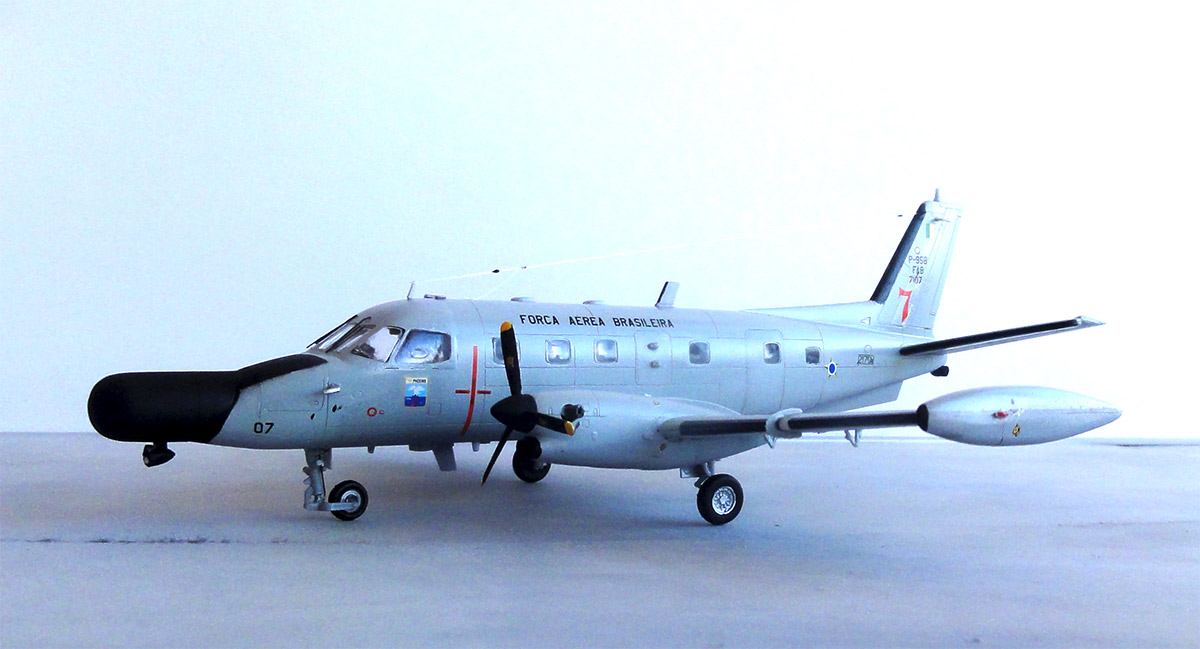
The paint scheme for P-95B coded 7107 will be made which aircraft also flies with ECM pods below the nose and the rear tail. The lower surfaces were first airbrushed Gunze Sangyo Mr.Hobby H338 acrylic paint which is about FS36495. Let dry and than mask the lower surfaces before the upper grey was airbrushed.
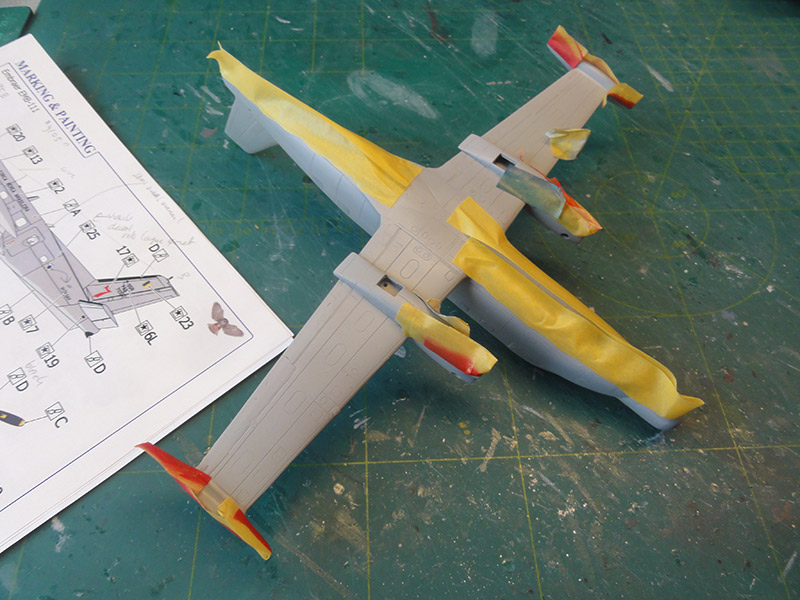
The upper grey colour was picked as FS36440 gull grey for which Gunze Sangyo H325 acrylic was airbrushed.
All looked fine.
The leading edges of outboard wing and stabilizers were masked and airbrushed mat black.

Painting the main model surfaces was completed and most were already glossy so ready for decalling.....
Decalling was completed. The smaller wing fences were set and the wing leading edge landing lights maks removed.
The
model was not really weathered, this is a well maintained patrol aircraft. Only the recessed flap
lines got a darker pencil stripe. Or use some wash.

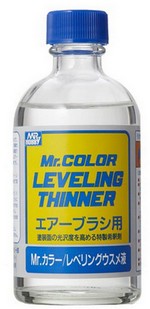
A final airbrushed acrylic coat of Johnson Future / Pledge thinned with 10% Gunze Sangyo Mr.Color Leveling Thinner was airbrushed. This will protect the decals and gives a nice gloss sheen.

Next the smaller parts were set as per kit. The landing gear was installed and the small lower flap hinge parts. The gear struts were painted light grey and the wheel hubs aluminium. These were all hand painted.
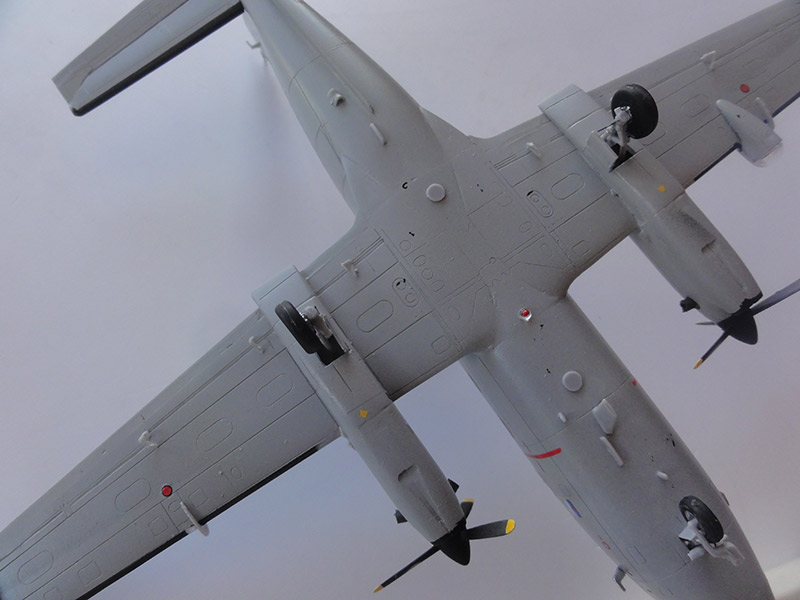
The propeller blades are set as per kit and they are in a nice feathered pose as usually seen on parked aircraft. The blades were painted tyre black and I think the propeller tips are to be painted yellow.
I saw on internet photos that there are some variations and antenna layout and also the location of the pitot tubes.
The
horizontal stabilizers with drooped elevators had been prepared earlier and now installed at
about 10 degree dihedral. I neede to dril the pen hole a bit bigger.
(Please note that that on early Bandeirante stabilizers were
horizontal).
The model was now ready to get the final smaller bits. The search light transparency #77 was installed after a metal foil disk had been set to suggest the light its self.
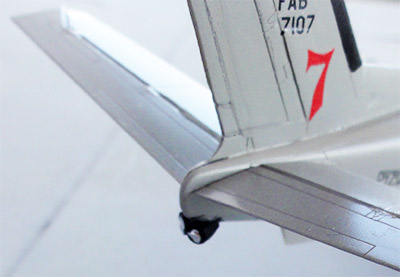
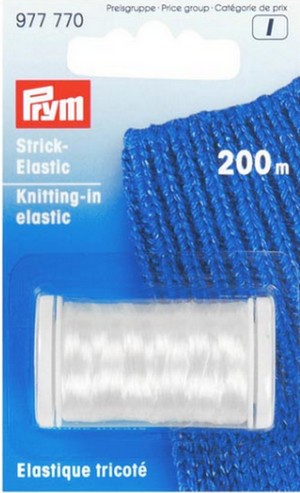
The P-95 has a long wire antenna, but there are variations in individual P-95. The wire antenna was added made with flex PRYM line and set with superglue.

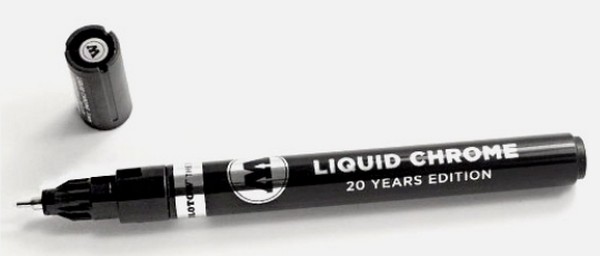
The small ECM detectors #88 and #89 were painted black; the fronts got 2 chrome painted disks with a chrome pen. The parts were installed.
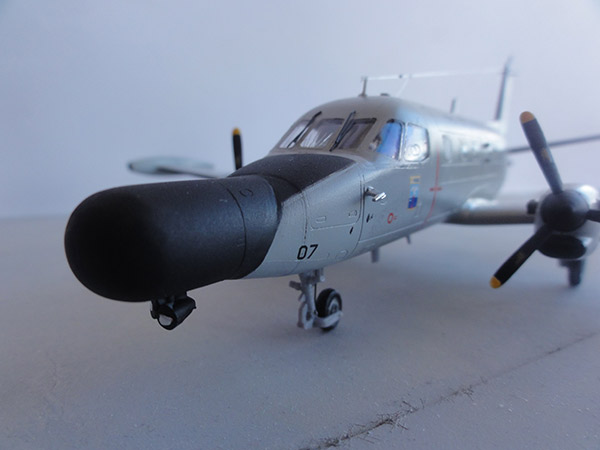
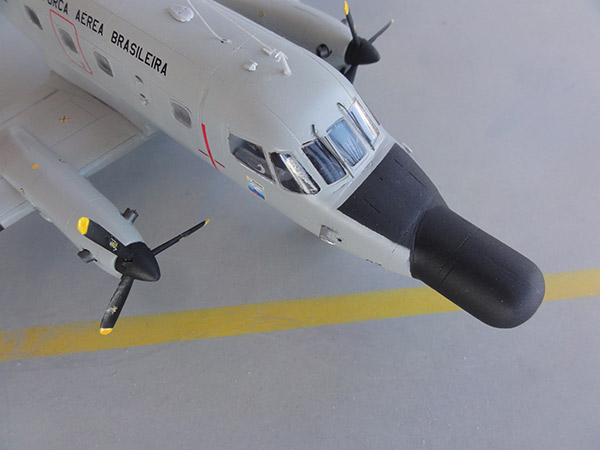
Two window wipers were made from black stretched sprue and set besides the front cockpit window frames. The pitot tubes were installed but please note that their location varied as seen on real photos; some P-95B had the pitots set higher on the anti-glare panel.
The small anti-collision ligths are clear kit parts and were set. At the wing tip tanks, port/left painted clear red and at right clear blue.
At aileron ends, stabilizer and tail rudder top 5 pairs of static dischargers were set made from EZ line (or use thin black stretched sprue).
That completed this nice 1/72 EMBRAER P-95B model.
TIME BREAKDOWN:
basic assembly 3 hours, windows and polishing 3 hours, sanding and base model 3 hours, masking and painting 3 hours, decalling and finishing 8 hours; total = 20 hours on the model. (excluding 3 hours research)
Brasil
 ..
.. ...
... .........
[area: 8,515,767 km2 | population: 213 million | capital: Brasilia | GDP USD 9,600 nominal per capita (2024) ]
Some 7 P-95A and 10 P-95B seem to have been manufactured. Later on some 8 P-95B maritime patrol variants were upgraded to -BM and got an extended service life. New weather radar, autopilot, new hydraulic system, emergency batteries, a directional altitude reference system, ADF receivers, new VHF/HF radios, and a cockpit voice recorder and transponder were installed. The cockpit was updated with four colour multifunctional LCD screens, all compatible with night vision goggles. The FAB’s maritime patrol examples have additionally also had their search radar replaced by the Leonardo Seaspray 5000E. The first upgraded example made its inaugural flight on December 8, 2011, and the last one was delivered in 2015.
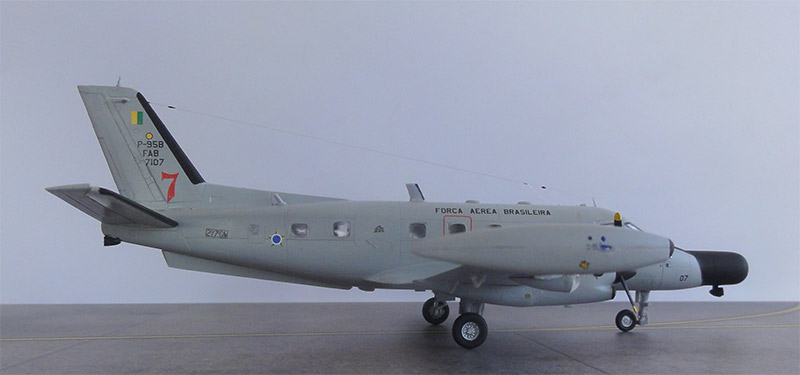
Modernized P-95BM (EMB111A), coded 7107 c/n 110495, Brasilian Air Force (FAB)

... set in a scenery....

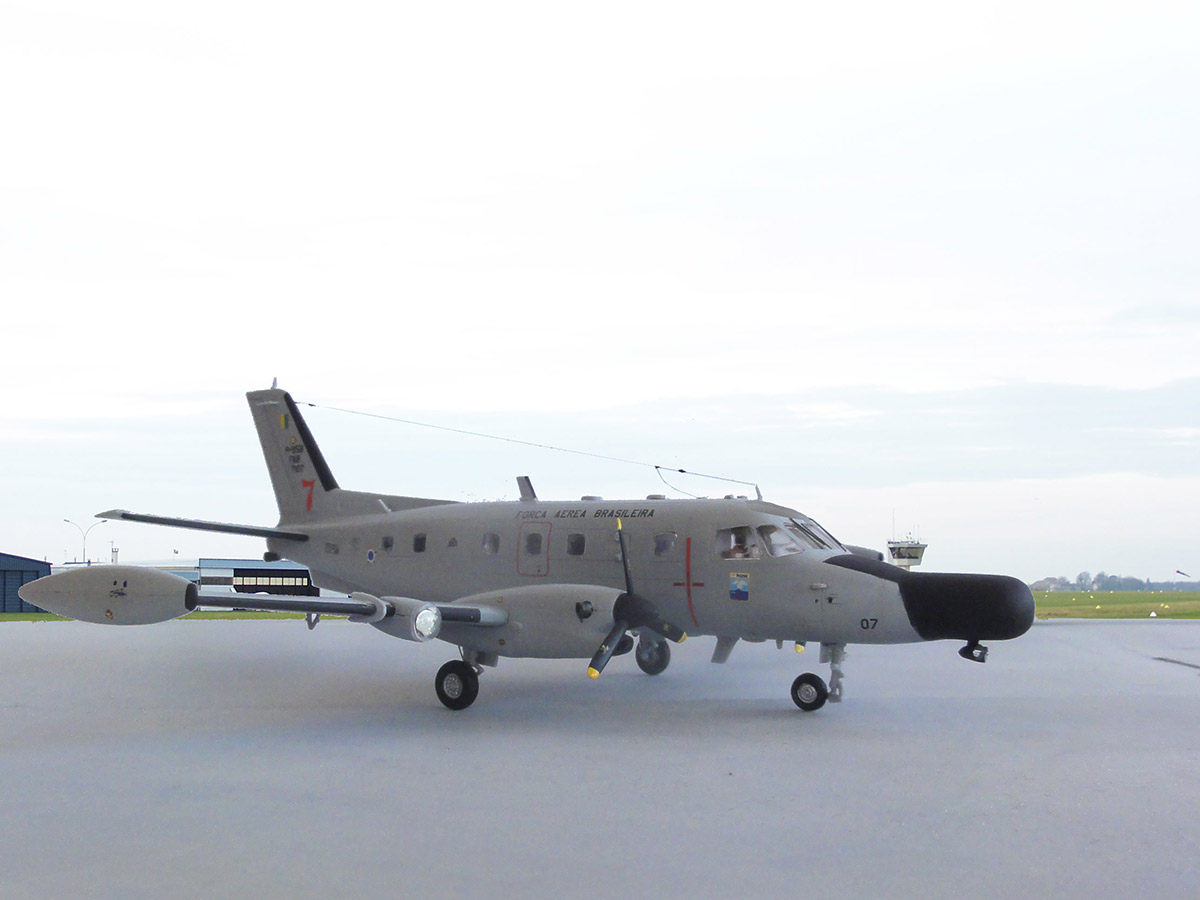
A nice P-95B model is now in the World Air Forces in Plastic collection.
Another few Bandeirante kits are in stack.

(c) Copyright Meindert "designer"/ All rights reserved. Your comments are welcomed by webmaster
Created this page
Dec 2, 2025