[SOVA-M]
Grumman Albatross UF / SA-16/ HU-16 in 1/72 scale
modelling report
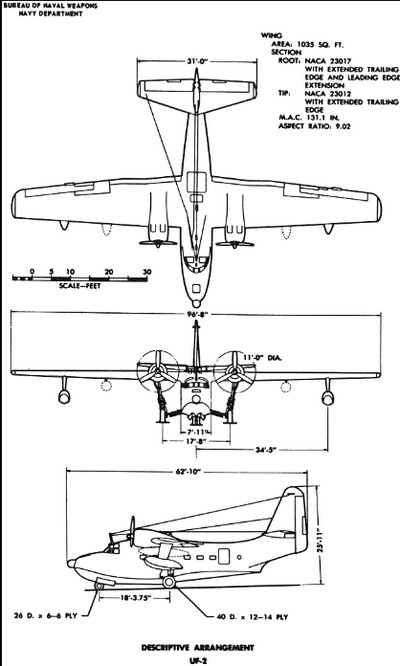
The American Grumman aircraft company designed and built several flying boats and a new type was the SA-16 Albatross after the Second World War. It was based on the Grumman Mallard and could stand and operate in 4 feet waves' seas. First flight was October 1947. It got 2 1425 hp Wright R-1820 piston engines and had a cruise speed of 200 km/hr with 4500 km range and maximum speed of 380 km/hr. The crew was usually 4 - 6. Several versions were developed with the SA-16 a SAR version for the USAF used in Korea. The HU-16 was for the ANG, U.S. Navy and the U.S. Coast Guard. The type was sold abroad to quite a few military operators as well and this included the SA-16B export version "UF-2" to the Japan Maritime Self Defense Force. The Japanese aircraft had an engine upgrade. Some 6 were flown with the JMSDF (Bur.no 148324-329 ad 9051-9056).
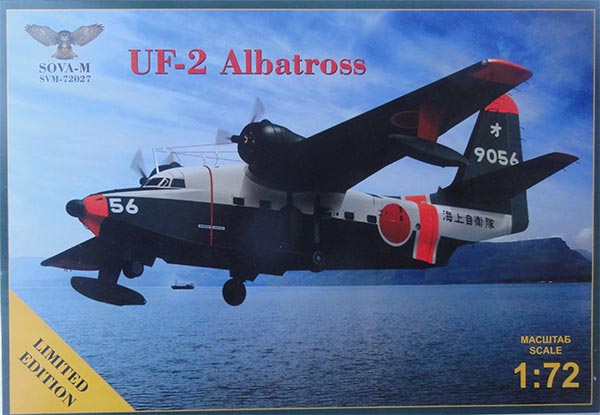
SOVA-M released a UF-2 Albatross kit # SVM-72027 and it is far more detailed than the old Monogram kit from 1957. The SOVA-M kit has about 280 parts and a small etched metal fret and a nice paint mask set. Some parts are not used as these are for other kit releases of which the first one appeared in 2020. This kit release appeared in 2021.
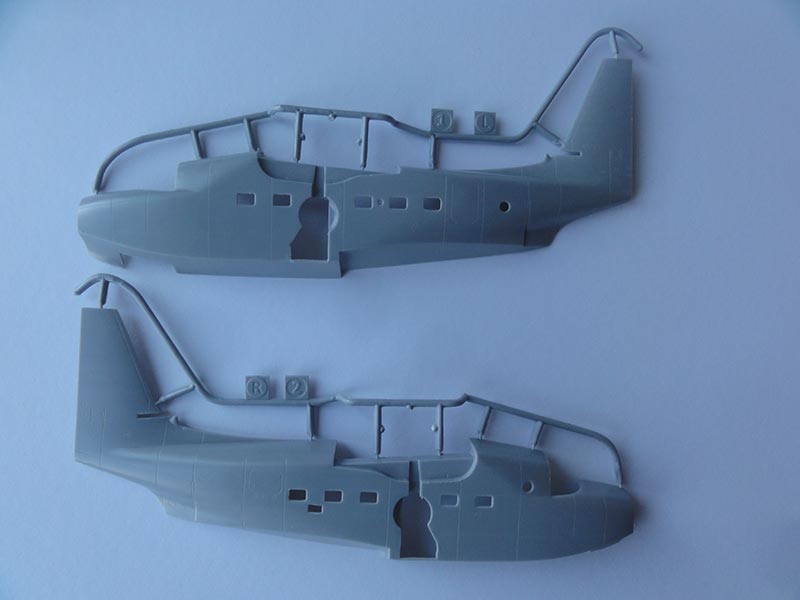
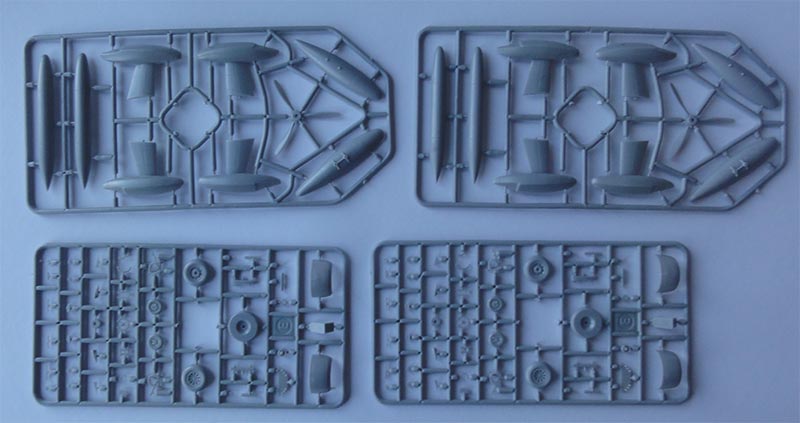
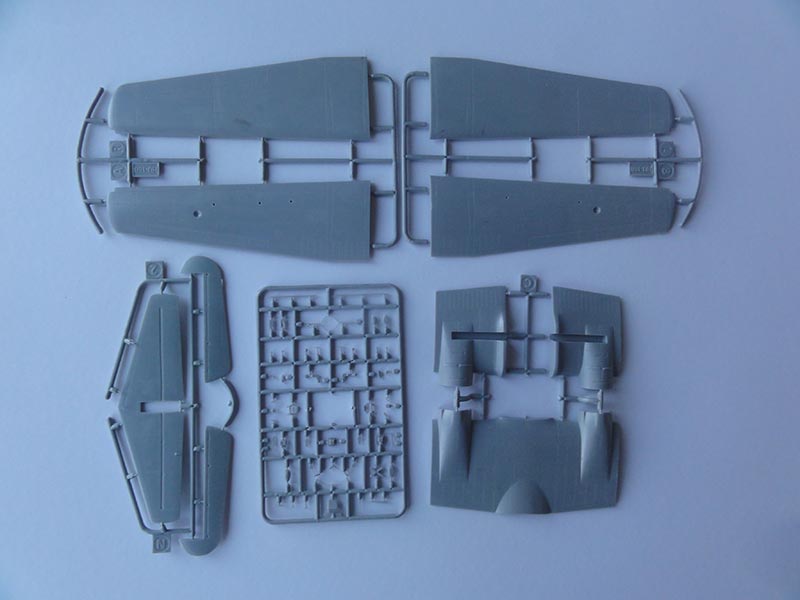
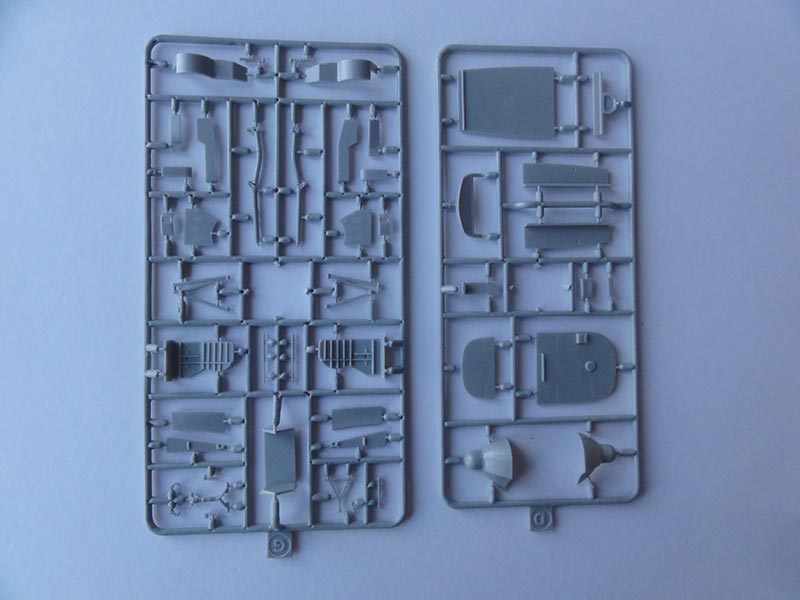
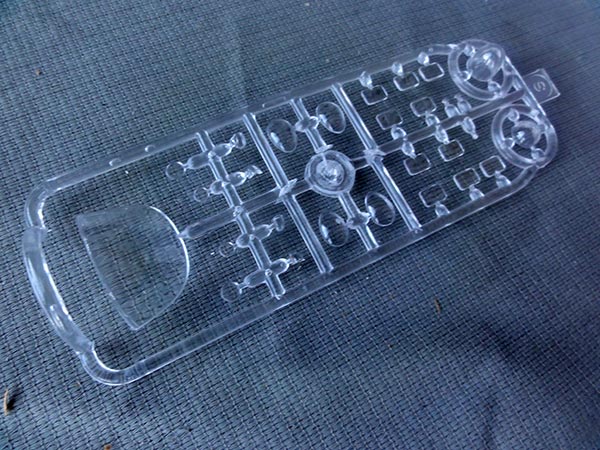
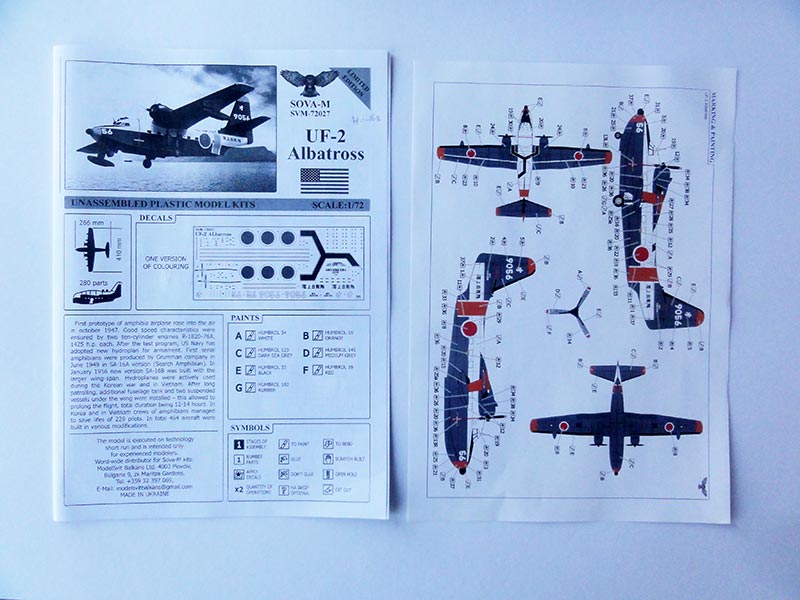
Decals are for the Japan Maritime Self Defense Force UF-2 coded 9056. JMSF decals, paint masking set and etched metal fret:
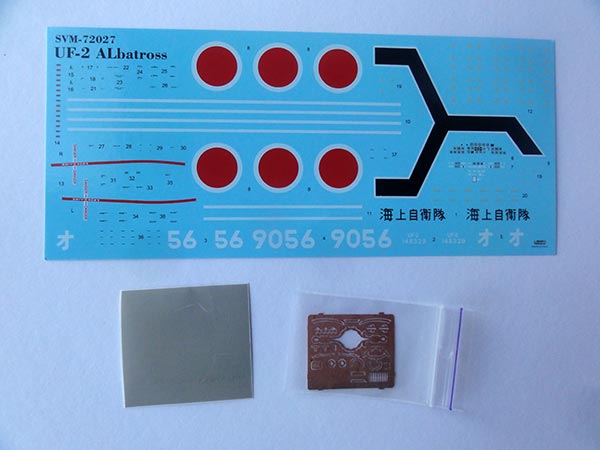
The paint scheme is nicely shown on a gloss coloured paper sheet.
The kit is a bit short-run but the parts are fine with recessed panel lines but no raised rivets are on the parts. I miss these a bit. The instructions are OK with some 24 construction steps.
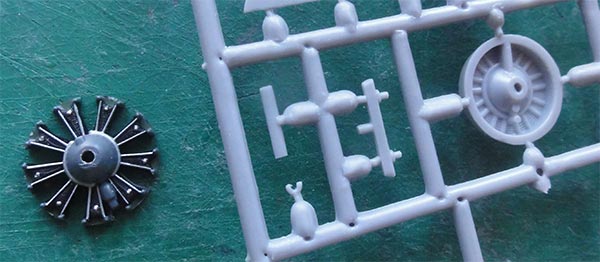
The two radial engines are a bit simplified in the kit with nacelle bulkheads. I replaced the 9 cylinder R1820 engines with more detailed parts found the spares box. May be from a DC-3?
There is a nice detailed cockpit interior but no further cabin interior. The cabin windows are small and doors are moulded closed so this is fine.
Let's start building the kit.
The cabin windows are to be set from the outsides and thus it is best to install the windows prior to fuselage closure. Thin cement was used to set the many cabin windows.
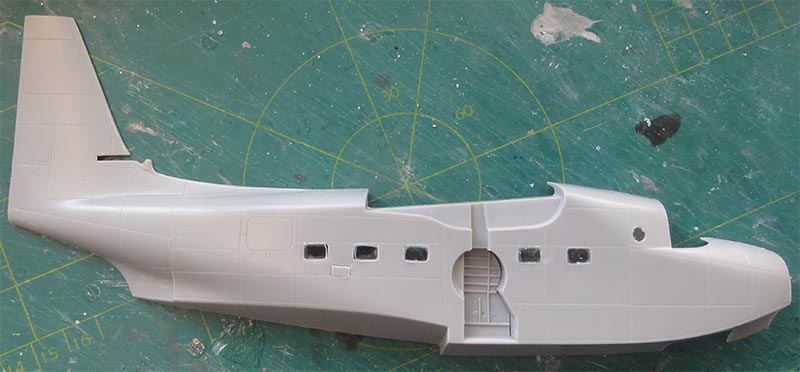
A few gaps were there some a few plastic strips were set to fix the windows.
![fus]](alb-10.jpg)
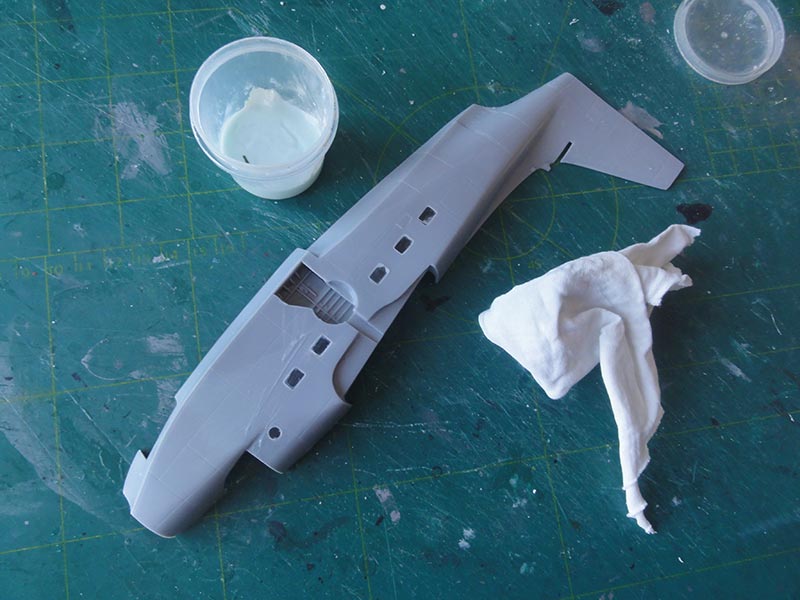
I polished the transparancies at this stage. Clean up.
Any small window gaps can later be filled with Microscale Kristal Kleer. And paints mask are nicely provided in the kit.
The main cockpit transparancies are in one part which helps blending in this section later on. The bulb windows #145 will be set later on.
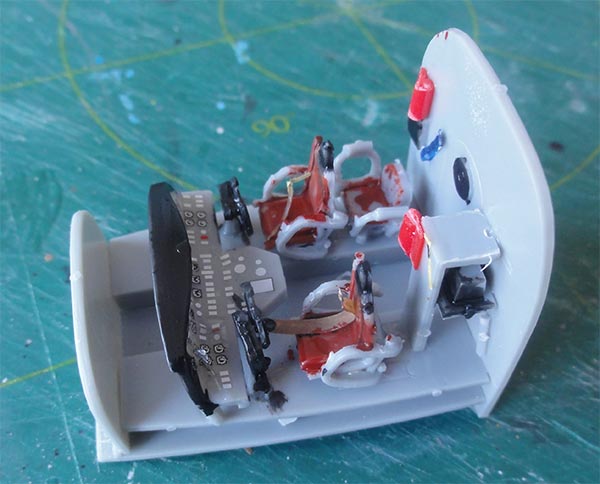
Constructions continues with making the cockpit seats, details and floor. The gear bays are also nicely detailed.

Decals are provided for the instrument panel. A few seat straps were added from slices of tape.
Inside the cabin some painted details were suggested... but nothing will be seen later on from the outsides...
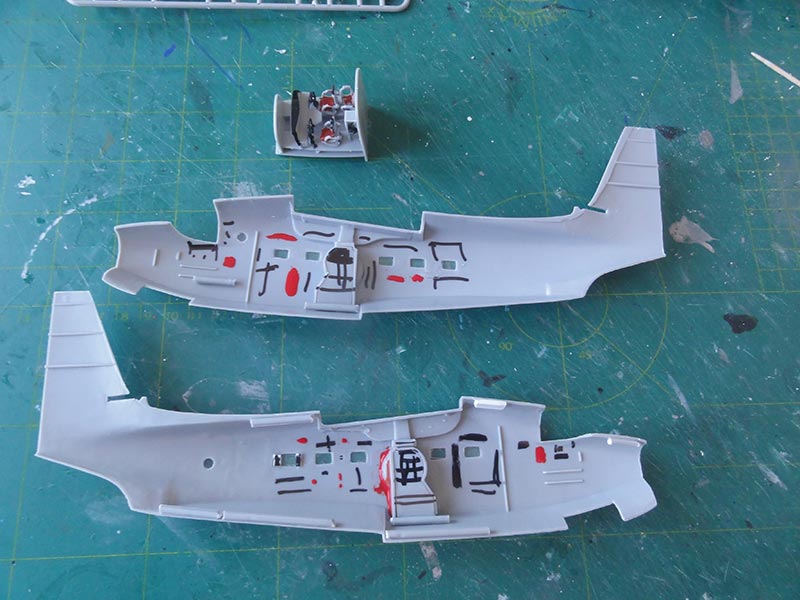
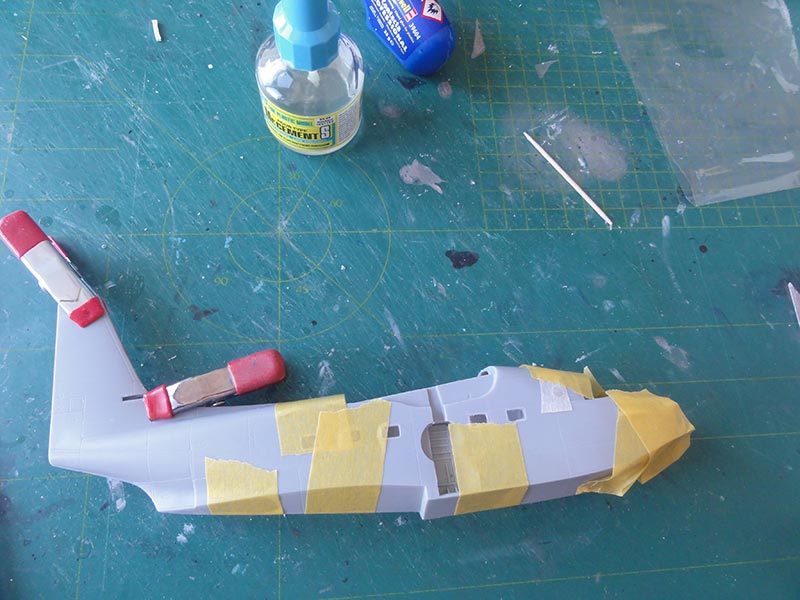
The fuselage halves were joined.
Next to the wing.
The ailerons and flaps of the wing were enscribed a bit deeper.
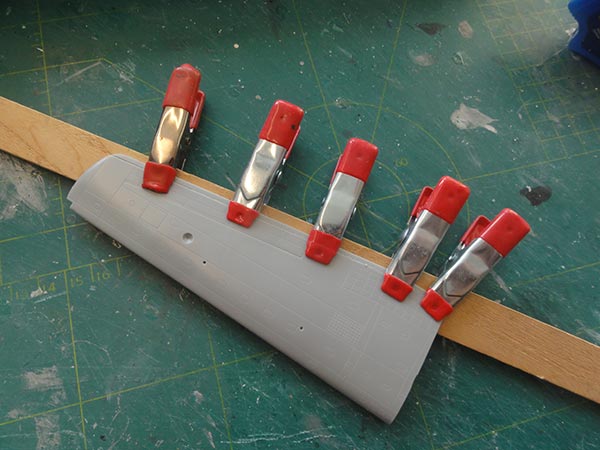
The wing parts were a bit warped, I ensured a straight trailing edge be using a rod and clamps while the cement dried. First glue the rear trailing edge, let dry and than with thin cement the front leading edges.
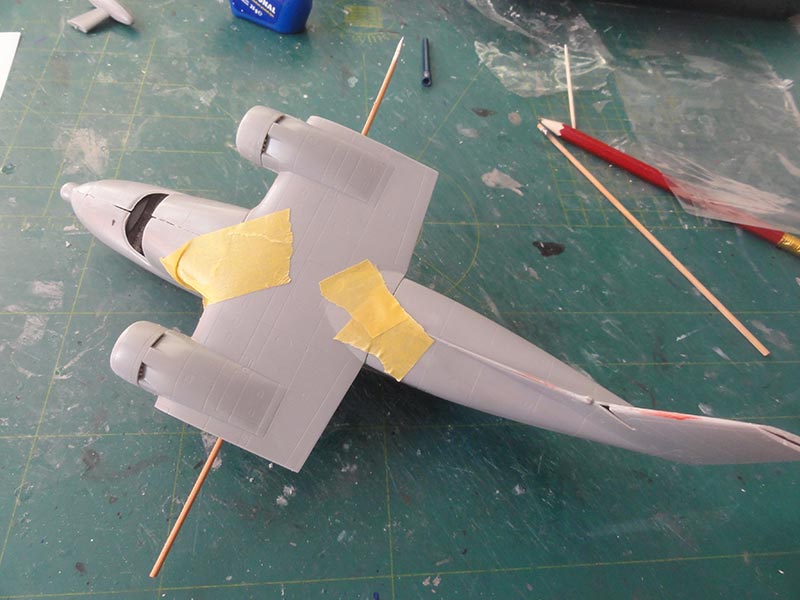
The engine nacelles got the better engine parts and sanded. They were joined with the wing center section.
I opted to set wood rods in the wing to get a stronger assembly. Holes were drilled and these are seen here.
There was putty needed at several places at the joints. The cockpit windows part #154 was set and all blended in. It fitted OK.

Any small window gaps were now filled with Microscale Kristal Klear. All windows were masked now with the masking set from the kit
The outside wing halves were set and all looked good though some small gaps are there. The horizontal stabilizer was installed as well.
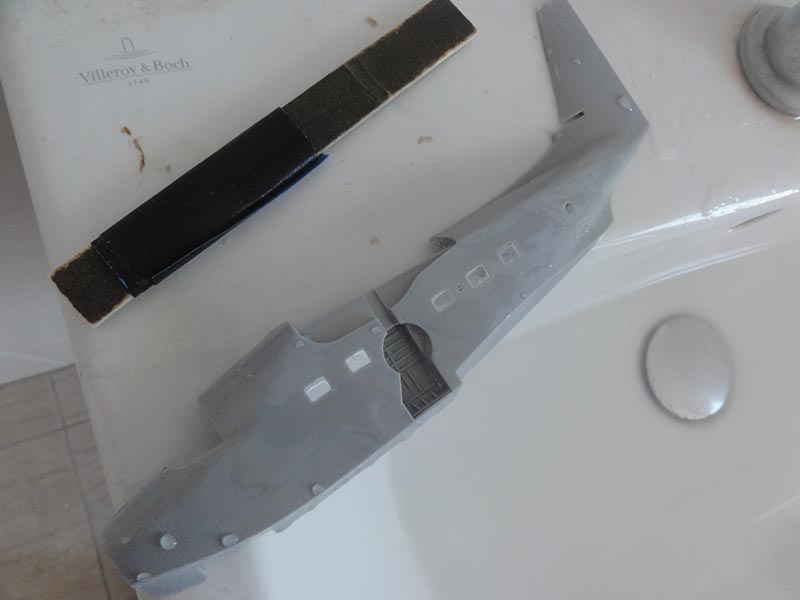
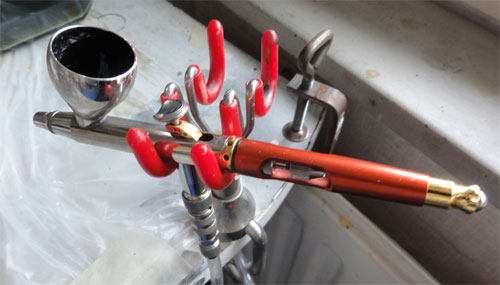
A base grey coat was now airbrushed with thinned Revell Aqua 75 steingrau acrylic paint, this revealed that some extra putty and sanding was needed as seen here.
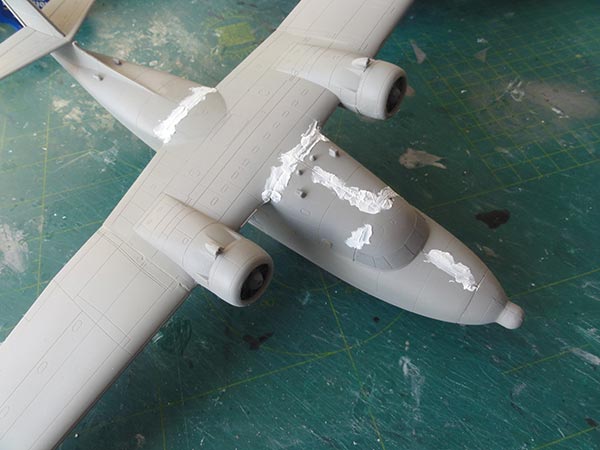
This was all sanded and again a few steingrau coats airbrushed. All looked good for the paint scheme as per kit for the attractrive Japan JMSDF scheme with dark grey, white and red.
Some white base coats were airbrushed at the white and red areas including the wing tips. For the white I airbrushed Revell Aqua 301 acrylic as base followed by a few gloss white coats.
The vertical fuselage band needs careful masking as well as the tips. The red was airbrushed with Gunze Sangyo Mr.Hobby H23.
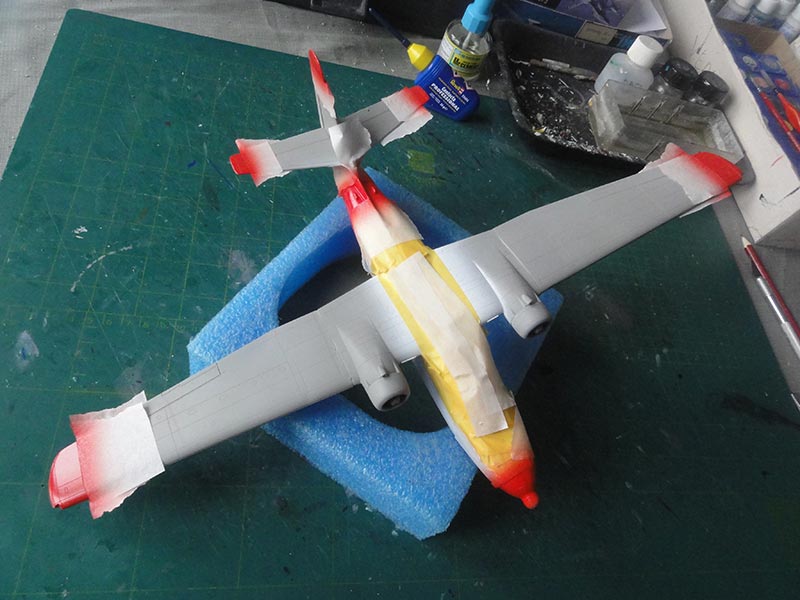
Masking was done and the dark sea gray coat airbrushed with Gunze Sangyo Mr.Hobby H333. I opted to use the "extra" dark sea gray as I had the impression on photos the JSMDF Albatrosses looked a bit darker. Do not forget top airbrush the gear doors and floats as well.
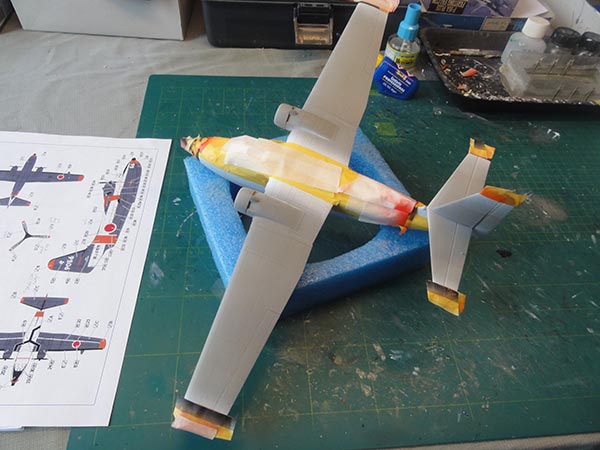
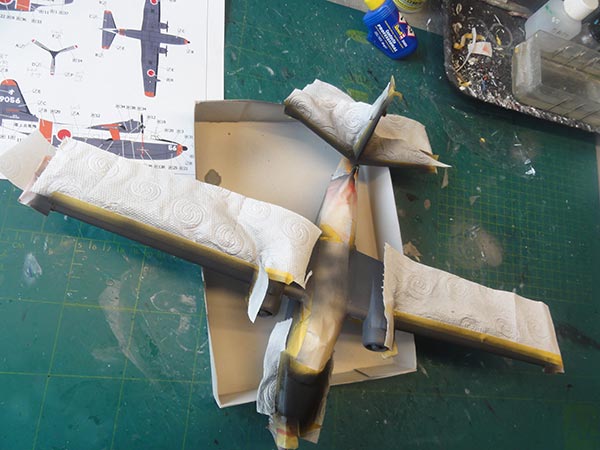
The various de-icing boots were airbrushed after masking with tape dull black. Masking takes quite some effort here.
The model got a few gloss varnish coats to avoid "silvering", that is spoiling decal appearance because of trapped air bubbles. The gloss varnish airbrushed was my usual Johnson Pledge/ Kleer acrylic that airbrushes better thinned with 5% Gunze Sangyo Levelling Thinner.
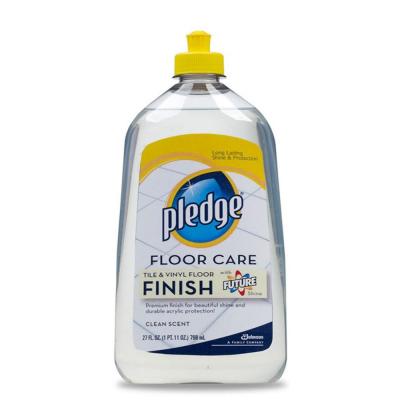
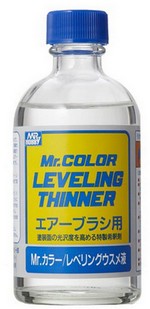
The window masks were removed and the result is seen here. The excelllent masks did their job.
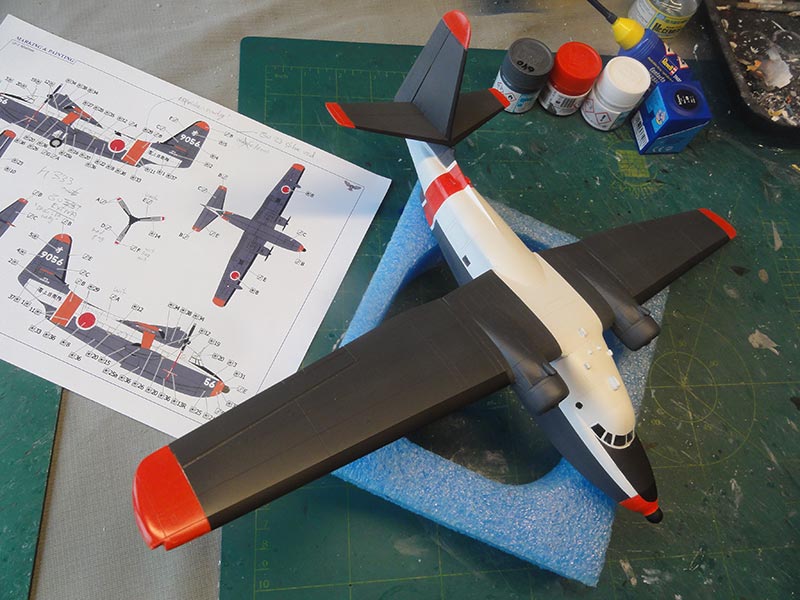
The model is now ready for decalling with the kit decals. The kit decals are quite thin and vulnerable.
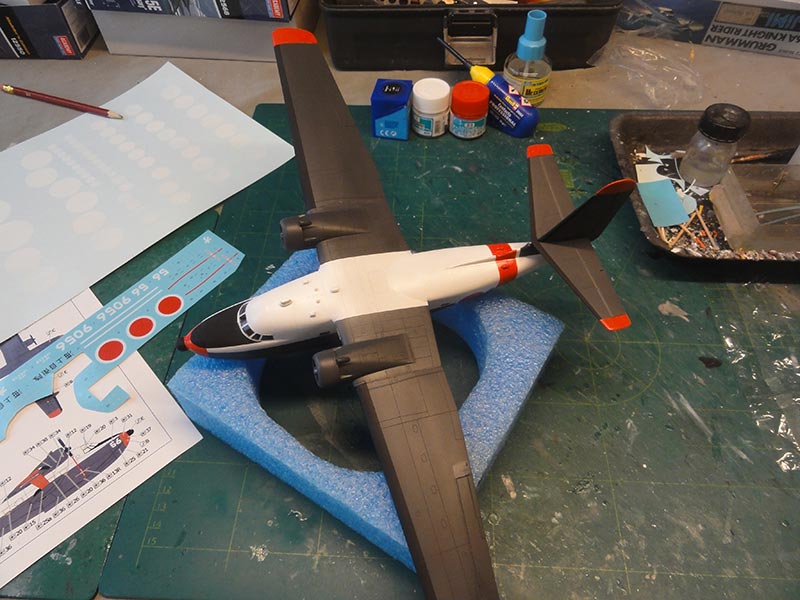
I unfortunately found that the red "ball" decals (national markings) are a bit translucent. I discovered this on time and home printed round white disk decals to set underneat at both wing and rear fuselage. (if you need some white disk decals... contact me).
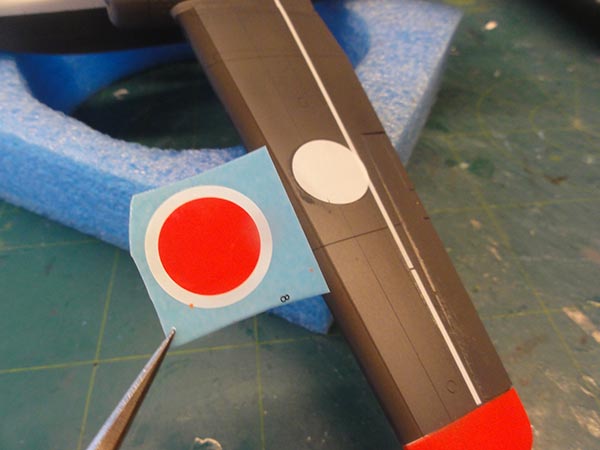
It all looked fine now. The small black stencillings are decals but I opted to use a fine permanent black marker in stead.
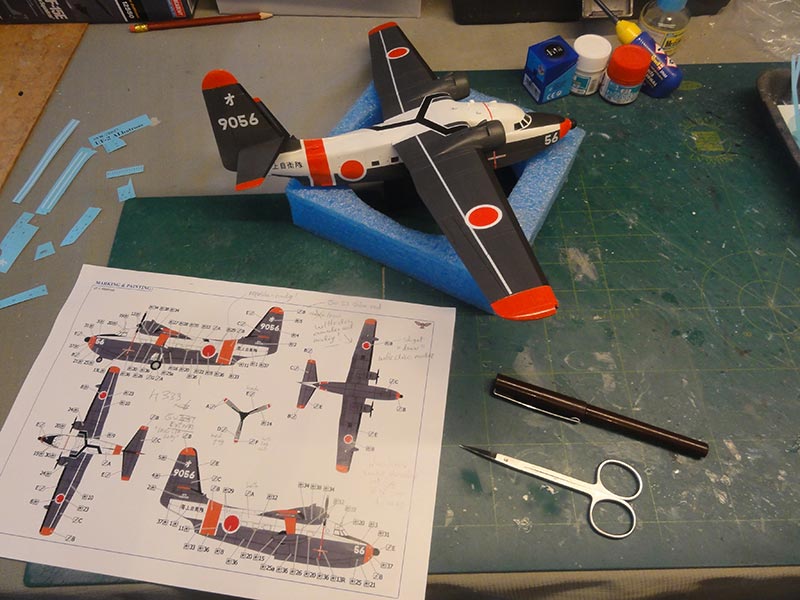
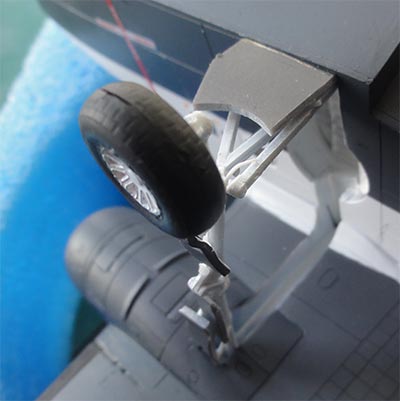
The remainder of the parts were now set. The main landing gear is a bit complex. I enlarged the main gear leg openings in the lower wing. I was not sure what the gear struts colours were, I assumed gloss white. The tyre were painted "tyre black"/ panzergrau.
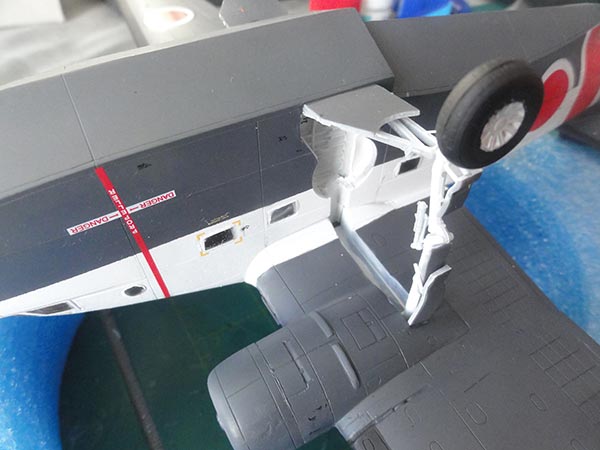
A few hydraulic lines were added later on.
The propellers were airbrushed medium grey and got white-red-white tips that were all airbrushed after masking. The black edges were hand painted.
The floats and struts were set at the outher wing as were the mid wing pylons and fuel tanks for longer range.
The final details added were:
- the rescue rope at the nose which is an etched metal bit #P1
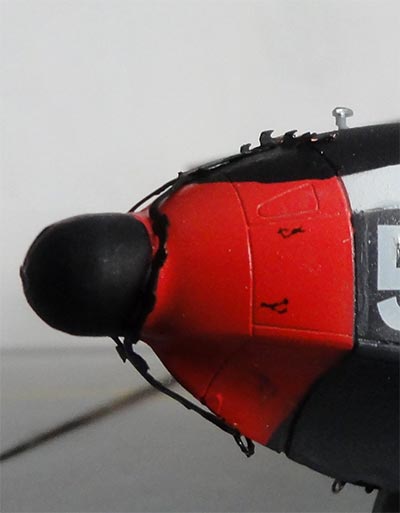
- the wind screen wipers #P3 and a few anti-collision lights #148 (blue), 149 (red) set and landing lights #151.
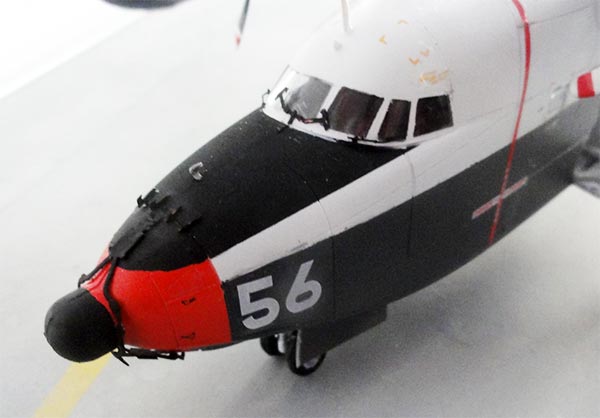
- the many smaller antennas and air scoops as seen in instructions step 23 and 24. This takes quite some time and some antenna bladeds were replaced with thin plastic card.
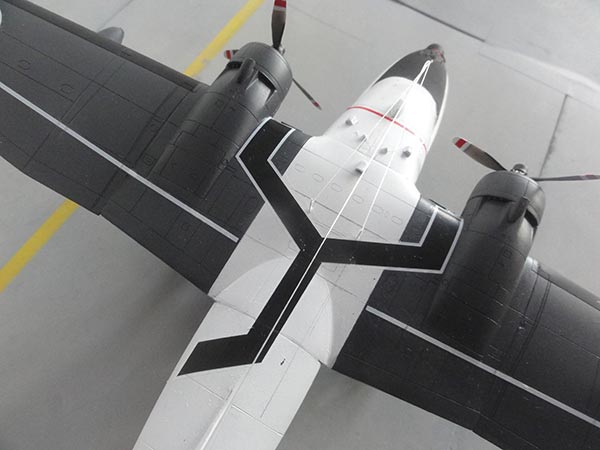

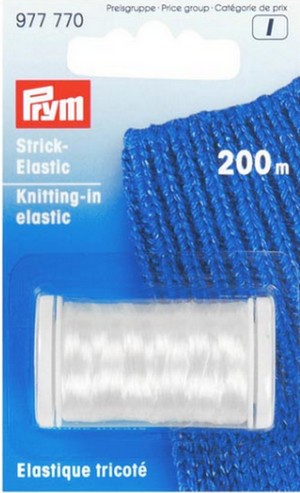
- long antenna wires were added made from PRYM knitting elastic wire. Fix with super glue.
- the many many static discharger wires at the trailing edges of also the wing tips; these are not shown on the instructions as the #P16 etched parts at the stabilizers and tail. All these dischargers were made from flex EZ line wire bits (or use black painted fishing wire).
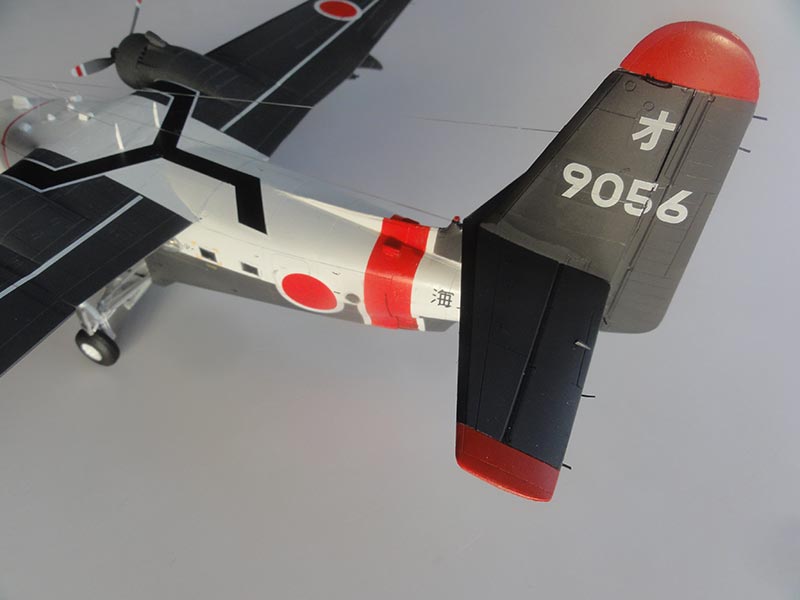
Finally the model areas got a final gloss varnish coat. Shield off the clear areas and airbrushed was a mix of Johnson Pledge + 5% Gunze Levelling Thinner.
The model took about 32 hours to complete and it looks great in the Japan model collection.

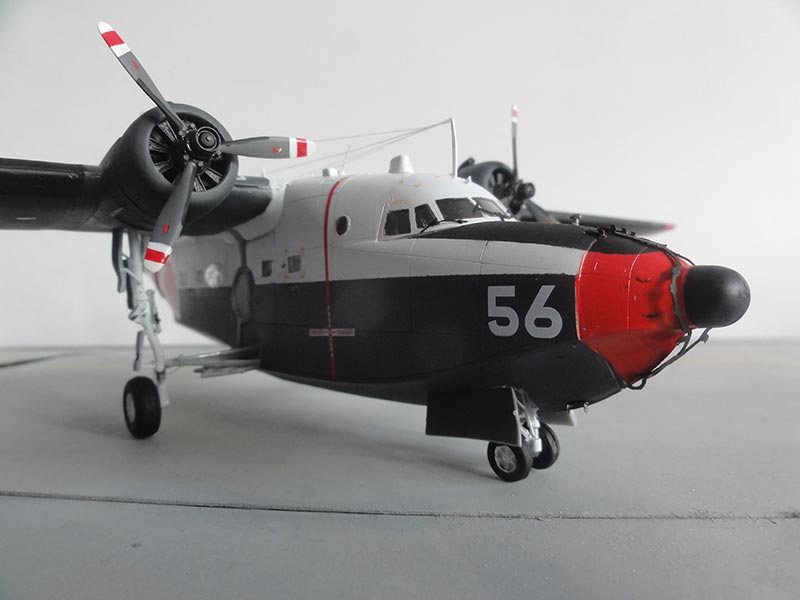
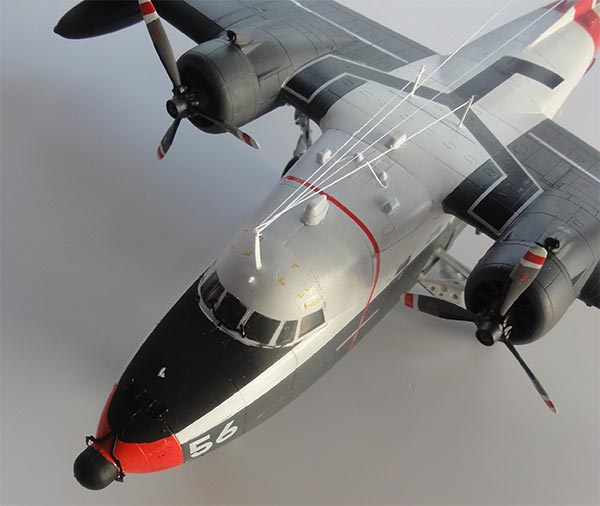
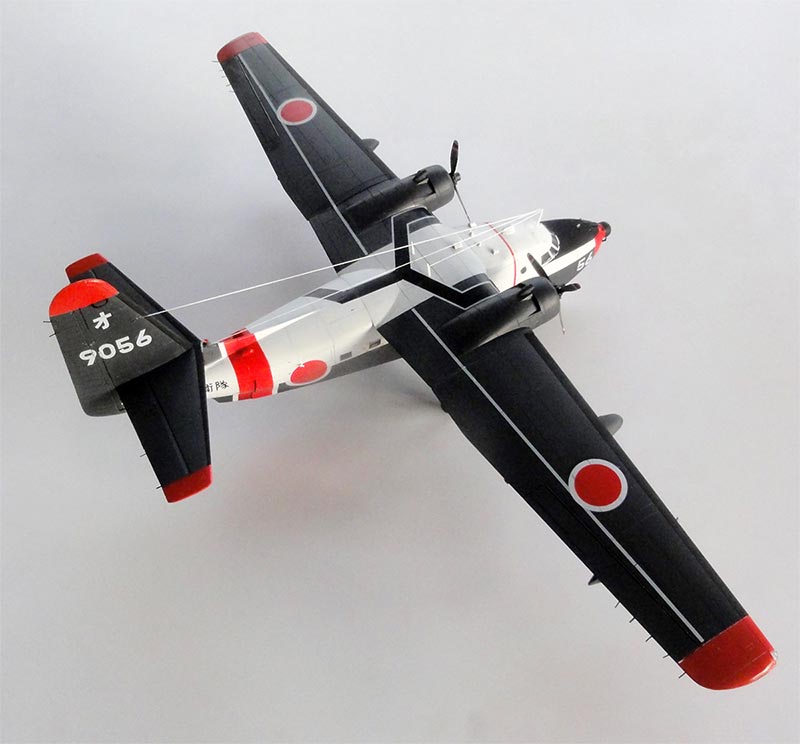
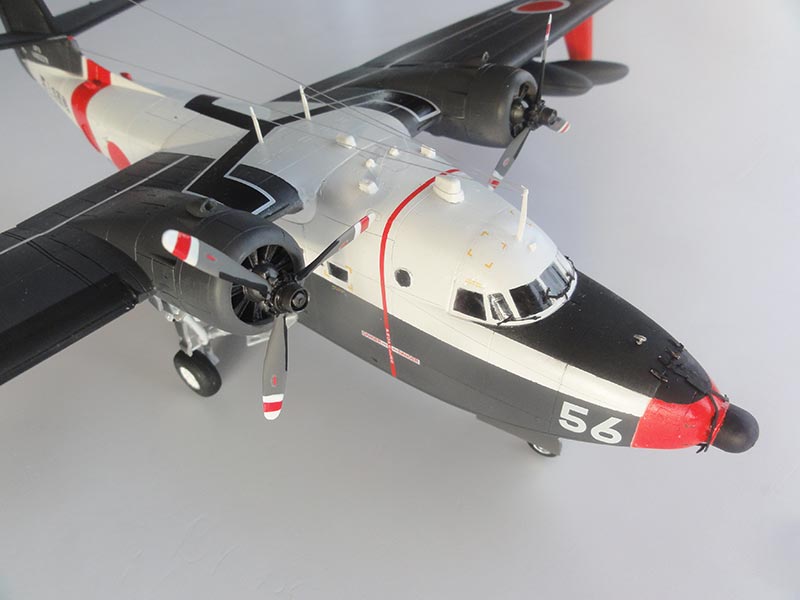
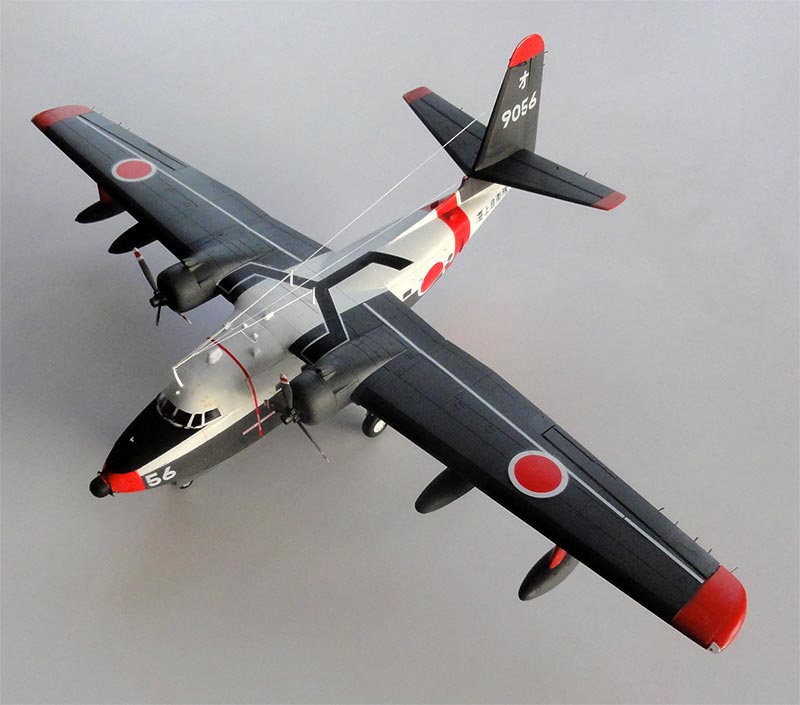
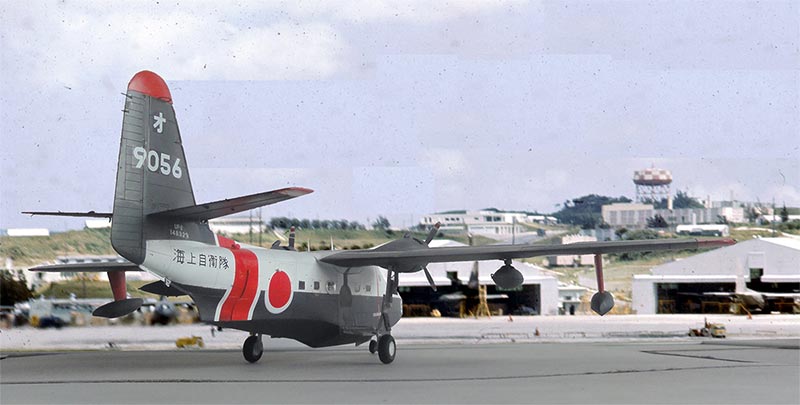
Japan Maritime Self Defense Force Grumman UF-2, Bur.no 148329 coded 9056. Most of these aircraft type were later sold and went to civil U.S. operators. 9056 became as N88999. The type was replaced by the Shin Meiwa US-1....
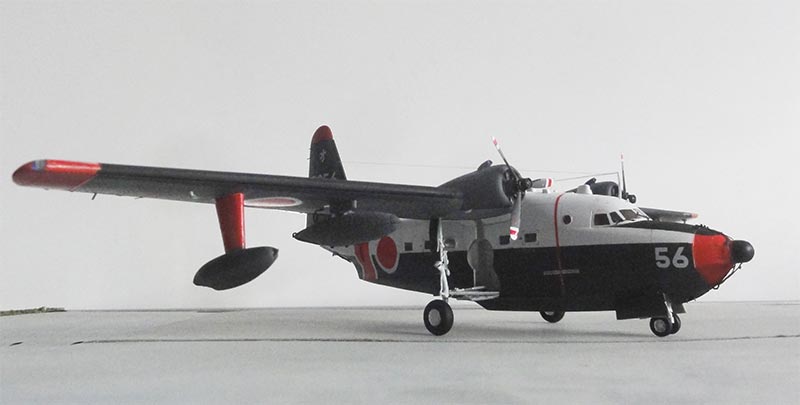
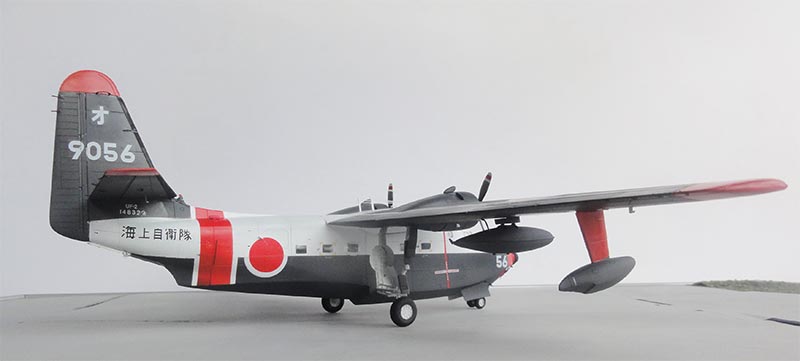
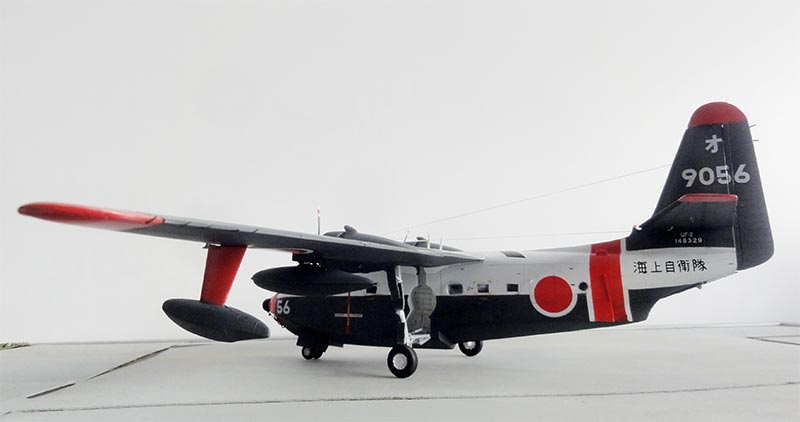
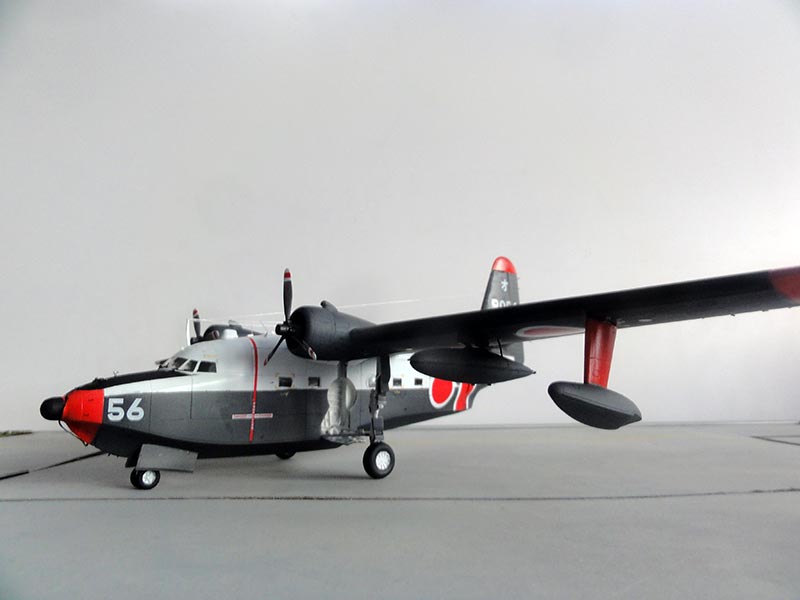
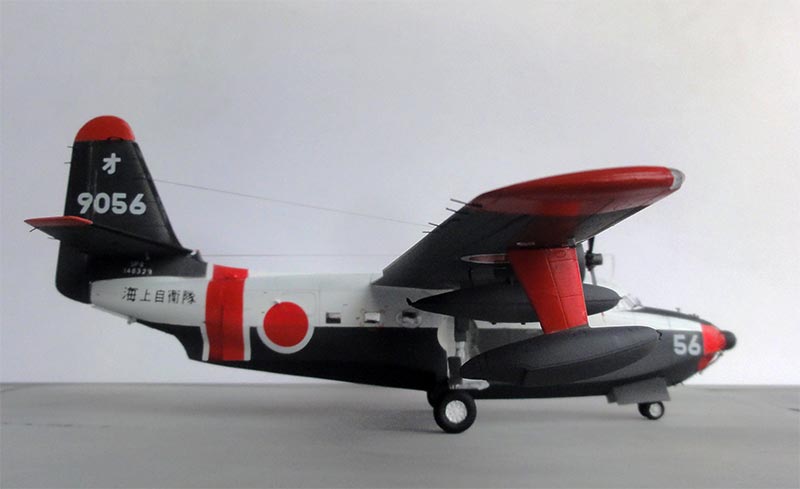
.. set in a scenery at Naha...

References
Book: HU-16 Albatross in action, R.D. Migliardi, Squadron Signal 1161, 1996
Internet:
IPMS NL walk around by Cees Hendriks
Wikipedia Grumman Albatross
USWARPLANES

(c) Copyright "designer"/ All rights reserved.Your comments are welcomed by webmaster

Created this page December 24, 2024