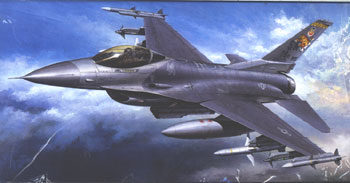
Lockheed Martin F-16C block 50
Fighting Falcon
[ Page T-2 ]
F-16C "late Block 50" using the Tamiya kit
Next steps... (see page T1 previous steps...)
The basic modifications
and parts are now ready for the general assembly of the model.
 ..
..
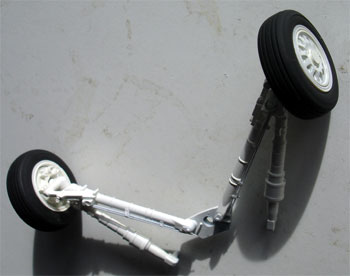
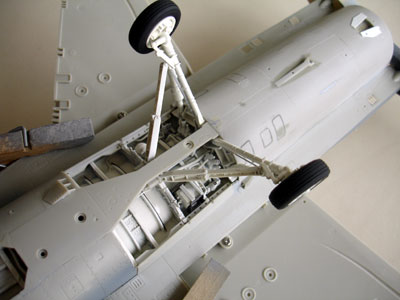
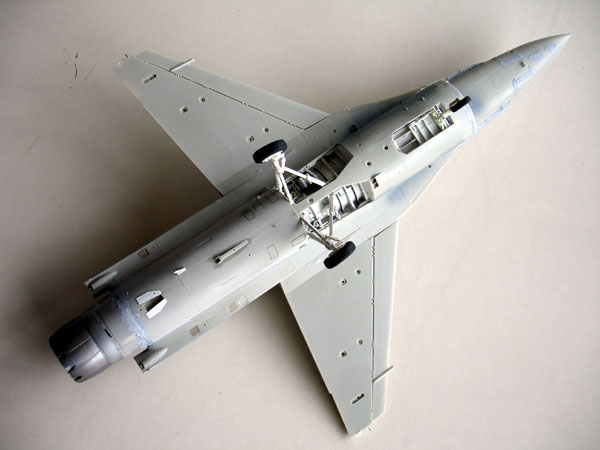
I attached
the main landing gear now. I forgot to add it immediately in step 24 ,
so it was needed to open a slot in the main spar #F12 to fit the leg. I
did not use the screw but superglue.
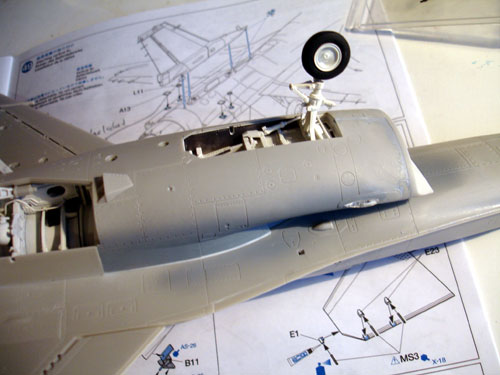
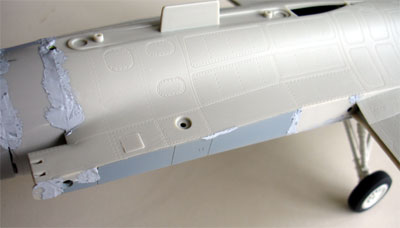
Step 22
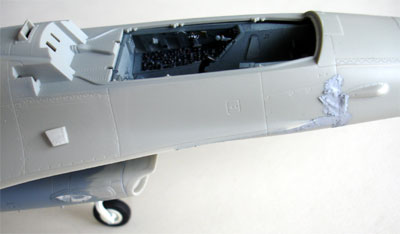
The intake
was now added to the lower fuselage. I had some troubles here for a good
fit, a gap would remain between the intake and fuselage. This was simply
solved with some white glue that filled the gap as you can see below.
Step 36
The lower wings fit perfectly.

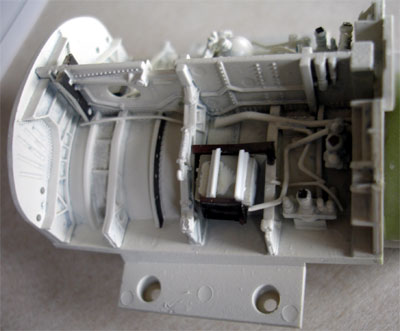
Step 32
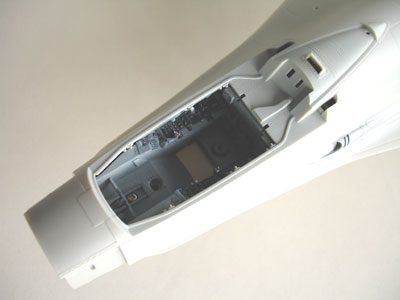
Now fit the
indicated main assemblies, like cockpit tub. I decided NOT to fit the radar,
so leave off part F32. The radar cone was thus also fitted after fitting
parts B21, B22 side panels. It needed only tiny amounts of filler.
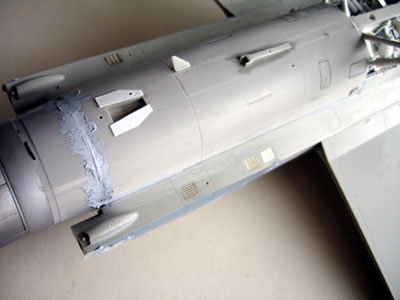
Step 35
The fit of
the upper and lower parts is almost perfect. I only needed to run thin
cement in the strakes and some superglue and putty in areas. Make
sure that the screws MB2 at the root do not interfere.
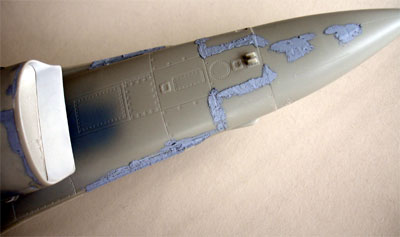
The Tamiya
putty was removed after drying with "nail polish remover" found in drug
stores rather than through sanding; this prevents any surface damage .
The vertical
fin base part C10 and screws were not used as the tail would be fixed to
the model.
Steps 37 - 39
Assemble all these as desired. The Eduard set has some extra details for the nose door.
In step 40, the pylons and HARM system were not yet added.
Step 41: HUD
Assemble as
indicated
Step 42: RADAR and gun: was not fitted to this model (but to the Hasegawa F-16 MLU build)
Step 43: The gun nozzle F48 was fitted inside part B6 as it can be seen.
Steps 44-46
Assemble the
wing parts as shown. F-16's are almost always seen with "slats and flaps"
up so this feature on the kit is nice but not really needed.
At the leading
edge slats, the fit is pretty tight. I had to use superglue and tiny amounts
of white glue to close a little too large gaps.
Step 47
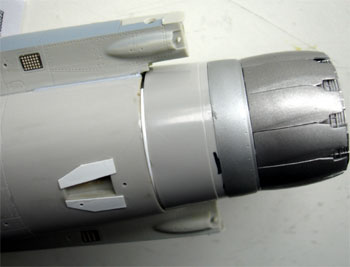
As the engine
area was adapted to show the engine separately, using spare parts from
other F-16 kits, this step is not appropriate. I had to add the prepared
engine "ring cone". This gave no problems, but filling was obviously needed.
 .
.  .
. 
 .
. 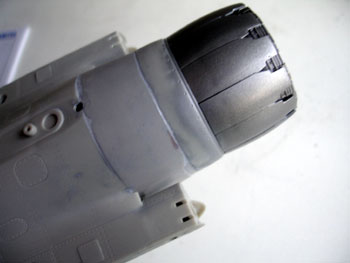
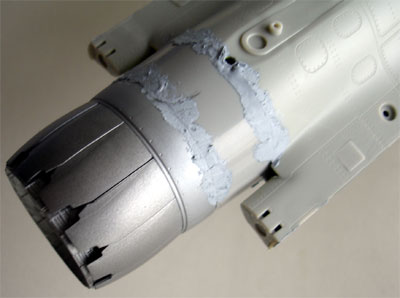
Tamiya putty
was used and sanding prevented as removing any excess, again with "nail
polish remover" and a tissue.
![]()
Step 48-49:
Vertical tail
For the F-16C,
this kit has the correct "thick base" vertical tail. (the older blocks
having thin base bases, like the parts in the older Hasegawa kits of the
F-16A0. A perfect vertical tail assembly here with moving rudder! I did
not use the teflon rings as I would fix the tail to the model anyway;
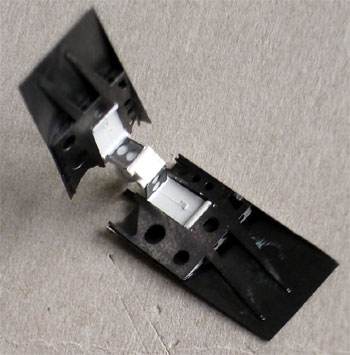
Step 50
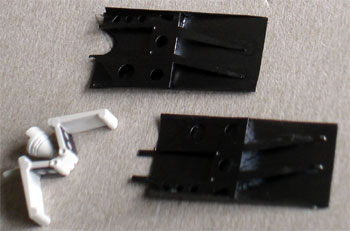
The horizontal
stabilizers were a perfect fit also. The airbrakes were to be set open.
Here the EDUARD metal set 32 128 came to good use as these airbrake parts
look much better. You can however use the Tamiya airbrakes also. On the
Eduard parts I had to apply some white glue to close all those tiny gaps.
There were some
fit problems to get it all perfect.
 .
. 
.
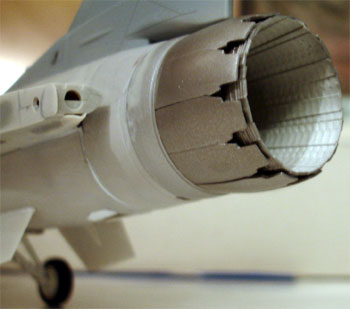 "the
new/ adapted" exhaust ; note the perfect round shape
"the
new/ adapted" exhaust ; note the perfect round shape
The adapted ventral fins were also added and some white glue was needed to fill the gaps at the base.
Step 51
Leave off the
stabilizers till later.
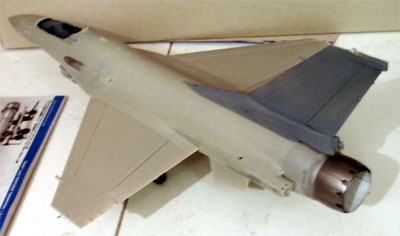
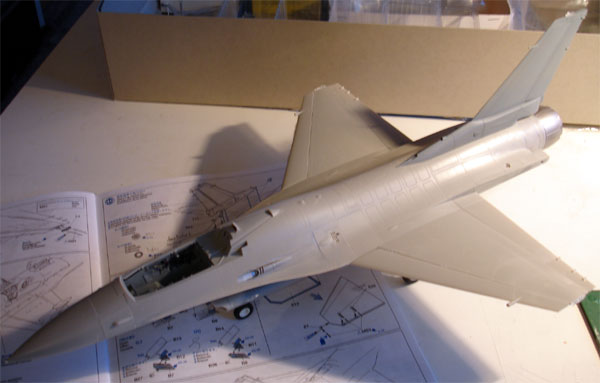
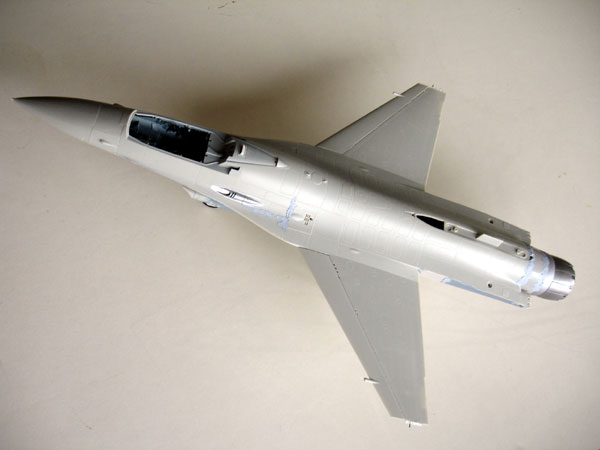
Model ready
to receive its first light grey base coat

(c) Copyright "designer"/ All rights reserved. Your comments are welcomed by webmaster
Created this page Feb 2007