AS 532 U2 Cougar
[Page 3]
Cougar model in 1/32 scale
Matchbox / Revell Puma Helicopter Conversion
Page 1
Page 2
Page 3
Page 4
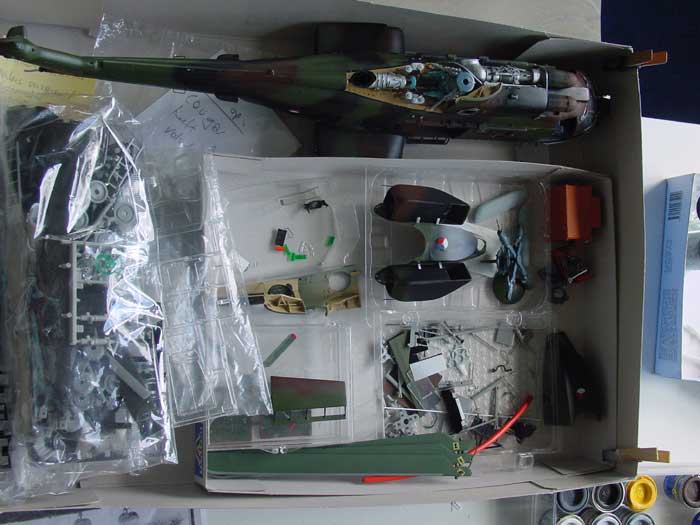
Now the Cougar model is progressing.
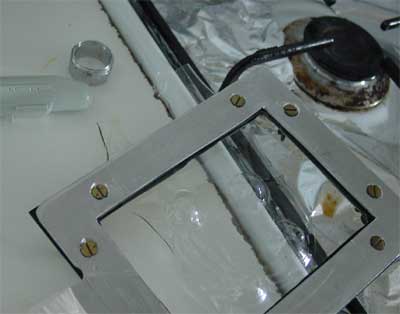
In the Cougar cabin doors there are large bulged observation windows, 1 in each door. These were made using the plastic heat and plug method. Acetate sheet was used and a metal ring to "plug" the heated plastic acetate. (note: these doors can be detached from the real Cougar as required).
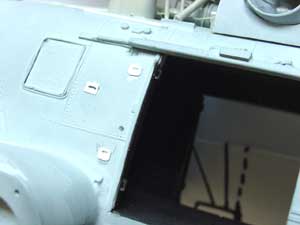
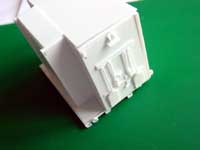
The cabin fuselage got various smaller details made from card, holes were drilled and steps made.
After checking the model is ready
to receive its colouring.
Colouring and Camouflage
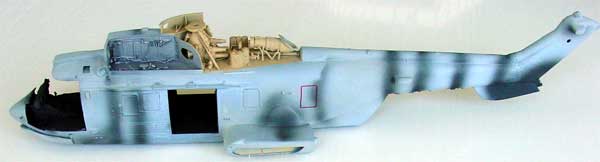
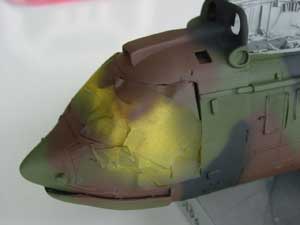
First, the overall model got a light grey coat. Next, as can be seen here some black pre shading was applied.
The Dutch Cougars have a particular
colour camouflage scheme:
RAL 8027 Brown
(about FS 32184 ?)
RAL 9021 Black
(about FS 32106 ??)
RAL 6031 Green
(about FS 32165)
Revell
has these colours available with Revell 84, 6 and 65 (or 69) enamels
used for the model.
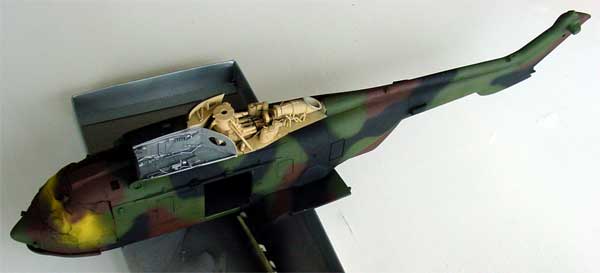
The camouflage scheme can be seen
here, applied through the airbrush.
Masking is required for all windows
and the various areas.
The various engine cover fairings
were not forgotten, as well as the JTD pods.
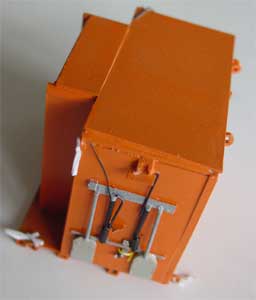
After the basic camouflage was applied,
various details were added that had also to be painted later on. Many obviously
made from scratch. Below, the step below the cabin door can be seen. These
were added now to prevent damage to these vulnerable parts.
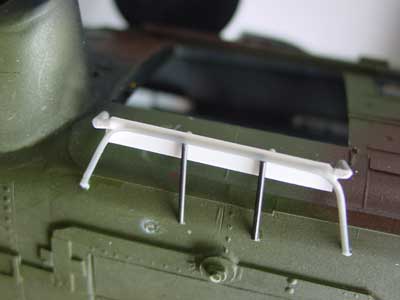
After completing various smaller
details, it was time for....
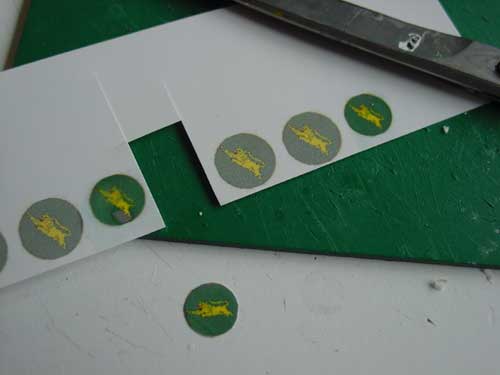
Markings and Roundels
Next came the markings. One of the
maritime test Cougars was the numbered S-440
and this was the subject of this model in 1/32 scale.
Not many markings are present on
the Dutch Cougars. From after market decals sheets (of Dutch Decal), the national
roundels ![]() and numbers
were obtained. From the Apache decal sheet in 1/32 scale some numbers were
obtained and the "Koninklijke Luchtmacht" text. The "No Steps" are typical
French style, coming from the spare decal box.
and numbers
were obtained. From the Apache decal sheet in 1/32 scale some numbers were
obtained and the "Koninklijke Luchtmacht" text. The "No Steps" are typical
French style, coming from the spare decal box.

The 300 squadron marking was found
on the internet.; It was downloaded, set to correct size and printed on
BareMetal Foil InkJet decal paper. Protection was applied to the printed
decal through brushed on Johnson
Future clear varnish.
The squadron symbol is aft of the
cockpit hinged doors.
After applying the camouflage coats
and the few markings, the model got several sprays of semi-matt Johnson
Future. Mix 15% Tamiya matting agent (X21
"Flat base" ) with the Future acrylic to get a semi-matt effect.
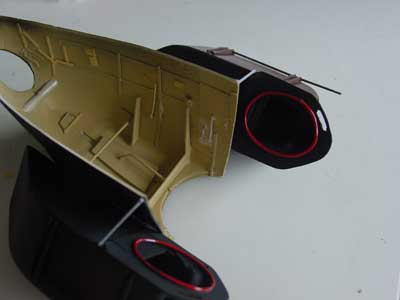
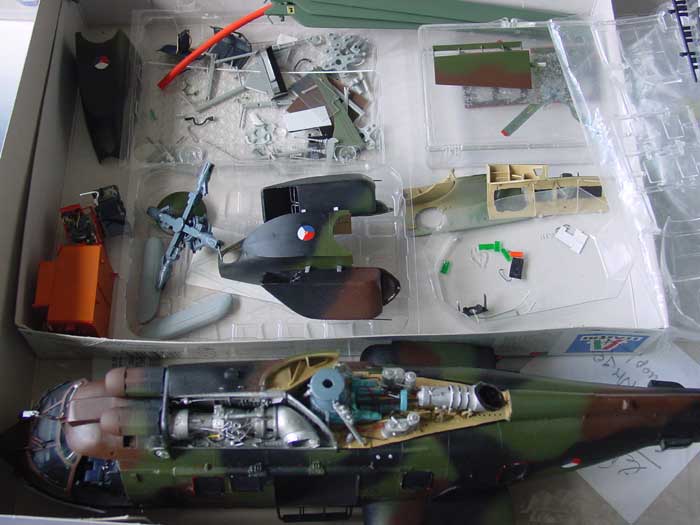
Cougar interior details
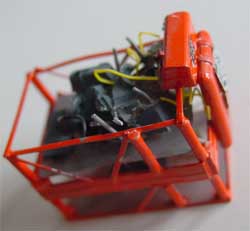
Off course, a day to day Cougar as used in the Dutch Air mobile brigade could be taken as subject for the Cougar model. But as explained on Page 1, a particular naval test Cougar, the "S-440", was to be modelled as it is also very colourful. First, it has particular test instrumentation. Next, it has an instrumentation avionics rack that was made from card, sprue and rod. It has an orange colour with various details.
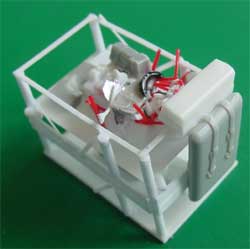
Next, for max take off weight tests for marine vessel qualifications, part of the flight test equipment is the ballast water tank. This is added during test in the main cabin with water ballast added. In case of emergency during the test, rapidly the water canmbe released reducing the critical Cougar helo weight. This provides an additional safety margin during max weight tests. The ballast tank was made from card and rod and painted orange.

painted test equipment.
 ..
..
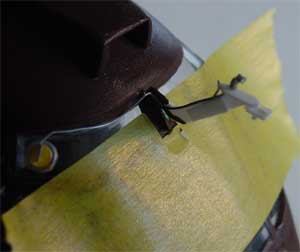
Also above the cabin cockpit window, a pitot and temperature probe is added during the tests. This was also added.
Rotor assembly
Next, the final main rotor assembly
was required. The various rotor head details were added from rod and the
blades that were already prepared added. These blades were given metal
attachment pins made from a paperclip to get strength as the blades would
be folded. Folding took place during the Naval tests,
but all Dutch Cougars can fold their blades. (An advantage is also
that the model will take less space in the model display cabinet)
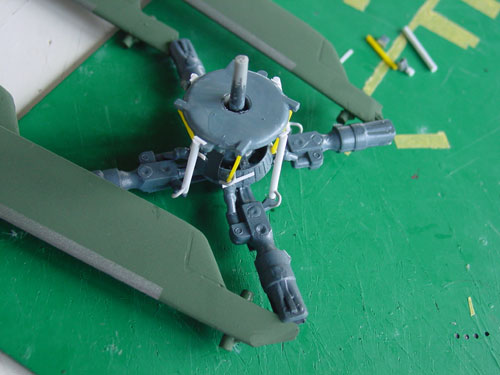
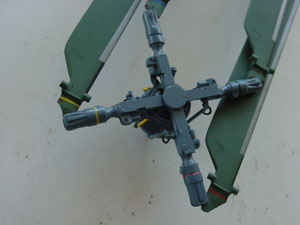
Details: note the coloured bands to mark each individual blade. The
rotor head got an aerodynamic top fairing (made from various layers of
card and sanded in shape)
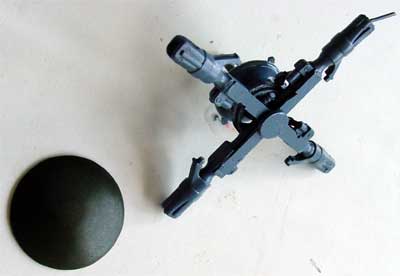
For folding and storage, the rotor blades are handled and held in place through metal rods. Each blade has its own coloured rod. The model rods were made from thick plastic rod from Evergreen.

Cockpit now got its details fitted. Doors etc were fitted.
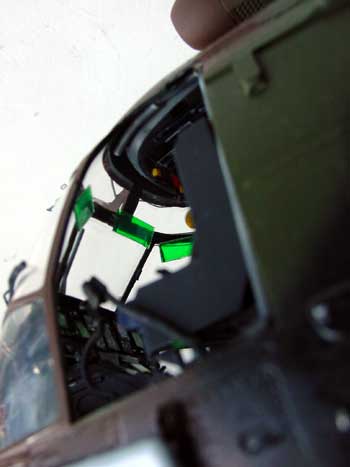 ..
..

Cockpit details as added to the model, note the green sunshade screens added.
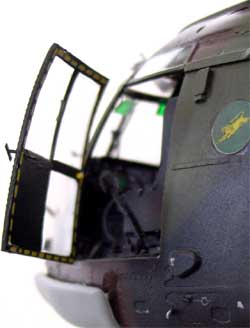
Note the yellow striping inside the door, made from spare decals.
On to next [ page 4.... ]
Back to 1/32 models....

(c) Copyright "designer"/ All rights reserved. Your comments are welcomed by webmaster
Created November 6, 2005