with tools, tips and techniques
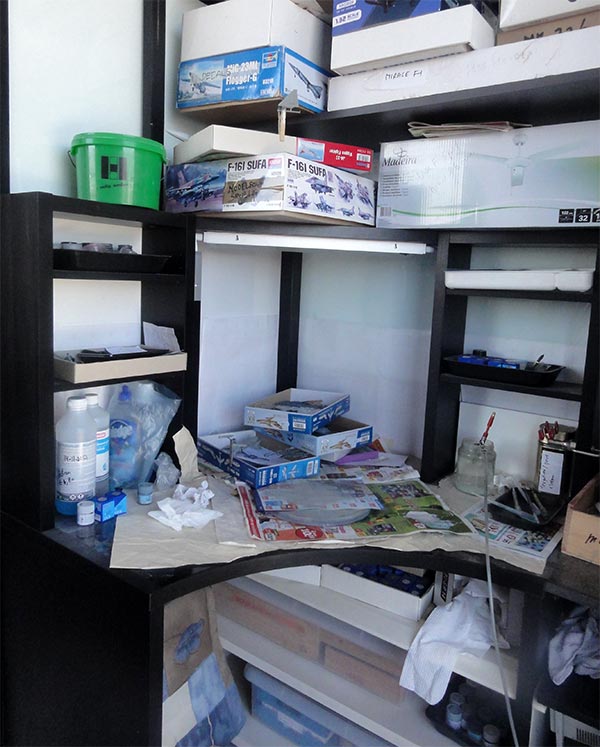
Work space
No separate dedicated workshop is used, but.... a table for the Works... So don't think that you need a whole workshop to get nice model results! Any simple setting can be used!
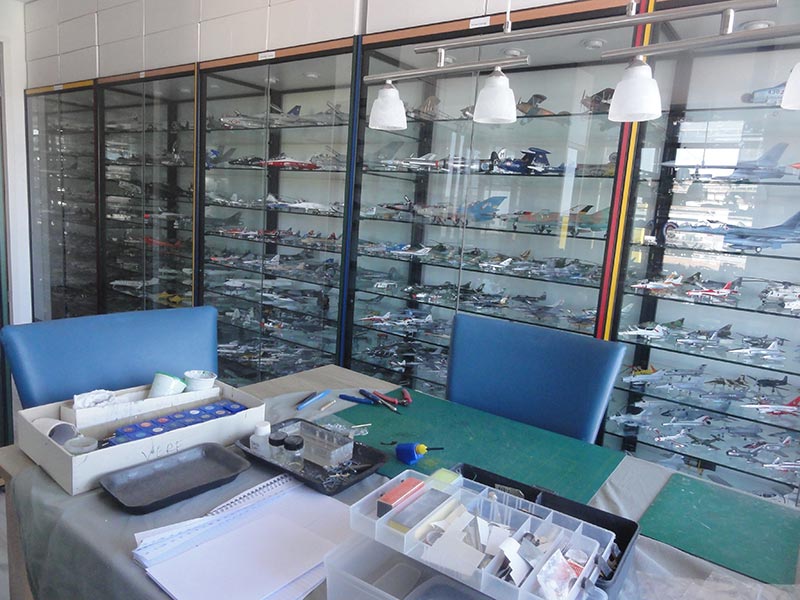
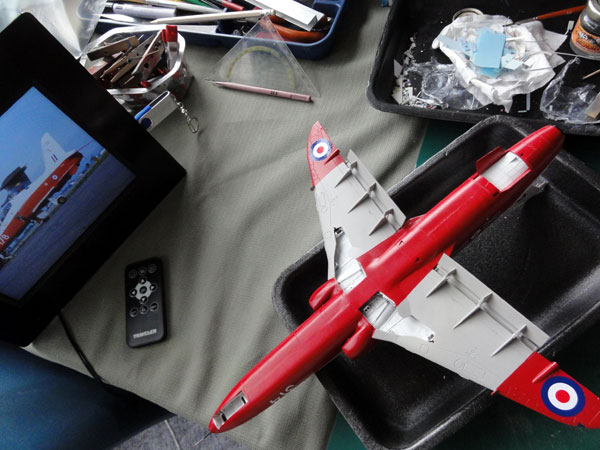
The table is next to clear windows so to get plenty of light. Sometimes I use a handy electronic tablet with USB stick or IPad with internet connection to have photos nearby while modelling.
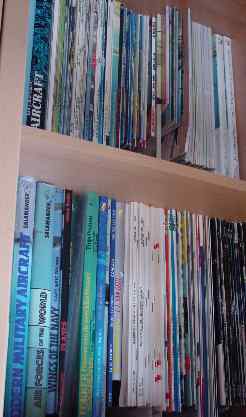
The required references are also not far away. Hundreds of books and magazines and an index/reference book is kept and maintained to find info. But nowadays I use the INTERNET to find lots of information!!!!

DuckDuckGo is my favorite search engine with much more privacy.
Tools
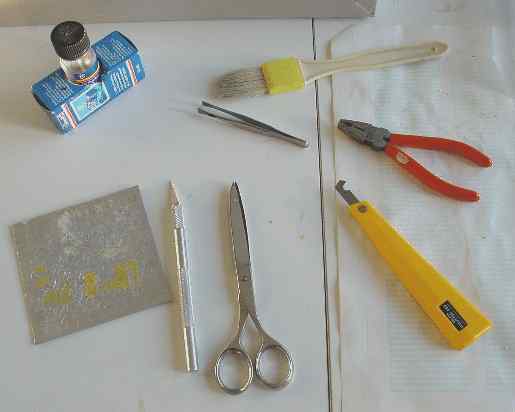
The most used tools are not that many and strange enough I always use the same handy ones:
- the X-acto knife
- a piece of metal to cut and protect the table
- scissors etc
- tweezers
- Olfa P-cutter to make recessed panel lines
- superglue from Eduard that does not "fog" with moisture
Assembly
I use an old fashioned technique to "glue" and join the parts: Revell Contacta. (but any plastic glue will do). Do not use the toxic Plastic Weld!
Many modellers also use a brush to aplly the glue to the joint surfaces.
Is a good idea to prior to the assembly of any model, that the smaller parts are given a basic coat of paint as required (black, white etc) while still on their sprues. This is pre-painting.
Sanding
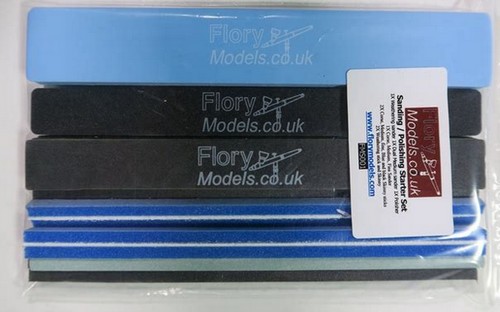
On all models, always a bit of sanding is needed to remove ridges, flatten puttied surfaces etc. Besides wet sand papers in varying grid surfaces of 400 up to 1500, sanding sticks come in handy.
Very good and the best there is are the FLORY MODELS sanding sticks that can be bought in various grids and bargain packages.
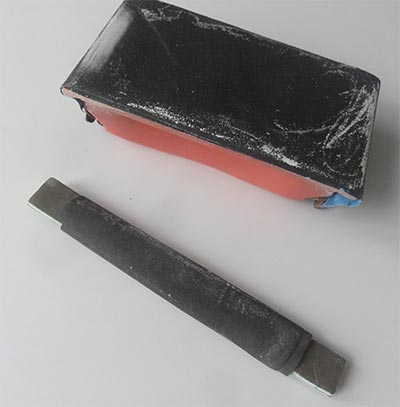
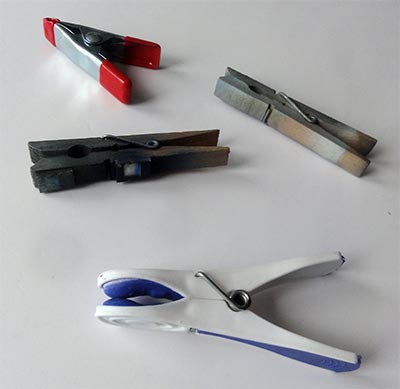
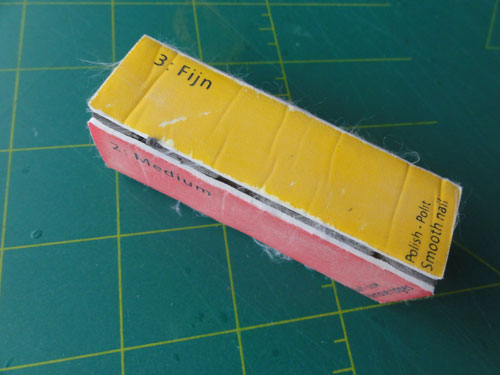
After sanding, to remove small scratches, nail polishing blocks come in handy. Also, polish paste sometimes is used with an old -shirt. Also, simple cheap toothpaste can be used for that!
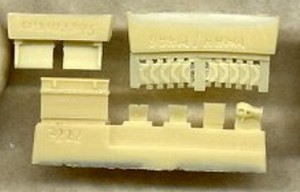

Working with resin
Resin is also often found in model kits, next to parts also complete kits are in resin. Also many after market sets are made in resin. Resin is very harmful for your health, especially when components have not dried out completely. Also, when cutting off the resin cast blocks and sanding resin parts surfaces, the fumes may harm. Allergic reactions at your skin and breath is not unlikely.
It is therefore very essential when cutting and sanding resin parts:
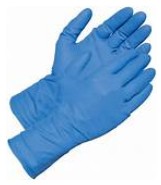
- always wear hand gloves; use nitrile gloves (not rubber nor latex gloves as the resin is not stopped)
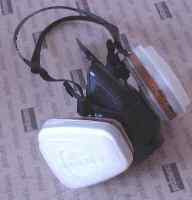
- wear a face mask
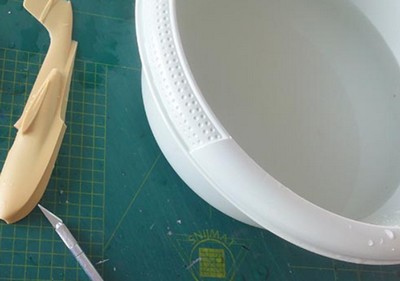
- cut and sand resin parts "under water" with a razor saw
- sand (smaller) resin areas "wet"
- when prepared, clean all parts with water and dry
- when handling the resin parts during assembly, again wear the nitrile gloves. (face mask not needed now).
(resin parts can be glued with superglue and the larger parts with 2-component glue).
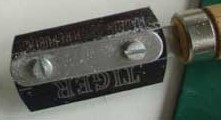
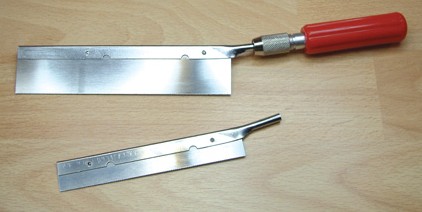
Also, the TIGER razor saw is often used with very fine teething
For rougher work, this saw is used:
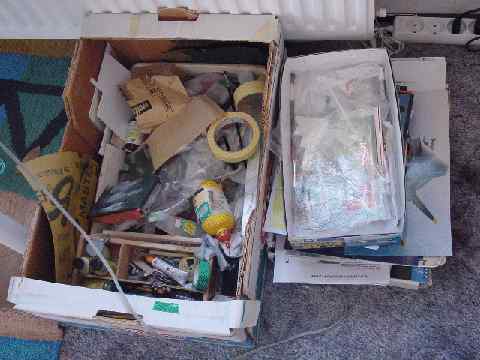
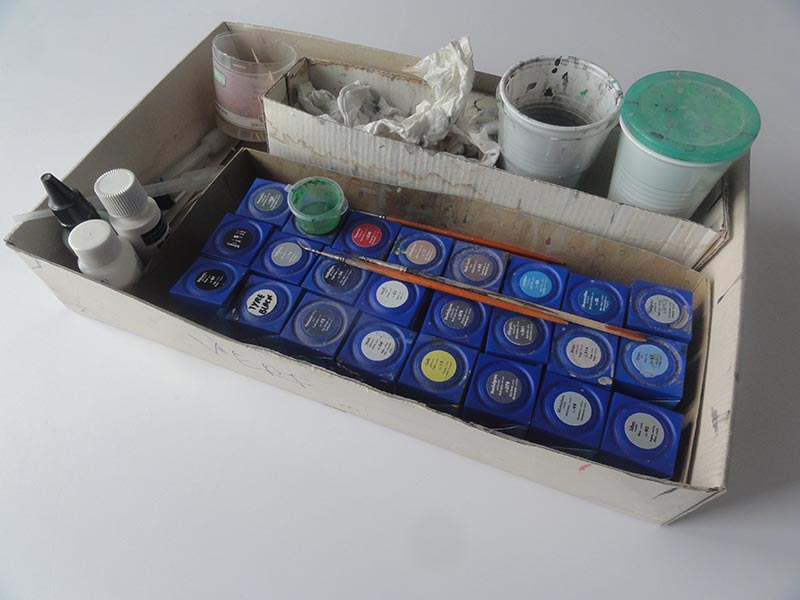
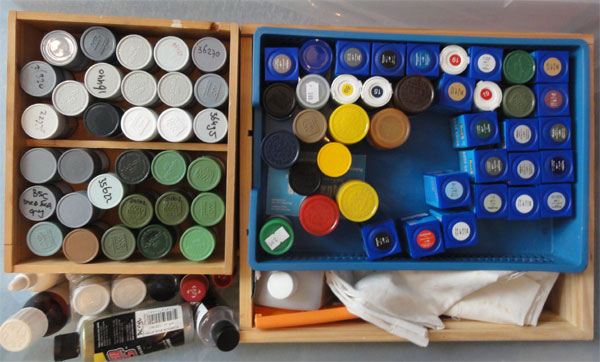
All the other stuff is kept in a portable carton box... it is a mess but lots of handy materials can be found in here....
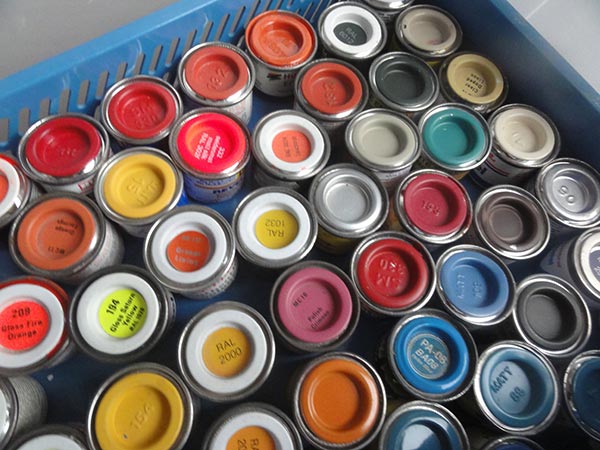
PAINTS
Modelling paints used where for many years enamels from Humbrol, Revell, XtraColour.
NOTE: from 2018 the thinners and agents in these paints have changed due to European health regulations; the newer paints are a bit less good in coverage but better for your health. When airbrushing, always wear a good face mask with filters.
Gunze Sangyo "Mr.Hobby" and Revell Aqua series.
Revell AQUA:
Over the last years I try to use acrylic "non - toxic" paints as much as possible. I really recommend you try to use these as well. Much healthier and far less bad air. For each thinner, use their own brand thinner!
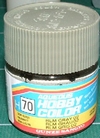
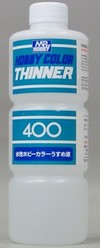
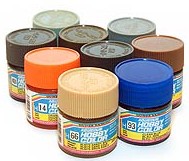
Gunze Sangyo / "Mr.Hobby" acrylics, these are my favorites. By far the best acrylic paints and very good! They are sometimes hard to find. Be sure to use their own acrylic thinner for best airbrushing results.
 .
.
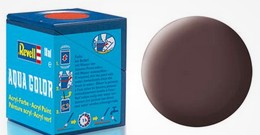
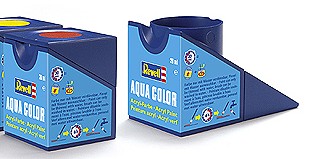
REVELL AQUA acrylics in the blue square containers.
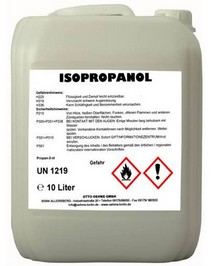
Thin these not with water but with the special Revell acrylic thinner from the glass bottle with the "light blue" label and blue shell on top. Aqua can also be thinned with a 50% IPA and 50% distilled water mix.
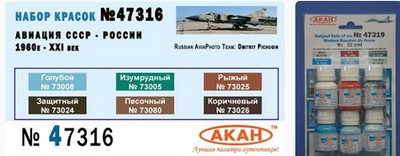
Sometimes for Russian aircraft, I use AKAN acrylic paints that, after being thinned with their own thinner, are airbrushed. But the bottles dry out quickly in time.
FINAL NOTE: I do not use Valejo acrylic after some bad experiences with adherence and drying time.
Primer
Often Revell Aqua 75 "grau" acryllic is used as primer, thinned as described above.

Airbrush corner
Airbrushing is done in a corner of the modelling room near a door and plenty of ventilation. As I use most of the time acrylics
and wear a face mask, opening the window is often sufficient.
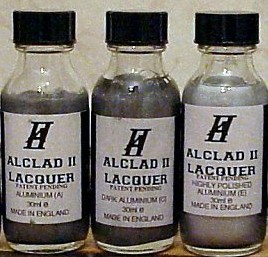
When airbrushing enamels of even worse, ALCLAD, I open the whole door for ventilation and wear a face mask with filters. THIS IS VERY IMPORTANT!
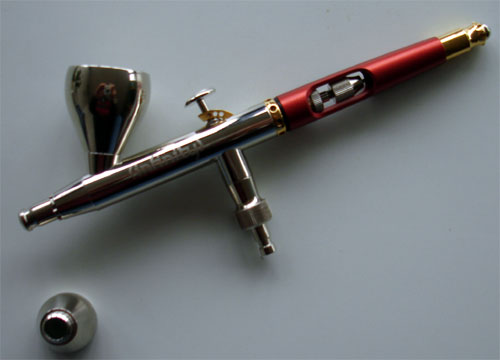
Airbrushes used
The airbrush I use is usually the Infinity airbrush from Harder & Steenbeck. Very good airbrush indeed ut rather expensive! Nozzles I have are 0.2 mm , 0.4 mm and 0.6 mm. For most airbrush work the 0.6 nozzle distinguishable with "2 rings" engraved is used. Compressor pressure varies in most cases between a very low 1.2 bar up to 1.6 bar. It has a paint feed from above.

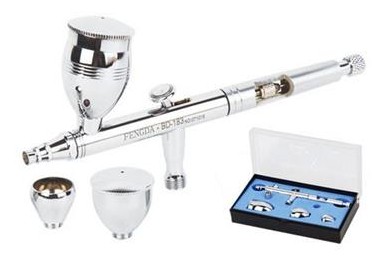
I also often use a much cheaper airbrush, the MODEL ELIZ #BD183 from Fengda. In the package you get various needles of 0,3 mm for small spread, 0,5 mm for middle spread and 0,8 mm for wider spread. This airbrush has a paint feed from the top. It can be cleaned easily.
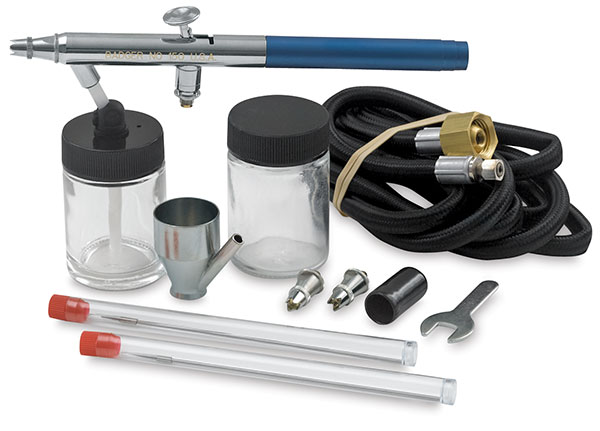
I started decades ago with a Badger model 150 double action airbrush. That was in the days I airbrushed enamel paints. This airbrush is still sometimes used to airbrush large areas; sometimes a new head was purchased.
Compressor
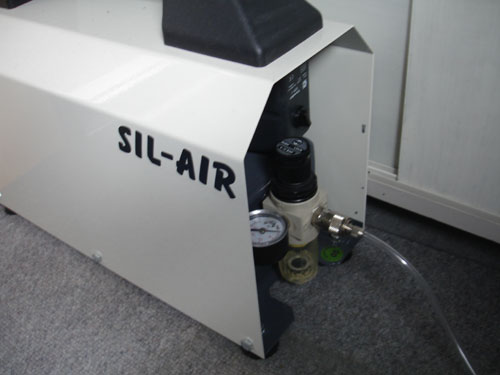
Compressed air comes from nowadays from a SilAir compressor, an excellent and very silent compressor complete with air regulator and water trap. Compressor pressure varies in most airbrush work between a very low 1.0 bar up to 1.6 bar.
3M mask
Very important is the health protective mask, a 3M model 7002 half mask respirator with two filters. I use it every time I airbrush with also window or door open. Regularly I also replace the special carbon filters.
Decalling....
When a model is ready for the decals, first a couple of gloss coats were added to avoid "any" decal silvering. Usually I use...
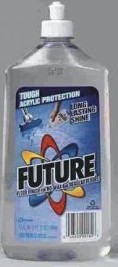
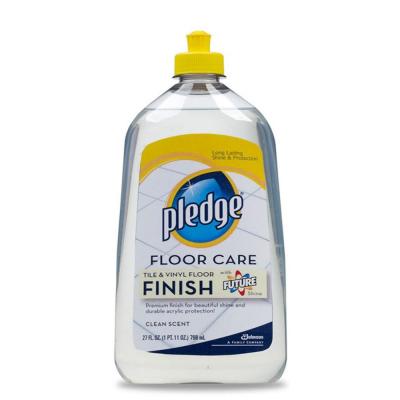
JOHNSON FUTURE / PLEDGE
For finishing the models, usually for the acrylic clear coating used is Johnson FUTURE (renamed Pledge) as it is known in the USA.
Note: often Johnson KLEAR as sold in the U.K is mentioned in the modellers world. It is noted that Johnson Future from the USA is to be preferred as it does not yellow in time. The Klear does a little bit so should not be used on white surfaces! For other coloured surfaces it is fine. And I know: I have both varnishes as used for wooden floors and have used them for many years... The Klear becomes a little yellow after some years.
In the USA the Future was later rebranded/ called "Johnson Pledge Floor Care". It appears to be the same stuff as the old Future.
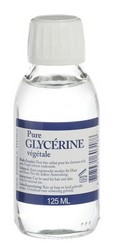
Future and indeed many acrylics can be thinned for a better airbrushing result. Use 70% Alkohol Ketonatus or IPA Isopropylalkohol. A mix of 60% FUTURE + 40% Alkohol gives good results. For better flowing of this varnish mix add a few drops (0,5%) of "Glycerine" that can be purchased at pharmacy drug stores, this really helps!
Future can also be given less gloss effects; you can mix in acrylic Tamiya Flat base X-21 .
This acts as a matting agent. Mix in ratios between 5 - 15% max ! The more matting agent added, the more matt the Future becomes. Be aware of the fact that 15% is really the maximum otherwise you get a "white" sheen over the model. If you use Tamiya, always use their own brand thinner.

In many cases the fine Harder Steenbeck airbrush was used with 0.6 nozzle with pressure at a very low 0.8 Bar. The Future mix is usually not thinned. Spray from not less that 15 cm distance in very thin layers. This gives a nice even sheen.
Prevent Silvering
Tiny air bubbles trapped below applied decals spoil the appearance of a model. The bubbles are caused by a combination of bad decal glue and uneven under surfaces. Future can help here! Here is how it works....
1. as usual, apply a gloss undercoat on the model with Future (see above);
2. cut out the decal to be applied;
3. soak in water and wait a few minutes;
4. pick up the decal with fine tweezers and turn it to its backing; have a wet glass plate ready and use this to help handling;
5. REMOVE the decal glue with a brush soaked in water; slide/move it onto the glass plate;
6. Add FUTURE on the back of the decal with another brush; this will act as glue!
7. Apply prepared decal to model;
8. Carefully rub out any air bubbles with a brush soaked in water.
9. clean the surrounding area directly
This trick will prevent air bubbles very effectively!
End finish
A model looks better with an even sheen varnish coat. The coat also protects the decals for many years. A gloss coat with varnish can be achieved. But in most cases a semi-gloss coat is best done. The best way to apply the coat is with the airbrush. (smaller areas or individual parts can be done with a wide brush).
As described above, Future gloss can be mixed with say 5% Tamiya Flat Base X-21. For a matt sheen, add more Flat base to the mix. Again, for better flowing of this varnish mix add a few drops of "Glycerine" fluid.
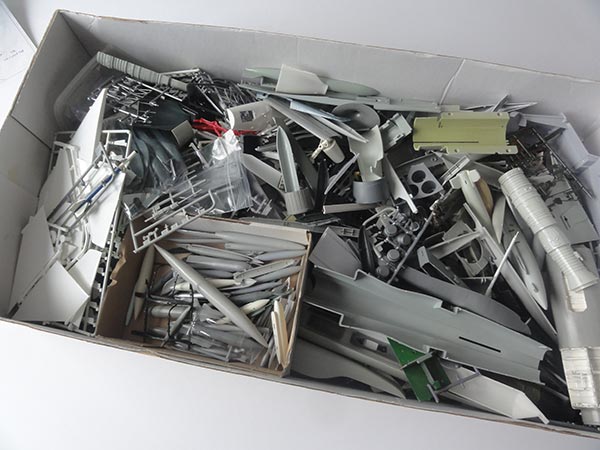
Spares/ Parts
Also, the inevitable but very handy spares box is needed; keep all stuff that you don't need from kits, get from older kits etc. These parts can also be used for scratch building, conversions etc...
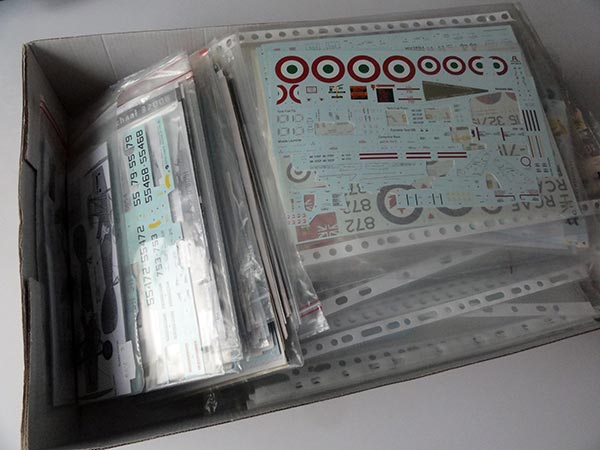
Also, I have a huge amount of spare decals and aftermarket decals. Hundreds of sheets...
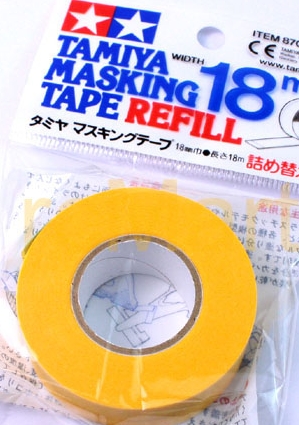
Masking tape
We often need to mask already painted areas, so masking tape is often needed. Very fine low tack masking tape is from Tamiya but a very cheap alternative is to use "wasi tape". It has similar characteristics.
 ...and
.....
...and
.....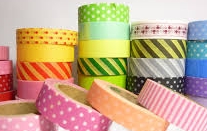 Wasi tape
Nailpolish remover
This stuff bought in department and drug stores can be used to remove putty without sanding! With tissue dipped into the nail polish remover you can sweep off any surplus putty. It works excellent on eg. Tamiya putty. No sanding needed and you protect your model surfaces from scratches.
Cleaning up material
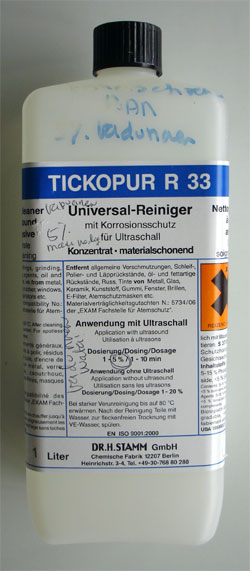
Sometimes, the paint jars, air brushes and other stuff becomes dirty no matter how well you clean up stuff every time you work with it. For drastic measures and clean-up, I use an UltraSonic cleaning device one in a while. The idea is to have the part to be cleaned up in a fluid, the molecules are triggered by the ultrasonic sound. The cleaning fluid is a mix of 80% water and 20% Tickopur R33. Try to avoid any air bubbles in the fluid as it will reduce the effect.
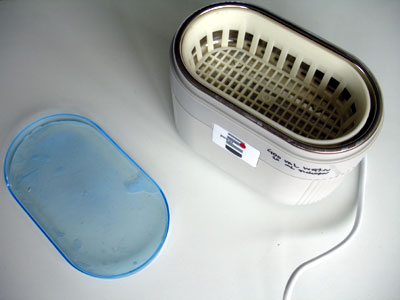 .
.An alternative is called "Blue Wonder" found in many department drug stores:
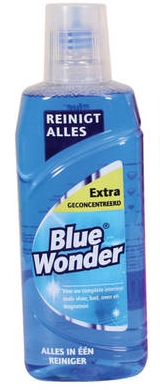
..
Making your own decals
Sometimes self made decals are needed, either because decals can not bu purchased commercially or they simply do not exist.
The "decal design" can be done using a photo, drawing and copier/ printer with scanner. Also, a graphics design program is sometimes necessary.
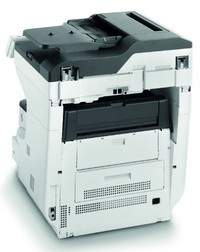
A big issue is to print "white" in the decal. This is only possible with special expensive ALPS or OKIDATA 5 colour printers; another option is to consider printing on white decal paper or to paint the tiny white needed pattern (on decal or on the model). Sometimes, white is the underlying surface on the model, this is than not an issue.
Once the "decal design" is ready and correct to scale size for the model, there are 2 ways to make the decal:
[1] using your own printer at home printing the designed decal on special "decal paper". This requires a good resolution printer (> 300 DPI) and can either be done with a LASER or INKJET printer. The needed decal paper should be appropriate for the type of printer used.
Decals printed with an INKJET printer should be "protected" against the water moisture with several varnish coats. This coat can be special decal protecting coat or at least 5 layers of your modelling varnish. Allow ample drying time between airbrushing coat layers. (Smaller decals can be varnished with a fine wide brush).
[2] using an external third party to print your decals that you designed. Third parties often enable printing "white" as they have the needed special printers such as Alps or OKI with multiple colours. For most third parties, the decal design should be submitted with several layers of colour in the design or a single design layer with "transparent" backround patterns.
Always, it is needed to cut out each individual decal needed and than apply onto the model as usual.
Regularly, as noted above I design my own decals for my aircraft models as these are not available in after market sets or not in a particular scale.
Some modellers also want those decals for building their models and sometimes they send me a mail to ask about a decal sheet. Sometimes, it is possible to provide a sheet....
LOOK AT MY CUSTOM DECALS PAGE HERE...

(c) Copyright Meindert "designer"/ All rights reserved. Your comments are welcomed by webmaster
Created this page
January 19, 2003;
has been updated numerous times...