AS 532 U2 Cougar
[Page 2]
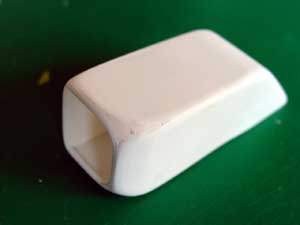
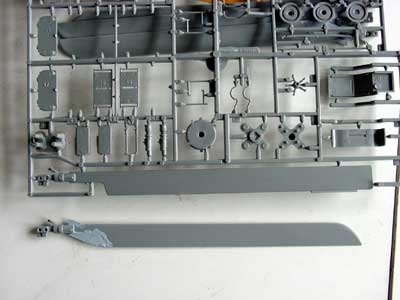
Cougar model in 1/32 scale
Matchbox / Revell Puma Helicopter Conversion
Page 1
Page 2
Page 3
Page 4
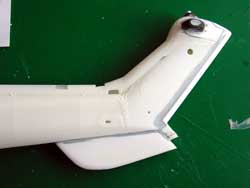
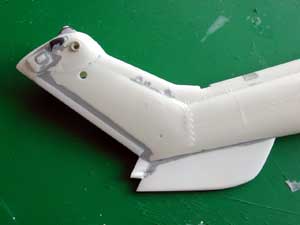
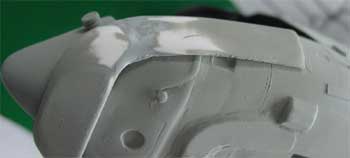
The Cougar vertical tail is much larger than that of the Puma. The chord was extended aft (about 3 mm), bulged fairings were added made from card and Milliput. There is also a large ventral fin and this was made from card. (note: you should account for this when estimating the overall fuselage length)
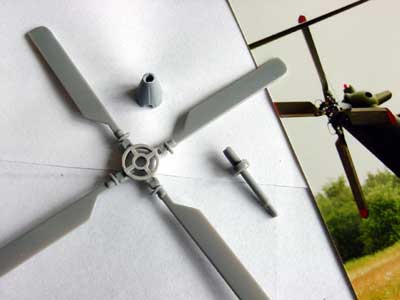
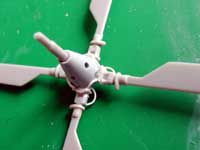
The Cougar tail rotor has only four
blades. Using 4 out of the 5 Puma blades , it can be made with some reshaping.
As the tailrotor diameter is 15 cm larger than on a Puma (= 5 mm in 1/32
scale) , this was achieved through the rotorhub. Also, from an old tank
from the spares box, the conical fairing was made.
Also, the horizontal stabilizer of the Cougar got an "reversed slat". Made from card and strip, this was added to the kit's stabilizer.
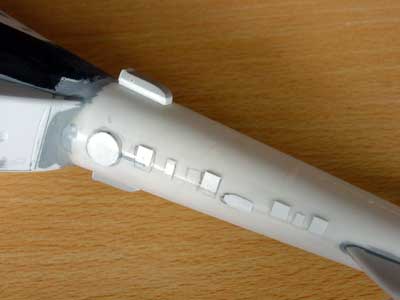
The lower side of the tailboom of
the Dutch Cougar has various antennas and smaller fairings. These were
made from card and some putty.
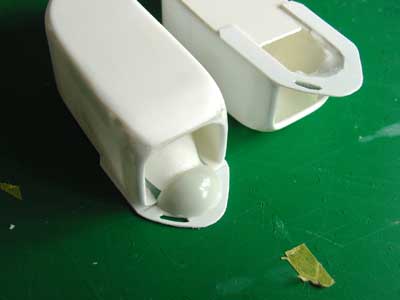
Fairings &
floating gear
The Dutch Cougars have inter-changeable
main gear side sponsons. A smaller variant can often be seen but also the
larger type, called the "maritime sponsons" as they heave flotation gear.
This larger maritime type was made from plastic card. It has quite a complex
shape. As can be seen here, also a metal rod was put through the fuselage
that enables some extra strengthening of the main undercarriage legs (to
be made later on). Bending, glueing, sanding and shaping
was needed. The side sponsons should off course be symmetrical.
 ..
..
 ..
..
Checking was done on the final result
with a light grey base coat.
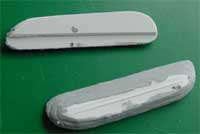
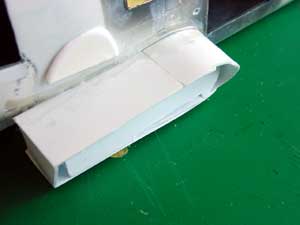
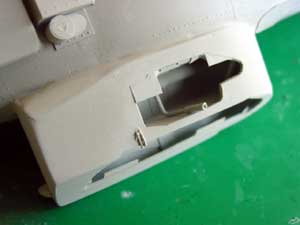
The sponson has a floating gear. This was made as a separate part with several layers of card and putty, sanded to shape.
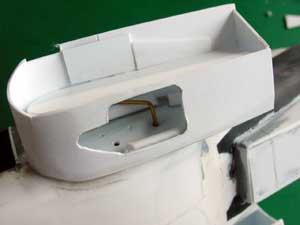
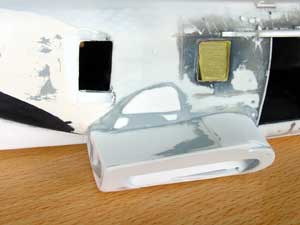
A float gear pack is also present at the lower fuselage nose. This was
again made from card and putty. It's shape requires quite some work here.
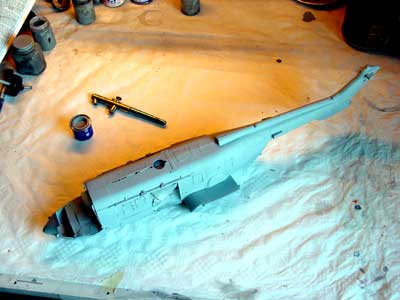
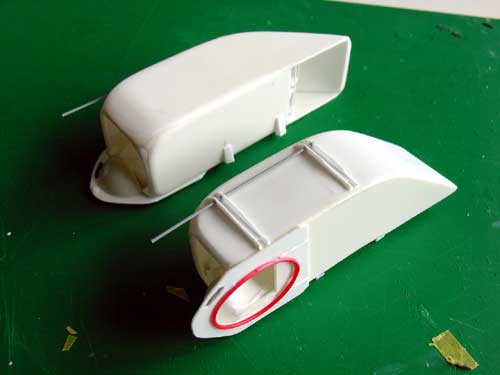
First check
The Cougar is progressing. The engine
compartment can be put on later. So the overall fuselage is seen here and
got an overall coat of light grey primer (Humbrol 64). All flaws were corrected
with putty and sanding... sanding... sanding.
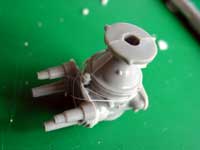
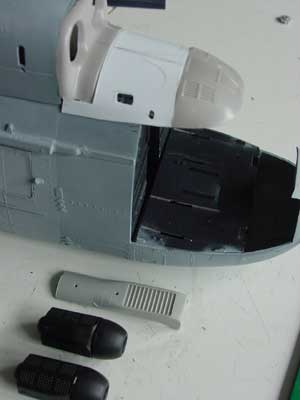
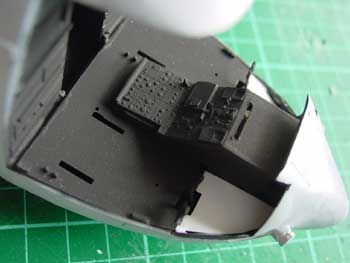
Engine Compartment
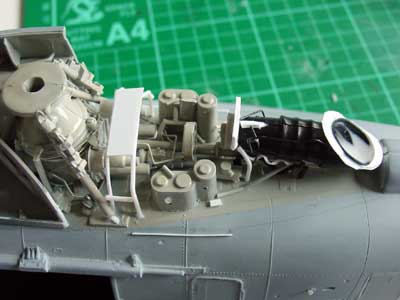
It was decided to also show one engine compartment and the gearbox area. This will add interest to the model.
Two models of rear gearbox fairings
were made: a normal one, and one with special JDD fairings attached (more
on that later....).
Hatches and sliding fairing can be
opened. The basic Puma kit has good parts to start with. A gearbox, engine
and various accessoires boxes are provided. Detailling was done with wires,
stretch sprue rod, etc. Good pictures are essential.
 ..
..
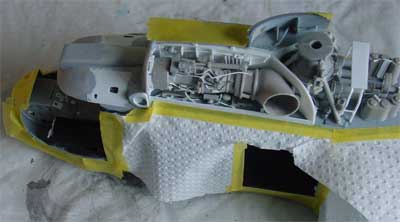
The various basic parts seen above.
The firewall/ bulkhead was detailled
and also note the added details on the slidingrail of the main cabin doors. 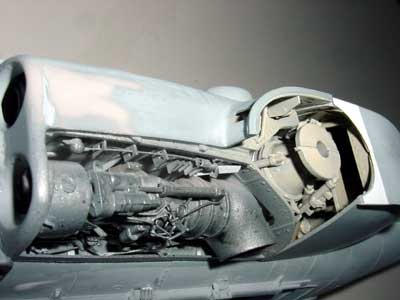
The Turbomeca engine parts with the
aft APU were further detailled.
(Note: the rotor gearbox bridge for maintenance as made and shown here is not symmetrical... it will be replaced later on).
The engine door at the left side will
be kept detachable. It has a kink with a working platform for maintenance
crew. This was all made with sprue and card.
 ..
..
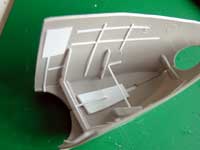
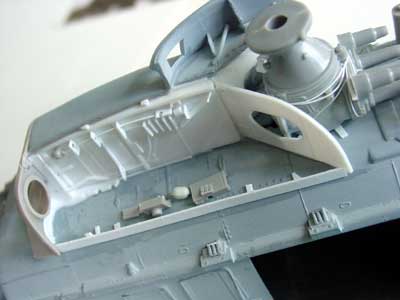
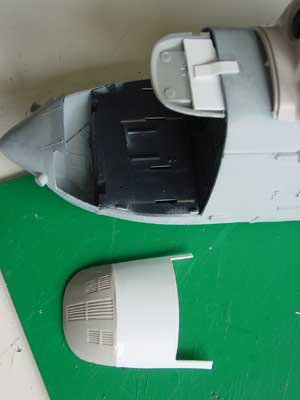
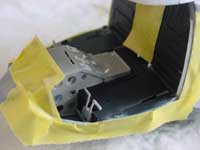
Next, lets look at the Cockpit fuselage area.
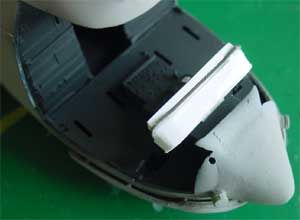
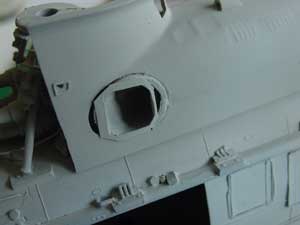
First was the addition of the cockpit roof. This required a longer roof that was made from card. Fortunately, the Revell Puma kits were issued with the intake filters (called MPAI: Multi purpose air intake) to be set in front of the actual engine intakes as seen on Dutch Cougars.

The intake filter have inner nose cone. These were made from the tip of spare 'bombs'. These cones can move and close or open the intake. The positions vary depending on the pilot controls. The intakes may be seen with different left and right openings.
 ..
..
The roof was faired in with some putty. It was assured that later on the clear cockpit windows and doors can be added later on. (note: Cockpit detailling will be considered later on)
There are also air intake compressors
near the sides of the engine intakes. These were made from some card.
The fans were made from very thin card with cuts made for each blade.


The engine section got a coat of
silver and the aft and inner areas a buff color. (The ladder bridge was removed and
a replacement fitted later on).
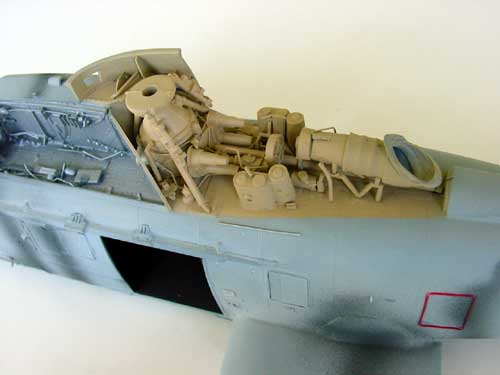
The aft part is the APU with its
exhaust, this will hardly be seen with the aft fairing slided aft.
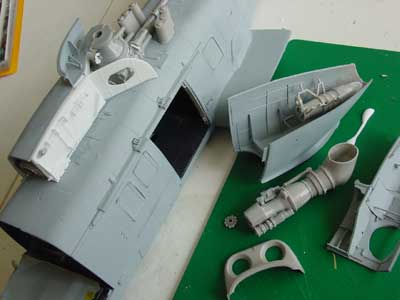
Cockpit area
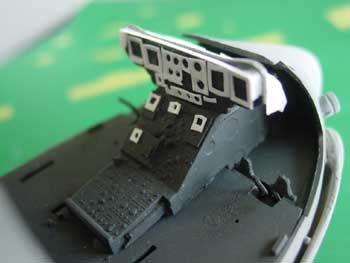
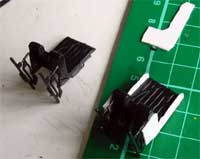
The Cougar cockpit windows are similar in shape as those of the Puma. However, larger lower windows should be integrated in the longer (radar) nose. Also, do not forget to remove the moulded raised frame in the middle of the center windscreen. It is simply not there. Sand off and re-polish using finer grades and sandpaper and Tamiya polishing compound. It is noted here that the cockpit glazing will be installed as late as possible to prevent damage to the clear parts. The cockpit itself has two pilot positions and jump seat between the two bulkheads. Some details were added here such as a floor at the front and a new instrument hood was made from card as well as the EFIS instrument panel.
 ..
..
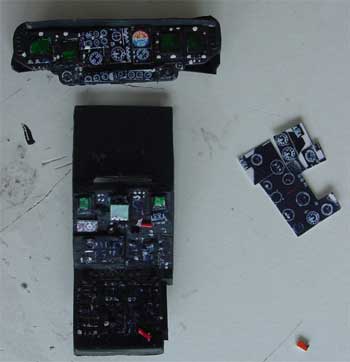
The small instruments were made from
decal sheet and details added from wire and sprue.
The later issued Revell Puma kits
had improved seats. These were given an additional armour side plate. The
cushions are dark blue, seat belt were made from tape and metal details
added from scratch.
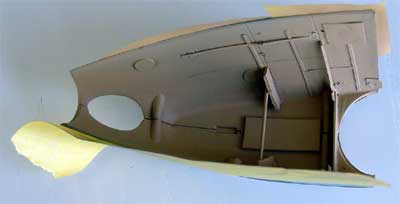
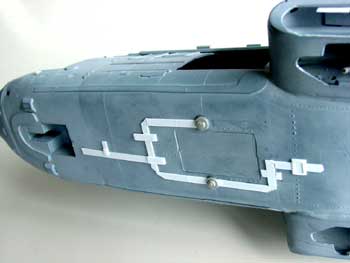
Lower fuselage
The lower fuselage has some external
cable ducting. This was made from plastic strips and faired in. Also note
the various added fairings. The central doors were closed.
The engine exhausts can be of different type on a Cougar and are also inter- changeable. Normally, as with a Puma, a protruding exhaust pipe can be seen as provided in the kit.
Sometimes, the pipe is not fitted and an exhaust JDD (infra red suppression fairing) is fitted.
Dutch Cougars often fly with these pods and they give a nice touch to he model. So it was decided to scratch build 2 JDD fairings and to make them also inter- changeable on the scale model. The pipe was thus cut off the engine part.
The JDD fairings are seen here. Made
from scratch card.
 ..
..
From plastic card the pods were made,
being quite complex in shape. Inner and outher intake ducting is needed,
made from spare tanks and parts from the spares box.
At the rear inner side, there is
an opening with exhaust flow guiding vanes that were added from strip.

The flow goes out on the upper JDD
pod area, making the Cougar difficult to detect with Infrared and less
venerable from lower ground fired enemy infra red missiles.
The JDD pods have some rods and rotating points, made from plastic.
Main Rotor
The Cougar main rotor has four blades with a larger length and curved tip. The model rotor blades will be set in a folded ship deck hangar position. The Dutch Cougars can be operated from naval cargo ships and have foldable rotor blades.
The rotor blades need also some other modifications. First, the innner parts of the rotor blades need to be changed for the AS 532; there should be a fillet in the inboard curved section and this was made from card.
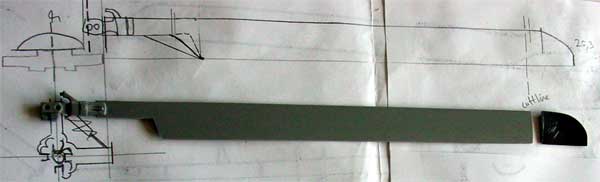
As two Puma kits were used for the conversion with 8 blades available, the extra blades were be used to make the longer blades including the round tips. The blade arms inboard were shortened at the inboard section.
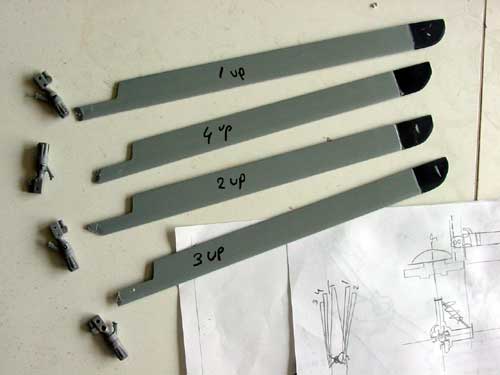
To strengthen the blade attachment points, with a small drill holes were drilled in the blade root areas ready to insert a piece of metal rod (use a paperclip!).
This is a very precise job. The rod is bended for each blade according the required folding angle. Each blade was clearly marked to its position.
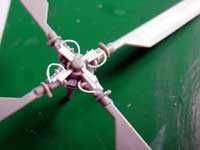
Also a completely new hub was needed,
made from various parts. NH90 experience has been used by Eurocopter to
get an advanced rotor head.
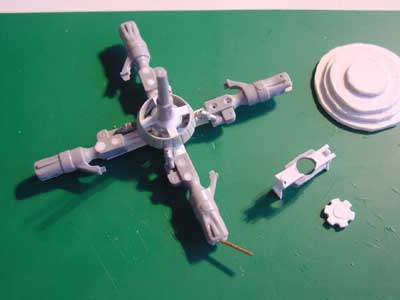
The upper rotor drag reducing head
fairing was made by layering pieces of round plastic disks and sanded in
shape.
This work takes quite some effort
and time to get right.
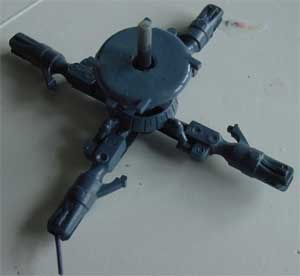
The rotor head, painted in its grey/blue
base coat
Back to 1/32 models....

(c) Copyright "designer"/ All rights reserved. Your comments are welcomed by webmaster
Created November 6, 2005