[ page 1 ]
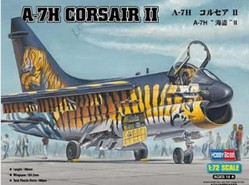
1/72 scale A-7 Corsair II (Fujimi and Hobbyboss kits) modelling report

The Ling-Temco-Vought A-7 Corsair was originally developed as an attack aircraft for the US Navy, designed specifically to operate from aircraft carriers. Vought Aircraft was acquired by Ling-Temco Electronics in 1961, resulting in the formation of LTV. The design of the A-7 Corsair II drew heavily upon the experience gained from Vought's successful F-8 Crusader fighter aircraft, but with a simpler airframe suited for subsonic attack missions. The A-7 Corsair II was equipped with highly accurate integrated navigation and attack systems, as well as advanced weapon release systems.
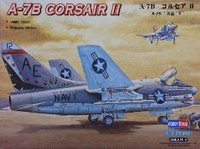
The A-7 Corsair II was armed with two 20mm guns in early variants such as the A-7A and A-7B, but later models like the final A-7E were fitted with a single M61 Vulcan cannon located on the left side beneath the cockpit. The aircraft was powered by either one or two TF-30, and later TF-41, turbofan engines without afterburners. The design featured a round intake with an air duct located below the single-pilot cockpit, and a shoulder wing capable of accommodating six wing pylons. Two additional pylons were installed on the fuselage sides to mount air-to-air Sidewinder missiles for self-defense. A variety of stores could be attached to the pylons, including fuel tanks.
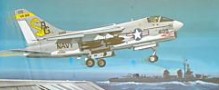
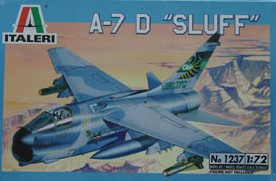
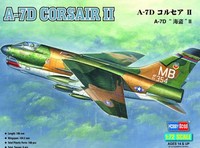
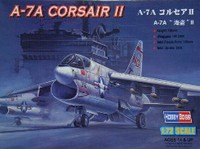
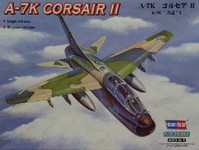
The first A-7 Corsair II prototype took to the skies in 1965, and the aircraft entered service with the US Navy in 1966. The US Air Force was also interested in the aircraft, and the A-7D was introduced with minor modifications, such as the addition of a flight refueling receptacle on the upper fuselage compared to the Navy variants. The Air National Guard used the two-seater variant, the A-7K. The USAF nicknamed the aircraft "SLUFF." During the Vietnam War, the A-7 was extensively deployed by the US forces. The aircraft remained in service with the US military until around 1994, with approximately 1,600 units produced.
Foreign air forces also purchased the A-7, with Greece acquiring a variant called the A-7H, Portugal obtaining a rebuilt A-7A called the A-7P, and Thailand also acquiring the type. In 1976, converted A-7B and A-7C planes were used to create the TA-7C two-seater trainer variant. A fuselage plug of 40.64cm and 45.72cm in length was inserted forward and aft of the wing, respectively. Sixty planes were converted, and the cockpit canopy was elongated and hinged to the right. Some of these aircraft were later upgraded with new engines and Stencel SJU-8/A ejection seats in the 1980s. The TA-7C was the Navy's two-seater variant, while the A-7K was the USAF's two-seater variant with the refueling installation. The TA-7H was the Greek two-seater variant, with five planes delivered.
In the mid-1990s, Thailand got second hand aircraft.
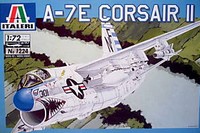
Technical data A-7E single seater: length 14,06 m; wingspan 11,80 m; empty weight about 9000 kg; max takeoff weight about 19000 kg. Max speed about 1040 km/hr; Range about 1200 km, ferry range 4600 km.
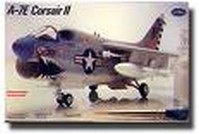
- Look here for a modelling report on the 1/32 Trumpeter A-7E kit....
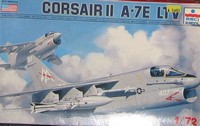
- Go directly to the 1/72 Fujimi kits modelling report....
- Hobbyboss TA-7 on page 2....
Overview
1/72 Models
 .
.  ..
..
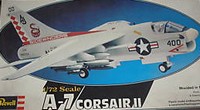
In 1/72 scale
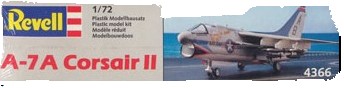
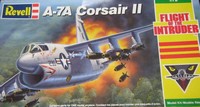
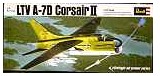
several kits of the A-7 have been around, notably old kits from Revell
in various boxes (A-7A kit H117, A-7D kit H133, kitno 4100, 4391) .
 ....
.... ..
..![]()
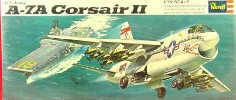
Revell A-7A
Corsair II 1/72 Scale Model Kit #H-114:130 . Revell Kit Number
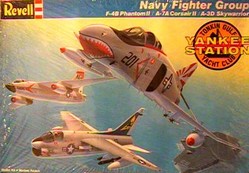
4783 US Navy Fighter Group Set with a F-4B, A-7A, A-3D
 ..
..
..
..
 ..
.. ..
..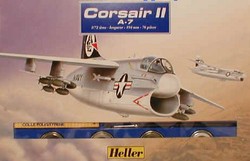
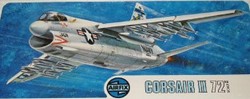
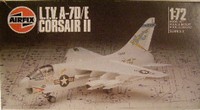
Airfix
had the kit 03016 for a A-7D/E in their series 3. This kit was long the
best kit in the seventies. Heller also issued the same kit, but
with paints as well.
 ..
.. ..
..
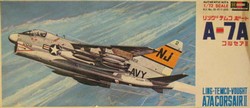
Hasegawa
also issued the A-7A and A-7E in this scale which were not too bad.
 ..
..
AMT
as well as Testors also issued Airfix (?) kits under their labels
in the USA.
 ..
..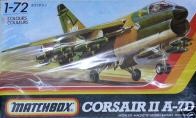
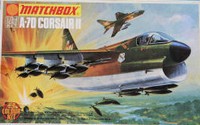
Matchbox
also issued a kit (no.PK-101) for the USAF A-7D with the familiar multi
coloured plastic and very basic detailing.
Also ESCI
and Italeri issued kits, such as for the USAF kitno. 1237.
.. ..
.. ..
.. ..
..
![]()
All these kits
were made obsolete with the coming of 1/72 Fujimi
kits with several versions, boxes and
decals.
Fujimi came
with kits A-7A box F12 , A-7B box F10, A-7E Desert Storm, A-7E box F09
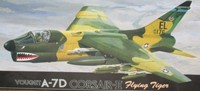
(25009), (72013), (720135) and A-7D (250113) and in Flying Tiger scheme
box F11 (25011).
 ....
....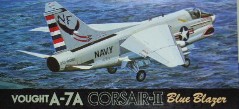
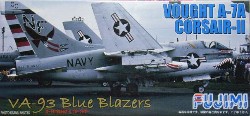
A-7A box F56
of the BLUE BLAZERS / VA-93 and in another box
 ....
....
A-7B box SP9 of the BARN OWLS
/ VA-215 and A-7D USAF version
 ....
....
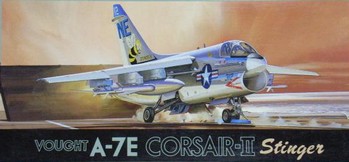
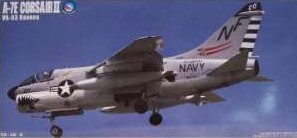
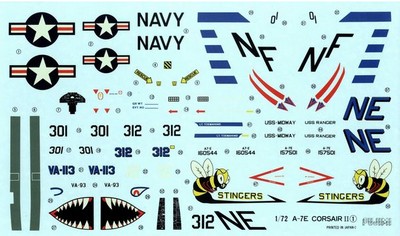
F-9
A-7E STINGERS of VA-113
and F-12 A-7E
of SUNLINERS / VA-81
 .....
.....
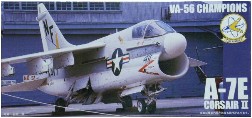
F-51
A-7E of VA-56 CHAMPIONS
The Fujimi kits were a vast improvement over the older Revell, Airfix and Matchbox kits.
All these kits
were single seaters, with TA-7 twoseater conversion sets from Falcon,
Maintrack, RVHP.
![]()
![]()
 ..
.. ..
.. ..
.. ..
.. ..
..
In 2008 also
a new brand came on the market with
HobbyBoss
from China issueing several A-7 1/72 kits, including a TA-7C twoseater
and an A-7K twoseater. These kit are a large improvement again for 1/72
scale modellers having recessed panellines, interesting stores and more
detail, but still some faults (more on that later).
This modelling Report will describe how the 1/72 models of Fujimi and Hobbyboss TA-7 can be made.
![]()
page 2
FUJIMI A-7 CORSAIR II
Two Fujimi kits
will be made, one for a A-7A and one for a A-7E (kitno. F9 ). As
I did not have a A-7A kit, I used the A-7B (kitno. F10 ) for the "Barn
Owls" and did a small adjustment myself.
F9 .. F10
F10
The number
of parts in each Fujimi kit is about 90 and depending on the box and version
you get different decals.
The A-7E has
an extra sprue with fairings, with some smaller parts including the in
the seventies applied A-7E Upgrade cable ducts on the fuselage sides.
Also, stores
are in most kits: 2x AIM-9B Sidewinders , 2x 300 gallon drop tanks and
ejector racks. The A-7E kit has also Mavericks, whereas the
A-7B has Mk-82 Snakeye bombs.
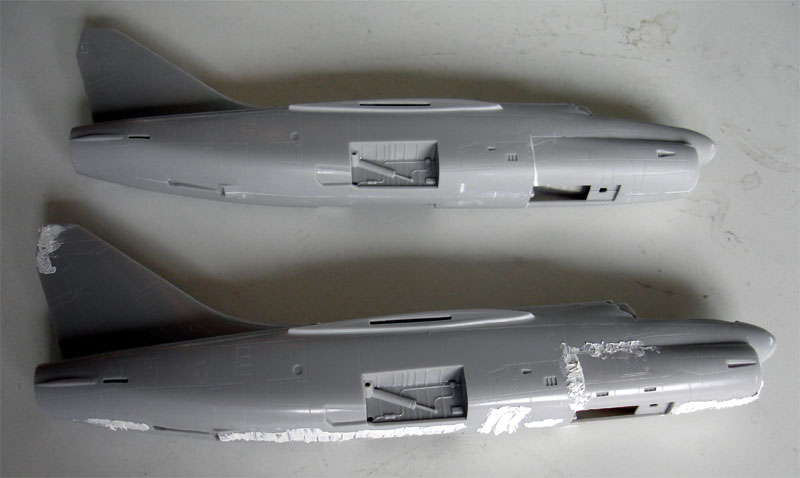
The basic fit for all kits is OK, but the intake and its airduct needs work to fill all gaps which is an awkward job to do. On the other hand, the wing-fuselage joint is very good. The cockpit detail is a bit bare to current standards.
Modelling the Fujimi kits is very easy and straight forward. The cockpit tub can be detailed later on, only the intake ducting needs filling and sanding to hide the gaps. The canopy aft hinge mechanism is not really present in these kits, so adding some detail is worthwhile.
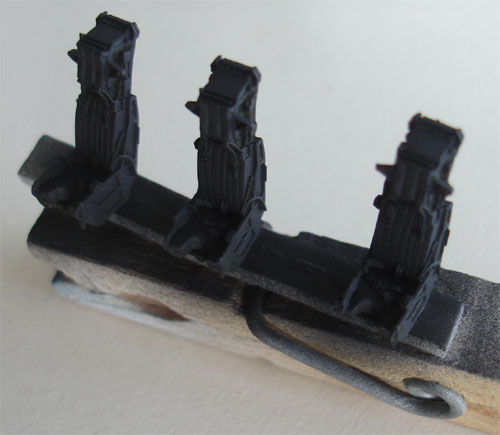
A couple of
Neomega
resin seats were used, although the kit seats are also OK when detailed.
Regarding the
fuselage halves, the small launchbar storage bay in front of the nose leg
is not present, cutting out this small bay would be nice and boxing it
in.

It's important to verify the configuration of the vertical tail fairings at the upper aft training edge and at the lower fin base since the fairings depend on the specific A-7 variant. Fujimi includes several optional parts for this, and you may need to remove some bits.
Similarly, regarding the guns, the Fujimi A-7B kit features two guns in the intake area, while later variants have a single gun fairing on the left lower forward fuselage area. For my build, I opted to create an A-7A out of this kit, with only minor differences between the A-7A and A-7B. The A-7A has a fairing under the rudder-tail junction, so I added a small piece of card behind the base Fujimi part #49. Furthermore, early A-7s had the A30 seat, and the kit seat was sufficient for my purposes.
Overall, the kit assembly was straightforward. However, after completing the fuselage assembly, I needed to use some putty in certain areas. I didn't do too much work on the intake tunnel, as I'll make a protective cover from thin card later. However, I did "box in" the nose gear bay with thin card.
I opted to
keep the wing halves during assembly separate as they fit quite well. This
was done to make spraying the model easier with lower white surfaces and
gull grey upper surfaces and to limit masking.

Sanding was
done and when this was ready, the fuselage with the wing halves were ready
for spraying. An overall light grey base coat of Revell acrylic 75 was
sprayed on to check for any flaws. The pylons, stabilizers and gear doors
were also sprayed separately.
The A-7 US Navy
basic colour scheme is the USN Gull Grey FS16440 and white lower surfaces
FS16875 scheme.
First a matt white coat using Revell
Acrylic 05 followed by a gloss coat with Acrylic 04 was sprayed. The demarcation
line and flying surfaces masked off with TAMIYA
masking tape and the gull grey sprayed on using acrylic Gunze
Sangyo no.315 for the FS16440.
A gloss coat
of Johnson Future/Pledge
was sprayed on to get a good gloss decal undercoat and the models were
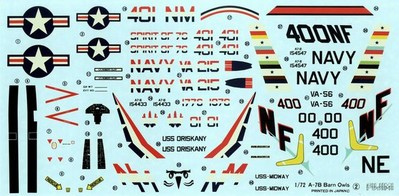
ready for decalling. Decals came from both the kit decals and Microscale
sheet #72-162 for several US Navy models. The Fujimi kit decals are OK,
but I did not like the colours of the US "stars-and-bars". I used Microscale
set #72-84 replacements.
..
kit decals
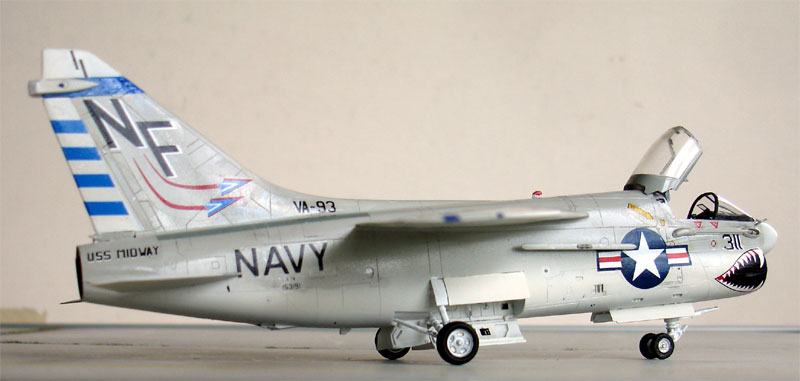
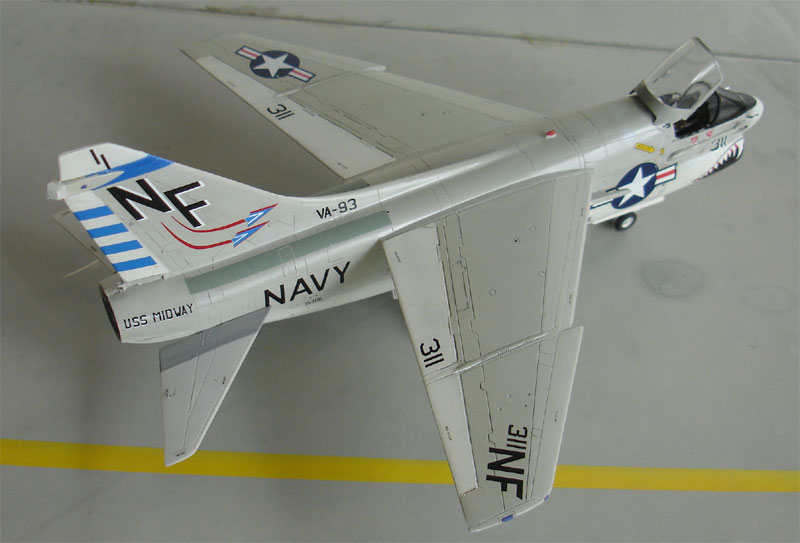
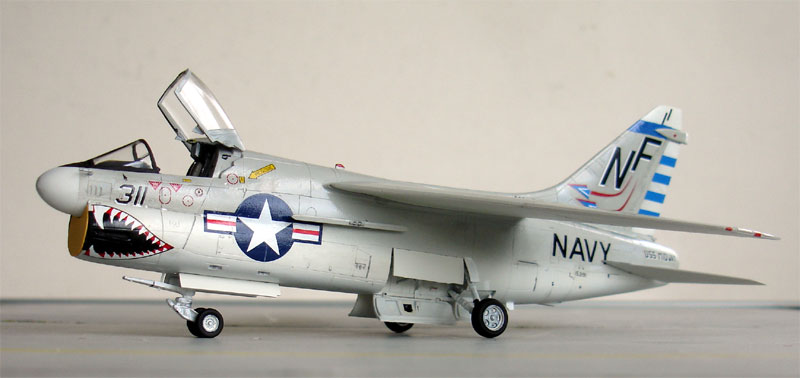
The A-7A
was finished in a scheme of US Navy squadron VA-93 "Blue Blazers" from
USS Midway with the code "NF". The Microscale #72-162 decals were used
for this purpose.
The stabilizers
and aft fuselage have grey walkways for which for the fuselage decals were
used from both the kit and Microscale and for the stabs a walkway was painted.
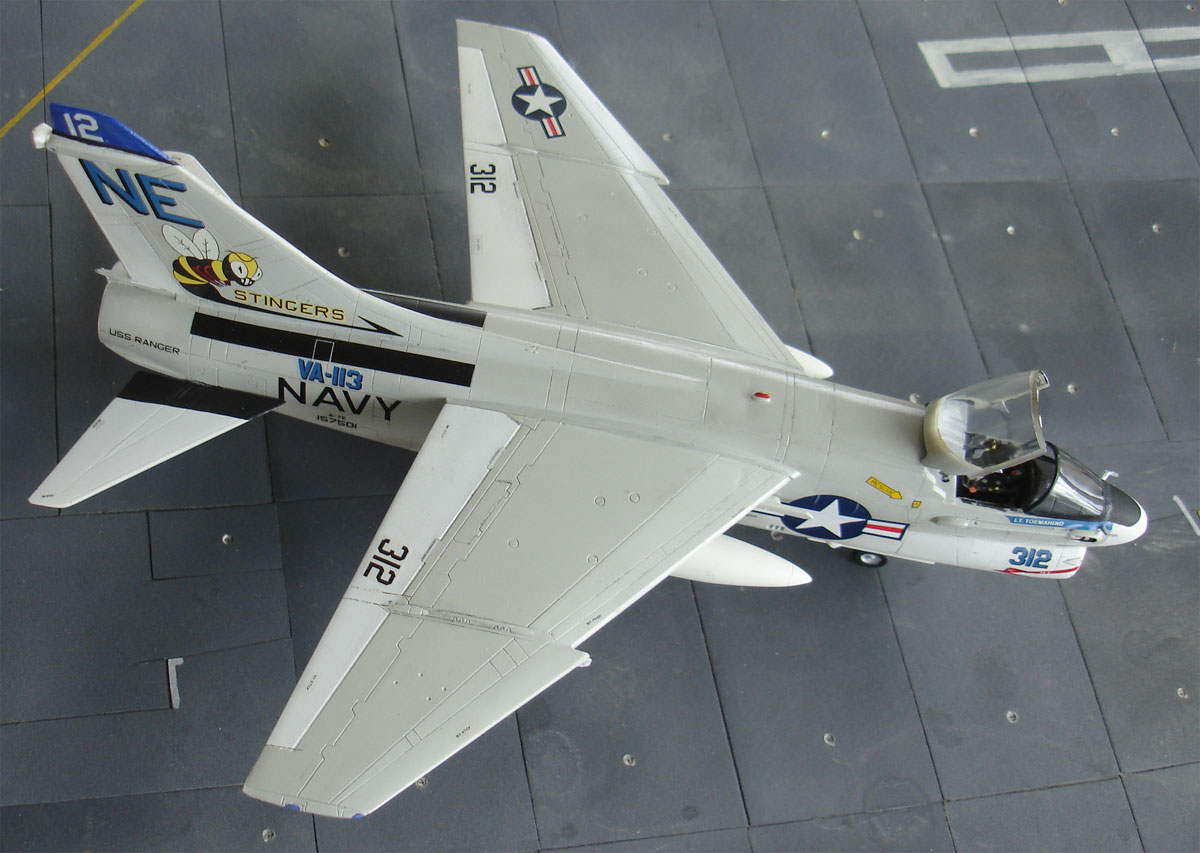
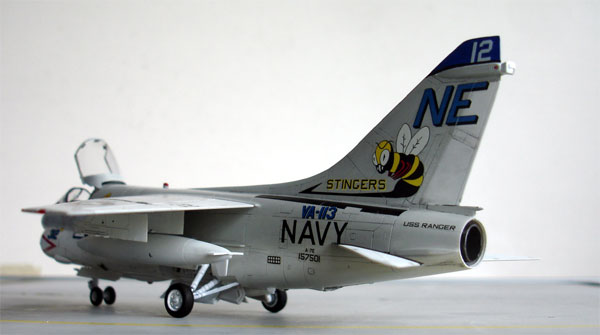
The A-7E
was finished in a scheme of US Navy squadron VA-113 "Stingers" of USS Ranger
using mostly kit decals. Here the stabilizer and aft fuselage have black
worn walkways.
On both models,
the final assembly was done in a similar way.
The wing halves
were added, and very little white glue only needed to fill the tiny gap
at the wing-fuselage junction. This line was painted gull grey with a fine
brush. The gear legs were fitted and some tiny detail added with stretched
sprue in the bays. The gears were painted with, with metallic oleas and
the tyres tireblack and the wheelhubs white. The gear doors were also added.
The horizontal stabilizers are often seen a bit tilted down on Corsair planes at rest, so I cutt in a bit the stabilizer attachment lips and twisted carefully each stab relatively to the lip. They can now be fitted to the rear fuselage tail section.
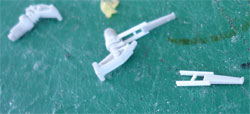
The launchbar
part on the nose leg part #45 is solid. Cutting this off and making a new
one from strip would add interesting detail to the model.
Time now to
finish the cockpit details, with basic light grey cockpit colours and black
instruments for which decals were used as in the kit and with some spare
decals. Detailed seats can be bought from Pavla, Neomega or True Details.
I simply detailed the kit seats with straps from tape and adding bits.
Inside the
tilting canopy also the mirrors were added from cut thin metal (3 for pilot).
The cockpit canopy was painted light grey inside and gull grey outside
with a fine brush.
Both models were completed by painting the anti-collision/ navigation lights and smaller antennas and 2 nose pitot tubes and fixing the canopy. Some stores (also from the HobbyBoss kit) were added as well with their pylons.
Some drybrushing was done in areas as well as adding some darker wash in flap and rudder panellines.
Again a coat of Johnson Future/Pledge was airbrushed on both models to protect the decals and have a nice even sheen.
Some views of the finished A-7 single
seaters...
 ..
..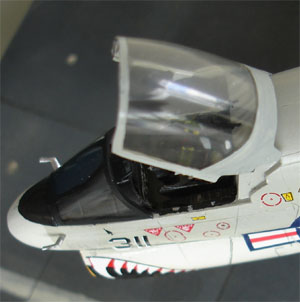
note the canopy locking
system made from card; also a canopy rear bulkhead was added
.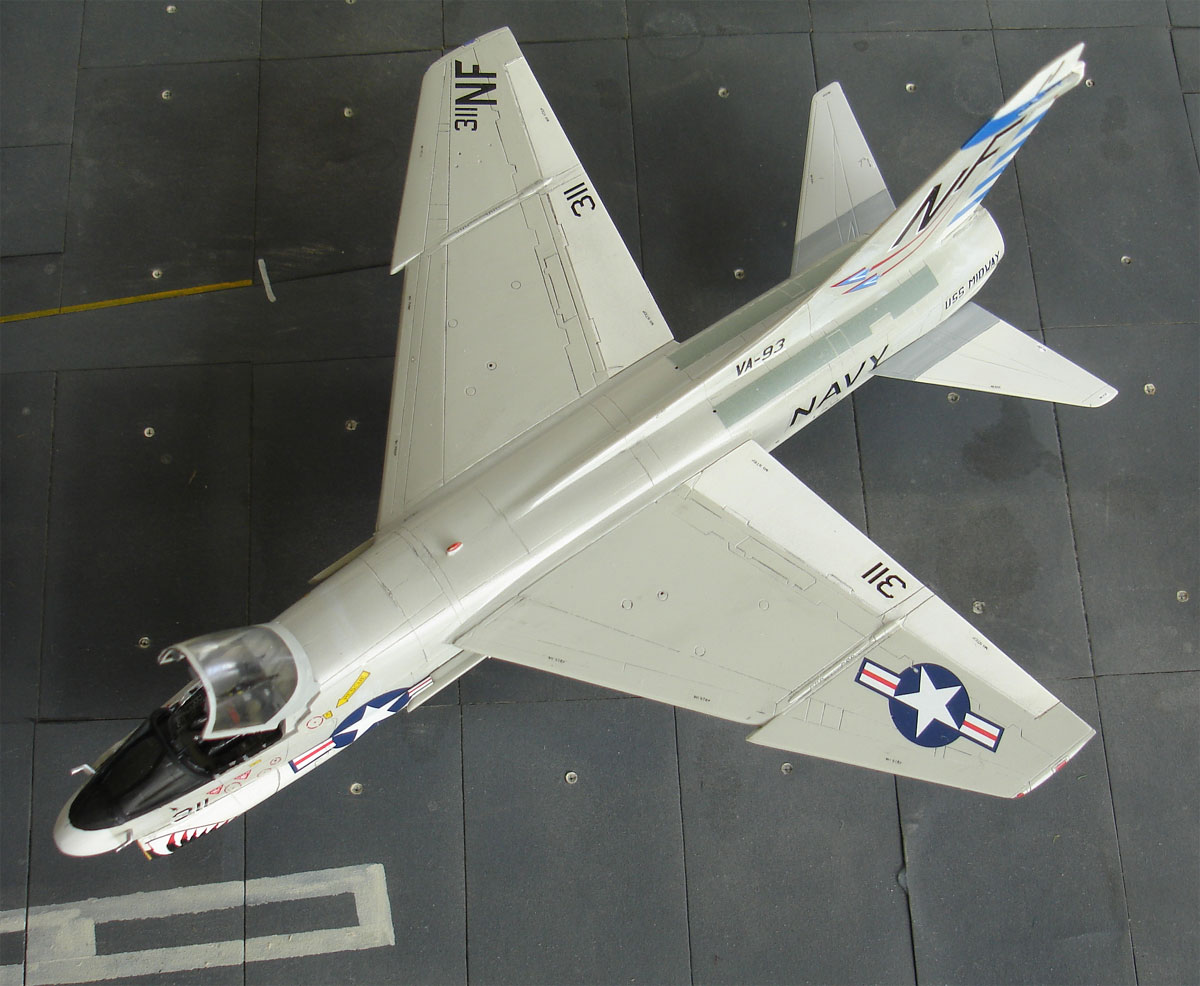
A-7A
VA-93
VA-113

On to next [ Page 2 TA-7........ ]
![]()
Web:
In print: ...
...
A-7 In action, Squadron Signal publications, (several editions) A-7 Walk around, Squadron Signal publications, A-7 Detail and Scale, Kinzey, vol.22 (and others) A-7 Bunrin Do, #131, May 1982, Japan

(c) Copyright Meindert "designer"/ All rights reserved. Your comments are welcomed by webmaster
Created this page Sept 11, 2009