[ page 2 ]
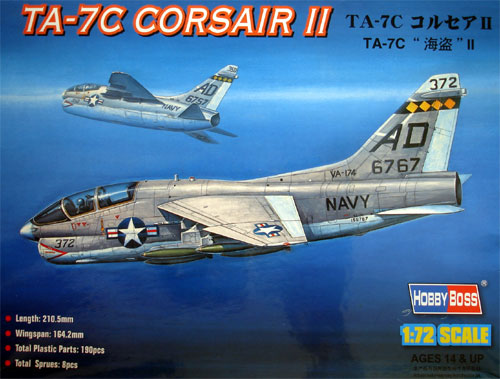
1/72 scale A-7 Corsair II (Fujimi and HobbyBoss kits)
Another A-7 kit was made here, the previous made Fujimi kits can be seen on page 1....
This Chinese
kit brand also issued several kits (see above) for the 1/72 A-7,
including a twoseater kit for the US Navy or Marines TA-7C Corsair
II, kitno. 87209.
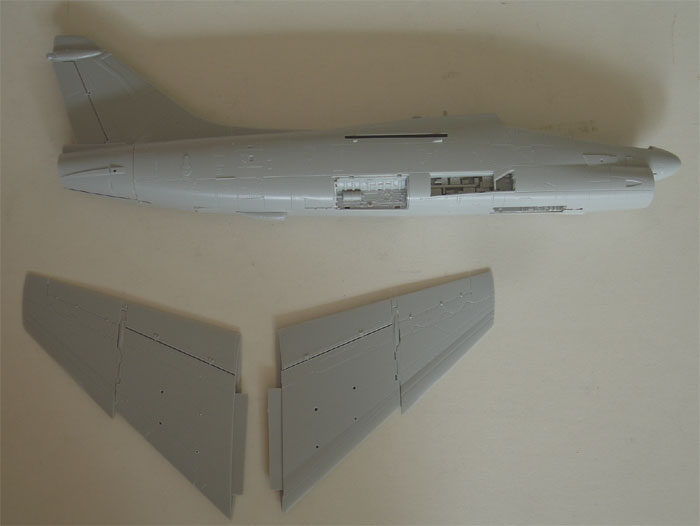
The Hobbyboss A-7
Corsair II kit is a well-detailed model that comes with five sprue sets
and approximately 140 light grey/green plastic parts. One of the best
features of this kit is the inclusion of a large variety of external
stores, such as fuel tanks, FLIR pods, bombs, and Sidewinder missiles.
The parts are impressively crafted, with finely engraved lines and
rivets that replicate the real plane's texture. Additionally, the kit
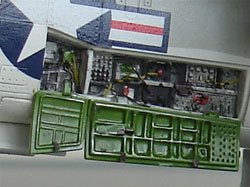
boasts raised details that add a tactile feel to the model. It also
includes several open avionics bays and an emergency power unit with
intricate detailing, which adds to the kit's overall realism.
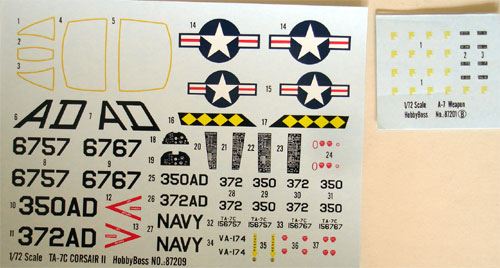
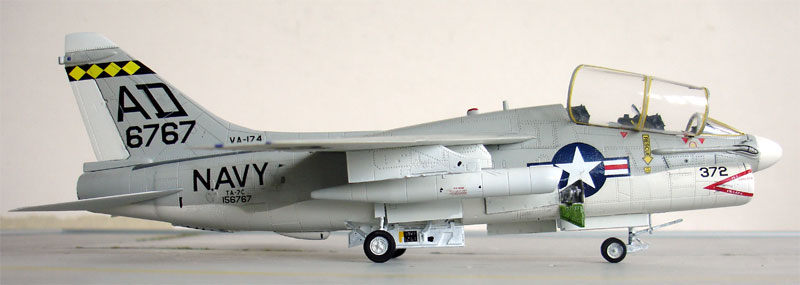
The decals
are good for a US Navy VA-174 squadron plane.
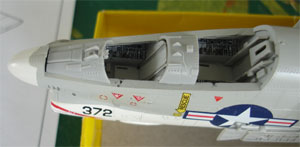
The cockpit
may benefit from adding some extra detail from rod and sprue, but the kit
seats are adequate in this scale. The right rotating canopy has a very
good cross section but there is a seam mark in the middle, this needs to
be removed with a polish/sanding stick and the canopy polished with Tamiya
polish
pasta.

 ..
..
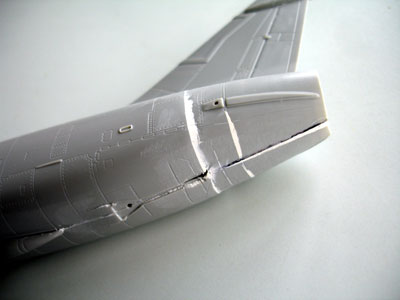
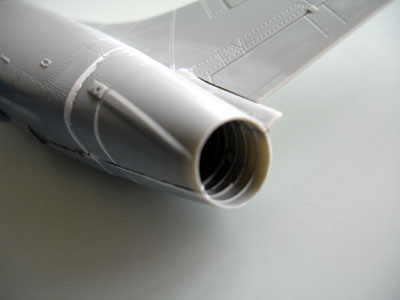
Looking at
the Hobbyboss kit, comparing it to the Fujimi kits and looking at pictures
(see references), I found the exhaust pipe in
this kit (and in fact all other Hobbyboss A-7 kits) being far too wide.
I solved this by cutting, prior to starting the assembly, two vertical
slots in each fuselage tail section ; say 3 cm in front of the ends and
bended the exhaust area end and reduced the width about 1 mm on each half.
The result is a 2 mm reduced tail exhaust area width and a far more convincing
look in this area. This sounds a minor correction but it is really visible!
 ..
..
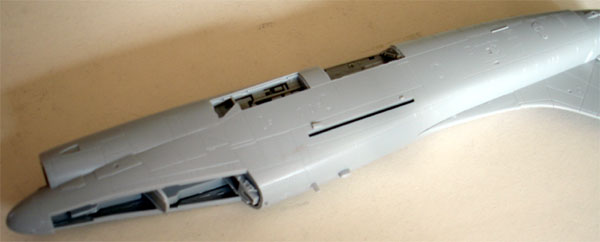
Next, the kit
was assembled as per instructions. I really liked the main air intake with
its tunnel and the nose gear with its detailed launchbar and its storage
area. In the gear bays also nice detail is present as on the insides of
the doors.
The refuelling
boom flat rear part #E1 was cut off and the gap/panel filled.
The fuselage
was assembled but wing halves (also here as with the Fujimi kits) were
kept separate for painting/spraying and applying the decals.
The canopy hinge
details were suggested by adding tiny bits of sprue and card. Also the
mirrors in the canopy were added from cut thin metal (3 for pilot, 1 for
instructor). Canopy and windshield were painted with the brush in Gull
grey.
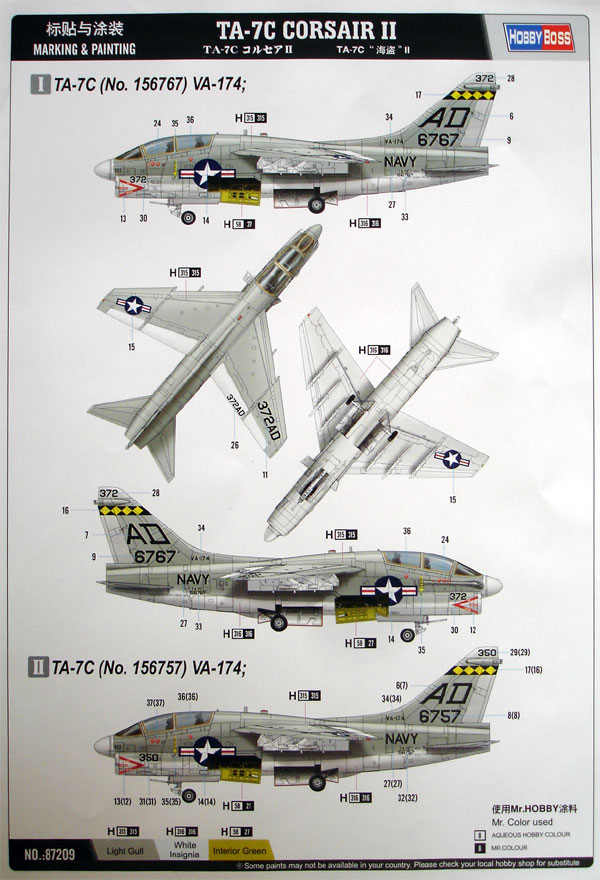
I could not find any after market decals for a TA-7C, so opted to use the kit decals. The scheme is the standard US Navy scheme with Gull grey and white.
I
found the kit decals to be of decent quality and the overall scheme
quite attractive. Following the instructions, I applied the decals for
the US Navy VA-174 plane with the code "AD". However, I did modify the
width of the AD code slightly, by cutting out a section of the "D" to
make it 1 mm (0.05 inch) narrower. To ensure a neat finish, I used a
fine brush to paint the edges of the black and yellow diamond markings.
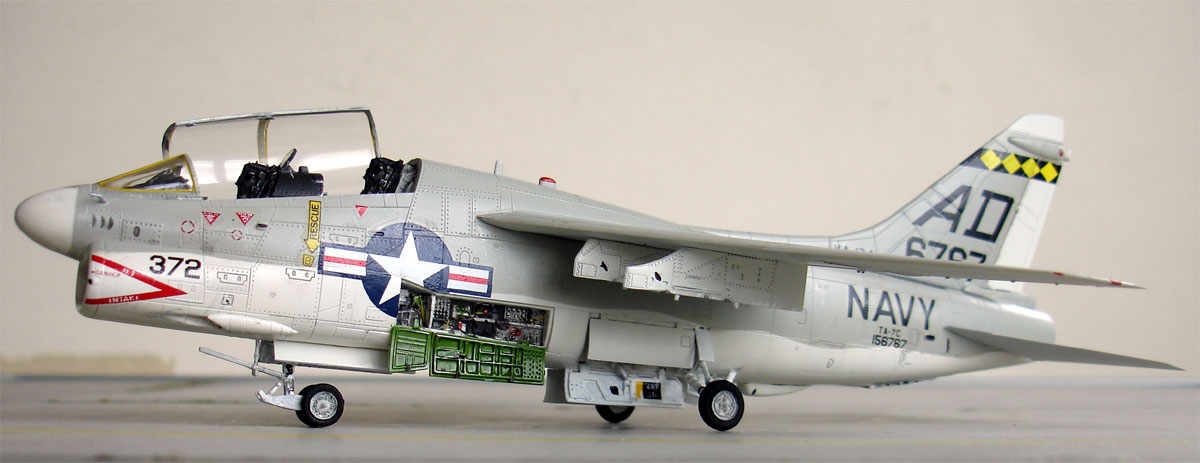
I
applied all the decals carefully to both the fuselage and wing halves,
but I encountered some difficulty with the yellow canopy framing
decals. These required me to trim away the inner decal film with a
fresh X-acto blade before applying them. It was a fiddly process that
demanded both care and patience, but the end result was worth the
effort. I fixed the frame decals in place using Johnson Future clear,
applied with a fine brush.
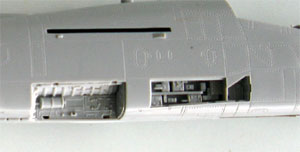
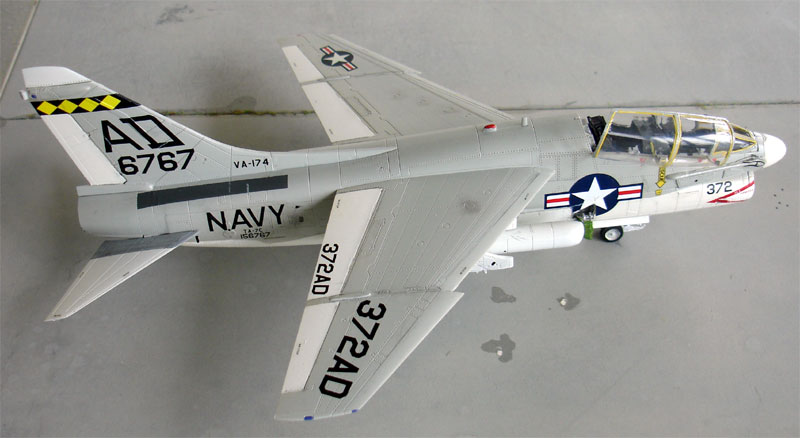
After decalling, I fitted the wing
halves to the fuselage, filling the junction gap with white glue and
then painting it gull grey when dry. I also added various gears, doors,
and other details to the model. To add further realism, I kept one of
the avionics hatches open on the left side, while closing the one on
the right. However, I did encounter an issue with the hatch part #D30,
which I discovered too late was a poor fit. To rectify this, I trimmed
the part and filled the edges with white glue before painting them
white once dry.
Time for finishing the model with
details, like the cockpit. The cockpit is quite well
detailed, some white glue was used to close the gap between the rear instrument
panel #C15 and the cover #C5. I also used the instrument decals.
Inside the canopy, the rotating mechanism
was suggested with some card and rod. The yellow framing is from the kit
decals. Also mirrors were added cut from thin metal. The result:

Some extra "wire"
and cables were suggested in the avionics bay from copper wire and sprue.
Some drybrushing was done in areas.
The anti collision
light was added as well as some tiny antennas and 2 small nose pitot tubes
from rod which are missing in the kit. The model was finished with adding
some stores with their pylons to the model. (Note: the fueltanks can also
be fitted on the inner stations #3 + 5 ).
Finally, a coat of Johnson Future/Pledge was airbrushed on to protect the decals and have a nice even sheen.
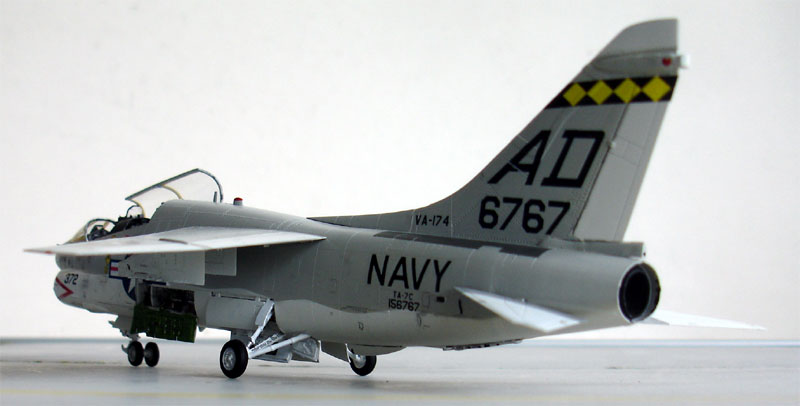
VA-174
TA-7C
.
FLIR pod seen on inner pylon

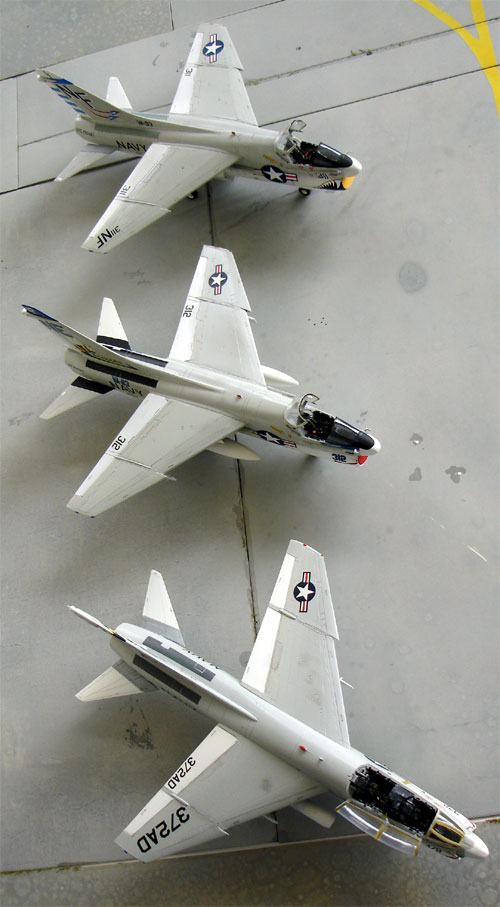
And that is
it! Three nice A-7 Corsairs II models in the 1/72 scale collection.
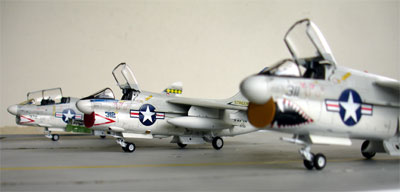
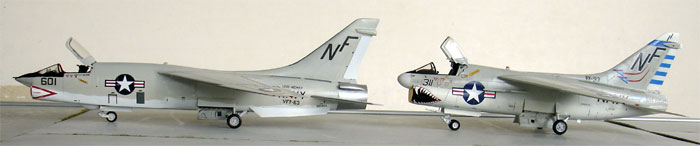
and F-8
Crusader as compared to A-7 Corsair II
On to next
A-7 [ Page 3... ]

(c) Copyright Meindert "designer"/ All rights reserved. Your comments are welcomed by webmaster