Amodel
[ page 1 ]
1/72 scale kits of the Yakovlev YAK-25 : various Amodel kits and Red Hurricane
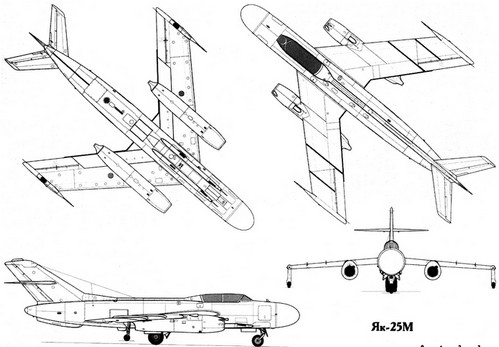
The Yakovlev
Yak-25 was a swept wing, turbojet-powered interceptor aircraft and reconnaissance
aircraft designed by the OKB Yakovlev in the Soviet Union. Production started
beginning fifties and it was displayed at the Tushino show 1955.
Several versions were developed over the years.
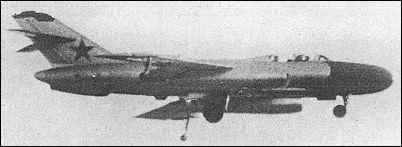
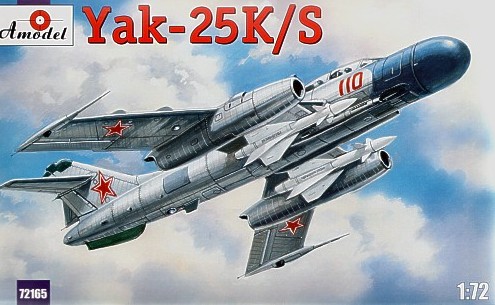
The Yak-25
K/S was an interceptor version and NATO called it "Flashlight A". Engines
in nacelles were the RD-5 and it could fly a top speed of about 1,000 km/hr
. The two seat cockpit had a tandem seating arrangement and the SOKOL
radar with a search range of about only 20 miles was operated by the radar
operator. It has a round radar nose. Two N-37 37 mm cannons were
fitted.
Some interceptor
versions had 2 pylons with RS-1 /K5 missiles (AA-1 Atali NATO code). The
Yak-25 K-75 could carry also 4 K75 (izdeliye 129) missiles. Probably these
latter missiles never went into large series production.
About 450 YAK-25 aircraft were manufactured and only used by the Soviet USSR VVS. They were withdrawn end nineteen sixties. It was liked by its pilots.
The YAK-25 RV had a straight wing with large aspect ratio for low drag high altitude reconnaissance missions. (just like the American Lockheed U-2). NATO called it "Mandrake" and it had R-11 turbojet engines. It flew in 1959 with about 160 aircraft manufactured which flew operationally well into the seventies. It probably never flew missions above the USA nor Western Europe. Some were used a remote controlled drones, SIGINT missions and radiation measuring aircraft. The YAK-25 RV-II was a drone training aircraft.
The YAK-25 family also evolved into the YAK-26 family of supersonic aircraft and the YAK-28 series / NATO "Brewer".
See also references below....
![]()
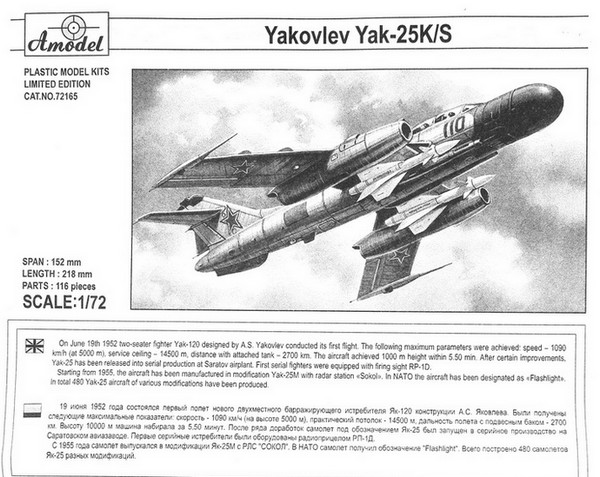
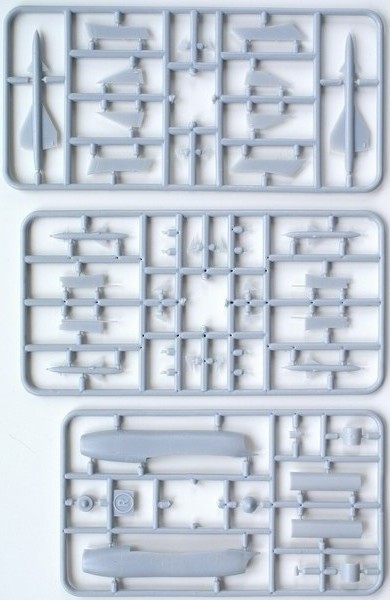
Amodel issued a YAK-25 series of kits in 1/72 scale in 2012:
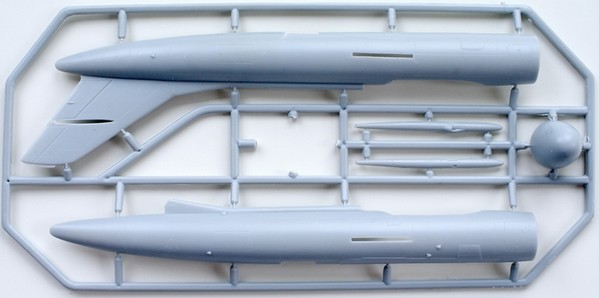
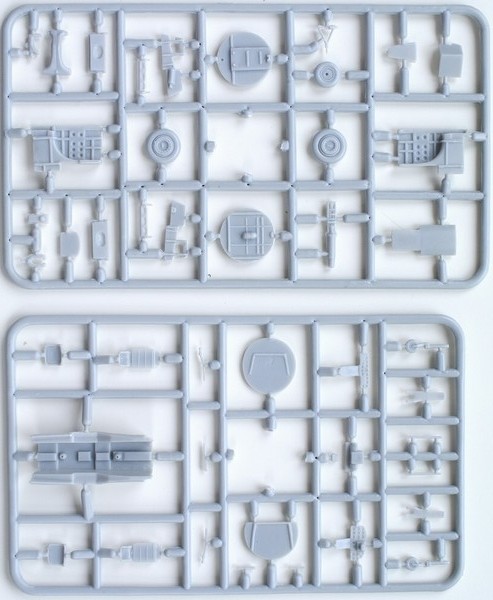
- Yak-25 K/S fighter version kit # 72165 with about 116 parts on 10 sprues.
- Yak-25 RV-II "drone" version kit # 72212 with about 75 parts on 8 sprues;
- Yak-25B bomber kit # 72185
page 2
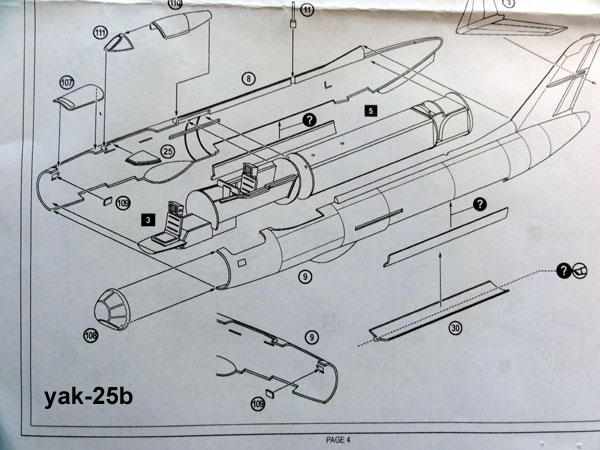
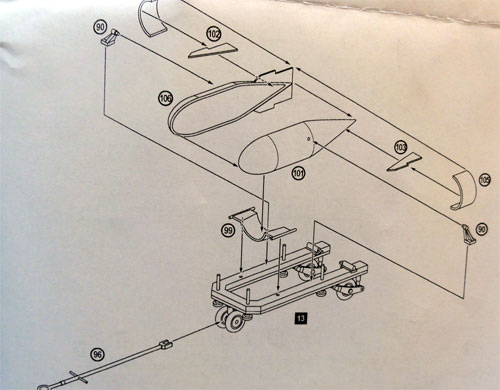
Note: Amodel also has a kit # 72185 for a Yak-25B "bomber" with a nuclear bomb ?. Some notes on this kit.
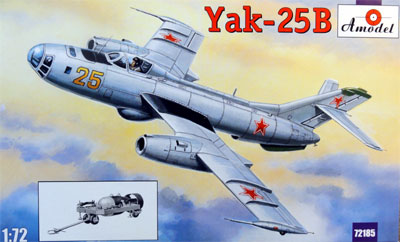
It has bomb bay included and separately "the bomb" on a trolley.

![]()
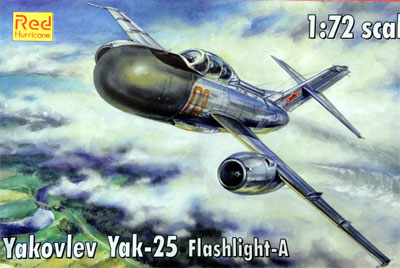
A much older 1/72 kit I once obtained
was from RED HURRICANE.
It is very crude and it is improbable
that it ever wilt be built by me... The Amodel kits being much and much
better....
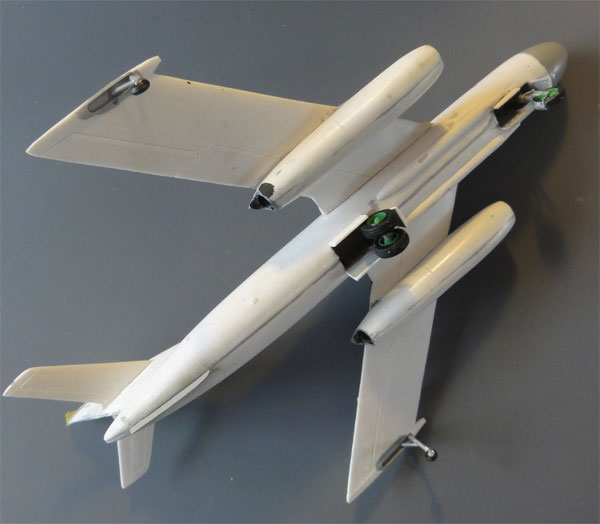
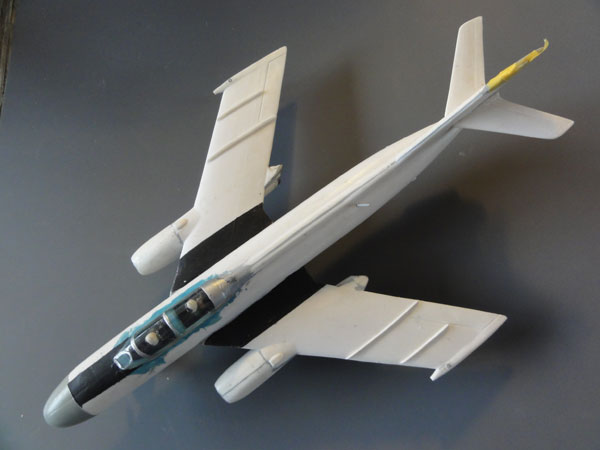
My friend Stef attempted a built,
some pictures seen here.... Large amounts of filler and sanding required...
![]()
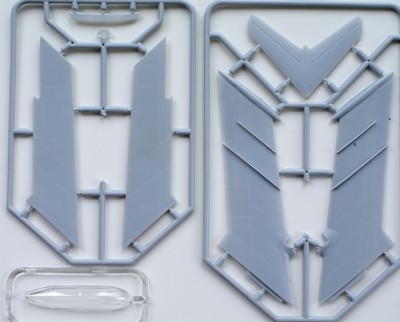
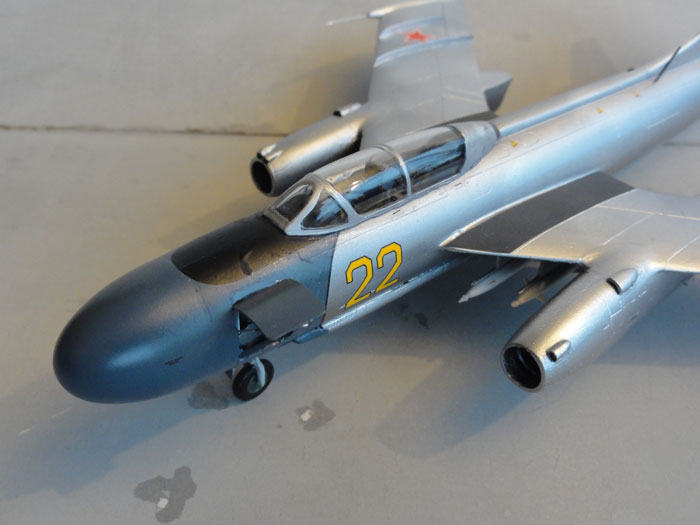
YAK-25 K/S
This kit comes with pylons and missiles,
typical for this fighter. They are installed between each nacelle and fuselage,
in reality this must have given tremendous drag..... But this is
an early generation Soviet Cold War jet fighter....
The missiles are interesting. Amodel
suggests for the Yak-25 K/S :
four
K75 (izdeliye 129) missiles for K-75 version;
two (AA-1 /
RS-1 /K5 missiles) for the Yak-25 S;
both options are in the kit.
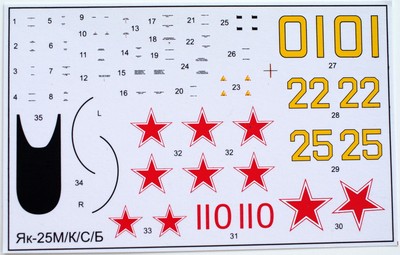
Decals are for 2 VVS aircraft, both
in natural metal.
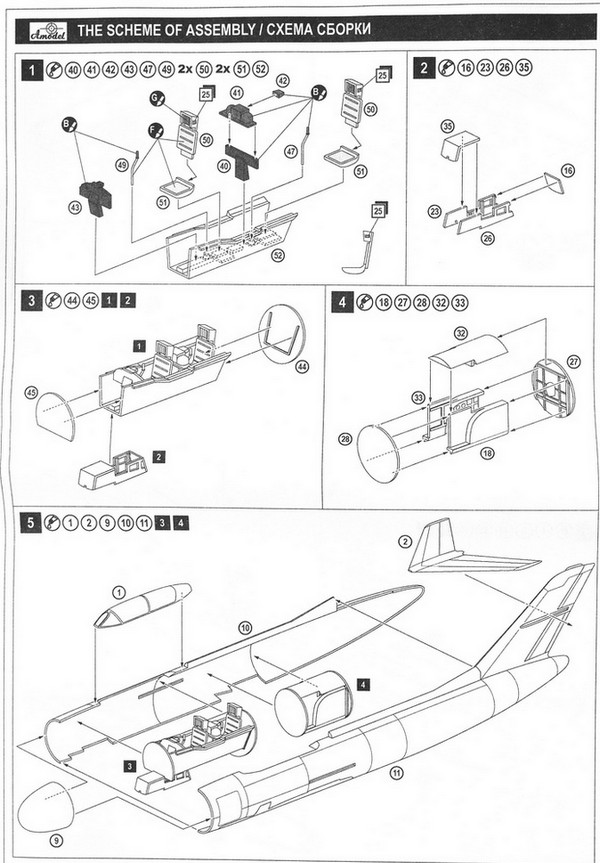
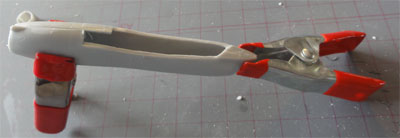
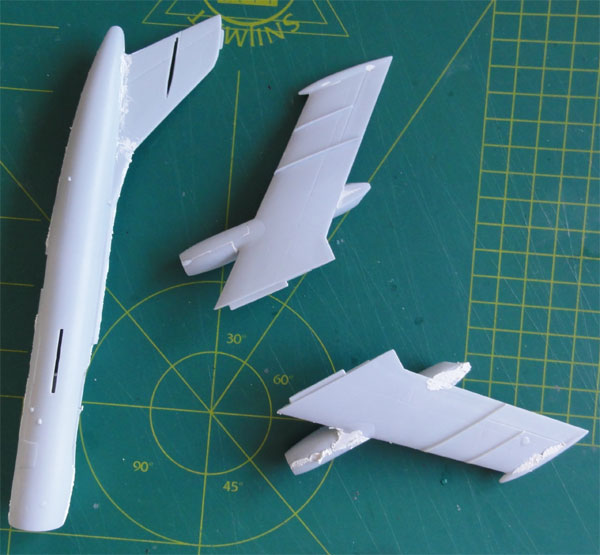
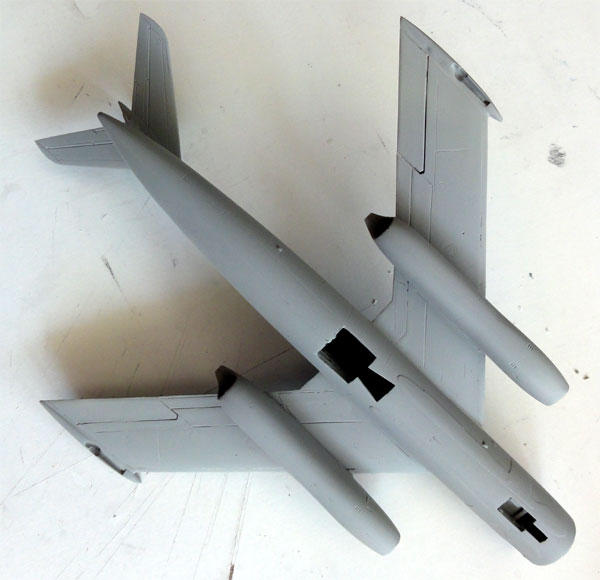
Constructions starts with the fsuelage
and cockpit tub.
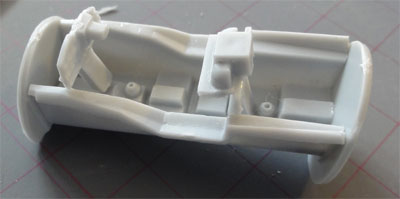
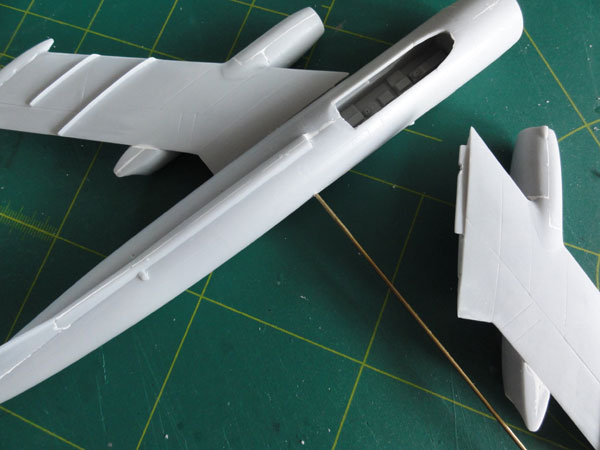
I decided to open up a hatch , adds
interest to the model.
The interior being built.... Some
scrap parts were set inside the open hatch. The rear main wheel bay is
a bit awkward to assemble.
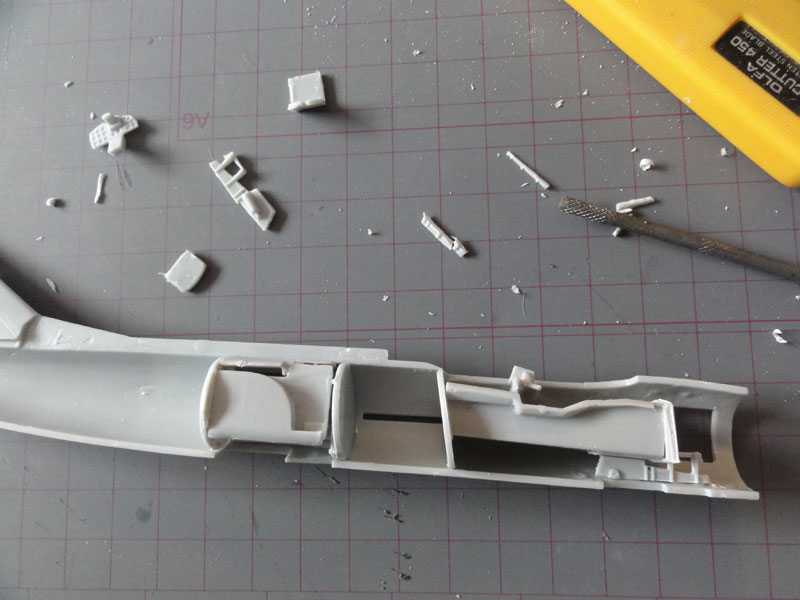
The seat back rests were made shorter
in length (parts #25). The fuselage fit is not bad.
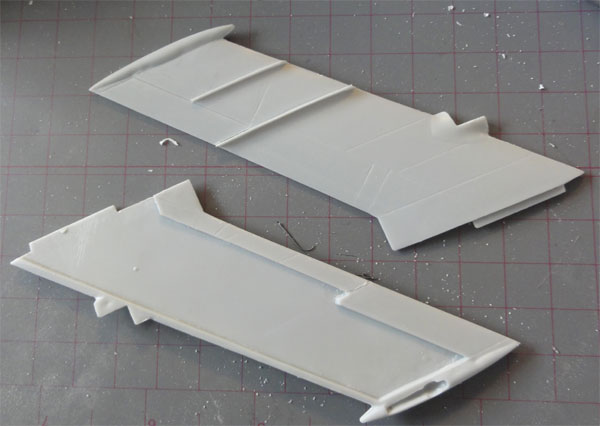
The flying surfaces edges like the
rudder and ailerons were sawed in for greather realism with a TIGER razorsaw.
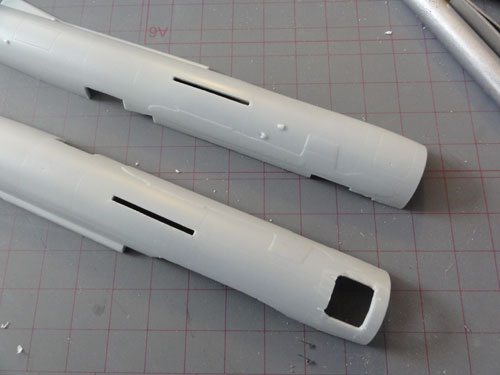
The nacelles needed some persuation
to fit and align up... The air intake tunnels and first fit the nacelle
on the wing in STEP 8 before adding further details.
Filling and sanding was needed at various places but nothing hard and that can not be taken care off.
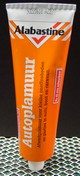
I used ALABASTINE CAR FILLER, which is a white colour putty. This is a fine putty that is cheap, does not shrink a lot and is very fine.
Do the filling and sanding at each
sub assembly before assembling bigger sections. Otherwise it is difficult to reach parts for sanding.
In order to fit the horizontal tailplane,
enlarge the gap to fit it in. At the wing tip fairings, fill plastic shrinkage.
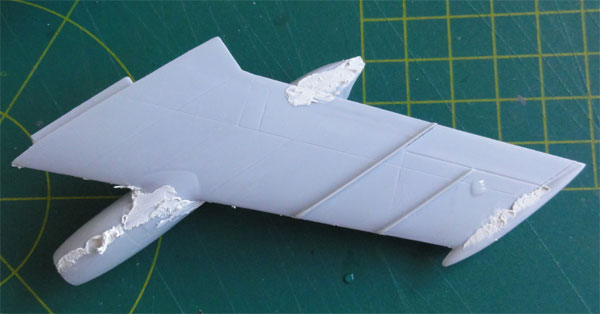
I added a metal spar made out of a
bicycle wheel spar. Holes were drilled at the wing-fuselage mating surface
and the spar will run some length into the lef-wing halve - fuselage -
right wing halve at the roots.
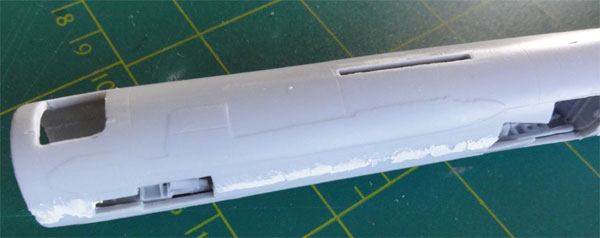
Some filling was again done
at the wing-fuselage joints.
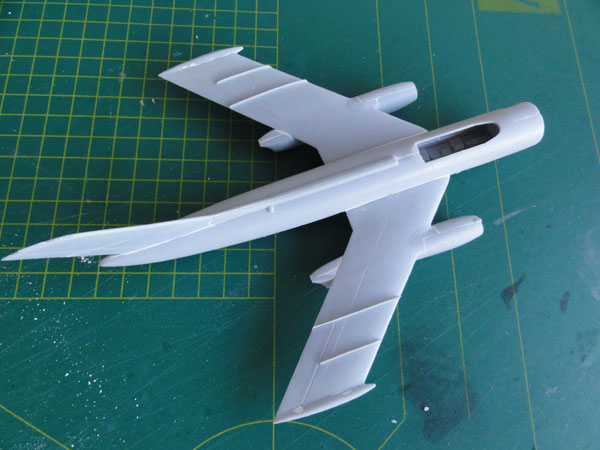
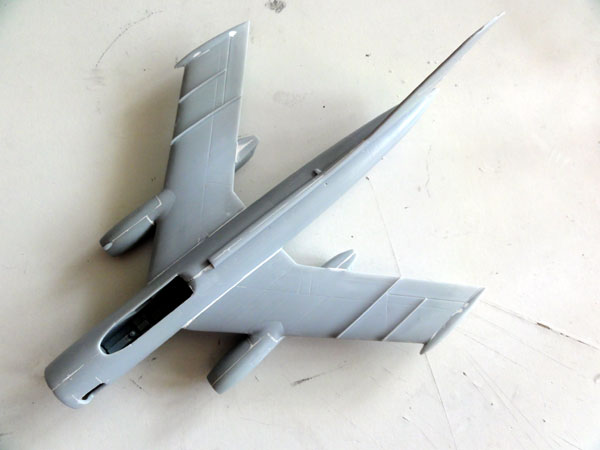
After sanding, the overall model
got a coat of base light grey applied with the airbrush to check for any
flaws using the Harder Steinbeck
airbrush.
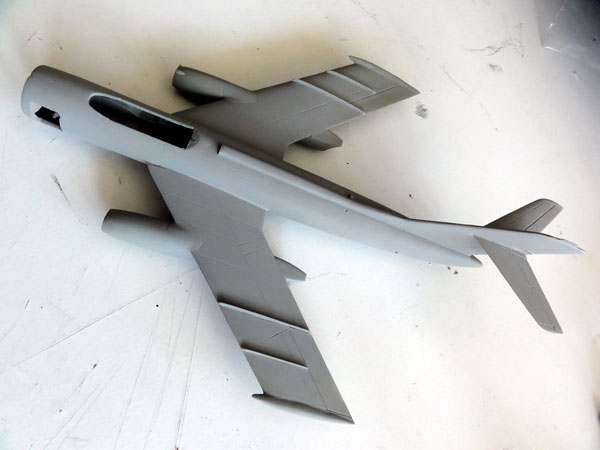
Strangely, the radar nose was not
yet fitted as seen above, I have no idea why! Better do that as well.
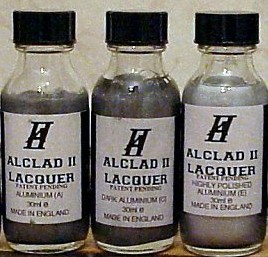
The model would get a natural metal look using the kit scheme (1) and using the ALCLAD II system.
First, the radar nose after fitting was airbrushed, Amodel suggests Humbrol 89 middle blue, I used Gunze Sanyo H56 grey-blue acrylic. On top, later a black antiglare panel will be added from decal.
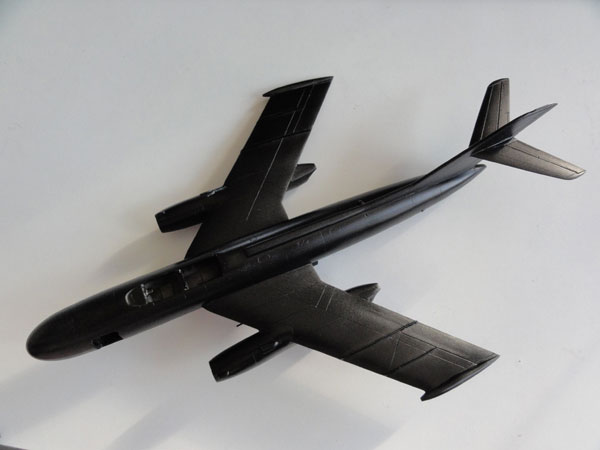
After dryling, the nose was masked
off. Next came a necessary gloss black undercoat that was airbrushed using
REVELL AQUA #07 Black acrylic as base coat.
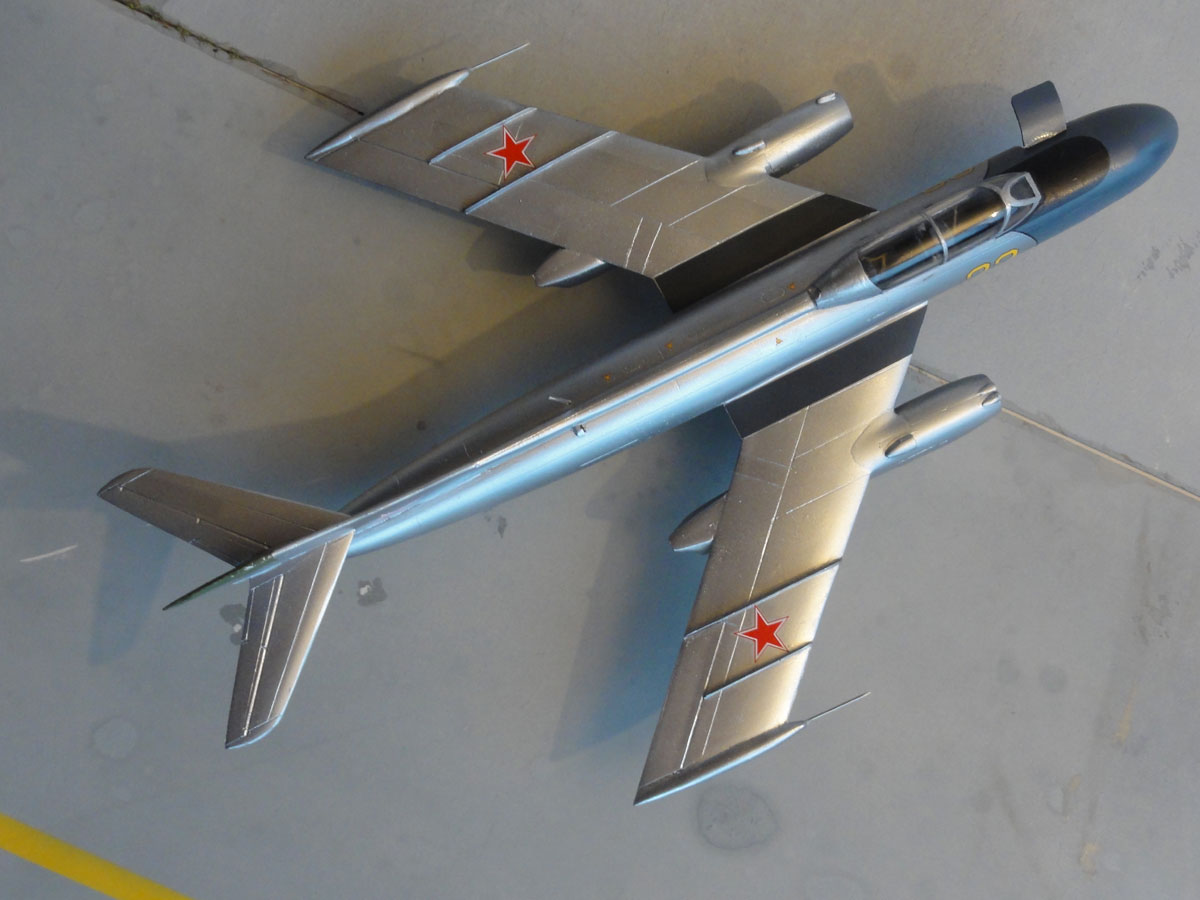
After drying a few days, I than used a special trick and masked a few panels with tape to get a different panel effect.
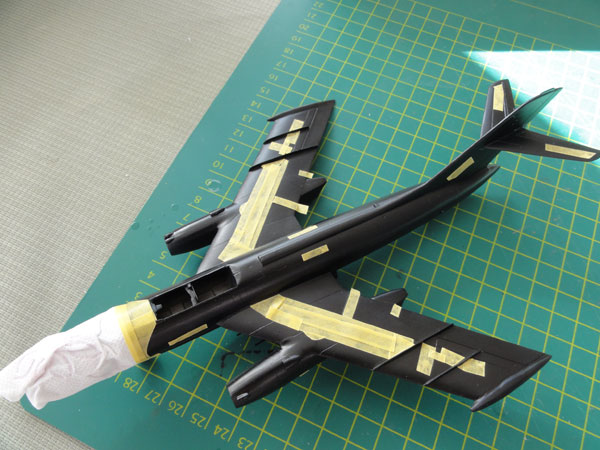
Next came the metal paint using ALCLAD Aluminum ALC-119.
A few passes with the airbrush covered the first coat. Than, the masked tape was removed from the panels and a few next passes done with the ALCLAD filled airbrush. Only a few passes, and this gives a "different" panel effect. Quick and with limited effort.
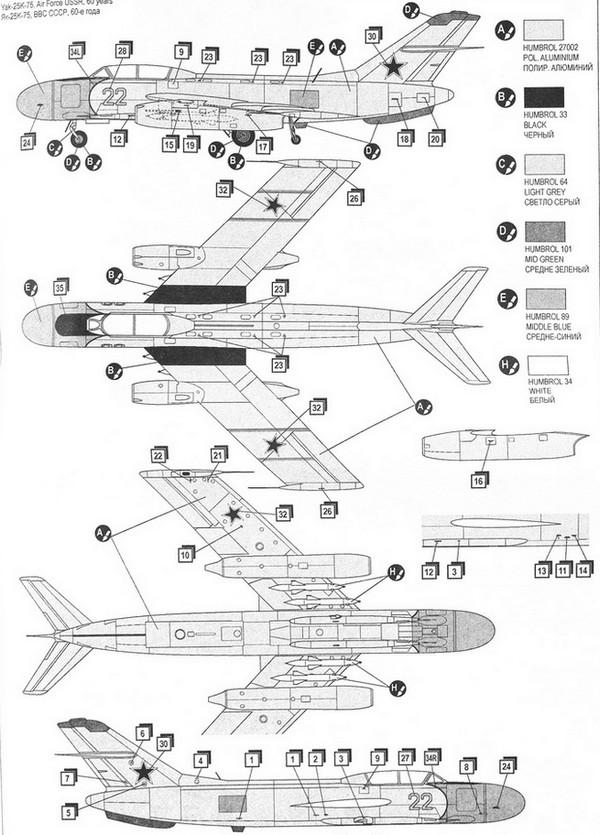
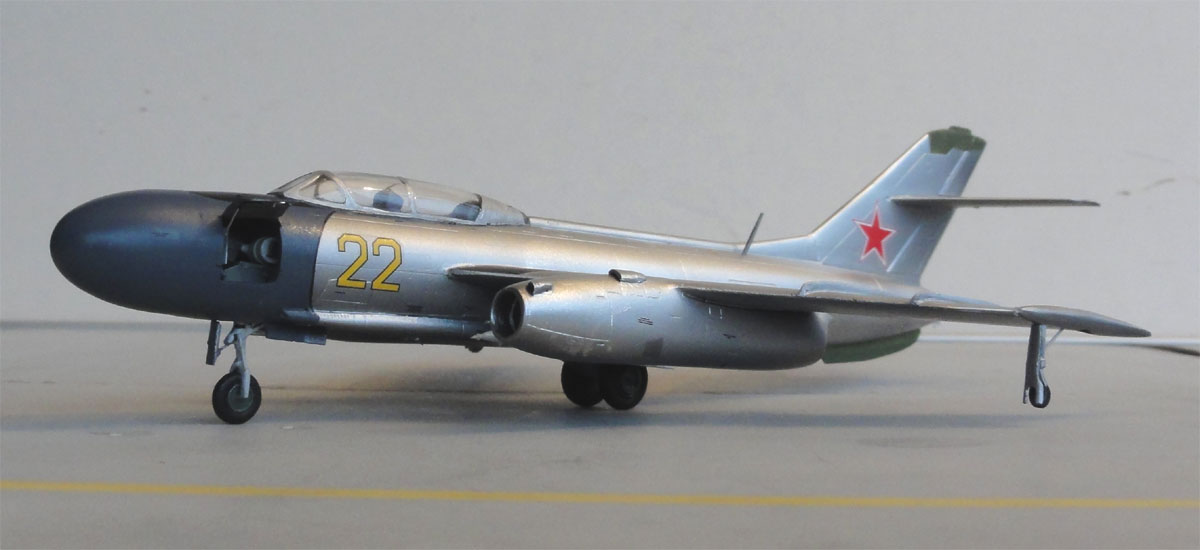
The markings came straight from the
kit for a VVS aircraft yellow "22 " with the decals which were OK. After
decal application, a protecting couple of coats of Johnson
Future/Pledge were applied.

The wheel hubs were painted Xtracolour X628 green, the tyres "panzer grau" from Revell Aqua acrylic, a very dark grey. Wheel legs light grey.
The tail "bumper" was painted field green just as the vertical tail top antenna panel.
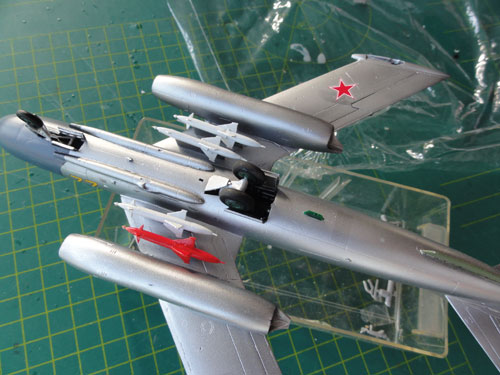
The missile colours were unclear,
I settled for straight very light grey and one red dummy missile to add
interest. So 4 K75 (izdeliye 129) missiles
were fitted as tested. Probably these missiles never went into large series
production.
The undercarriage was not easy to
set in place as the wing tip outrigger wheels needs a bit alignment. They
retract backwards.
The canopy had some gaps so white glue was used to close these. Metal needles were set in place for the pitot tubes (parts #37).
I also saw walkways at pictures at the wing joint and these were made from dark grey painted decal. On some YAK-25 there is a wire antenna from mid fuselage to tail, but I could not see it on the K/S. So left it of.
And that completed the model.
![]()
The result...
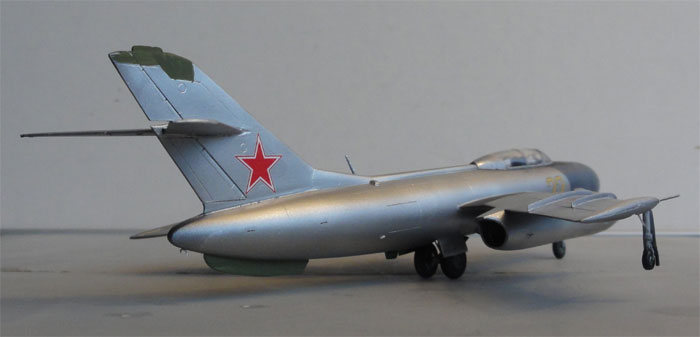
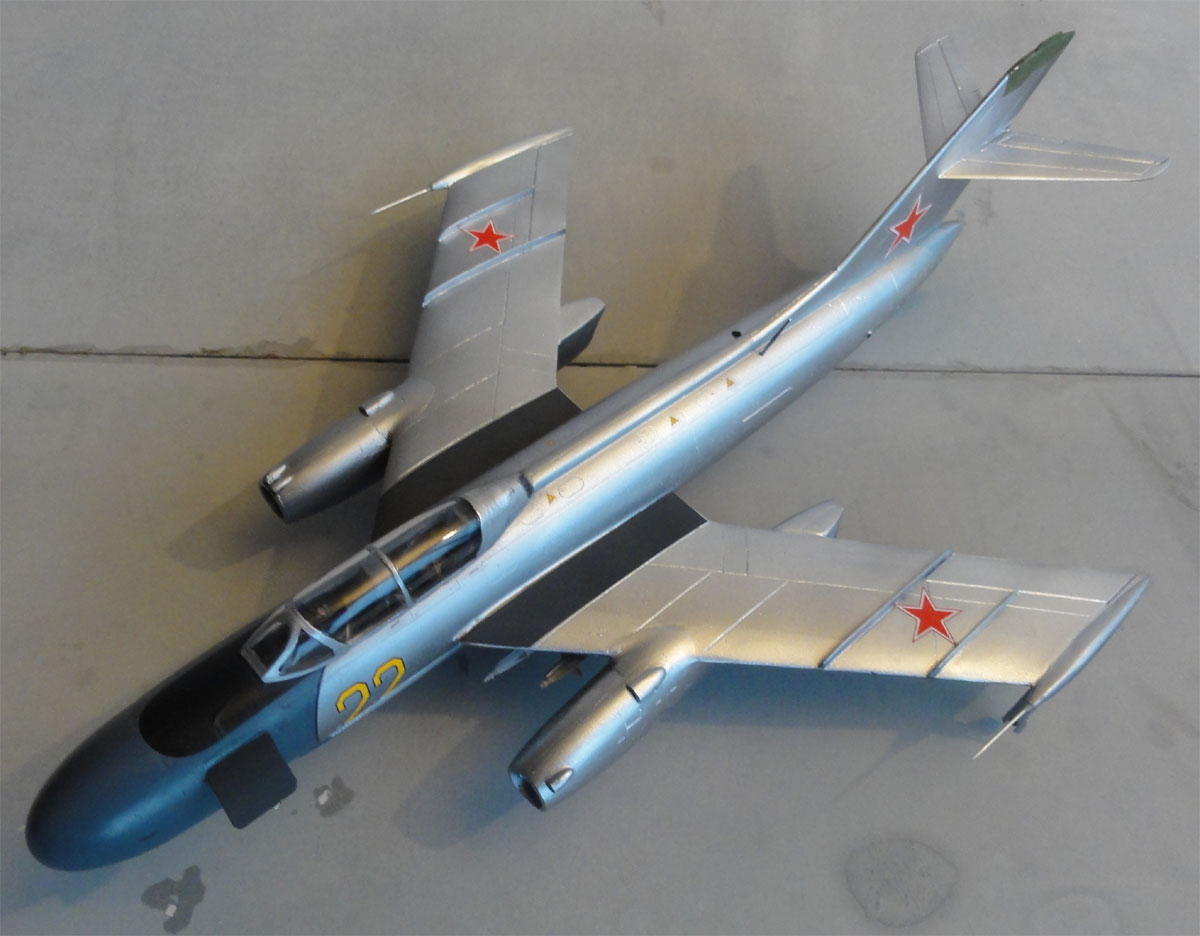
A nice Yakovlev model is now in the
1/72 Soviet model collection.
Now the Yak-25 RV with NATO code "Mandrake" ....
To next [
Page 2... ]
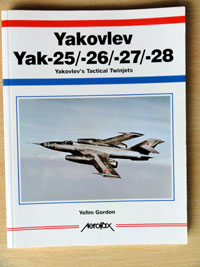
Yakolev Yak-25
/ 26 / 27 / 28 , Yefim Gordon, Aerofax publishers
Internet: http://www.airvectors.net/avyak25.html
Back to 1/72 Models.......

(c) Copyright Meindert "designer"/ All rights reserved. Your comments are welcomed by webmaster
Created this page July 12, 2015