"V-bomber"
[ Page 3 ]
Vickers Valiant models in 1/72 scale
MACH 2and CONTRAIL vacuform

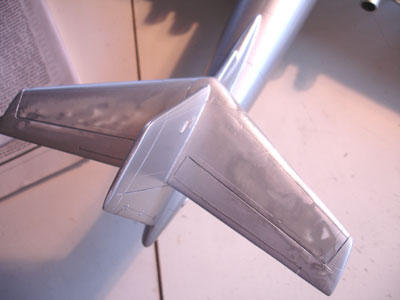
The exhaust pipes were added and the gaps filled with with white glue. It is pretty difficult to get a perfect result here as not everything is very symmetrical.

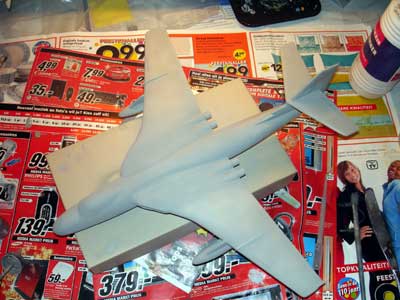
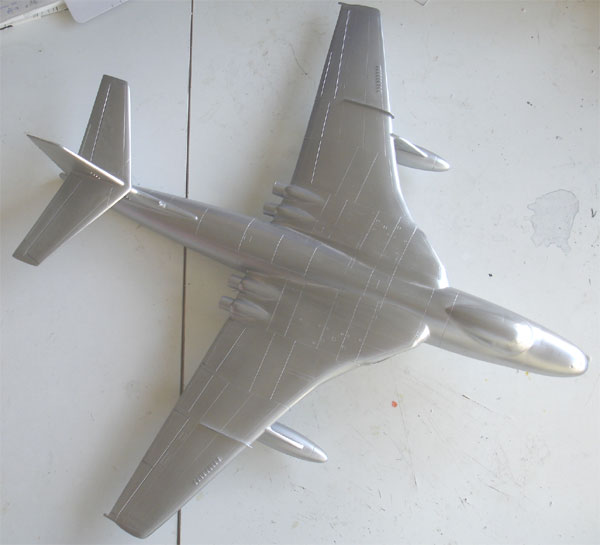
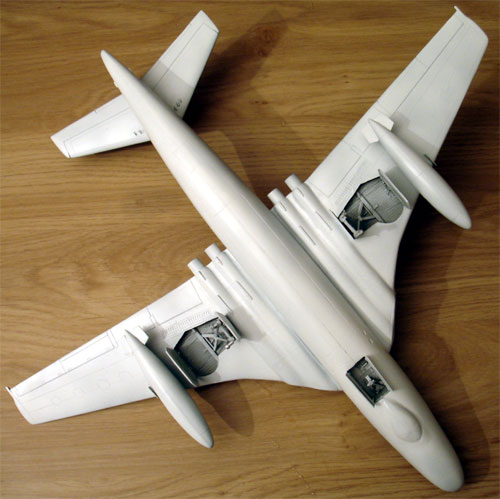
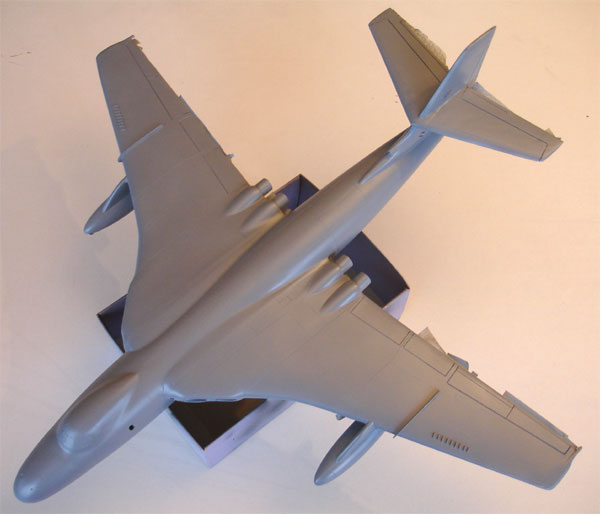
The overall model was basically ready
for final painting and therefor again given an overall coat of light grey
and then polished.
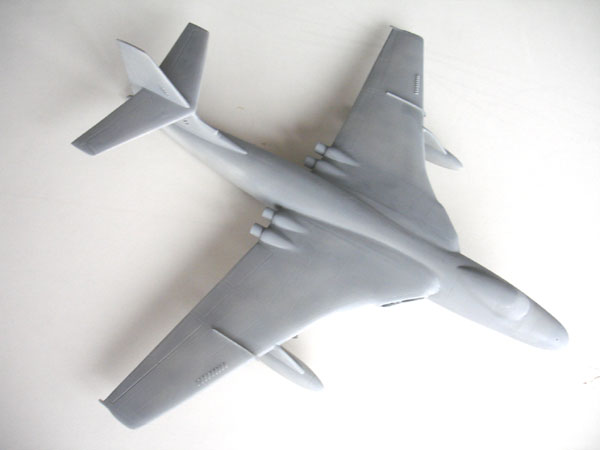
The overall grey model ready to receive
its final finish
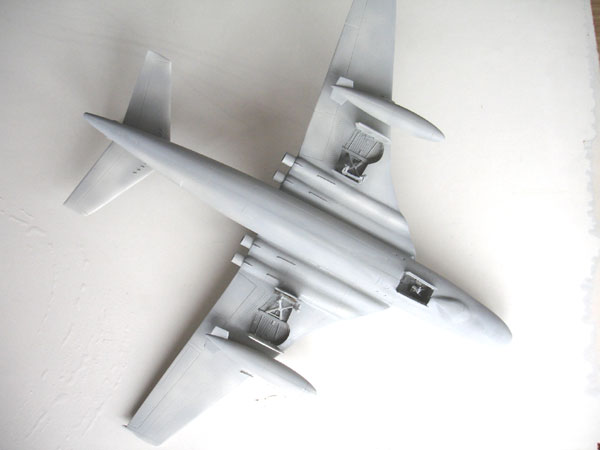
NOTE: the smaller crew portholes were forgotten and not seen on the pictures yet! These will be opened with a small dril and X-acto knife on the rear of the cockpit. These windows to be filled with Micro Kristal Clear.
![]()
Finishing
I now looked at what particular Valiant
to build. There were not that many external differences as in fact only
one main variant was used. The most important external feature being that
Valiants could be seen with or without a refuelling probe. This shows with
a small tank probe on the nose with a pipe running on the left upper forward
fuselage below the cockpitwindows.
I also saw that there were some
painted black and grey panel areas and antenna differences.
See note below!
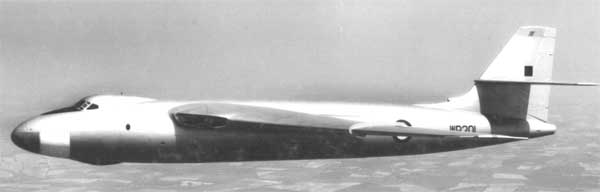
I decided
to make Valiant B1 serialno. WP201,
which is an overall silver Valiant that served from 1954-1960. It would
be a nice companion next to my overall white 1/72 Victor model. This plane
is rather clean with no refuelling installation and has only some black
and grey antenna panels. I know this finish is not easy with all the flaws
and panelling that had to be re-scribed, but anyway this model; will not
be perfect as it is a far too difficult kit to get right in the first place.
Probably this particular Valiant
was finished in the "high speed silver" overall paint.
I used Humbrol
11 silver and sprayed it on the
model in several thin coats. After 4 hours drying time, the whole model
was polished with a piece of clothe and the model was really shining now.
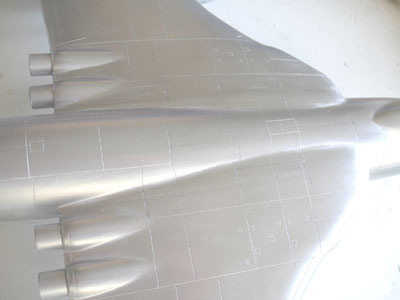
A closer view on the fuselage-wing
area
After studying the finish I was not
happy with the result. The silver showed every small surface error and
the kit still remains short-run. Therefor I again sanded some areas.

Also it was decided to go for a "less
sensitive" paint scheme.
The Valiant
B1 was also seen later in its career is a camouflage scheme with
white lower surfaces, medium sea grey and dark green camouflage. Valiant
XD818 was depicted.
At the klower surfaces, a matt white
coat was applied with the Badger 150 airbrush and than a light gloss white
coat.
After 24 hours drying, the upper surfaces had to get their paints. The lower surfaces of the model were masked off with Tamiya tape and tissue. This takes quite some effort.
Next the medium
sea grey BSC 637 was applied for which I used Humbrol
126 oops... Humbrol 165 .
For the dark green BSC 641 I think Humbrol 163 may be used.
On to Valiant
next
[ page 4.... ]
Back to Models page....

(c) Copyright Meindert "designer"/ All rights reserved. Your comments are welcomed by webmaster
Created this page
December 10, 2006