Royal Netherlands AF
[ page 2 ]
F-84 Thunderstreak and Thunderflash in 1/72 scale: : kit review & modelling report
Airfix and Italeri kits
... continued from page 1...
Now, all these models are ready for applying the colour schemes.
The colour scheme [3] of Dash Four
demo team needs a metal look with red-white-blue Dash Four colours, whereas
schemes [1] and [2] need the standard NATO camouflage of the nineteen fifties
and sixties.
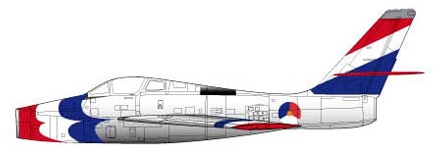
(drawing courtesy Wilko Jonker of IPMS NL)
For natural metal, I prefer using
the ALCLAD II system, with ALC-105
polished aluminium. This requires a gloss black base coat. This model also
needs red-white-blue colours, so it was decided to avoid masking the sensitive
Alclad and starting with applying white coats at the nose, wing tips, vertical
tail and horizontal tailplanes.
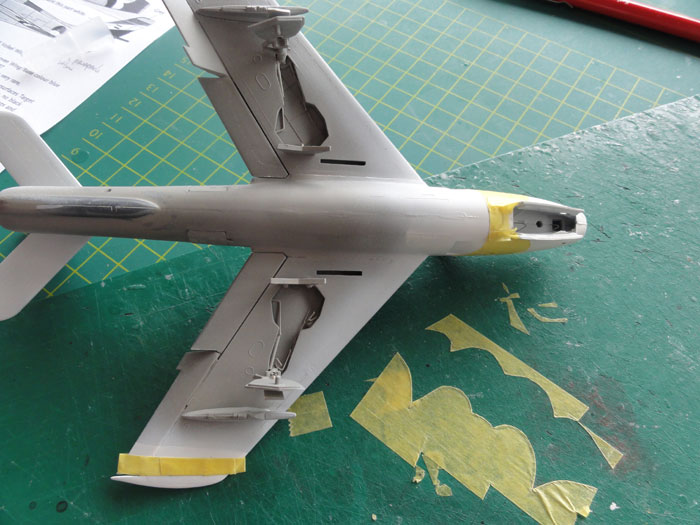
When dry, the with and blue areas were masked with TAMIYA low tack tape and the red airbrushed. I used the Dutch Decalset 72042 , cutting out the mask patterns based on the red and white decals. (for the blue I will use the decals, see remarks below).
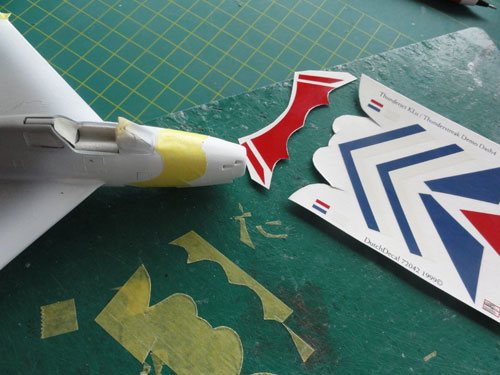
The red was than airbrushed on the
model. Note that white areas (and blue ones) are masked off.
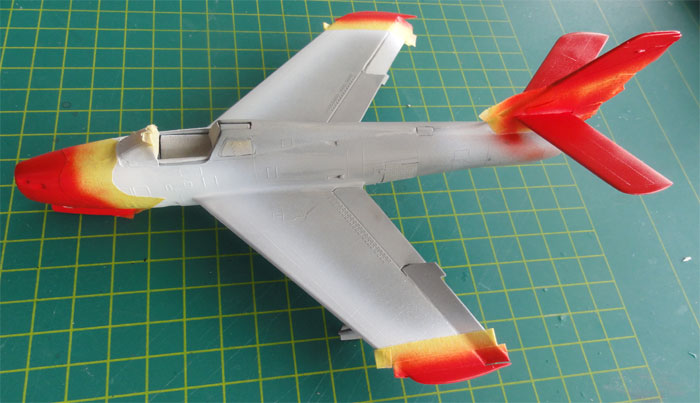
ALCLAD requires a black gloss undercoat.
Gloss black was sprayed on, followed by a couple of coats of Johnson
Kleer gloss floor coat with the airbrush. This to ensure gloss
undercoat. When dry, several thin coats of ALCLAD II ALC-105 was misted
on with the airbrush.
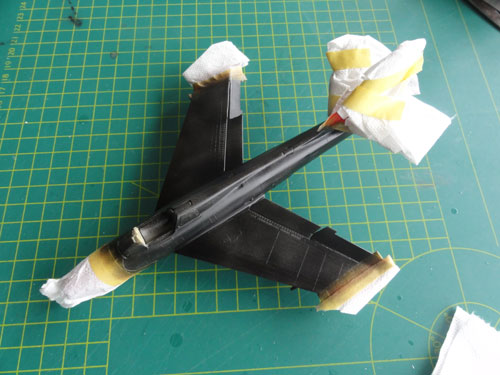
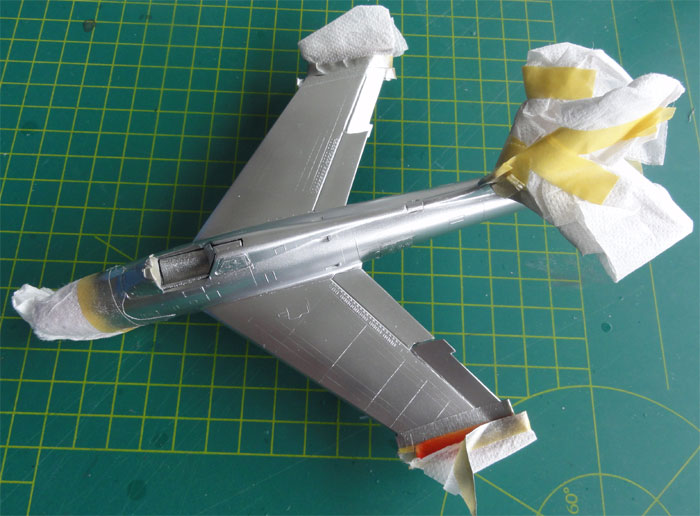
The result is seen here.
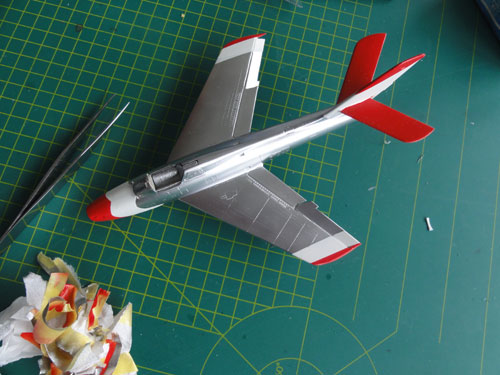
The rest of the blue colour will be
applied using the Dutch Decals.
I should have known, as later I found
that it would have been better to have sprayed the blue as well, as it
is very difficult to colour match the decal blue with paint blue to cover
tiny gaps in the decals, such as a the leading and trailning edges. Also,
adding the blue decal at the vertical tail next to the tailplanes was very
difficult.
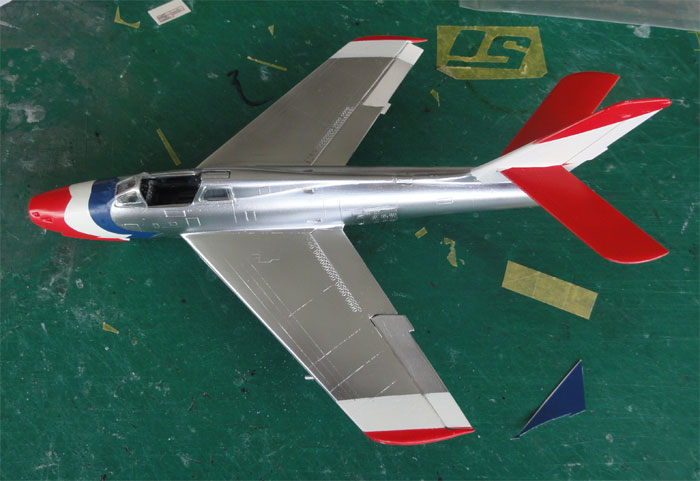
Usually, I also add a simple coat
of Johnson Future at the back of each decal to get a better fix onto the
model. I drag each decal through a Future bath. The Future acts as a sort
of decal glue.
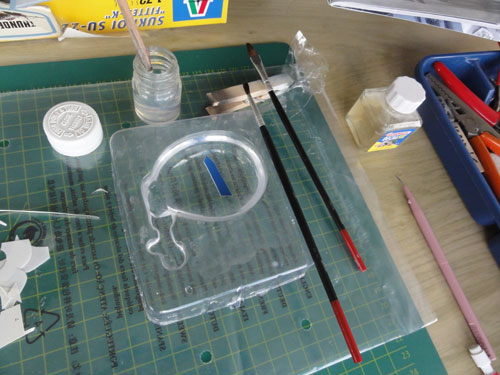
The roundels of the Dutch AF came from another Dutch Decals set 72029. You need to VERY carefully cut round with scissors each part of these decals to avoid very thin white edges in some places. (using a circular P-cutter is even better for this tidious work).
![]()
Early style Dutch Thunderstreak schemes
had 6 roundels, with 4 roundels of diameter 16 mm in 1/72 on the wing surfaces
and 2 roundels of 10 mm diameter on the rear fuselage. So this was the
case for the model [1] of Dash Four.
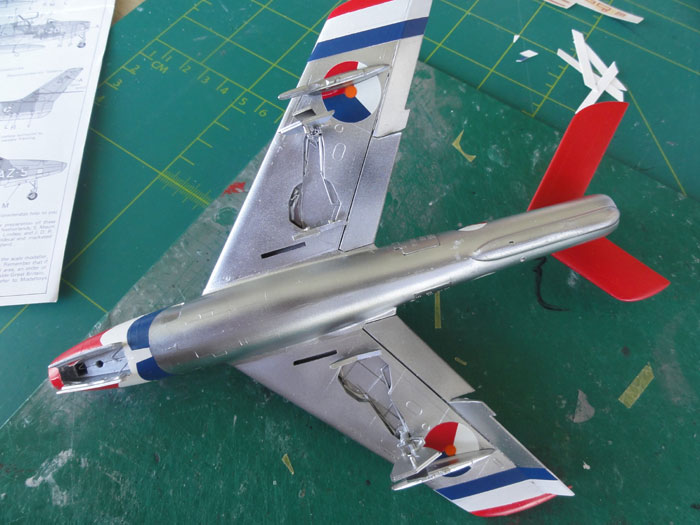
At the lower wing, some roundel area
was cut out in order to fit around the two wing pylons. Alternatively,
leave off these pylons on the demo plane. The small Dutch flags on the
tail came from the decal sheet.
![]()
Next colouring for the models [1]
and [2] of the Thunderstreak and Thunderflash...
The scheme is seen here
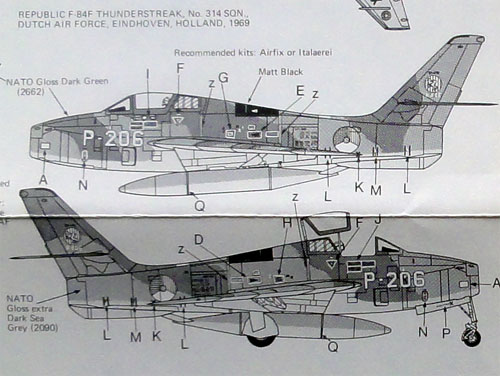
![]()
Modeldecalset
29, was used for models [1] and [2], which got input
from IPMS The Netherlands way back in 1975, suggested these colours for
the Dutch AF planes which are correct:
- Dark green FS 22662
- Extra Dark sea grey FS 22090
- PRU blue undersides FS 22602
(note that other NATO air force Streaks often have light grey or natural
metal undersides)
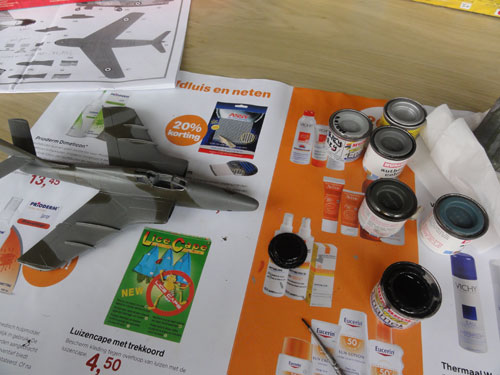
In the enamel paints box, I found the old HUMBROL "authentic colours" HX1 Dark green, HX2 Dark sea grey and HX3 PRU Blue. I suggest otherwise Humbrol respectively HU163, HU125 and HU124. (note that I did not use Extra Dark Sea Grey as this is very dark for such a small model).
First, the PRU blue was airbrushed on the under surfaces. After at least 48 hours drying time needed for the old enamel, masking was done on the PRU blue with low tack tape of TAMIYA.
Next, it was time for the camouflage.
I started first be sprayed the upper surfaces a coat of Dark sea grey.
After again 48 hours drying time, masking was needed for the Dark green.
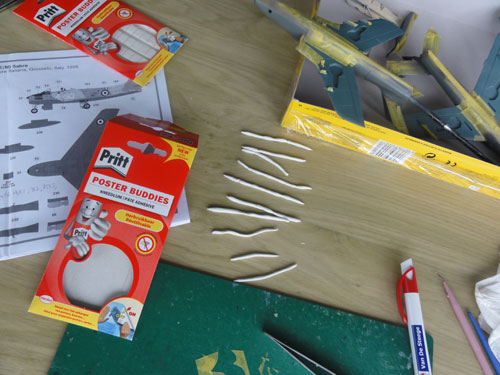
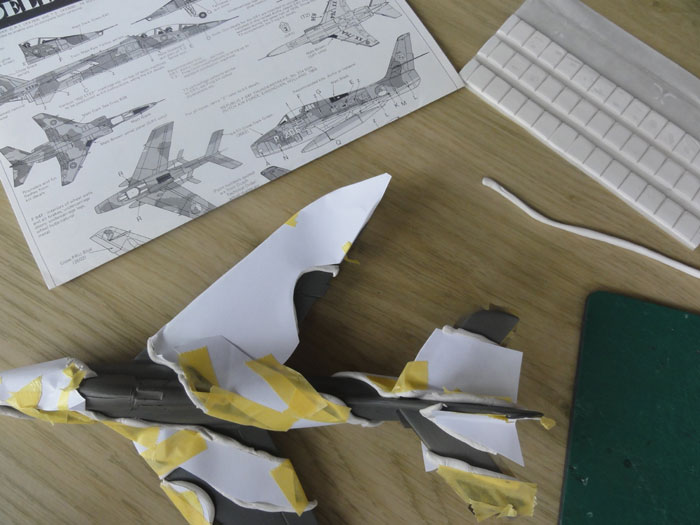
In order to get soft demarcation camouflage
patterns, on 1/72 scale, Pritt Poster Buddies
can
be used. The use of poster buddies raises the mask a bit above the surface,
so when airbrushing you get a softer edge.
It is a tacky material found in book
stores that is used to fix photos, papers etc. It can be rolled in long
strings. using the Modeldecal instructions, the camo pattern is known and
the strings fixed onto the model. The grey areas covered with paper and
tape and the model is ready to receive its third coat of Dark green.
Do not forget to mask the fuel tanks
as well! The large long fuel tanks are in both kits, but often another
type of fueltank is seen on Dutch AF Thunderstreaks. They appear similar
to the tanks of the F-101 Voodoo, so a pair of tanks were snatched from
a Revell F-101 kit in the stash. I also will use a set of Airfix tanks
as well.
After the Dark green is applied with the airbrush, wait for one hour and remove the poster buddies and paper masks. Be carefull for finger prints on the still slightly wet paint. With a paper towel with a couple of Thinner drops, remove any bits of paint that creeped under the masks when needed. Next, leave aside for next 48 hours to dry.
Here model [2] is seen of the Airfix
Thunderstreak that will get canvas cockpit covers. I will later use maskol
to suggest the canvas.
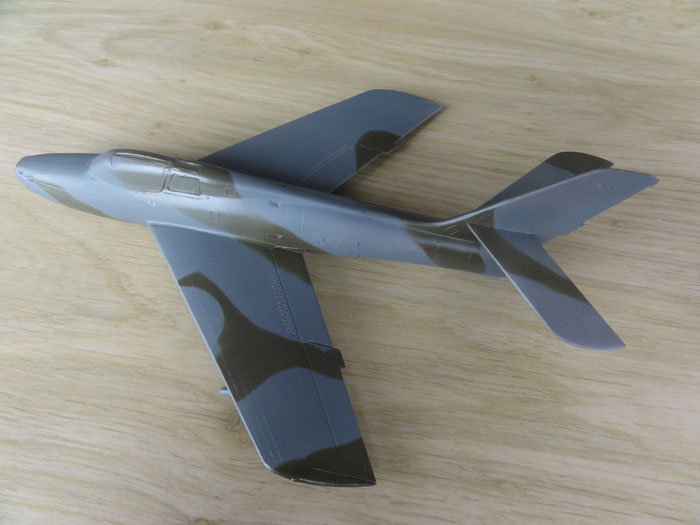
The RF-84F Thunderflash of model [1] got a similar treatment, with the Modeldecal camouflage pattern seen for the Norwegian Thunderflash being used as a guide as it is OK for a Dutch AF plane as well, except note that PRU blue is the correct colour for the undersides.
![]()
After airbrushing, detail painting
was needed. The undercarriage bays are natural metal, as well as the gear
legs and wheel hubs. Tyres are tyre black. The cockpit interior is medium
gull grey with orange seat head rest. The seats bases are grey with green
survival packs. At the fuselage spine, an awkward black panel was also
needed on all models.
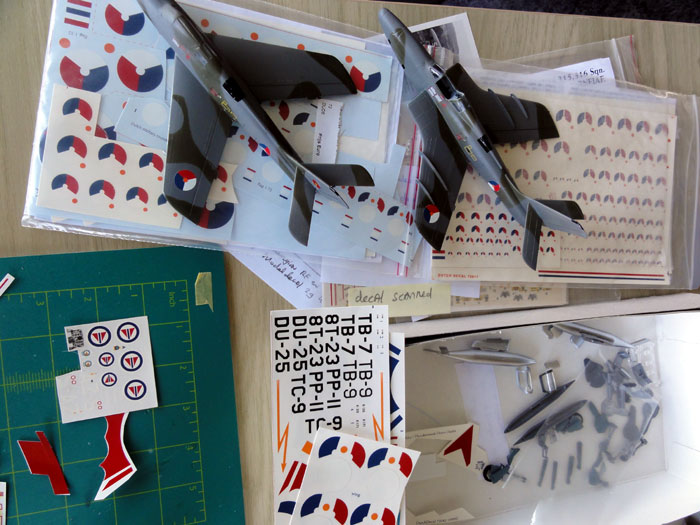
Time was now taken to apply the many many smaller stencils using decals, being retrieved from the various decal sets. In fact, no decals were used from the Airfix nor Italeri kits themselves. Nearly all came from the large Modeldecalset 29 and the Dutch decal sets. The red stripes needed were cut from red decals from the decalspare box.
As noted before, the roundels of the
Dutch AF came from Dutch Decals set 72029.
For the models [1] and [2] with the
camouflage schemes, only four roundels are needed, those on the wings being
smaller with 13 mm diameter in 1/72 scale.
![]()
Completing
the models
The medium grey cockpit interiors
each got tiny details, using decals for the instrument panels and side
consoles. Small visor gun sites were added made from thin clear acetate
plastic. Seats, being grey with orange head rest, got some seat straps
made from tape. You may also have spare straps in your etched metal spares
box perhaps that can be used.
The canopy edges of all model were hand painted, the interior framing also medium grey. Around the glass areas, with a very tiny paint brush, the "off white" sealing was hand painted with a steady hand.
The canopy opening mechanism for the
Thunderstreak and Thunderflash has a special system, seen here:
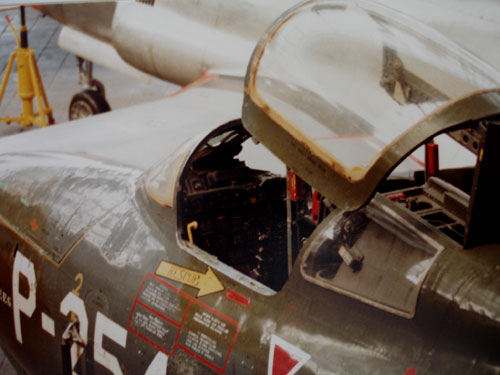
This was achieved on the model using
plastic rods and bit and pices. It gives a special affect.
The undercarriages were added and the pitot tube at the wing leading edges. These were made from metal rods. The fueltanks were added and that almost completed the model.
Wing tip lights were painted as well in green and red.
For the Thunderflash, the camera windows
were closed with Micro Kristal Kleer transparant glue. It will dry
up clear.
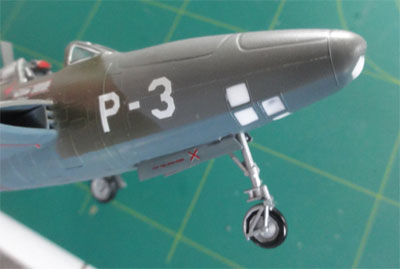
Finally, a protective coat of Johnson Future / Pledge / Kleer was air brushed to protect each model with its decals. Shield of the clear parts with a piece of cardboard when applying the Future coat.
That's it!!
![]()
And the
results are seen here...
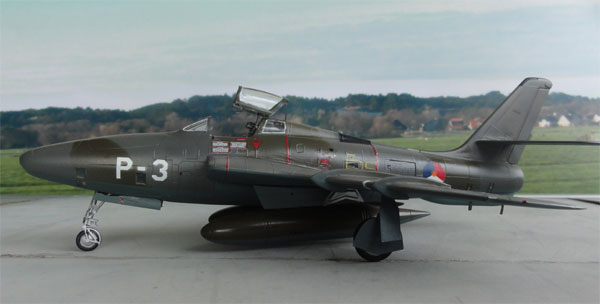
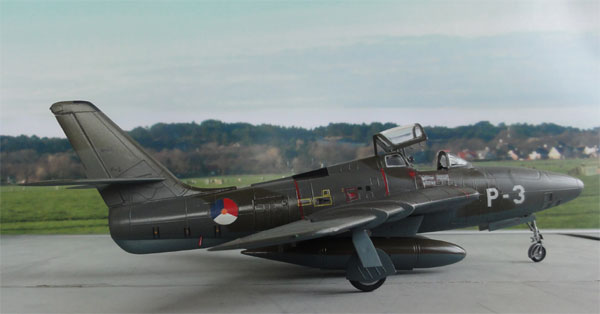
Note the earlier style short wing
fuel tanks, obtained from a 1/72 Revell F-101 Voodoo kit.
Below near the wing ailerons tiny
vertical plates are also seen, these were made from very thin card.
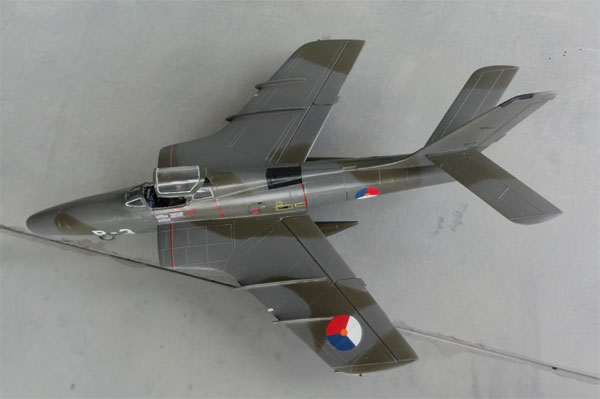
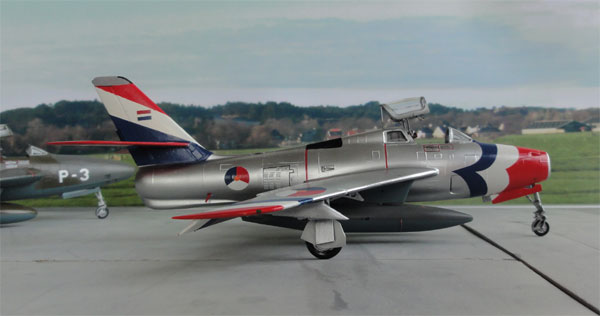
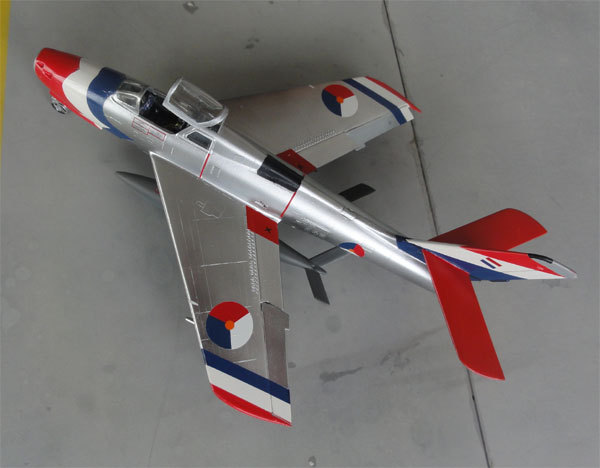
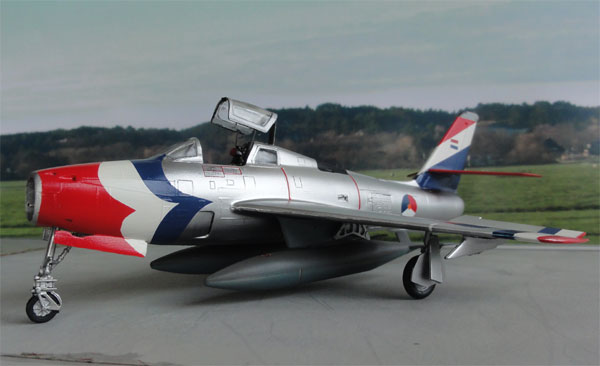
.... and the demo plane... Note that
no buzz numbers are seen on this plane.
... and the Thunderstreak with "canvas"
draped on the cockpit area. It was done with Humbrol maskol fluid,
painted brown after drying. Some straps were also added as a a real plane
these are needed to keep it in place.
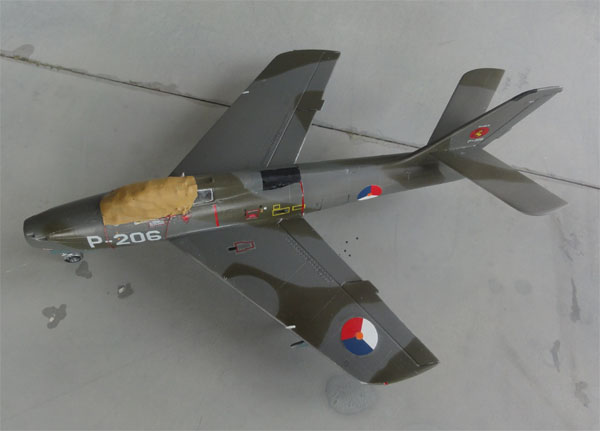
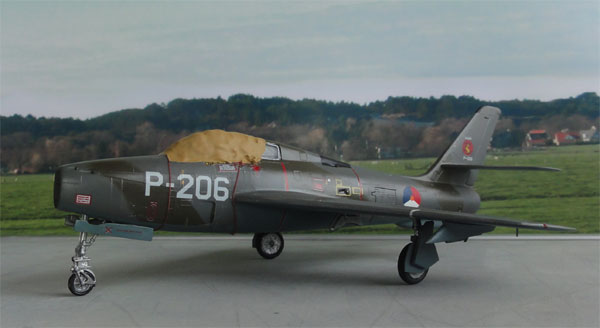
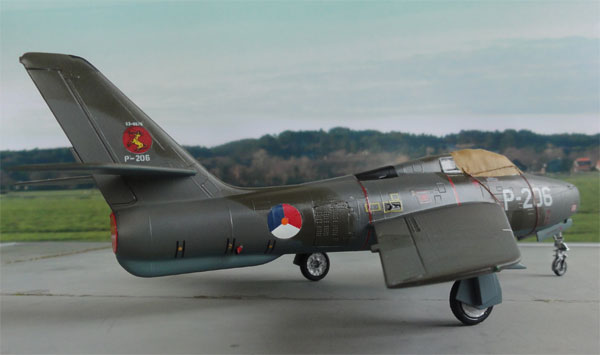
That's it! The DASH model is now in possession of a former Dutch Volkel pilot, the other Dutch AF Thunderstreaks and Thunderflash of the Cold War are in the 1/72 collection. Nostalgia!
Back to 1/72 Models

(c) Copyright Meindert "designer"/ All rights reserved. Your comments are welcomed by webmaster
Created September 12, 2011.
Updated May 2014