[ page 2]
1/32 scale model: Kitty Hawk T-28 B/D Trojan
...continued from page 1....
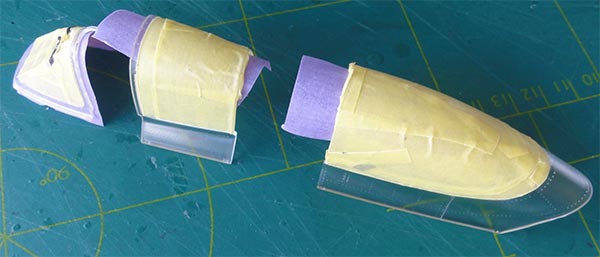
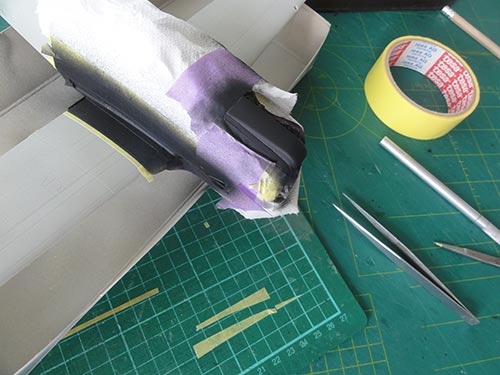
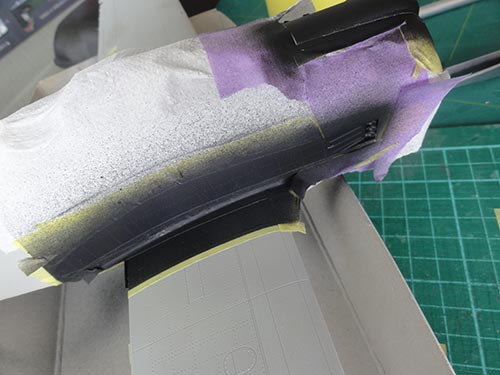
STEP 16
The rudder looks really nice. The rear bumber fairing at the tail was also not fitted yet, some putty and sanding is here also needed. This can be better done at this stage to simplify handling.
STEPs 17 + 20
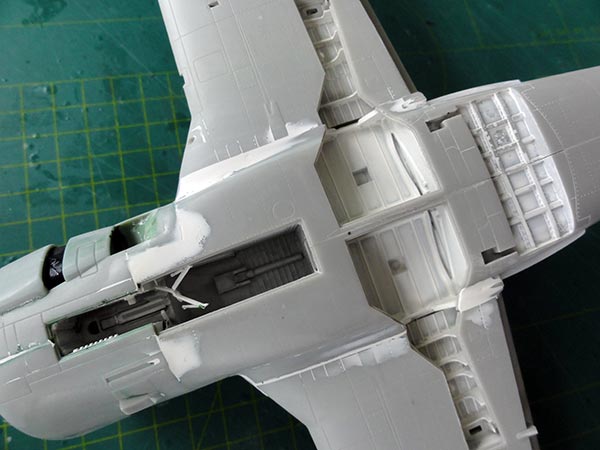
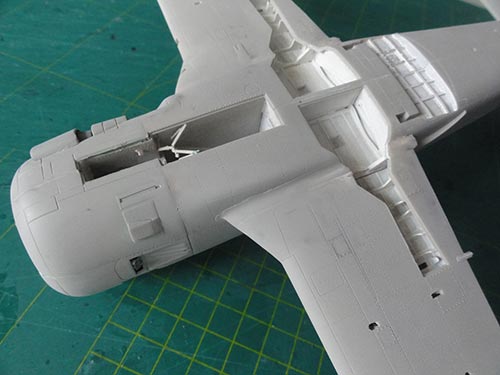
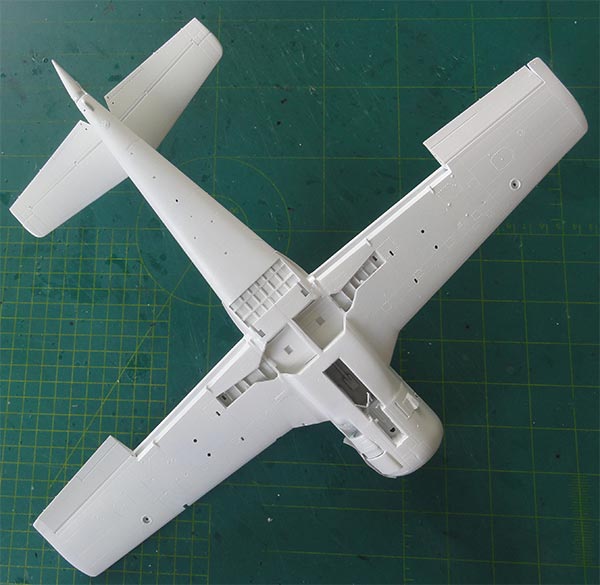
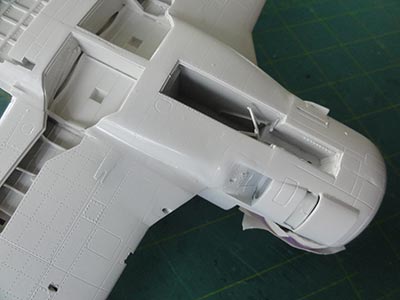
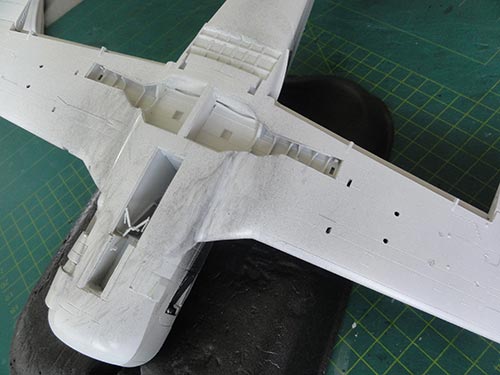
The wing is next. The main wheel bays look good but additional "plumbing" is needed at this scale. This will be done later on as well as installing the main landing gear.
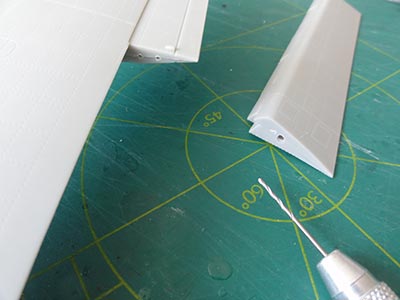
On the winghalves, some tiny spots needed putty and sanding such as on the leading edges.
Also check out to see if the leading edge lights F62/F63 need installment for your desired aircraft (see instruction step 17). Better fit these now as well.
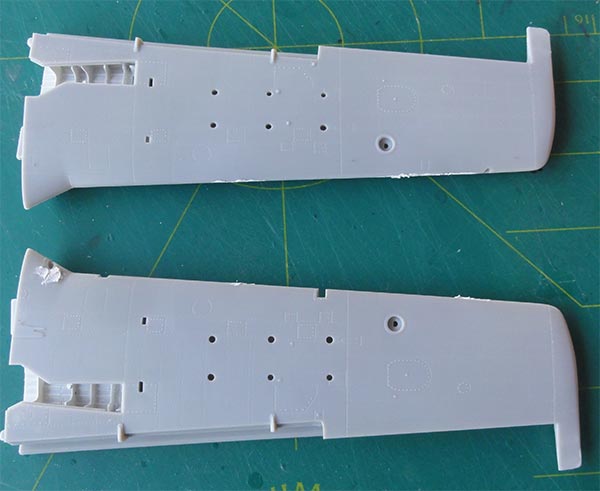
The pylon holes are in the kit open, so depending on possible pylons, fill these holes as needed. This can be done with White Glue.
I opted to make a T-28B with 2x2 pylons. This was seen on the real T-28B photo. (NOTE: I found out later that the Kitty Hawk instructions indicate that the 0.50 gun pods should be fitted on the inside pylons next to the gear. But the locating holes are than in a wrong position as the pod can not be installed without interfering with the main gear doors). The gun pod was also seen installed more outboard on photos so that will be done later on.
The fit of the wing halves to the fuselage needed enlarging a bit the slots on the lower fuselage. It needed some uationuation and still I ended up with gaps. The wing has a dihedral angle but not so large as Kitty Hawk suggests so this was a bit corrected. The now bigger upper gaps were filled with strip and filled with putty.
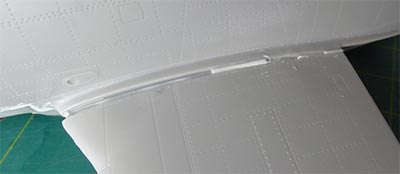
At the leading edge in the junction corner, I had to add a strip to get a flush straight look.

... and the result after all was sanded.
STEPs 18 + 21
The many control surfaces are separate parts and can be assembled as per instructions.
Looking at photos at the IPMS Nederland T-28 Walkaround (see references or link here...) I saw that the ailerons and flap ribs have weight saving holes. These were drilled open on the model with a fine hand drill.
The pitot tube A6 was not yet installed, I will replace it with some metal needle bits.
I desired to set the main flaps down, more on that later on.
STEPs 22-23
The horizontal stabilizer is now to be fitted. I found the dihedral angle as per kit is far too large so shaved of a bit of plastic. There is now only some dihedral now.
The elevators are easily installed.
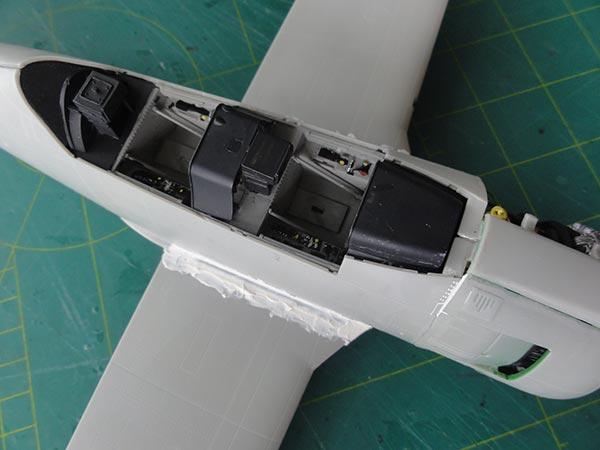
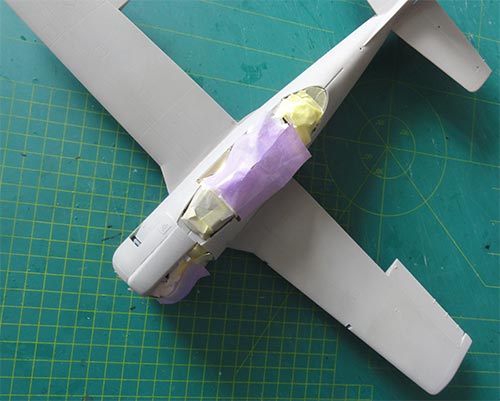
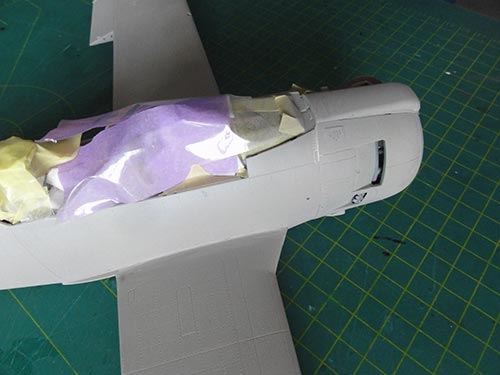
Now it was time to give the overall puttied and sanded model a base grey coat. But first I masked the painted areas of the cockpit and lower gear bays.
With the airbrush, much thinned Revell Aqua 75 steingrau acrylic was applied as base coat.
This revealed a few more inaccuracies needing some more filling and sanding.
Next a semi gloss white coat was airbrushed on the lower areas as appropriate for the LAOS T-28B. I used Gunze Sangyo 1 White acrylic.
The lower surfaces of the flaps were also given this white paint as well as the many gear doors.
On the upper areas for the Air America "LAOS" T-28B a Gull Grey FS26440 finish was used. I used the very good Gunze Sangyo 325 acrylic and this was applied with the airbrush. I also masked the canopy hoods and these also got the paint. Inside the canopy frames will be painted medium grey.
The black anti-glare panel as well as the smoke panels on the fuselage sides and walkways were also airbrushed flat black after it was masked off. (The walkway does not extend on the flap itself).
The LAOS T-28 were often quite "dirty and weathered" in the tropical conditions. This was done with the airbrush filled with flat black paint and slightly sprayed at low pressure aft of the engine exhaust pipes in the rear air flow direction. This was also done at the lower front fuselage.
Main painting was now completed.
Next, a couple of gloss varnish coats were airbrushed using Johnson Future/Pledge. The reason is that this is a sealing base coat for a fine weathering enamel paint of AK interactive AK 075 dark wash. When the varnish was completely dry, with a brush the wash was roughly applied, let dry for 5 minutes and than with a cotton cloth removed. The wash remains in the engraved rivets and panels and gives a "used look". All surfaces got this treatment.

MARKINGS
It was decided to apply the few Air America LAOS markings now before adding all the details as the model is easier handled at this stage.

As noted, for the "Air America" T-28B operated in Laos, I needed LAOS roundels. It appears these were only set on the fuselage sides, not at the wing. From the internet, I downloaded the roundel drawing.
I printed these on BARE METAL WHITE DECAL "paper for Inkjet printers" as I have an accurate inkjet EPSON XP-530 600dpi printer. The size is approx diameter 23 mm (0.9 inch) in 1/32.
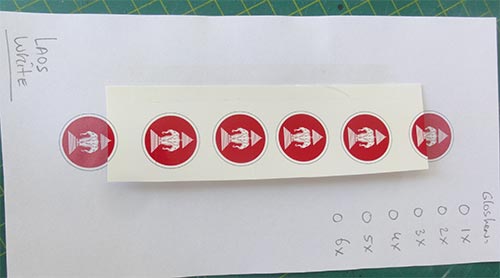
Next, at least 6 coats of Johnson Future/ Pledge clear acrylic varnish were airbrushed with 15 minute intervals on top of the printed decals, this will seal and prevent dissolving the ink. My overseas modelling friend George makes sure I have sufficient Pledge at home.. :-))
UPDATE: if you need any of these, let me know as I purchased a special printer that can print decals.
The decals were cut out carefully and could be applied as usual.

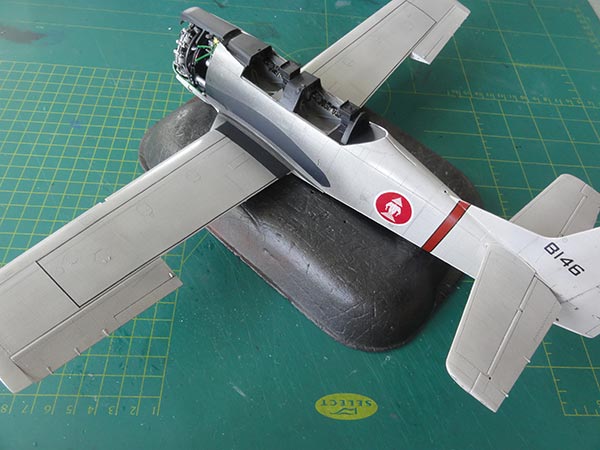
Not that many other markings were needed for this T-28. So my large Kitty Hawk kit decal sheets are in fact still intact!
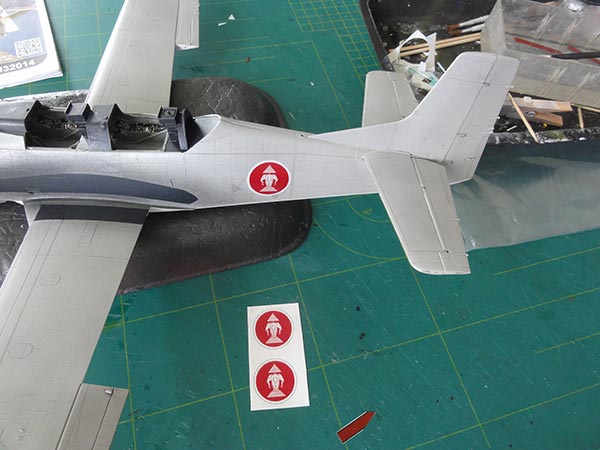
The red band with black edges I could luckily find in bits in the spare decal box. The "8146" numbers could also be found.
On the LAOS T-28B "8146" black walkway stripes were seen on top of the wing. These were made with generic black decal stripes from XTRADECAL.
The model was ready for the details and completion.
The pylons as per kit were installed. As the inside pylon stations were not used, the gaps were filled with White Glue and painted white when dried. Note that for the outboard stations a different pylon is also in the kit.
On to next [ Page 3.... ]
Back to 1/32 Models.......

(c) Copyright Meindert "designer"/ All rights reserved. Your comments are welcomed by webmaster
Created this page
July 15 , 2017