AMODEL in 1/72 scale
1/72 scale kit of the Sukhoi Su-15 interceptor aircraft
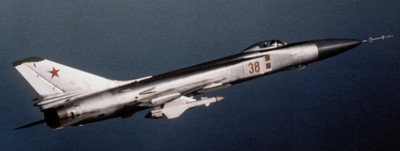
In 1971 the Su-15TM (NATO "Flagon-E") apparead with an improved Taifun-M radar in an adpated nose and provision for UPK-23-250 gunpods or R-60 (AA-8 "Aphid") short-range air-to-air missiles. The R-98 missile was also used, with both infrared and semi-active radar homing versions.
Over 1,200 planes were produced and it was only used by the Soviet Union and never exported. It remained in use until about 1995, with some aircraft handed over to the Ukraine.
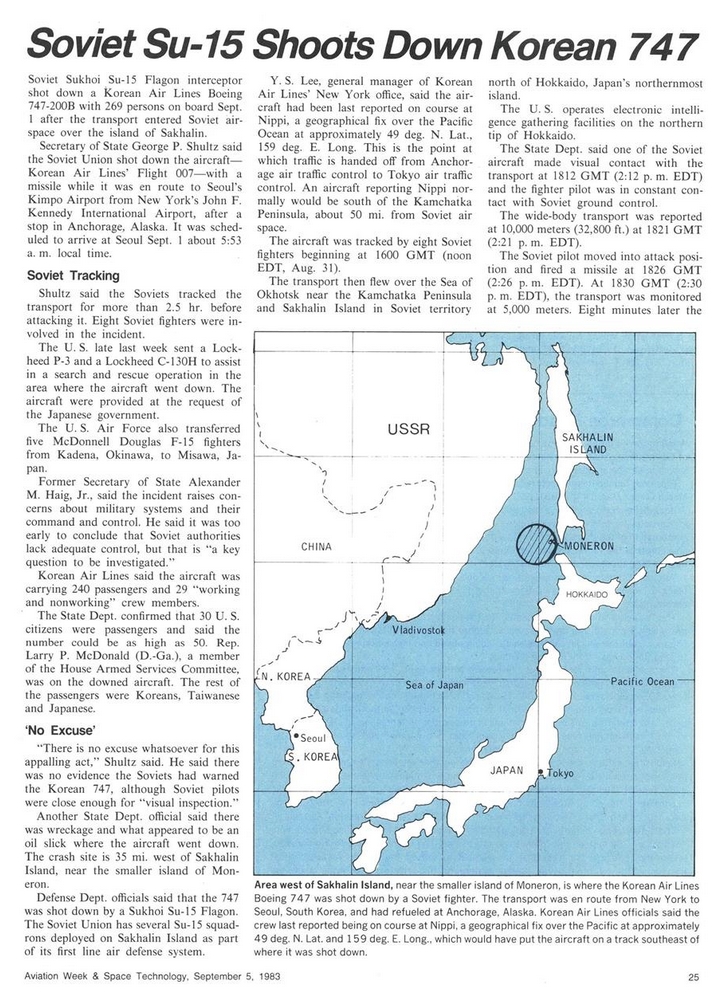
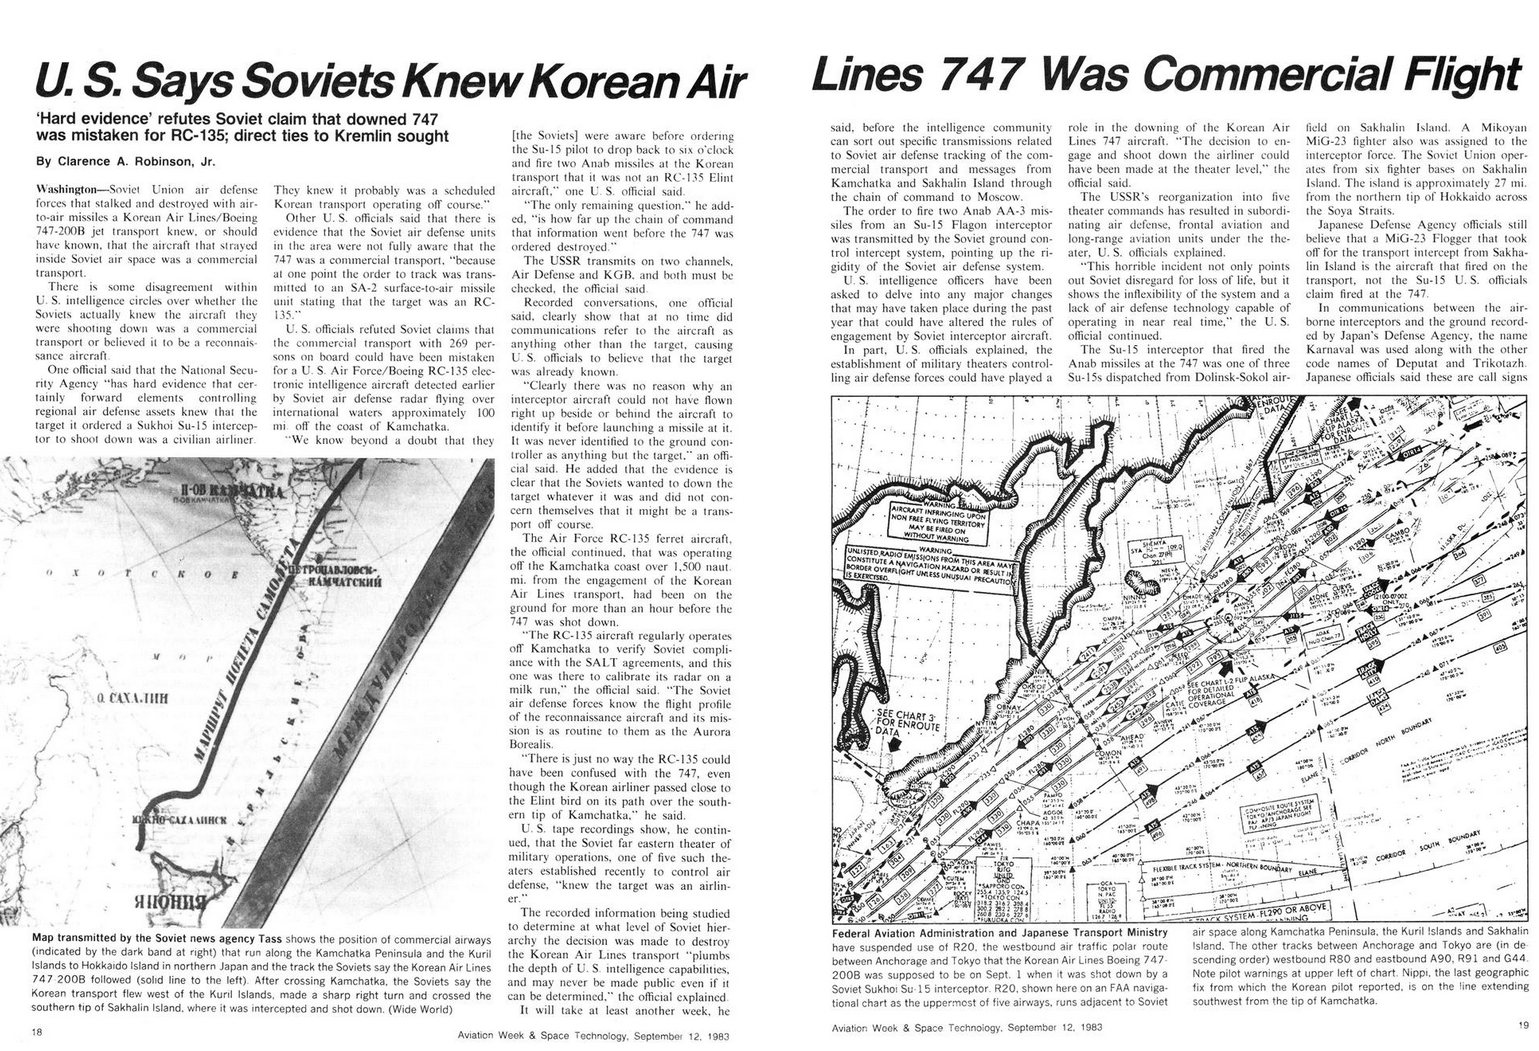
A Su-15 shot down a the Korean Air Lines flight KAL007 Boeing 747 jumbo jet on September 1, 1983. It came from Anchorage (Alaska USA) All passengers and crew died in this tragic incident, total 269 people. The real reason and background is still a big open issue.
Some articles in Aviation Week of that period...
click to enlarge...
![]()
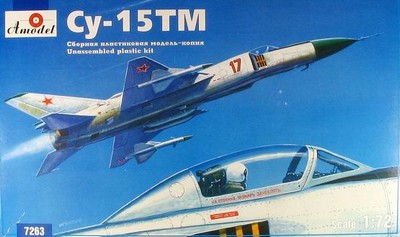
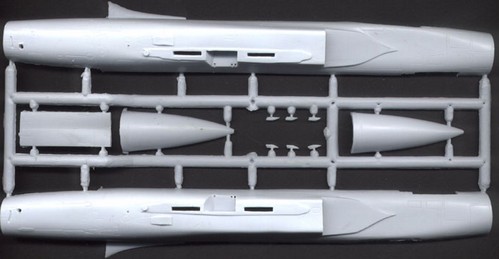
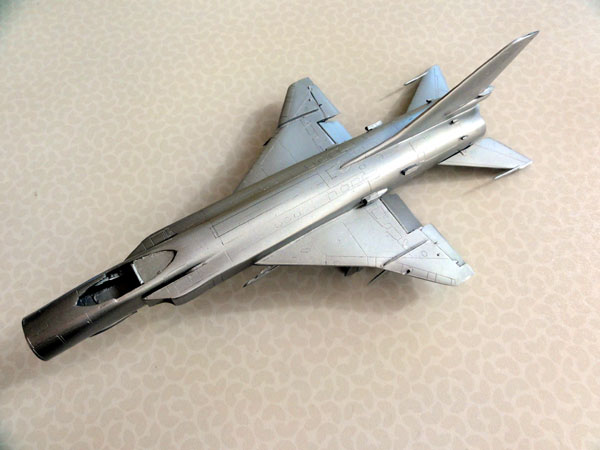
AMODEL of the Ukraine issued this kit (no. 7263) in 1/72 scale in 2003 of a Sukhoi Su-15 TM. It has about 120 parts and is a short run kit. The shape is very good however and pretty accurate. It is far better than the 1/72 Trumpeter kit and the old PM kit which has wrong intakes.
This Amodel kit is fine and captures the look and feel of the 'Flagon' and has well shaped intakes. An one piece single cockpit canopy is in the kit. Instructions suggest colours for details as well.
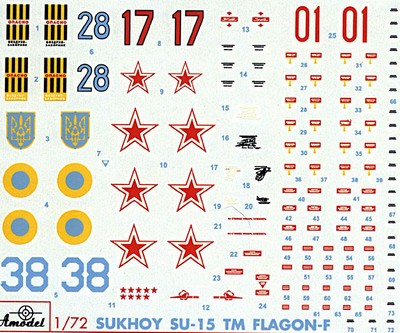
Decals for 4 schemes are in the kit,
including the aircraft "Red 17", the Su-15 TM that shot down the KAL Jumbo
jet. This plane was presumably based at the Soviet VVS base on Sakhalin
/ Far East.
Other decals are for an Ukranian
Su-15 and another metal Soviet AF machine. Also a camouflaged plane
can be made, number 01 of the VVS:
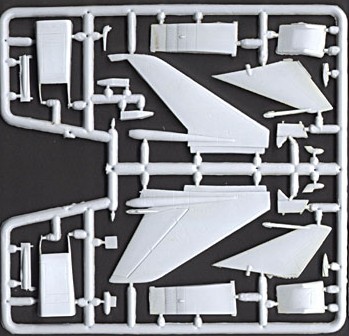
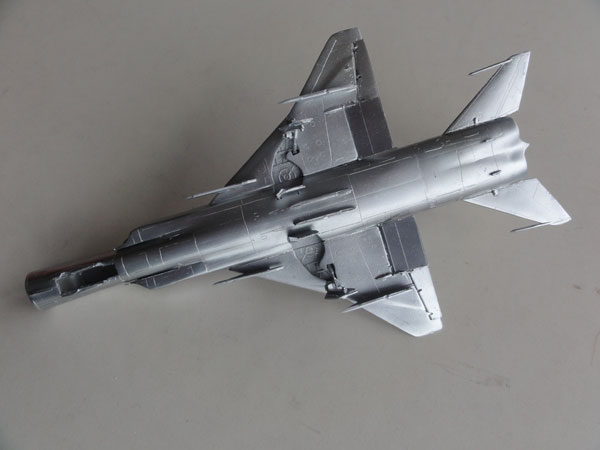
All panellines are recessed although
very very fine. The white plastic is quick hard and a bit brittle with
flash and all parts need a run down with sand paper to get a good assembly.
Stores are in the kit with missiles and gunpods.
 ..
..
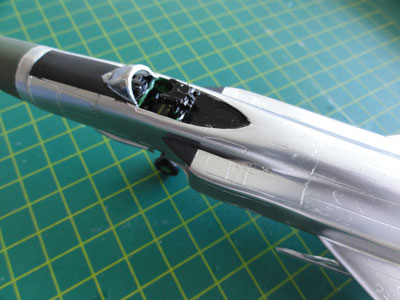
The cockpit is OK with some parts
with enough detail for this scale. Nice are the separate flaps and wing
ailerons provided. Some missiles are included as well, but these
are a bit crude.
![]()
Let's start the build.
STEP 1: Assemble started with the
cockpit. The cockpit floor #1 should be reduced in width about 2 mm.
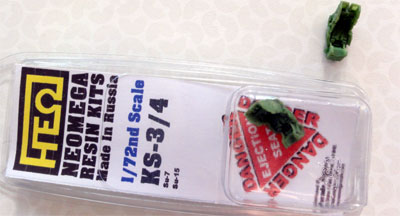
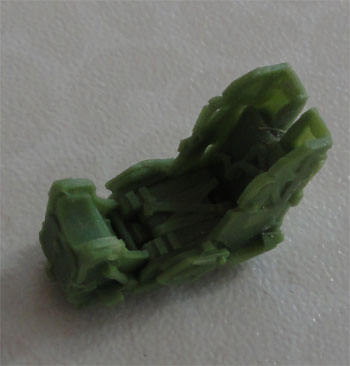
I wanted to use a resin NeoMega KS3/4
seat and not the kit seat. The resin seat was to be added... but it did
not fit!!!! The Neomega seat is far too high and too wide. I cut off the
resin headrest and used that on the kit seat parts.
STEP 3: The intake left- and right parts are different! Take care here. The inside parts #17 are set a bit further to the rear.
The landing gear is better assembled at a later stage.
STEP 2: The exhaust parts are wrongly numbered: 12 should be 13, 13 should be 12. The exhausts are undeep, so there were made deeper using round fueltank shapes from the spares box.
STEP 5: The fuselage fits OK but some putty and sanding is needed nevertheless, but not a lot. The looks are fine. Dryfit part #21 . Add nose weight!
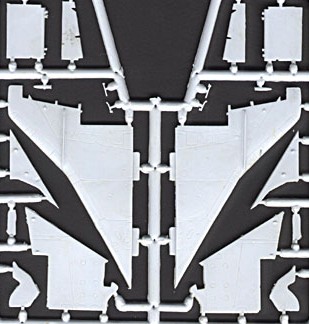
STEP 6: wing assembly is nice but the gear bay wells made benefit from enclosing them. The fit of the inner panels #26 and #27 is better if considerably sanded on their insides to make these thinner. Nice are the separate moving surface actuators. The wing shape has a good "kink" look.
The gaps between the ailerons, flaps and wing are a bit big. This will be closed later on with white glue to prevent too much "seeing through...".
STEP 7 is not numbered.
STEP 8 shows the stores with the large missiles like the R-98 Anab and the R-60 Aphid missile. They are accurate in length but need work to assemble them nicely. The wing-fuselage joint gap is tiny, but thus needed some filler and sanding. The fin-fuselage gap also need this work.
In the pictures you see that the nose cone is not yet fitted. Better do that now. Note that the green/metal demarcationis are not at the part split, but that a section of the cone is metal. Fitting needed sanding and filling to get a good fit, the widths do not match.
The horizontal tailplanes have balance weights, set at a peculiar angle but this is correct!
The canopy is a bit thick and to be set on later after painting as well as the pitot tubes. For an open canopy, separate the windscreen with a fine razor saw (like mine from TIGER).
Many small intakes need some work to fit them. (see also STEP 10).
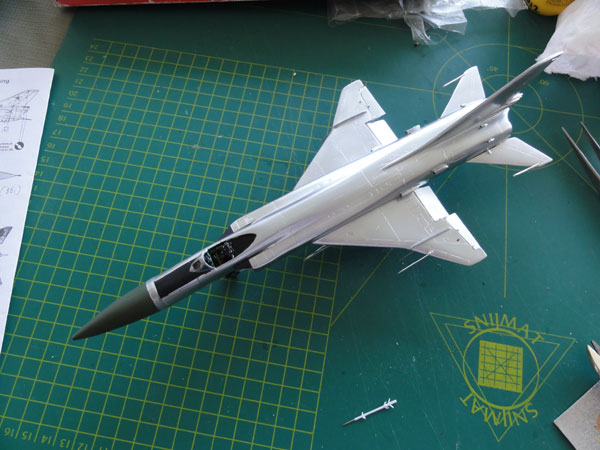
After this assembly, it was time for
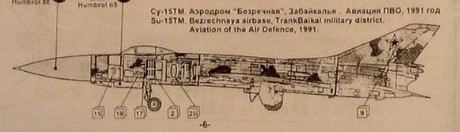
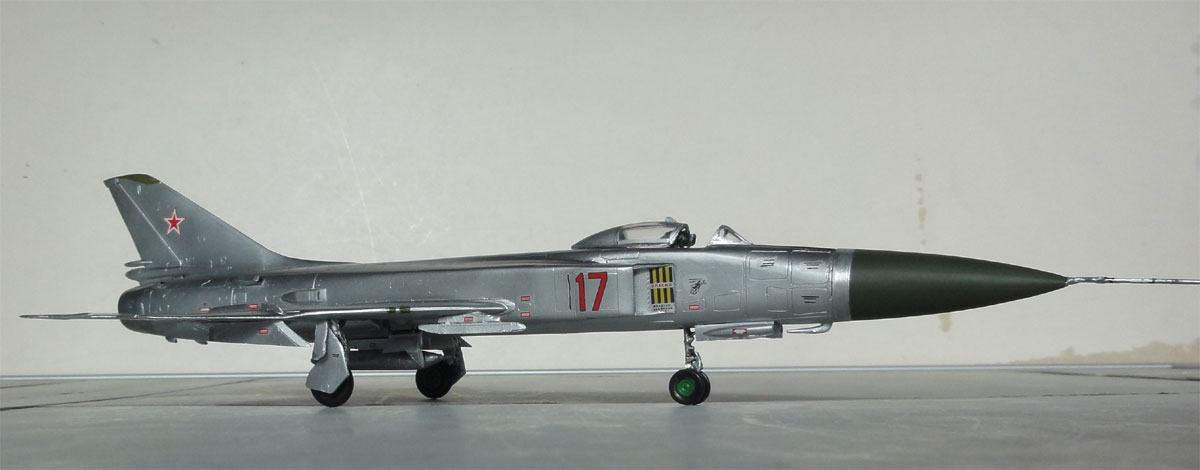
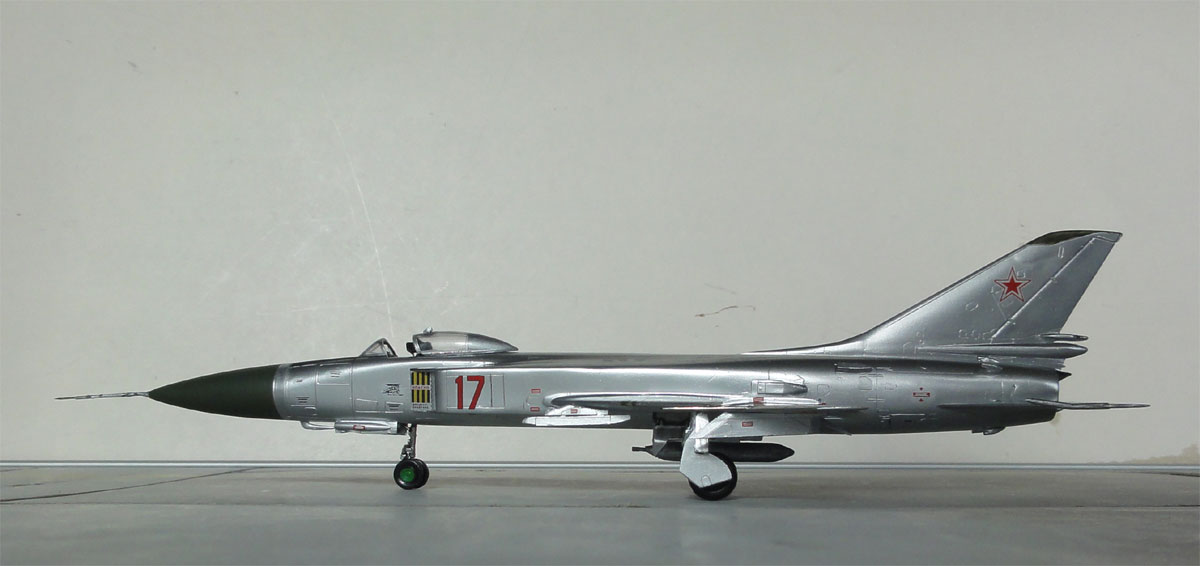
painting. The model picked was the Sakhalin plane, which is overall metal.
![]()
The overall model now got a coat of light grey with the airbrush to check for any flaws. Very important as it would get a gloss metallic finish so avoid any scratches.
When all was fine, an overall gloss black coat was added using the airbrush. When dry, this was followed by a couple op coats of of Johnson Future to ensure that a very smooth finish is there.
Next, a couple of coats of ALCLAD
II gloss Aluminium were applied with the airbrush.
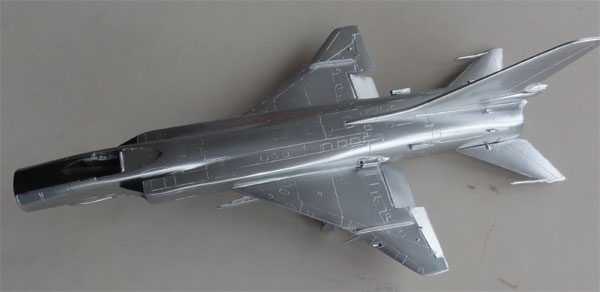
Most part of the nose cone got a
green coat (Humbrol 361).
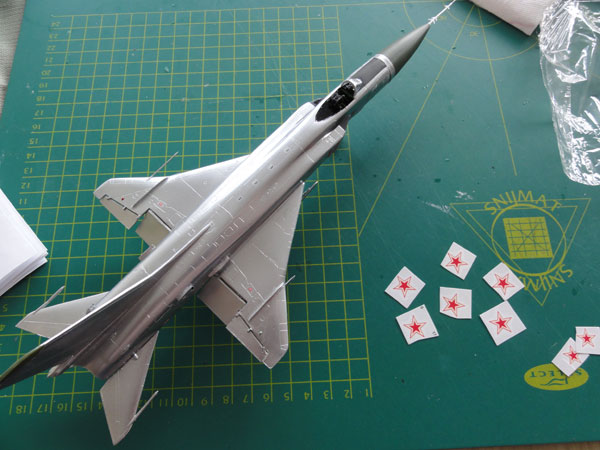
The gloss metallic model was than ready for the kit decals, which are OK. The decals are OK, nicely done are the intake patterns.
(In the pictures you see that
the nose cone is not yet fitted. Better do that earlier!!!)
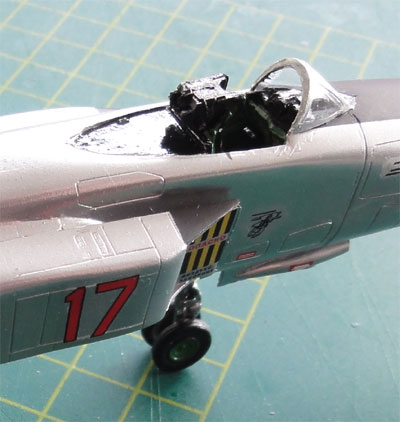
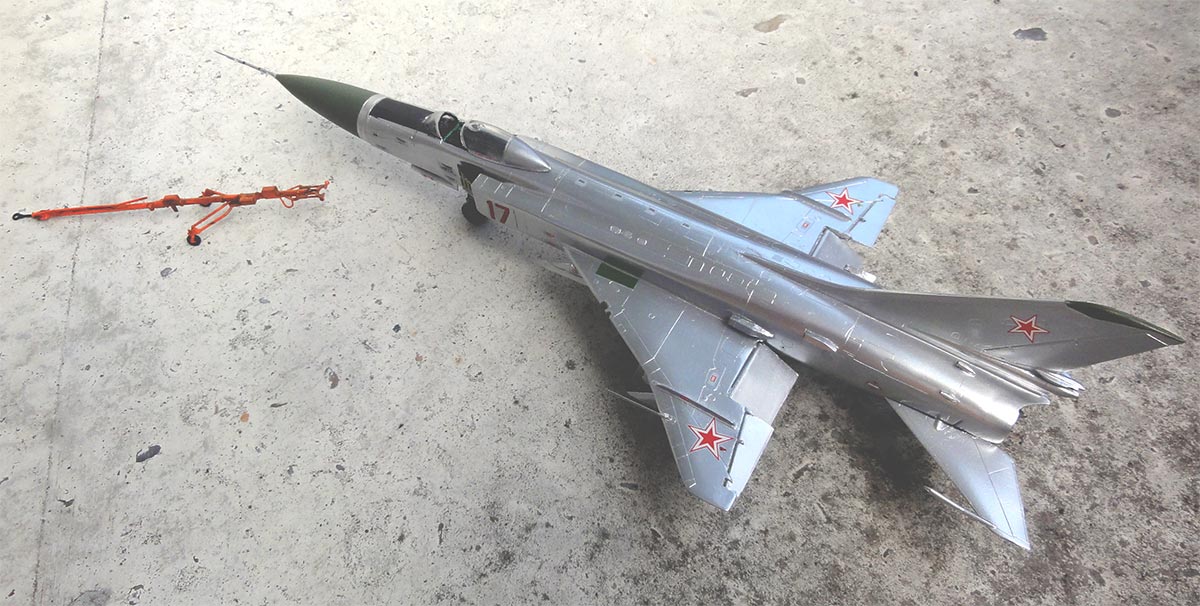
Now, the landing gears were added
and the canopy. This is a one piece canopy, so it needed a cut with a very
fine razorsaw to set it open. The resin seat was to be added... but it
did not fit!!!! The Neomega seat is far to high and too wide, so only its
seat head rest was used.
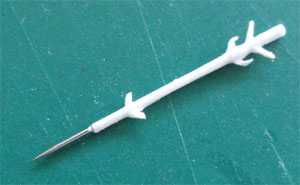
Also add the smaller antennas and
a metal pitot tube made from a household sewing needle fitted to the wing
leading edge. The nose pitot tip also got a needle section.
Below the fuselage, a special UPK-23-250
canon pod was added (from an aftermarket set Linek VO12).
Decals were now applied as per kit.
Some green panels on wing leading edge were painted, as well as a sort
of panel at the wing roots.
The canopy windscreen was separated
and set on the nose. Any gaps were filled with white glue. After drying,
frames were handpainted aluminium. Of the NeoMega resin seat, only the
hed rest was used as it is visible.
Wheel hubs were painted "green" (Xtracolour X628) and the gear legs metallic.
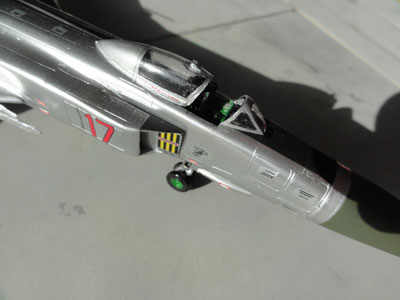
Finally add the black anti-glare panel
as well as the black intake panels (seen above). These were made matt with
a dull coat of varnish.
![]()
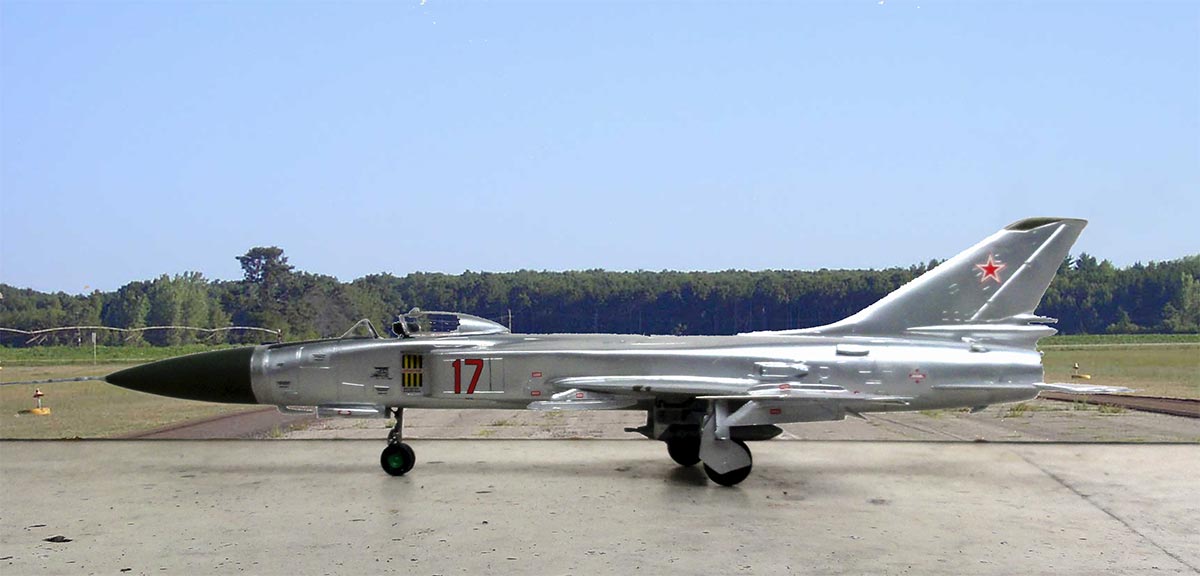
The result:
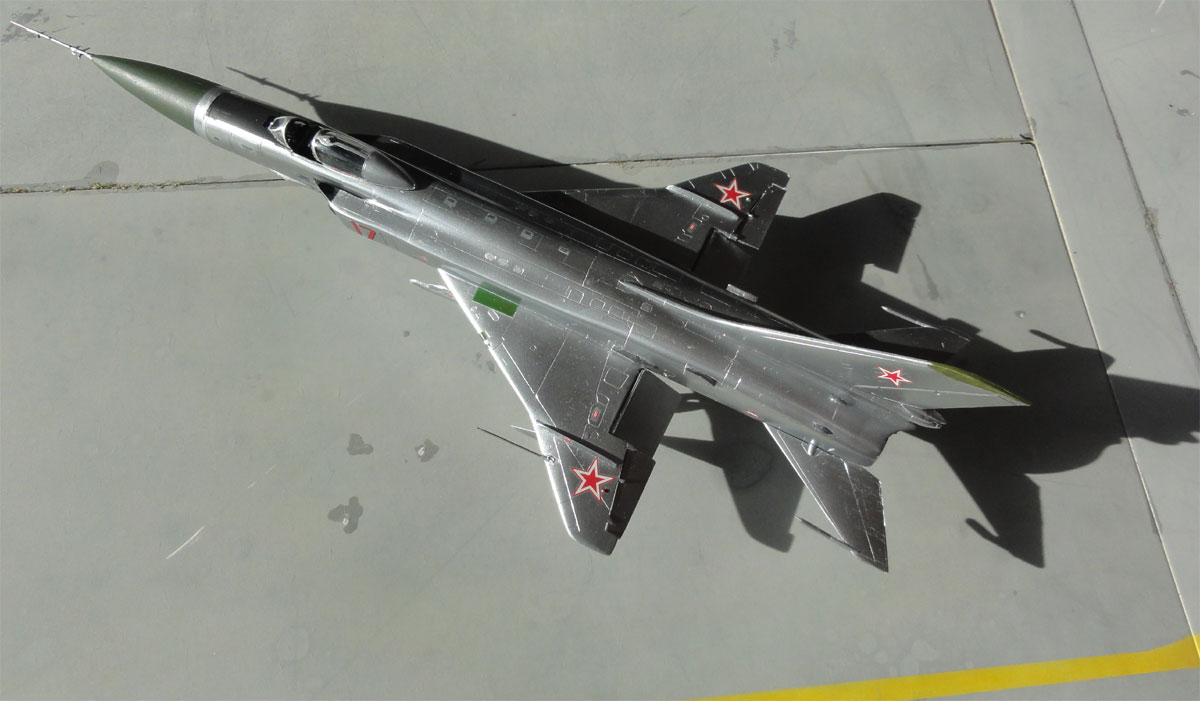
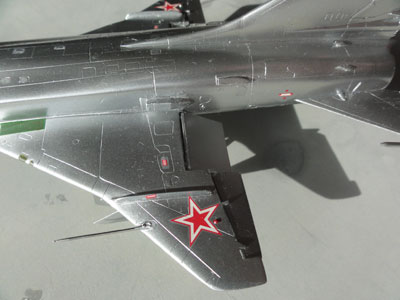
The trailing edge flap set
at an angle is seen here. The gap of the ailerons were reduced by applying
white glue before spraying the metal.
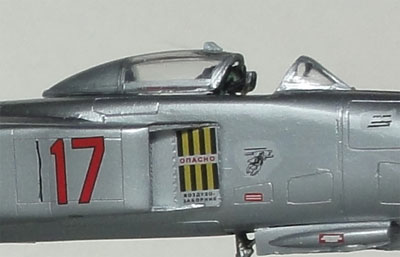
The splitterplate with the
well visible warning marking
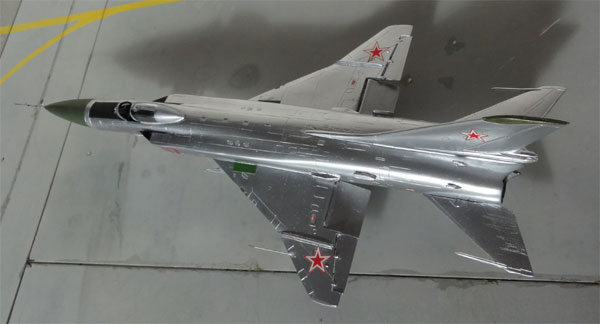
and in a Siberian Sakhalin setting....

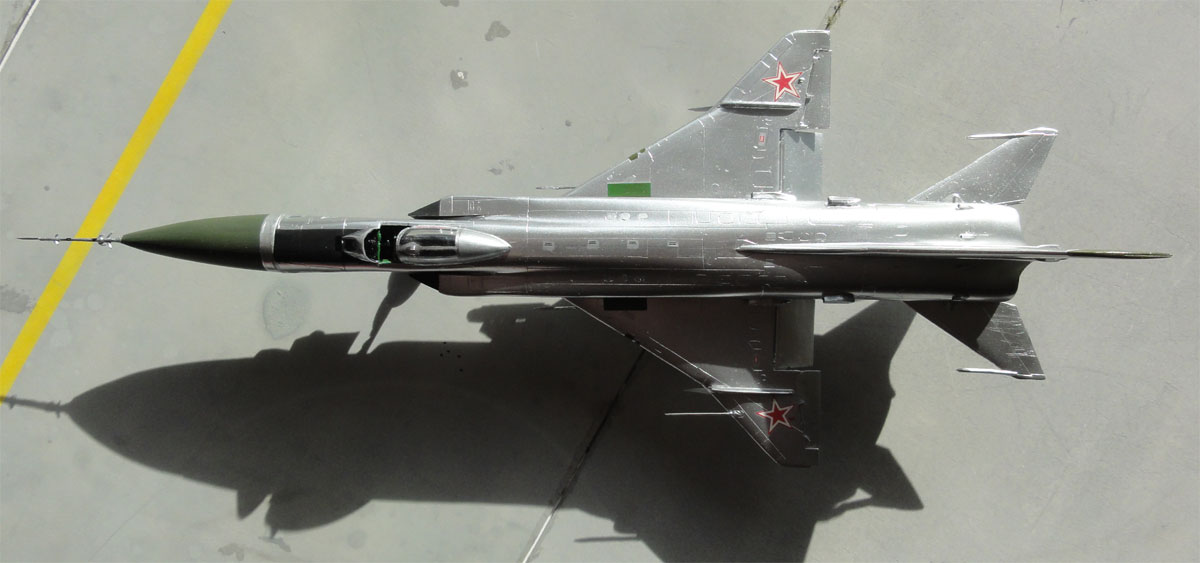
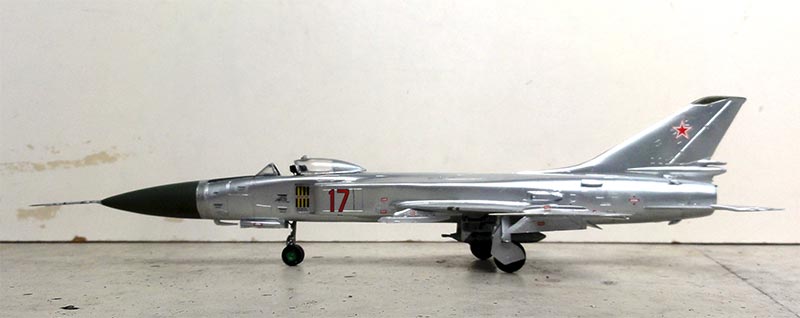
Red 17 Sukhoi Su-15
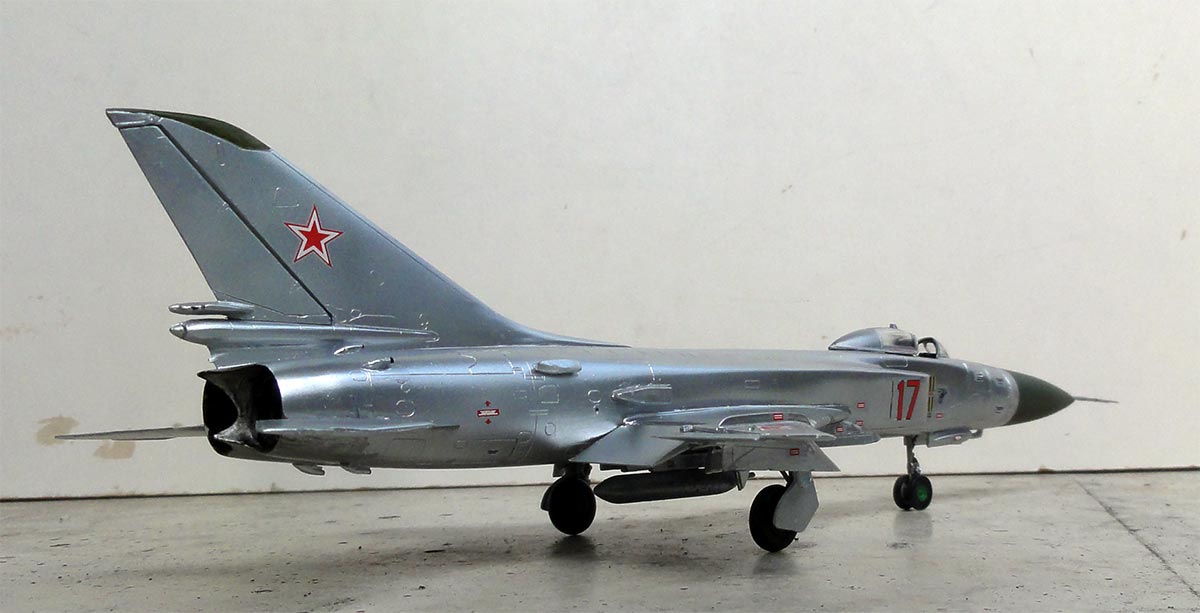
This model is a nice addition in the
Soviet model collection.
Back to 1/72 Models.......

(c) Copyright Meindert "designer"/ All rights reserved. Your comments are welcomed by webmaster
Created this page Sept 24, 2012