Soviet Fiddler "fighter" in 1/72 scale
AModel Tupolev Tu-128
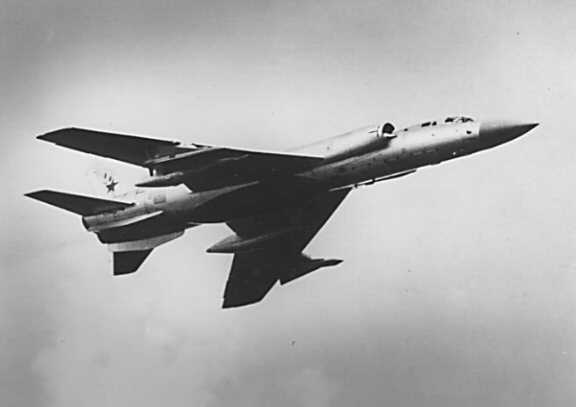
In the "old days", you could remember vague black and white pictures of this interceptor with NATO code name Fiddler. The Tupolev Tu-128 was a long range "Cold War" interceptor, intended to defend the Soviet Union by intercepting any strategic bomber of the period like the B-52. It first flew in 1961 and over 200 machines were build.
Check out http://en.wikipedia.org/wiki/Tupolev_Tu-28 and http://avia.russian.ee/air/russia/tu-28.html for more history
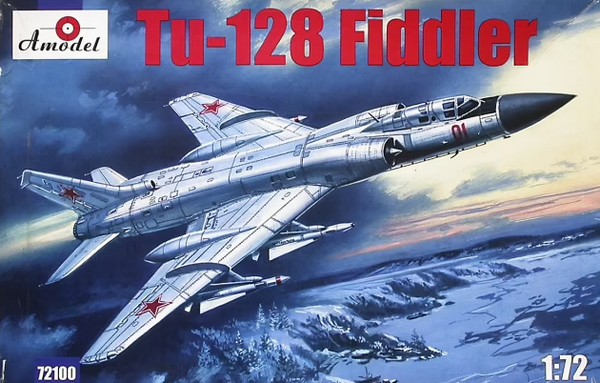
AModel from the Ukraine released in 2003
a 1/72 scale injection moulded model of the Tu-128 Fiddler (kit no. 72100),
which was obtained March 2004. The kit is the first kit of this Tupolev
type I have seen and is a very nice subject in any Soviet plane collection.
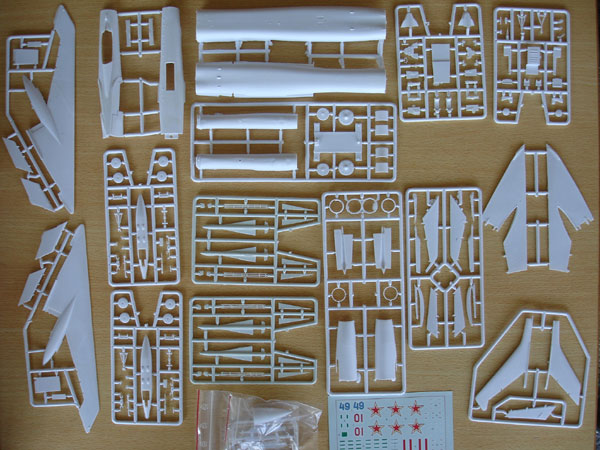
It contains many sprues and the long fuselage has separate nose and rear section; I guess because of the limited size of Amodel's moulding machine.
There are about
110 parts for the aircraft and 35 for the missiles. The kit parts are pretty
OK but is limited run so you need to clean up the parts first which is
best done with some sandpaper.
The detail is also OK, with a lot
of delicate parts in eg. the undercarriage and the separate flaps. Panel lines are finely engraved.
The instructions are
fine and Humbrol colours in enamel are indicated. I decided to build this kit straight
"from the box" and not bother too much on getting it perfect.
So how to proceed?
![]()
STEPS 1-3
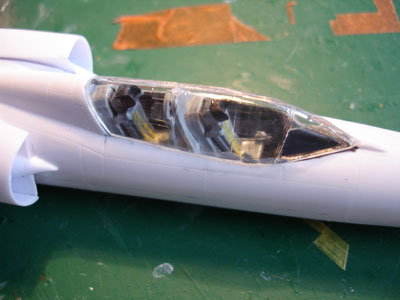
The cockpit may be build as provided
and you won't see that many detail with canopy closed. I painted the interior
a mix of the typical black and greys by simply following the kit instructions.
I added some seat straps.
The nose gear bay was made but the leg was set onto the model later on.
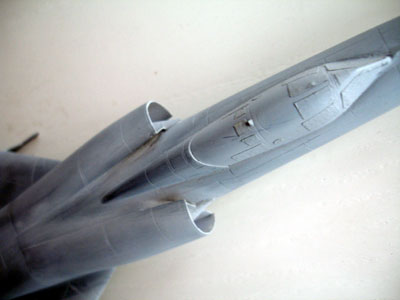
STEP 4
The nose part # 110 needs some extra
attention to get a good fit. Use putty and sand as needed to get a smooth
result. I did not bother to drill out the landing light holes, they are
a bit too large.
STEP 5
The exhaust pipes are not accurate
but I did use them after some cleaning up; they are a bit tedious affair.
I managed to get a reasonable result.
STEPS 6 - 8
Assemble but leave the flaps for
later.
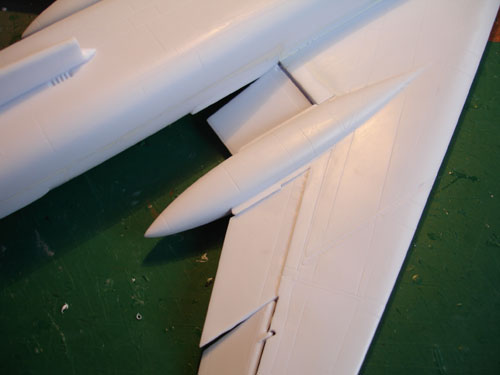
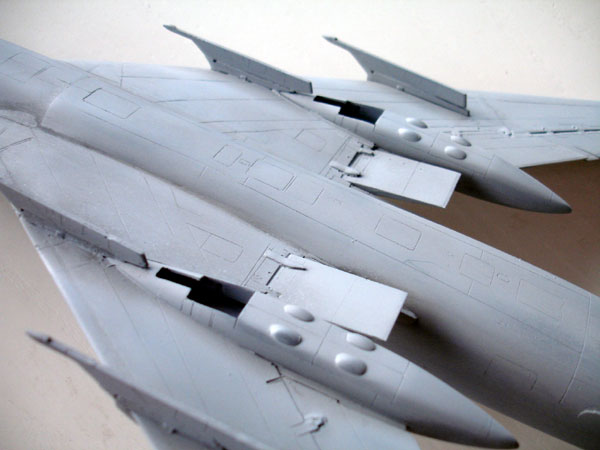
Add the wheel pods # 46 at this stage,
otherwise you get a poor fit. Now you can handle them better and
get a better fit by sanding and filling.
STEP 9
This work on the undercarriage legs
asks your patience, but it can be done. The parts are pretty well detailed.
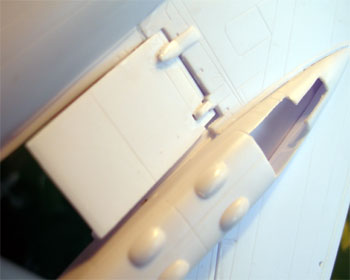
STEP 10
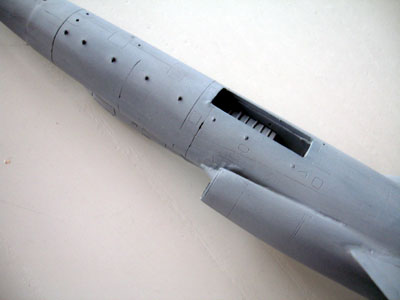
Don't bother with the inboard inlet
tunnels parts # 18+19 as you will not see anything inside! Also, don't
bother about the engine compressor parts.
Remove any plastic at the rear of part #2 to get a perfect alignment between the upper and lower fuselage sections. You will find that some filling and sanding is necessary between the nose and rear section of the fuselage.
Leave the flaps for later...
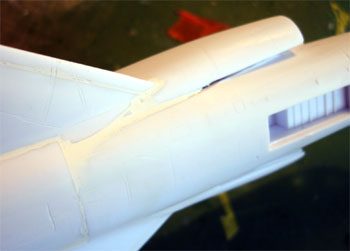
Next, concentrate on getting a good
fit in the intakes parts #29-33. It can be done with some care. Putty and
sanding is needed in this area.
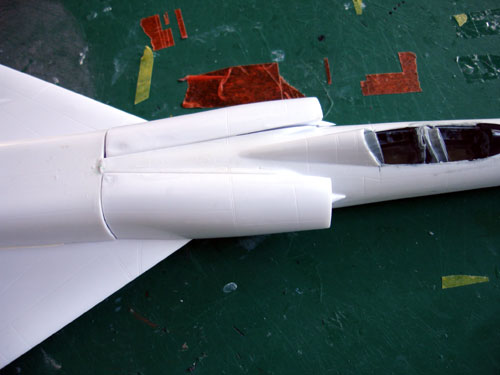
Note the gaps
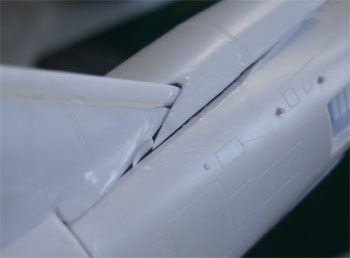 .
.
STEP 11
Assemble the tail area as shown,
but sand the parts straight as they have some irregularities. I think also
that Amodel mixed up the right- and left stabilizers. I removed the small
stub at the front of the stabilizers.
STEP 12
Leave for later.... I did not yet
fit the undercarriages and doors until a first metallic paint was on the
model.
The wheels were painted and the gear
hubs given a green coat
STEP 13
Pylons need some white glue to fill
the gaps , but you will need some work here to get a tight fit. Same applies
to the wing fences.
The missiles are best replaced; I got other AA-5 missiles from a 1/72 Condor MiG-25 kit.
The canopy was fitted and carefully
aligned. Fill and gaps now as the canopy needs large areas to be covered
also with the final finish.
 (masked
canopy)
(masked
canopy)
Now, the flaps were also added to
the wings. The flaps also need some sanding and I simply installed them
in the up position.
.
.
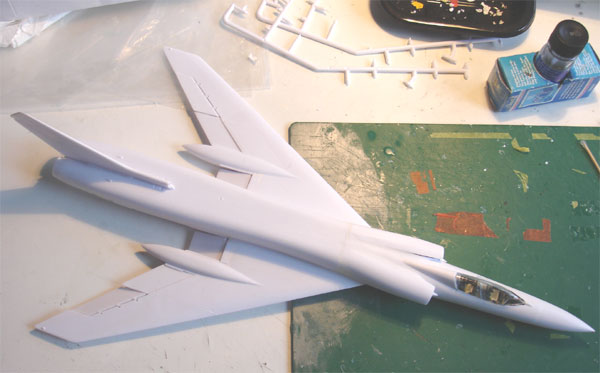
Checking
up
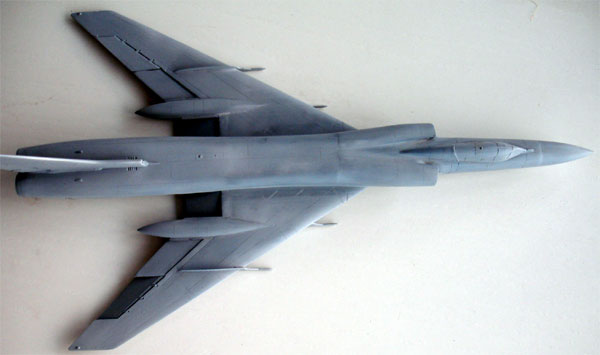
The model was not ready to get a
first coat of light grey Humbrol 64 with the airbrush to check for any
flaws. Corrections with small amounts and putty and some sanding was done
as needed.
Finish
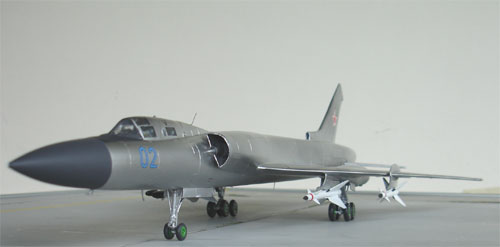
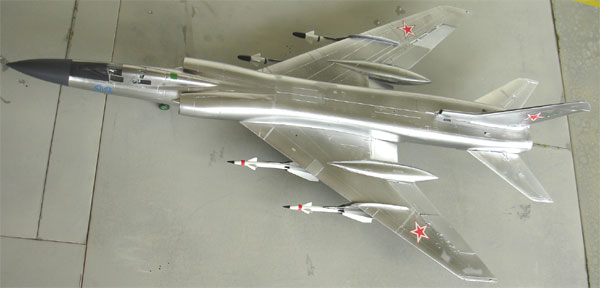
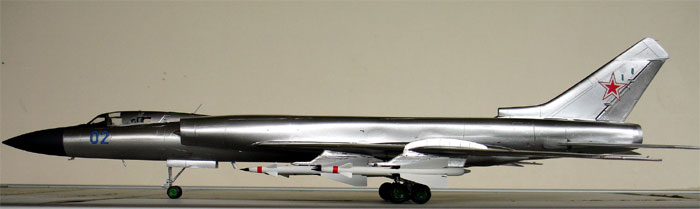
"Fiddlers" flew in a rather dull scheme
with an overall aluminium finish, a number code and red stars.
The model was finished using Alcad
II Aluminium and in some areas the Dark Aluminium. It is essential to have
a very smooth gloss black surface.
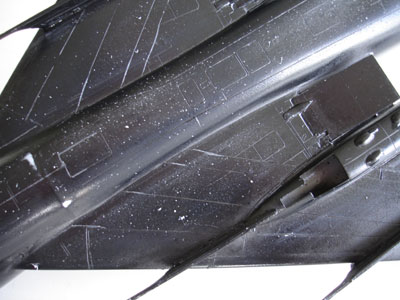
The coating was polished over and
over to remove any irregularities as you see below with the tiny white
spots
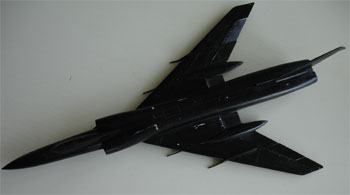
Therefor, after masking the transparent
canopy parts, the model was given an overall coat of black, then a couple
of coats of Johnson Future
(essential as it has is acrylic based).
The ALCLAD II gave no further problems
and the surface with polished with a cloth.
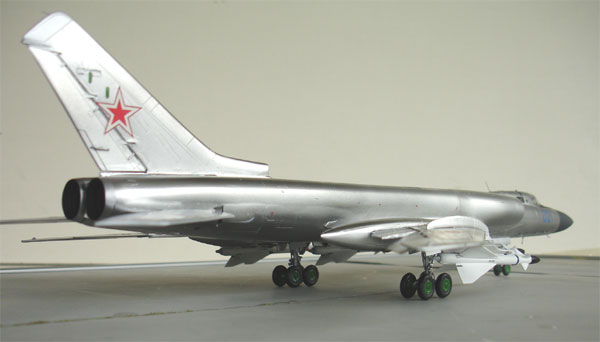
Markings
The red stars were used as provided
although the white boundaries are a bit wide as did not have any good stars
available in the correct size. Weathering was kept to a minimum with some
panels getting a painted on different shade of aluminium with Humbrol 11
and some panels even green!
After decals were dried, the overall model got a coat of again Future to protect the finish. The tyres got a coat of matt varnish.
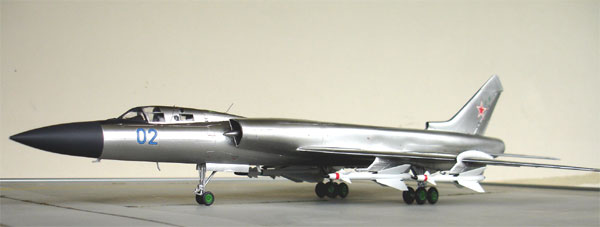

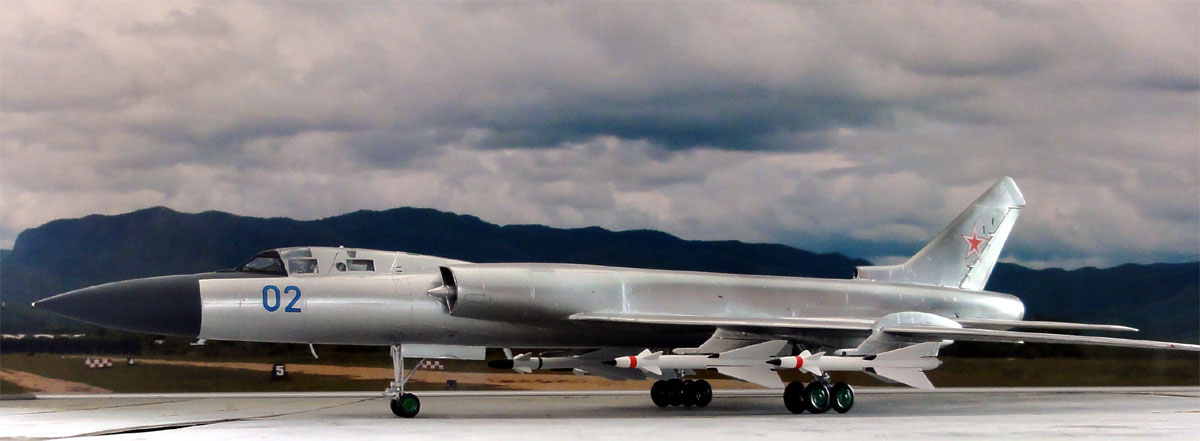
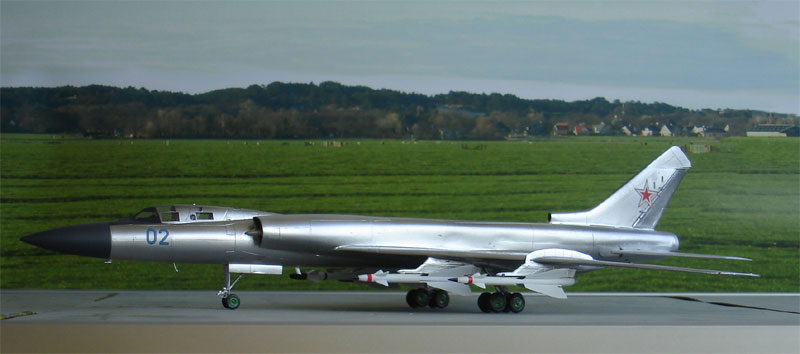
I think the end result is pretty nice and this interceptor is now in the Soviet Aircraft model collection.

(c) Copyright Meindert "designer"/ All rights reserved. Your comments are welcomed by webmaster
Created this page:
January 7, 2007