DH Sea Vixen FAW1 in 1/72 scale
... continued from page 1...

Xtrakit issued a short run plastic kit in 1/72 of the De Havilland Sea Vixen FAW2/D.3 in 2008. Kit XK72003 is a mould from MPM with some other parts. The number of parts is about 80 and includes some resin parts but see notes below.
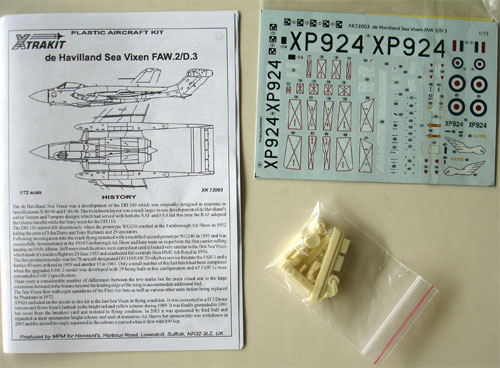
For the nose gear, a resin part is provided (a spare wheel is on the sprues as well).
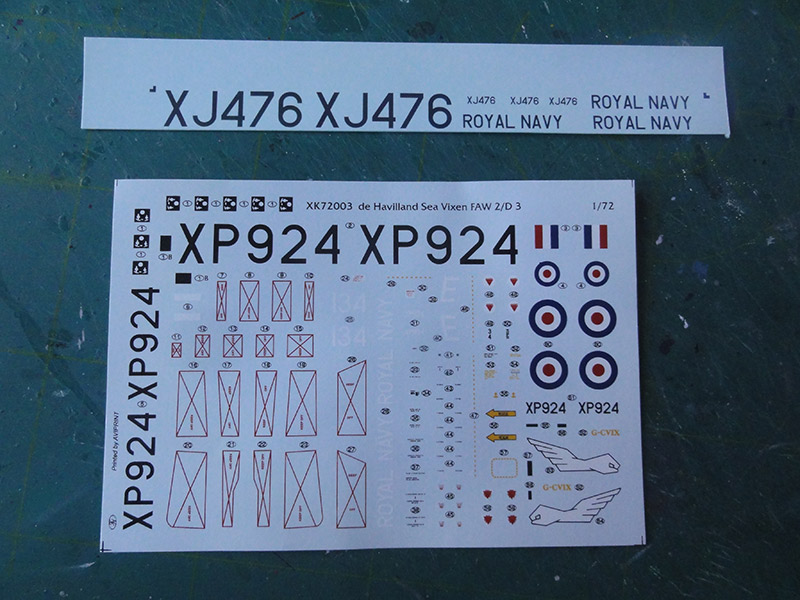
The decals look fine and are for one Fleet Air Arm (FAA) scheme FAW2 XP924 in extra dark sea grey with white lower surfaces.
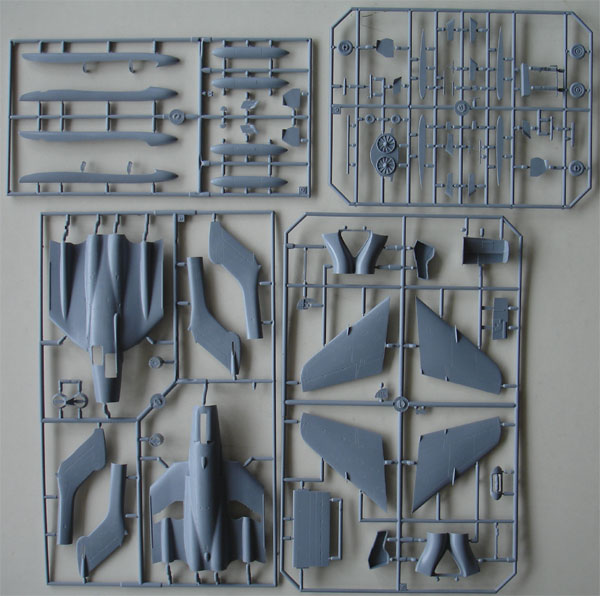
The mid grey plastic is rather soft. There are no part numbers on the sprues, the modeller should look at the parts' layout drawing in the instructions which shows the part numbers rather tiny.
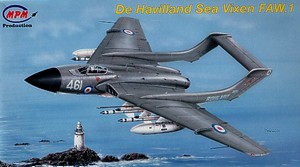
NOTE: MPM issued basically the same 1/72 kit as the Sea Vixen FAW1, boxtop seen below:
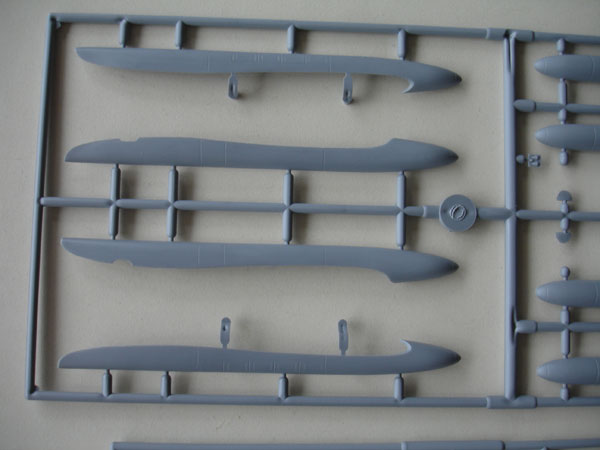
The Xtrakit FAW.2 kit has an extra sprue for mainly tail booms with tanks and extensions and also of few extra parts for e.g. gear doors:
Otherwise, some small resin parts are different.
These kits are a vast improved over the older Frog 1/72 kit (re-issued by Revell as well as seen here... ), but still has its faults unfortunately.
- Many of the resin parts are underscale for some strange reason, looking more 1/100 scale. The seats are usuable as they are much too small (Aeroclub seats or the FAA Models resinset come to the rescue here).
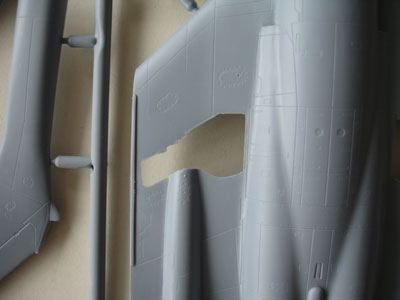
- Wingfold fairings are too short and short have a round cross section shape
-
The bulges on the main gear doors are missing I think.
- Pylon shapes are suspect.
- Intakes' guide vanes are missing but these can be added from plastic strip as they are very visible.
-
The canopy shape is suspect.
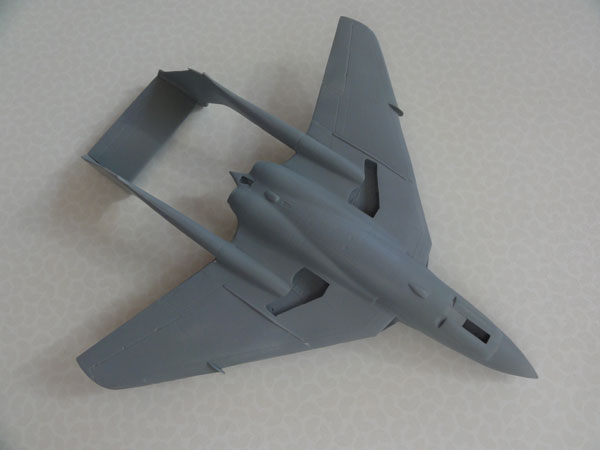
Although I bought the FAW2/3 kit and the MPM FAW1 was issued, it was decided to make the Xtrakit release as a FAW1. Having already made the FROG 1/72 FAW kit and as all parts are in this kit as well.
The early style FAW.1 canopy has an extra mid frame, the kit part can be used with a painted extra frame.
OK, let's begin building.
First, separate all parts from their sprues with a razor saw as the parts are otherwise unnecessarily damaged.
STEPS 1-3
The cockpit tub and nose gear bay do not fit in the nose, so you will need to sand of the floor thickness of the tub part #B6. Also, remove some thickness from the roof part #C3.
There is a gap in the bulkhead between the pilot and navigator, so this gap was sawed out.
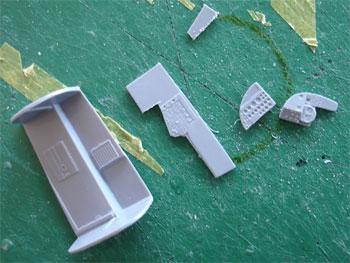
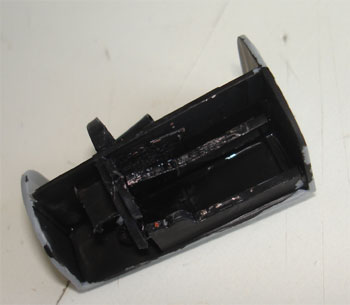
The instrument panels were nicely done, only some tiny bits of rod and strip were added for some extra detail. The "black" cockpit interior with navigator coal hole were painted tyre black and details drybrused.
The resin seats are much too small. I will seek for seats in the spares box. (Aeroclub once has metal seats).
STEP 4
The exhaust assembly is a bit trickly because parts are easily damaged, so take care here. The resin parts can be fitted as is, no need to removed there mould backings.
STEP 5
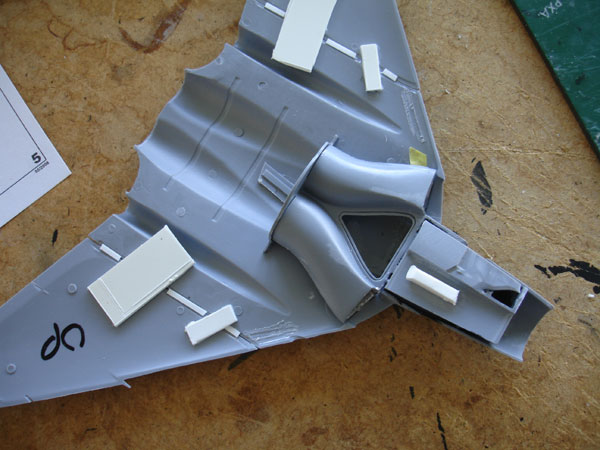
The intakes do not fit too bad, but the compressor blades fronts are incorrect. Nothing will be seen through the intakes, but I inscribed more fan blades on part #C5 and added a bigger cone for the nose cut from two old bombs. The intakes look to be metal coloured.
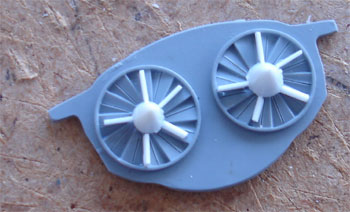
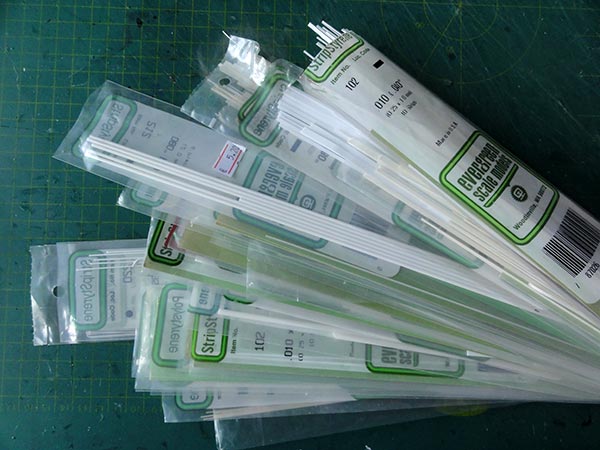
Importantly and visible. the intake guide vanes are missing! So these should be added later on from EVERGREEN plastic strip iniside both intakes.
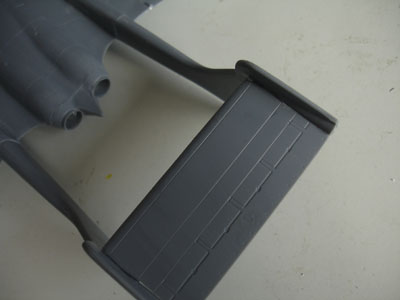
The main wheel door wells on the FAW.1 have a straight forward edge as compared to the FAW2. So, only some sanding of the bay edge and swopping the doors is needed or use the relevant doors also presented on the FAW2 sprues as well.
The main gear bays fit OK but are bare. The nose bay roof needs some reduction in thickness to avoid fit problems later on.
The standard FAW1 supplied as well tailbooms are OK, but do NOT fit them yet!
STEP 6
The outboard wings are separate in the kit, you could make them up folded, but there are no hinge mechanisms for the hinges, only plain ribs.

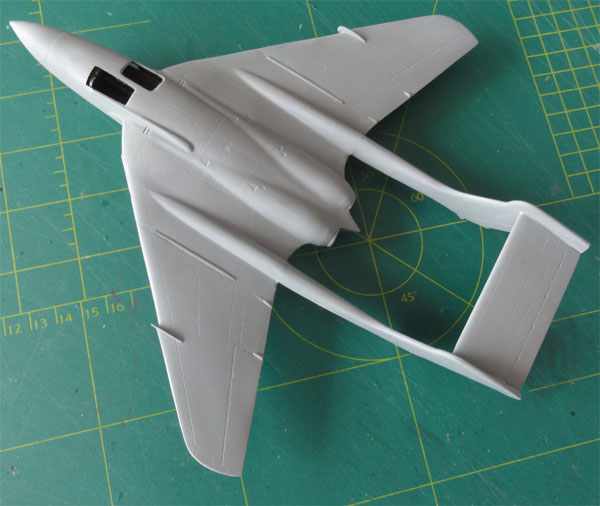
I suspected that aligning the wing perfectly with slight anhedral would be difficult, so first I made the upper outboard wings with the upper fuselage part #A1. I added re-enforcements with thick card and made sure the inboard wing sections (in part #A1) with perfectly in line with each outboard wing (#B1 and #B3). Take care not to mix up the upper and lower outboard wings here!
So I did NOT use the rib parts #C6 and #C7 but opted to add strength with card.
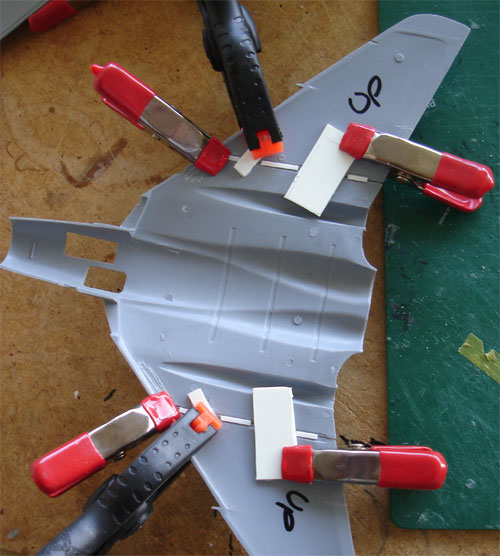
The upper fuselage and upper outboard wings were now joined and I made sure the sections were joint OK both in chord profile and in spanwise. This was set to dry 4 hours.
A few pieces of card at the lower fuselage section were set for aligning the lower wing halves later on.
After 4 hours, the cockpit tub was set into the upper fuselage part and this required some dry fitting and as I had reduced thicknesses in areas, the fit was OK.
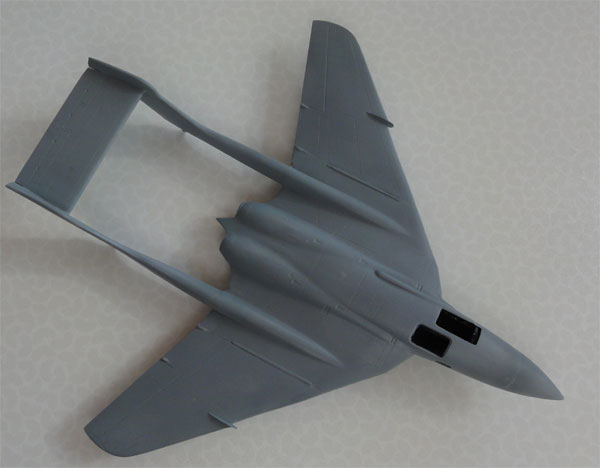
The upper fuselage with wings and lower fuselage without booms were joined. This required quite some persuation and tape to get the parts to be joined with ample amounts of glue. After an hour, I could now add the lower outboard wings to the assembly. Now I was able to get a perfectly aligned straight wing, but I had to add a thin piece of strip between the two wing section noses to achieve correct thickness at the leading edges.
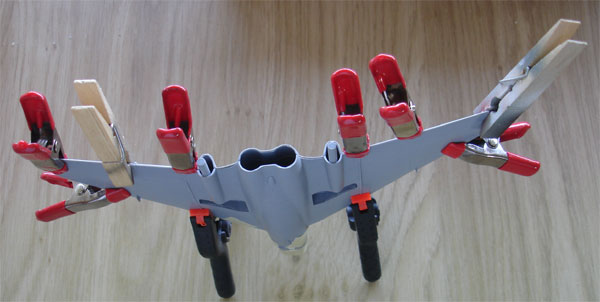
The fuselage was closed up. The radome was installed AFTER enough nose weight was put inside. This to avoid tail sitting...
The tail booms were assembled. A few sprue bits were set in the openings for added strength and booms installed. Some putty and sanding was needed.

Carefully align the booms and horizontal tail plane.
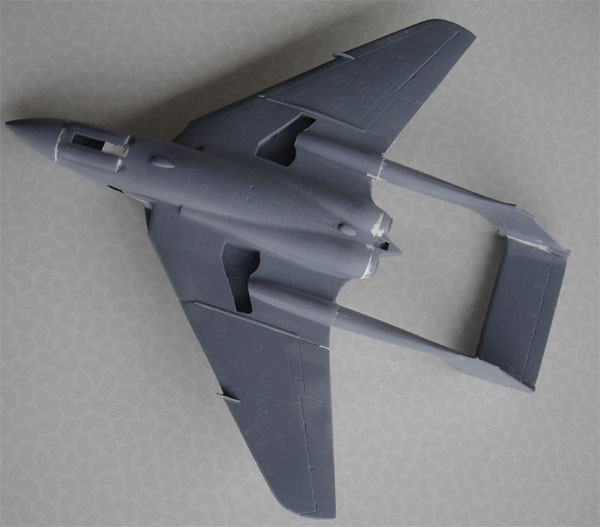

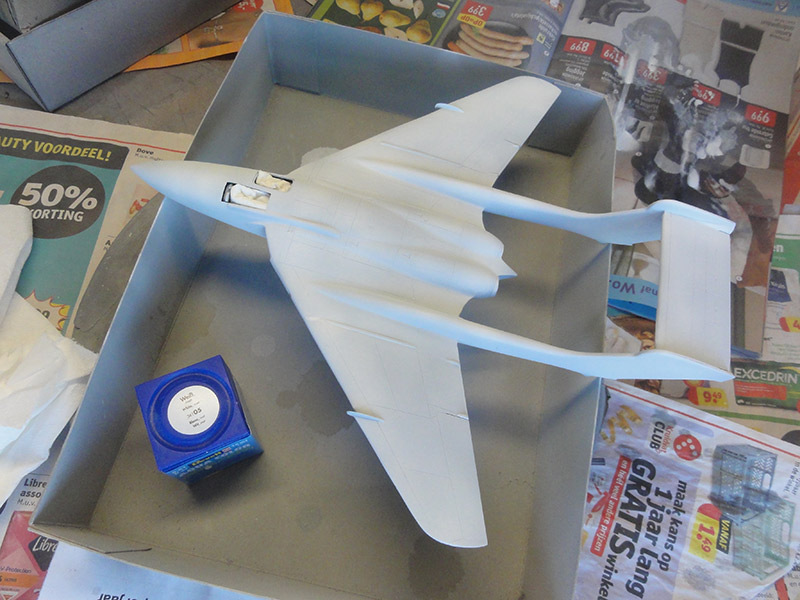
The model got a base grey primer airbrushed with my favourite Revell 75 steingrau Aqua acrylic paint.

Another darker grey coat followed as I still had no idea which paint scheme to apply for this FAW1 model.
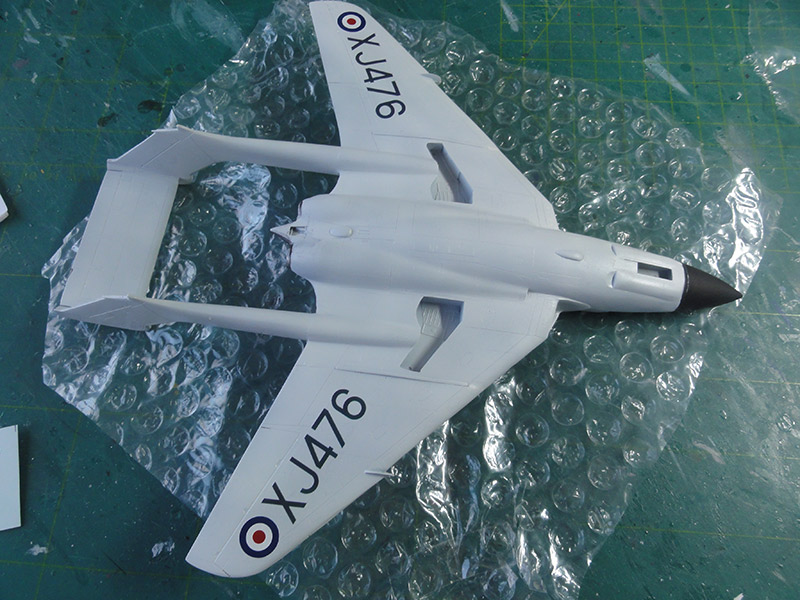
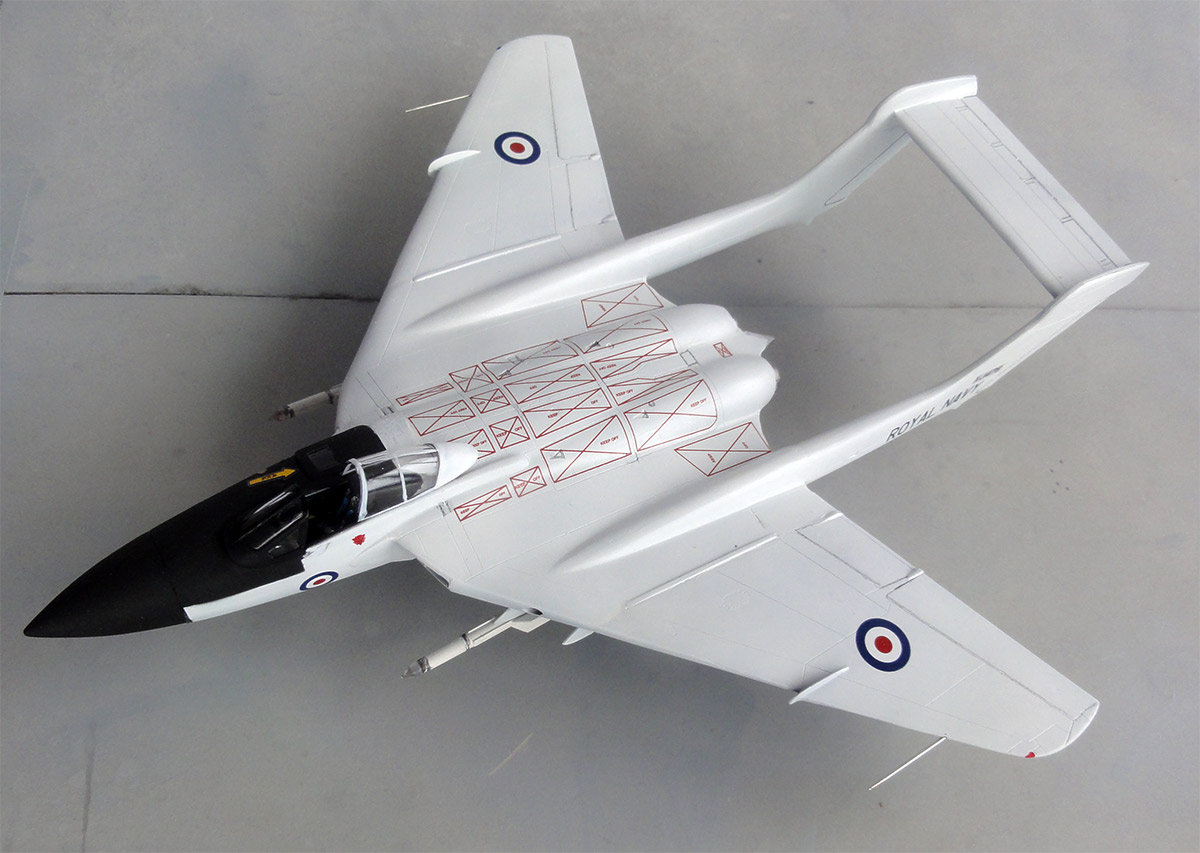
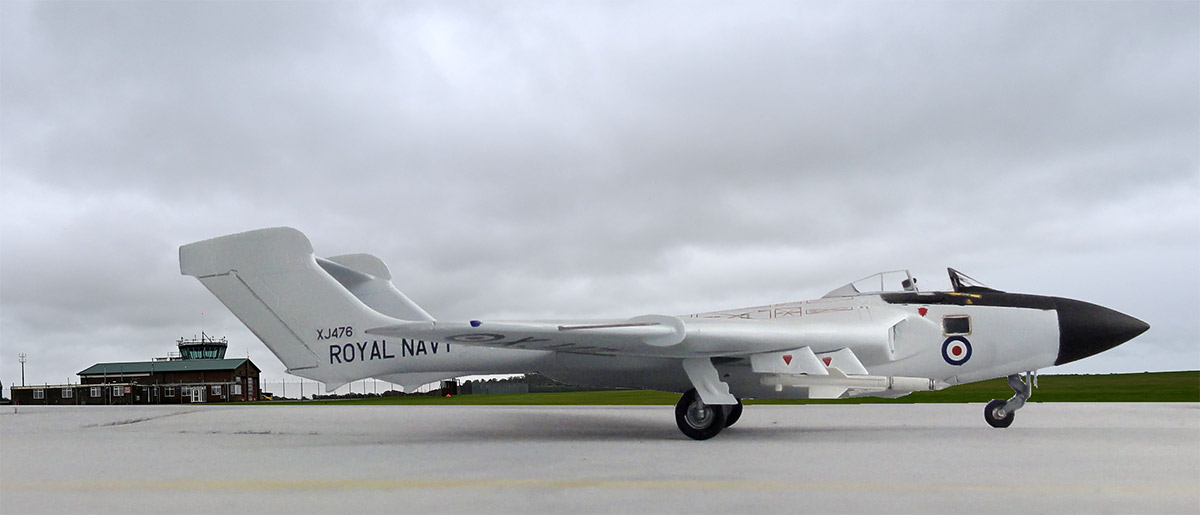
I opted for a different FAW1 scheme. First I had seen a drawing in the Warpaint book of Sea Vixen FAW 1 XJ476 in a white scheme. Later I saw the preserved cockpit section at the Old Sarum museum in the U.K near Boscombe Down. This aircraft is the third aircraft of the pre-production batch and first flew in 1957. It was shipped in 1960 to Australia to do missile trails at Woomera which was done until 1963. Returned to the U.K. it was still used by Hawker Siddeley Dynamics from Hatfield in 1966 for trials. It also had a camera pod fitted. From 1968 is was used at the A&AEE at Boscombe Down to test the Martel missile. It was out of service by 1972 and the cockpit section used for instruction purposes at various colleges. The cockpit section is now in the museum at Old Sarum.
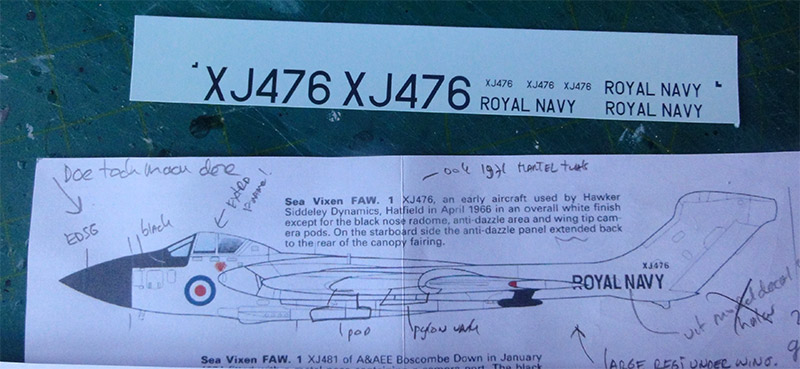
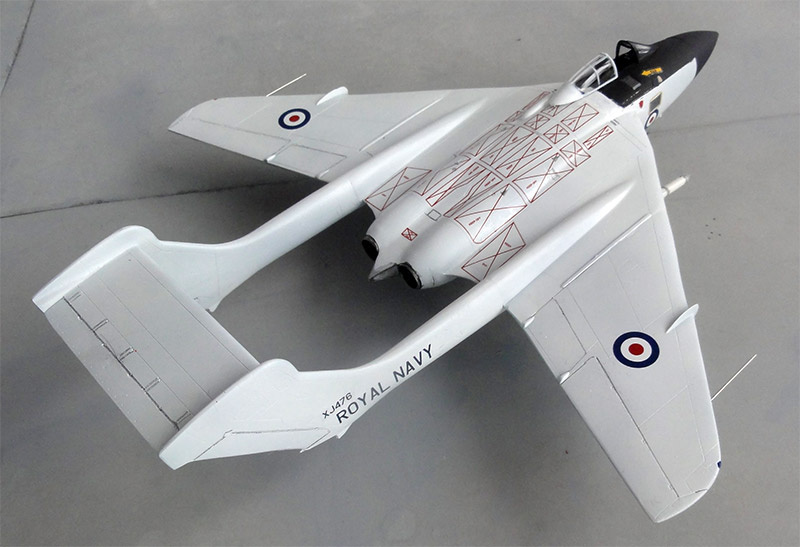
For the model, the black XJ476 codes and ROYAL NAVY tail boom markings were home designed and the decal laser printed. (if you want a print, let me know...).
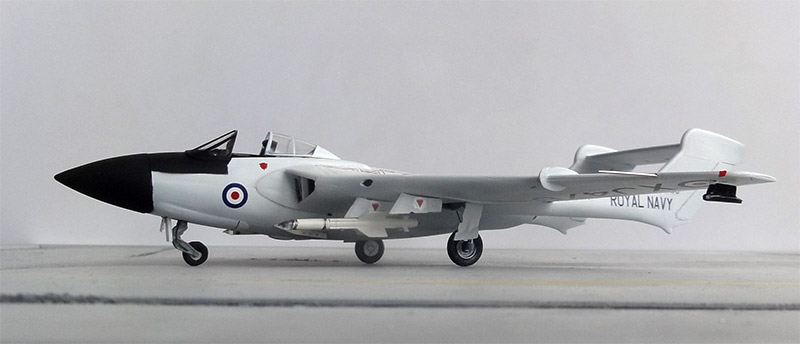
The model got an overall white paint airbrushed. First with thinned mat Revell Aqua 05 weiss acrylic paint followed with gloss Gunze Sangyo H1 white acrylic (or use any white paints). Ensure a gloss finish to avoid decal "silvering".
The black nose and anti-glare panel were masked with tape and airbrushed mat black.
The applied decals are thus a combination of own made and the fine kit decals.
The landing gears were first painted. When dried, gears as per kit were installed as were lower air brake structure and 4 wing pylons though their shape is not perfect but good enough.
![gear]](seav-20.jpg)
I found a few better sized seats in the spares box. In the cockpit a few details were painted, it is a "black hole".... so not a lot is seen.
The Sea Vixen FAW1 had a flat entry hatch for the navigator and weapons officer. (the FAW2 had a bulged fairing with hatch also in the kit). The FAW1 flat flush hatch is a transparant part with small upper window. It is supplied in the kit as well and was installed.
The canopy and windscreen were painted. The windscreen got an extra central mid frame for the FAW 1. There were a few gaps that were filled with white glue. Paint mat black when dried.
For this special Hatfield Sea Vixen XJ476 a camera pod was made from scrap and painted black. It was installed at the lower port wing tip. Two Firestreak missiles were installed at the inner wing pylons.
With a pencil, the flaps, ailerons, rudders and elevator were accentuated as were a few panels.
The wing pitot tubes were made of 2 metal needles. Set with superglue.
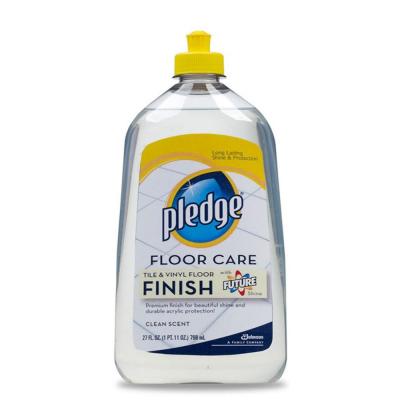
The overall model got a gloss varnish airbrushed with Johnson Pledge acrylic varnish thinned with 10% Gunze Sangyo Mr.Color levelling thinner, shield off the transparant areas. That completed a nice Sea Vixen FAW1 1/72 model.
... set in scenery...
REFERENCES
in print:
- DH Sea Vixen, Steve Hazell, Warpaint no. 11, Hall Park Books
on the Web:
- Web http://www.thunder-and-lightnings.co.uk/seavixen/history.php
Back to 1/72 jet models
(c) Copyright "designer"/ All rights reserved. Your comments are welcomed by webmaster
Created this page
January 12, 2026