Sword
Lockheed T2V-1 Seastar in 1/72 scale: kit modelling report of the SWORD kit
The Lockheed company started development in 1949 for the US NAVY of a jet trainer based on their T-33 with quite some adaptions for this naval training role. Designated L-245, later T2V and named Seastar first flight was end 1953. It had an Allison J33A engine and needed redesigned intakes, it got a cockpit with higher seating of the rear instructor, powered leading edge slats, a sort of boundary layer control and larger rear tail surfaces. It got a stronger undercarriage and also an arrestor hook. Fixed tiptanks were also fitted. It looked quite different than a T-33. Deliveries started in 1956 to "VT-" training units with some 150 aircraft being manufactured. Training was done mainly at land bases. In 1962 the Seastar T2V-1 was redesignated T-1A . It was replaced by the far better T-2 Buckeye in the 1970s.
Some data: Overall length 11,75m; wingspan 13,06 m (including the standard tiptanks and their fins); Maximum speed 930 km/hr and MTOW 7636 kgs.
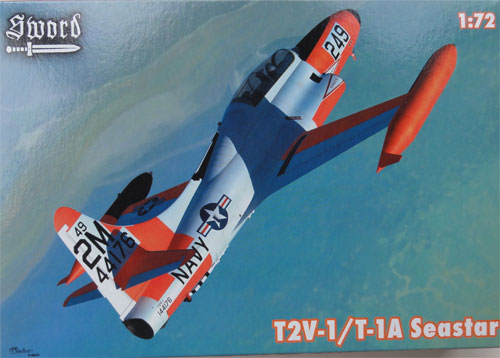
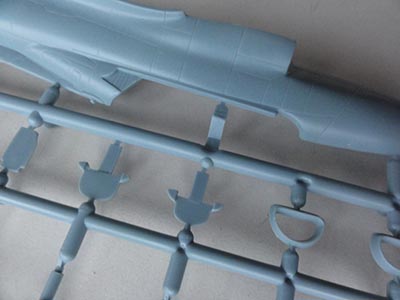
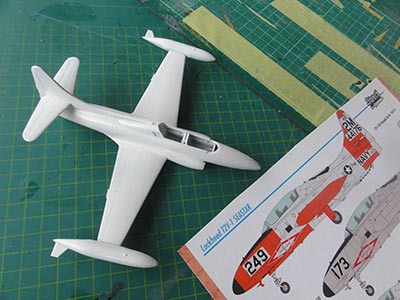
The SWORD kit # SH72072 was released in 2013 and is I believe the first injection moulded kit in 1/72 scale. Before that only vacuforms existed such as the Griffin 1/72 Seastar and a 1/48 resin kit of Collect-Aire.
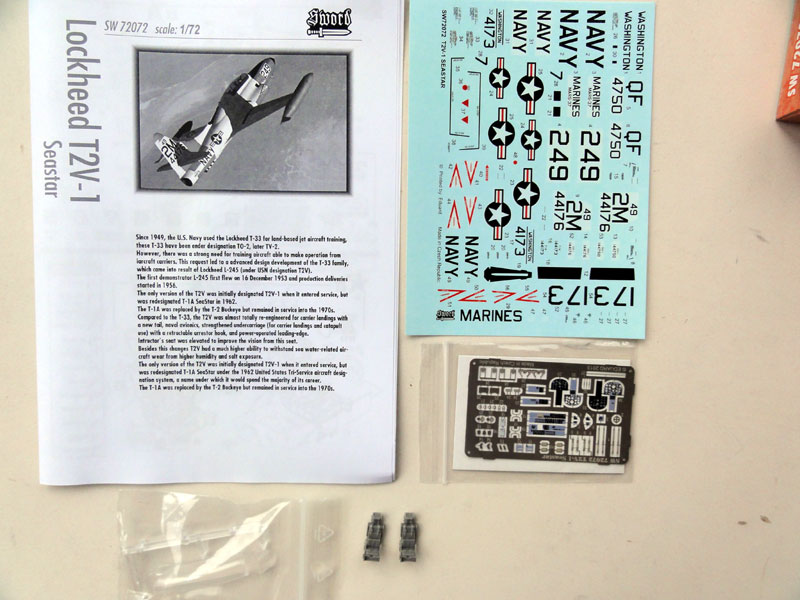
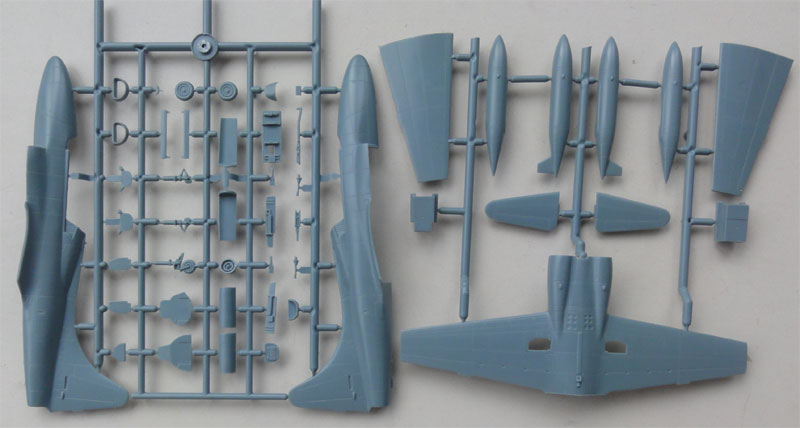
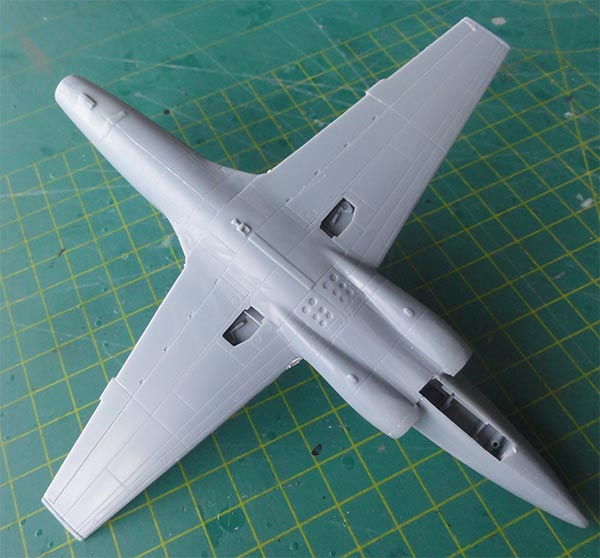
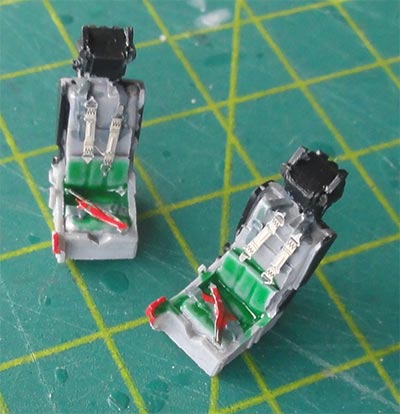
The kit has about 50 parts in blue-grey plastic and has the usual short run soft plastic of SWORD. Included are also 2 resin Martin Baker L5 seats that look really good and a coloured etched metal fret with instrument panels and goodies for the cockpit details. These really look good. Panel lines are incely engraved. The wing tip tanks are always fitted on real aircraft and are also included as separate parts.


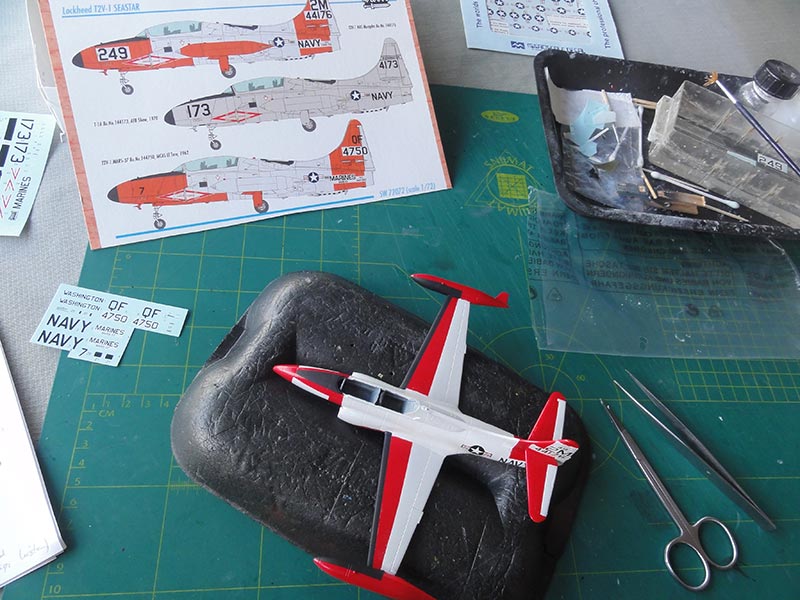
Decals are for 3 US Navy trainer schemes:
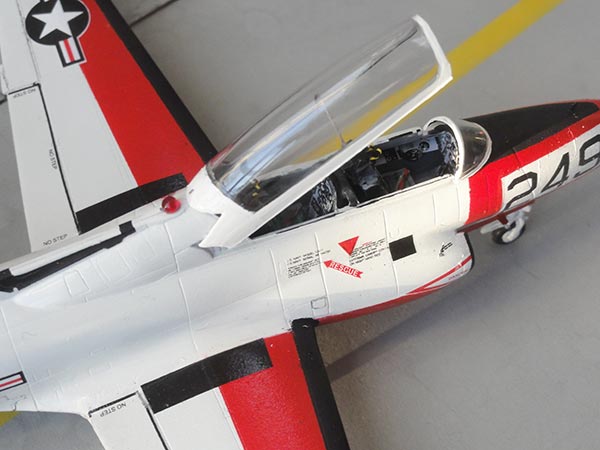
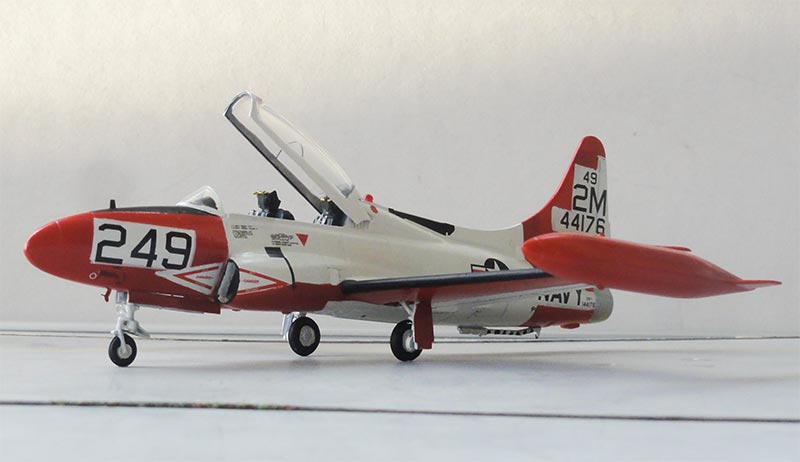
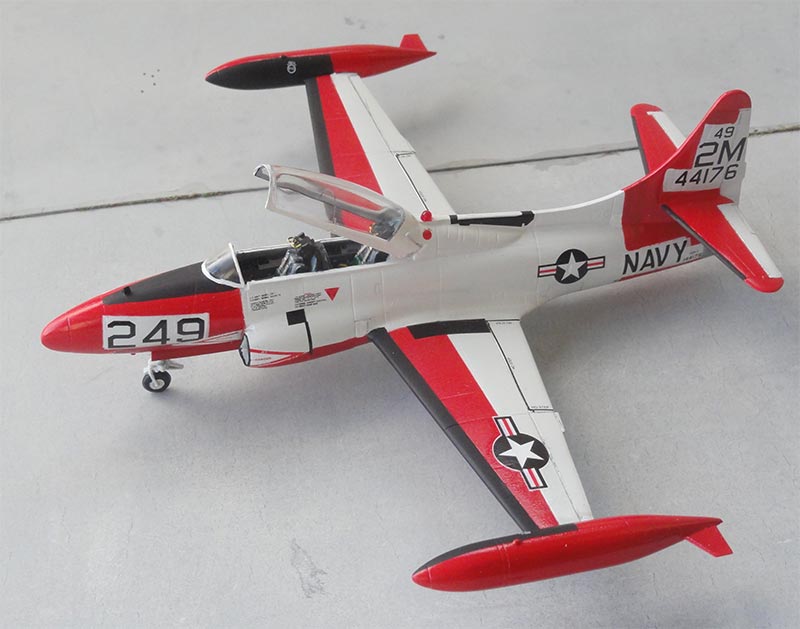
(1) VT-09 of NAS Memphis in 1962 in an attractive white / gloss red scheme.
(2) MCAS El Toro, again in an attractive white / gloss red scheme.
(3) Overall grey Seastar based at Shaw AFB, 1970.
Note: the white sections of the decals later appeared to be a bit thin so when applied over red surfaces it shows. Masking of setting a spare white decal below these will solve this issue.
The model was made straight out of the box and nice to make.
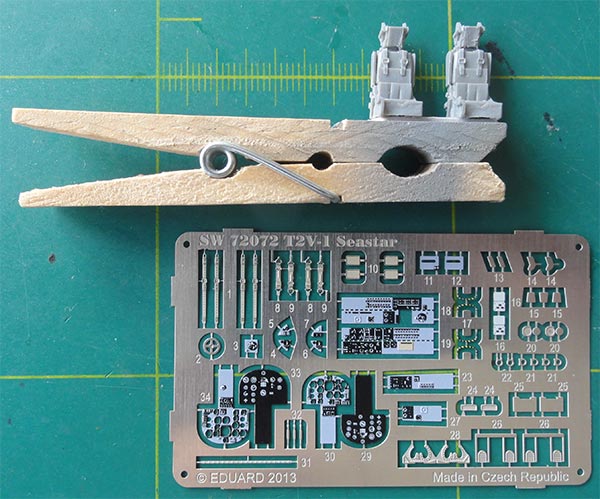
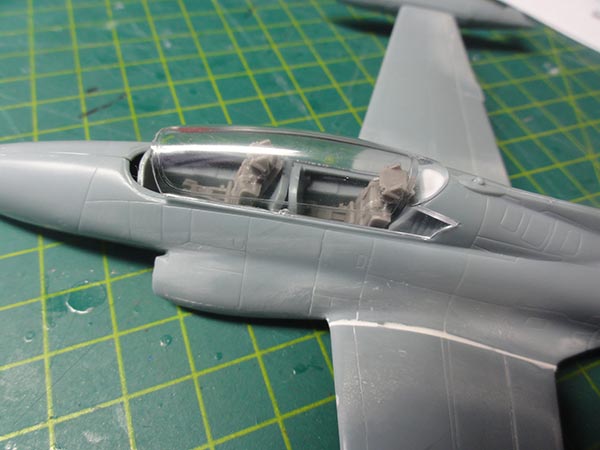
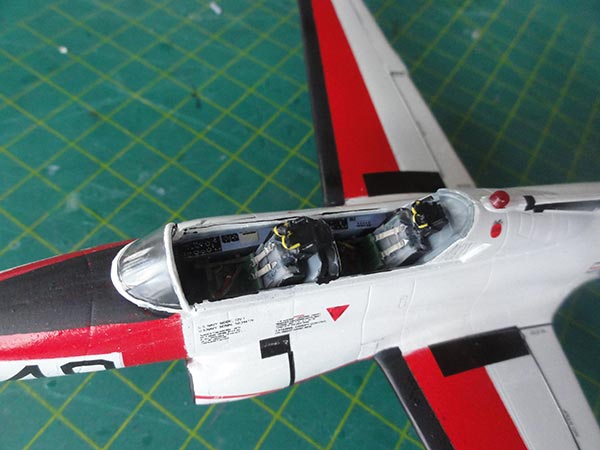
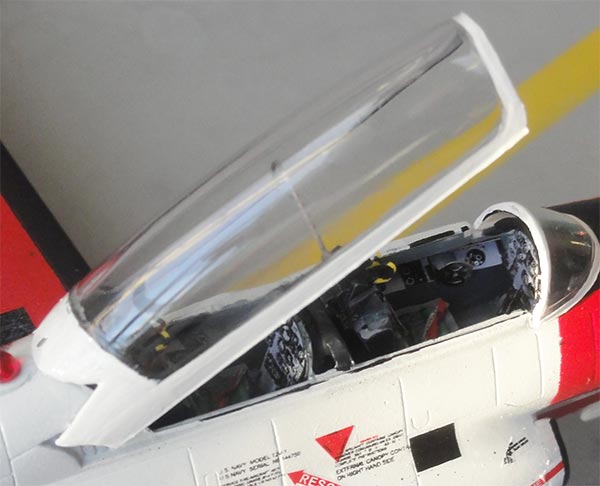
The cockpit looks really good when all the coloured etched metal parts are installed. Parts are provided also for the side consoles and side walls. Even the throttles are included. The etched metal instrument panels have 3 layers, are accurate and look great. These parts can be fitted at a much later stage with a tweezer as the tub is reachable.
The L5 seats with harnasses moulded onto need only some painting but also the provided etched metal straps can be installed. And the resin seats fit! I often had kits were resin seats were too wide or too high but here they are good. The coaming kit parts #7 , #8 look to be too big so were not (yet) installed.
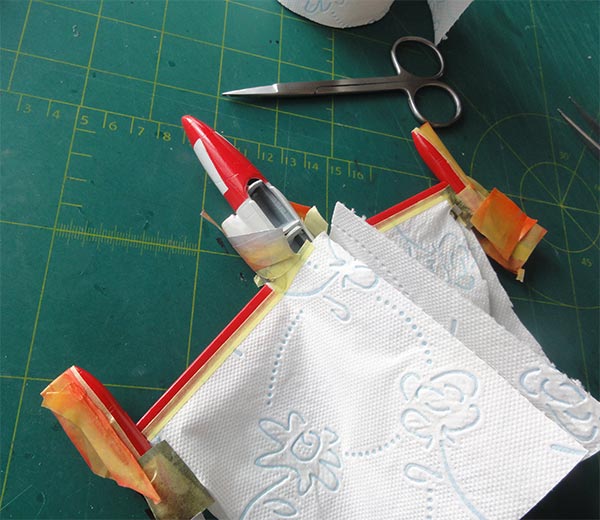
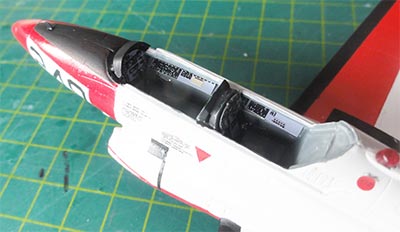
The nose gear bay is good and the air intakes are deep. I added nose weight to avoid "tail sitting".
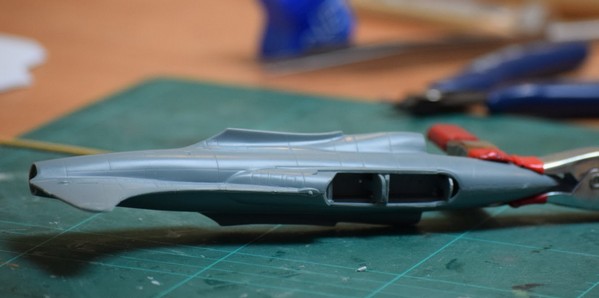
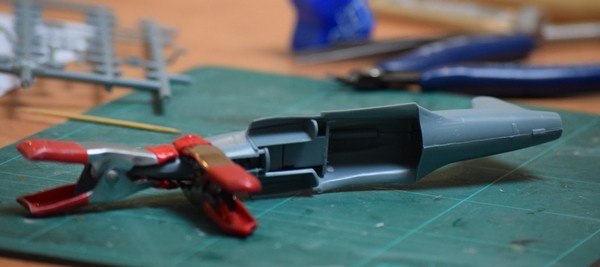
When assembling the model, it first appears to have fit problems, for example at the intakes. But sanding solves this.
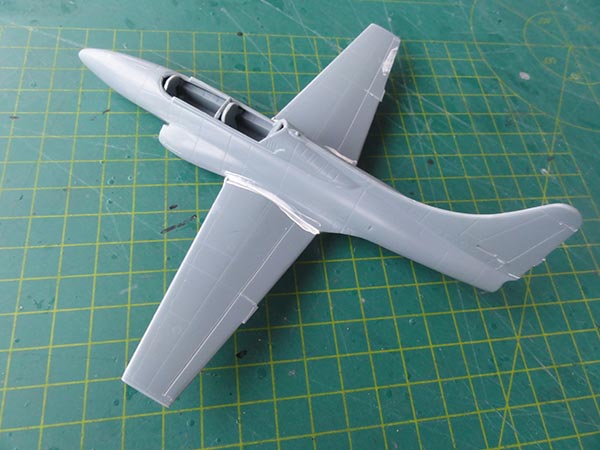
The wing has a little dihedral so check alignment. I engraved a bit deeper the ailerons panels with a scriber.
Eventually I only had to use some strip and filler / putty at the upper wing - fuselage joints, here are rather wide gaps.

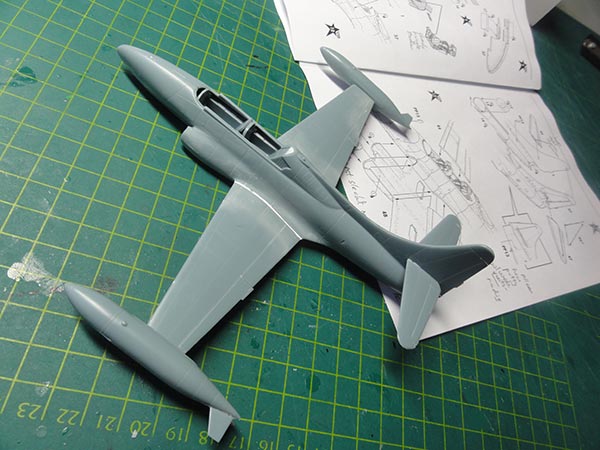
The tip tank slots were made a bit bigger to fit on each wing tip. The horizontal stabilizers tabs should be trimmed a bit for better fit and these are to be set at 90 degrees.
Filler / putty can be removed WITHOUT SANDING in many situations with plain Nail Polish Remover from the drug store. The one without Acetone is best as it limits etching the softer plastic. Remove any putty ridges with a cloth dipped in remover, this is an easy job.

The canopy will be set open but fits good as well when that is desired. Some white glue will than fill the tiny gaps.
Before added the gears and smaller parts, the model was first to be painted. I opted for the kit scheme for VT-09. (The Ginter book shows this scheme on page 57).
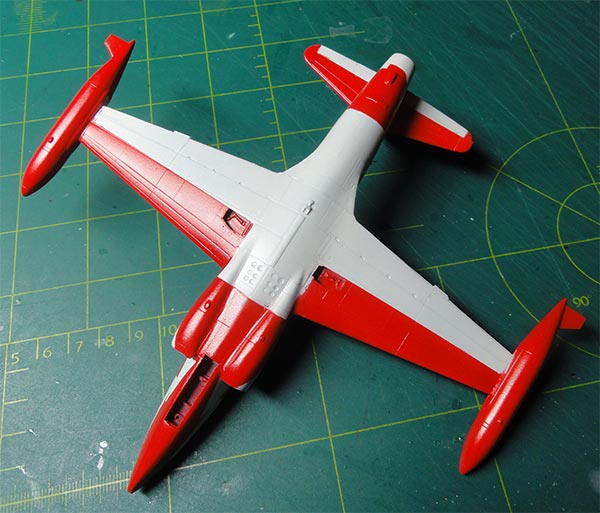
Airbrushed was first a base grey colour, and any still remaining smaller surfaces irregularities were corrected with putty.

Next came first and overall mat white colour, followed by an airbrushed gloss white colour using Gunze Sangyo H1 white.
Next step is a lot of masking with fine masking tape for the red areas. I used the tail decals as guide for the masking here.
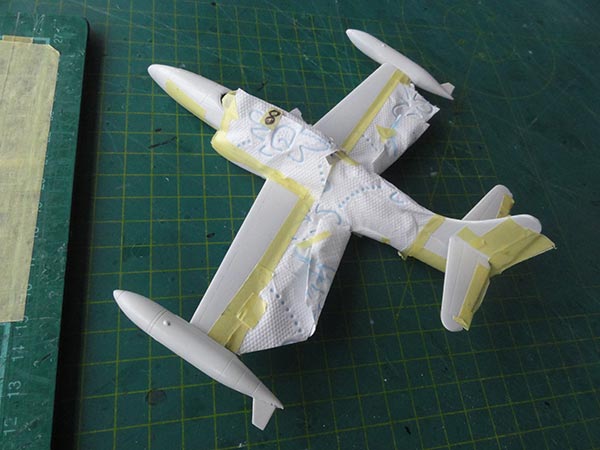
As noted earlier, the kit decals are thin so ensure a lower white base to included masking white areas where these are to be applied such as the tail codes and National markings.
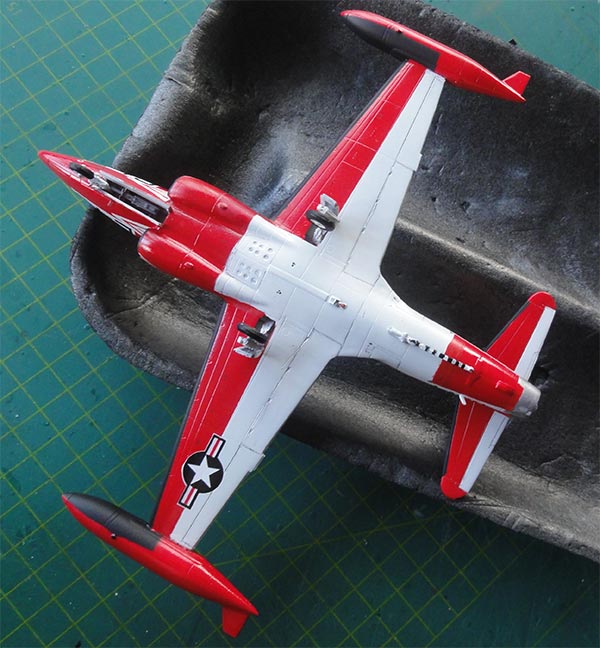
The red areas were airbrushed using Revell Aqua acryllic 330.
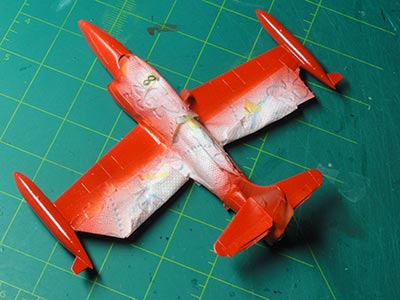
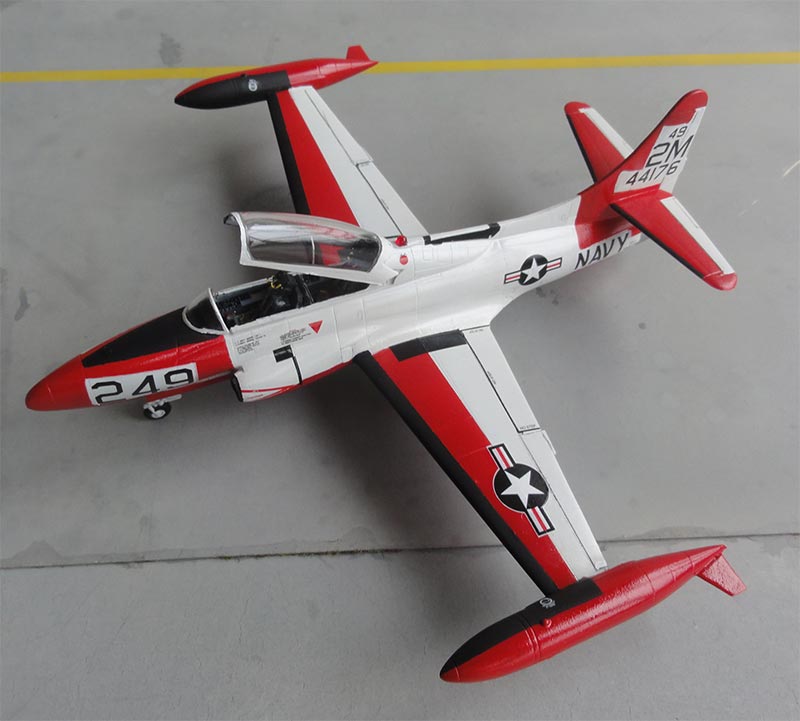
Some black areas were also masked such as the long leading edges and insides of tip tanks. It takes some time to mask these but the result is worth it. The wing walkway areas are decals.
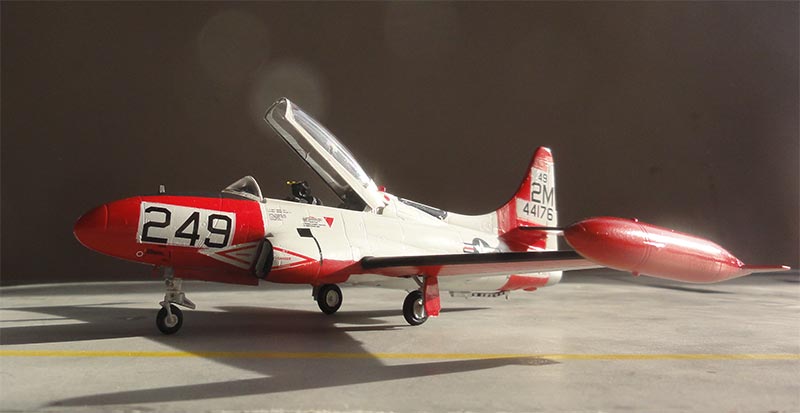
and the result...
Decals were applied as per kit. I added rescue tri-angles numbered #37 from the decal sheet, these are not shown in the drawings.
Now finishing is done, the landing gears were installed now.
Canopy and windscreen frames were hand painted. I dipped these parts than in Johnson Future/ Pledge to get an even shinier look. Set aside to dry.
Now the etched metal cockpit bits were set in place with a tweezer. The resin kit seats were painted and when dried set in the cockpit.
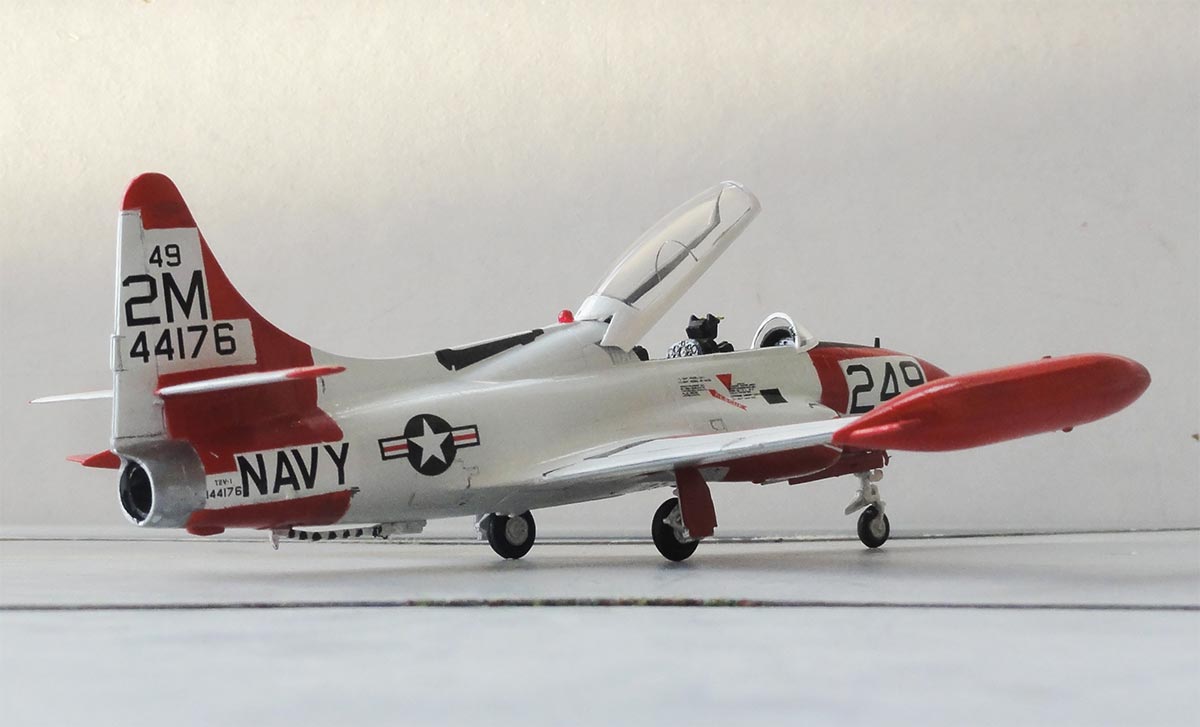
I also added ejection activation cords on the seat tops from very thin wire as seen below....
A red anti collision transparant light was added the spine, I found one my spares box.
The front instrument coaming #8 was made from card, the rear coaming #7 was trimmed quite a lot. The canopy was to be set oped to show the nice cockpit. Inside the wind screen a single mirror was installed at the right starboard side (and it is included in the etched metal fret, very good!). The windscreen was fixed with white glue.
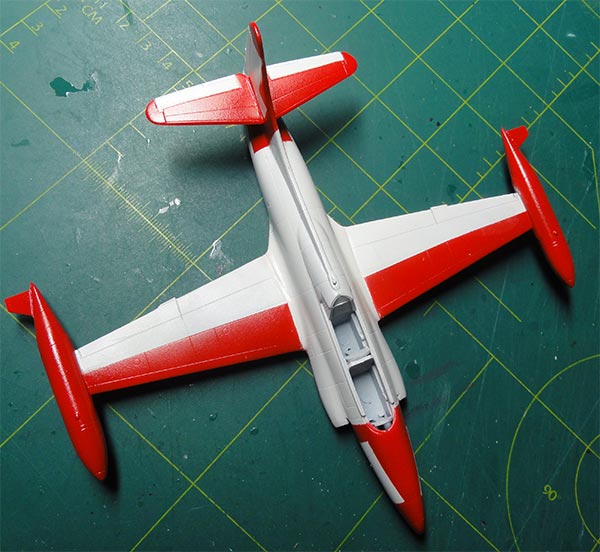
On the tiptanks the red and blue anti collision lights were painted.
A gloss coat of Johnson Future/Pledge was airbrushed to protect decals and get an even sheen (shield off the clear canopy and windscreen while applying this coat).
That completed this nice model!

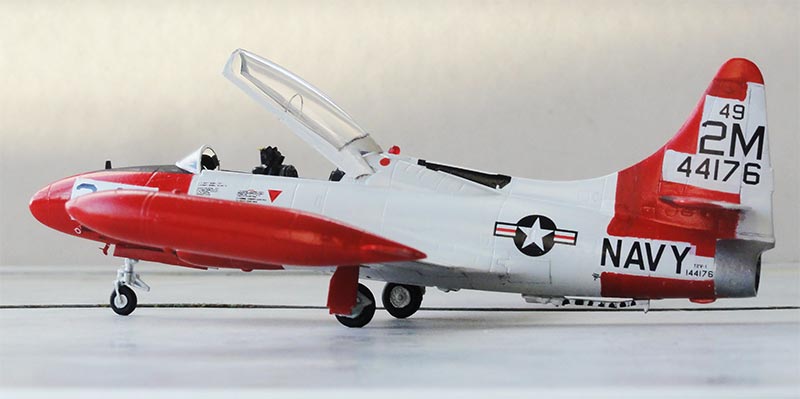
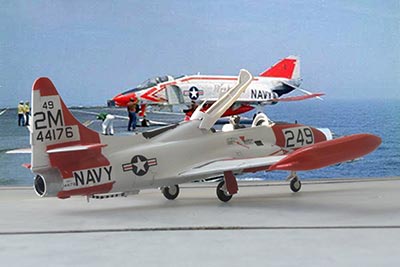
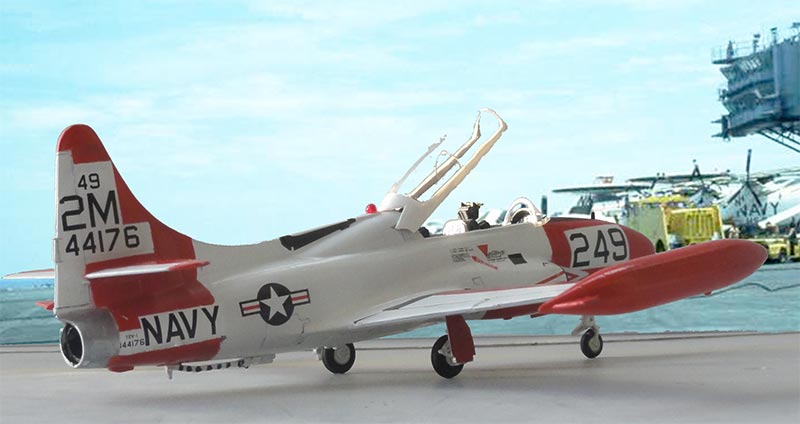
T2V-1 Seastar, VT-09 based at NAS Memphis, ca. 1962

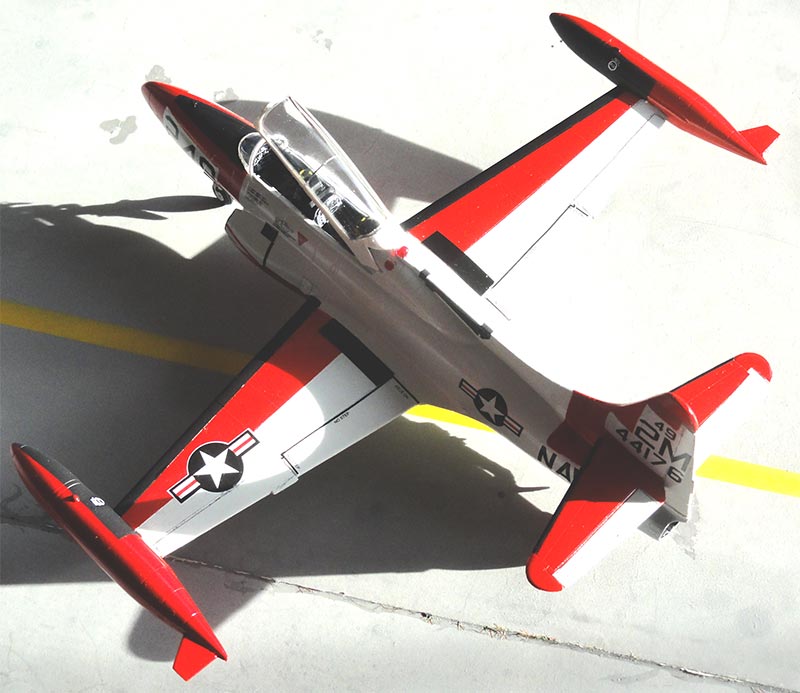

... set in a scenery on a rare carrier visit....
References:
- Lockheed Seastar, Steve Ginter, Naval Fighters Series #42, 1999.
- Wings of Fame, volume 16, pages 117 :
Back to 1/72 Models

(c) Copyright Meindert "designer"/ All rights reserved. Your comments are welcomed by webmaster
Created this page on February 2, 2018