Academy
[ Page 1 ]
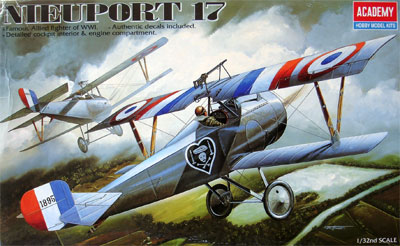
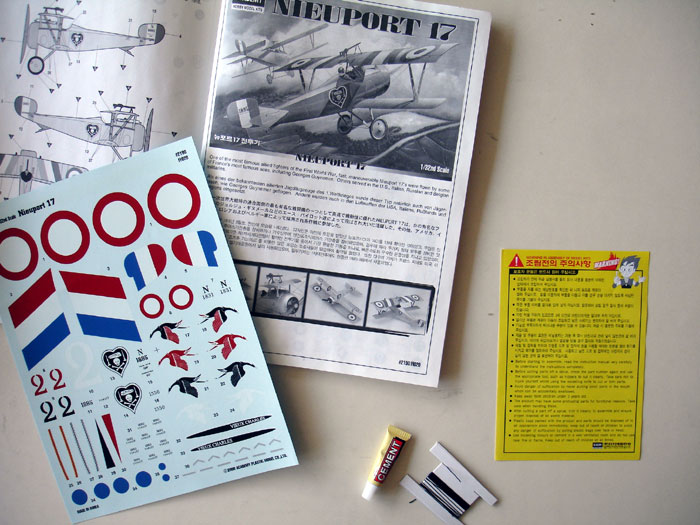
1/32 scale Academy Nieuport 17/21
modelling report
The Dutch air force (called “Luchtvaart Afdeeling”) had five Nieuports 21 C1 biplanes which were used from June 1918 until 1925.
In 1/32 scale, Academy
of Korea has an old kit (#2190) of the Nieuport 17. (Hobbycraft Canada
issued the same mould but with other decals). The kit can be converted
with limited effort into a Nieuport 21.
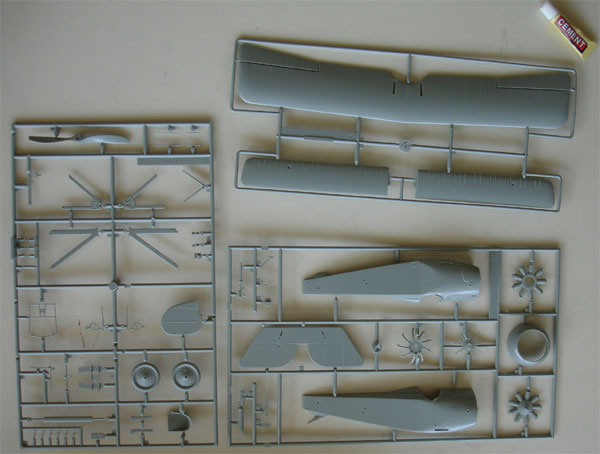
The kit is pretty simple nd has about
55 parts . Although it is not that accurate, particularly the wing ribs
are not very convincing and the fuselage shape is not correct, it is not
too bad either.
.
OK, where to begin to make a nice model?
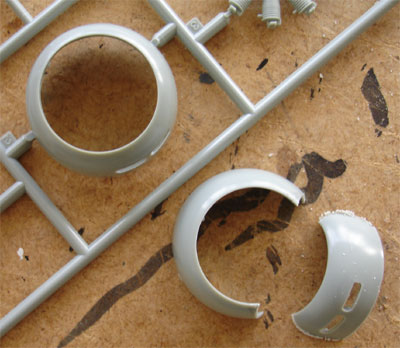
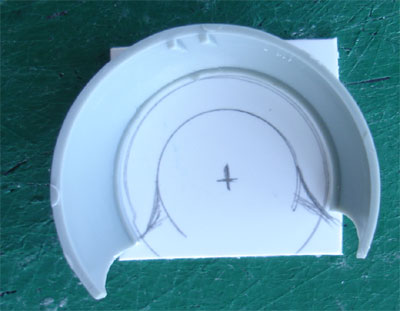
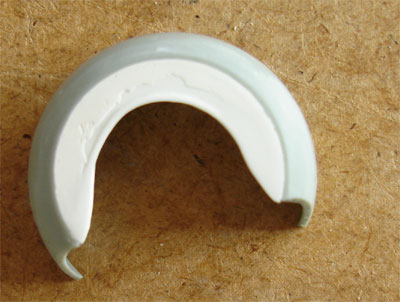
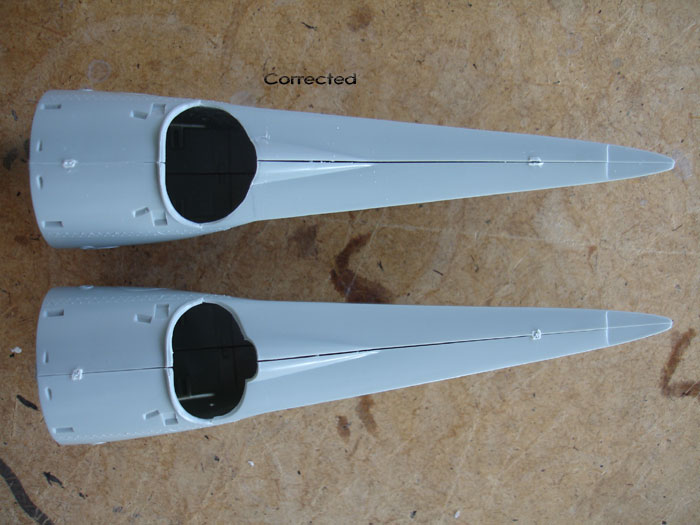
I started with converting the engine
cowl. The engine front open area is also smaller on a real Nieuport, so
some round cut plastic card was added here as well and faired in with putty.
 ..
..
.
 ..
..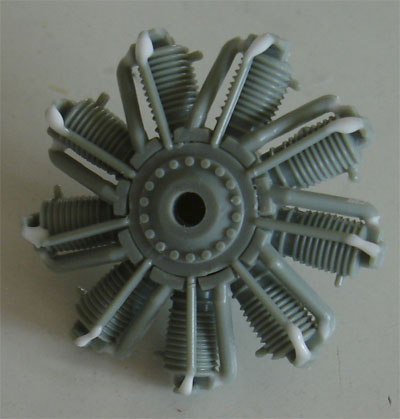
The engine details are sparse, but
not much can be seen. I only added some fuel lines and sparkplug wires.
The fuselage front was cut away as
there is some streamline aft of the engine cowling. The gap was closed
with a curve piece of aluminium plate from a household plastic BBQ plate.
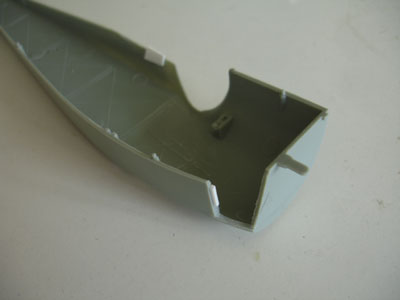
The pilot cockpit opening is also
too small and not the correct shape. With a file this was sanded and corrected.
The head rest fairing was cut off
and the gap filled with card and putty.
The wing’s fabric is not very convincing, but I only sanded the ribs a bit. It is very difficult to do anything more about it.
The way of applying the rigging I used here is "through rigging the wires (using fishing line) through holes". The wires are fixed with superglue. So before the rigging of the wires, I drilled holes at this stage before any further assembly. The holes are usually next to any wingstrut or gearstrut, using a very fine drill of 0,3 mm diameter.
In the fuselage, I also opened up the gaps for the control cables particularly at the tail.
Inside the fuselage I added some wooden framework made from plastic rod, but only at the pilot’s cockpit that can be seen. I think there is no real instrument panel as well inside on the real biplane.
Before joining the left and right fuselage halves, first set and fix some control cables from fishing wire inside.
It was decided to set the elevator down at the tail, so its hinge line was inscribed and the elevator tilted down at this stage.
On to next [ Page 2....]
- Nieuports, Aircraft Profile no.
49
- For Dutch interned Nieuports, look
at the IPMS NL webpages
Back to 1/32 Models.......
(c) Copyright Meindert "designer"/ All rights reserved/ Amsterdam The Netherlands.Your comments are welcomed by webmaster
3 April, 2011