[ page 1 ]
1/72 scale kits of the Dassault MD.452 Mystere IV
The Dassault Mystere was developed in several versions in the nineteen fifties by the French company Dassault. The Mystere IVA (MD.452) had the most powerfull engine and was put into service with the French Armee de l' air. It was a completer redesign of the Mystere II and the first prototype flew September 1952. Type deliveries began to Armee de l'Air in April of 1953. The first 50 production aircraft had Rolls-Royce Tay engines, but latere the engine was a French licence-built Hispano-Suiza Verdon 350. It had a couple of 30mm Aden cannons and could carry a limited load of bombs, rockets and drop tanks on 4 pylons. The Mystere was also bought by India and Israel and used in various wars such as the Israeli-Arab wars of 1956 during the Suez crisis and in the India - Pakistan conflict.
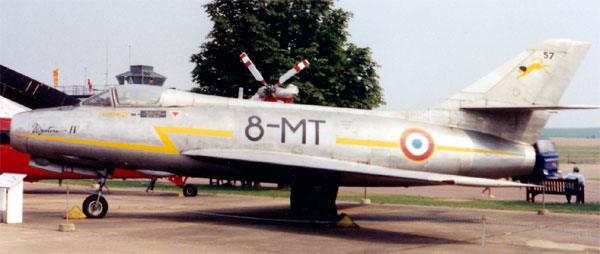
This is a photo
I took at an Open Day in the eighties (probably a museum aircraft shown
outside?)
Later, the Mystere
was replaced by the "Super Mystere" which was a bigger aircraft with more
swept wings.
page 2
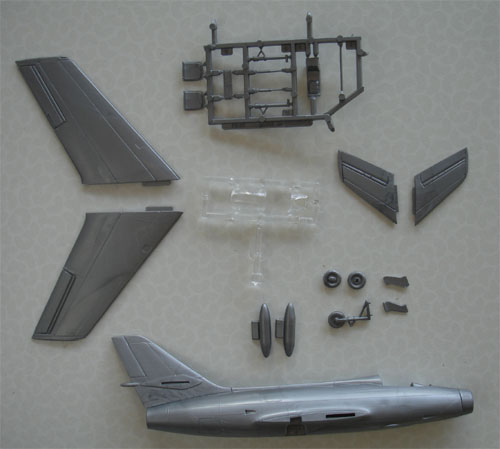
OK, what 1/72 scale models are on the stack?
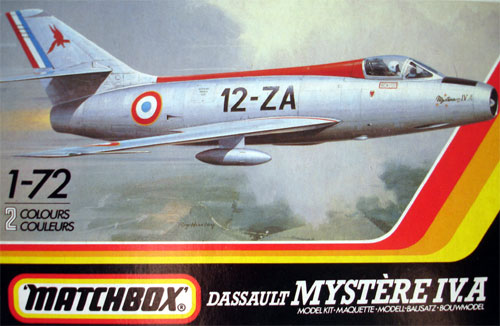
Matchbox
(kit 047) had issued a simple 1/72 scale kit way back in the eighties.
(Revell also issued this kit with no. 40061 and also the kit has appeared
with other decals.).
When it was issued, I really liked it. To current standards is has some thick "trenches" and some raised panels but otherwise is not bad after all when adding some details. There are about 30 parts and early issues had parts in two colours of plastic, but this one has silver coloured plastic. Also a 2 piece canopy and some stores are in the kit. The fueltanks are too small however and better discarded. The rear canopy is a bit too wide, so better set open to show the inside of the cockpit, which then needs some details to be added.
It was decided to do a simple build for the NATO aircraft model collection.
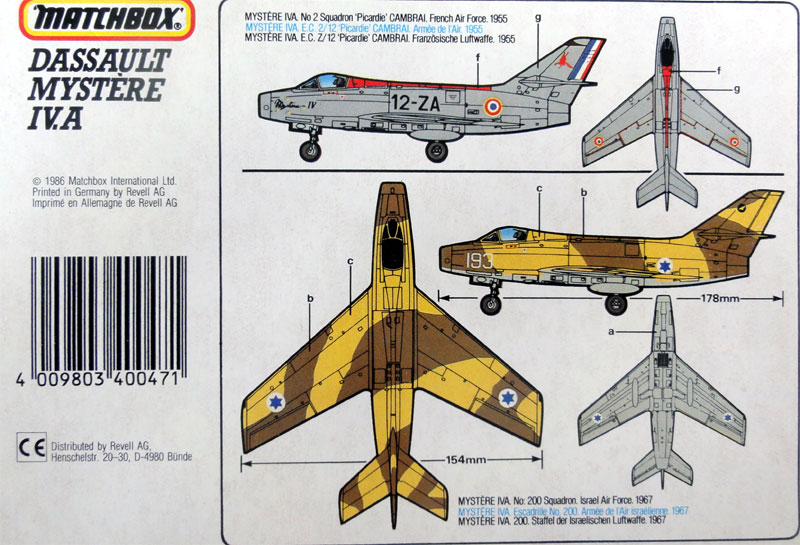
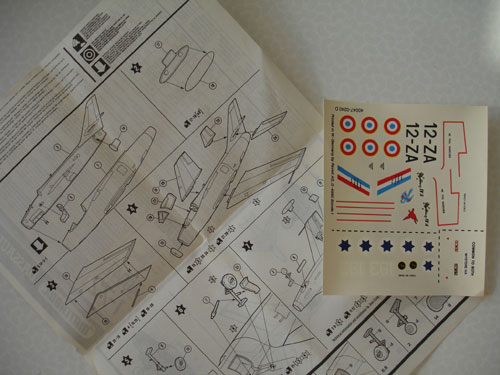
Decals and colour schemes are provided
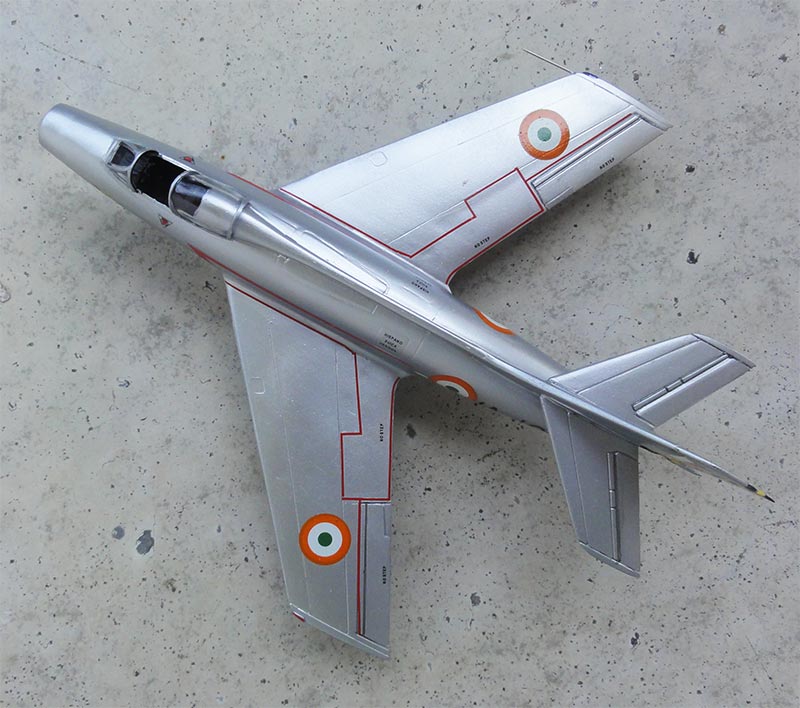
for 2: a French Mystere of no.2 esquadron in an aircraft metal livery and
an Israeli aircraft in a desert camouflage pattern.
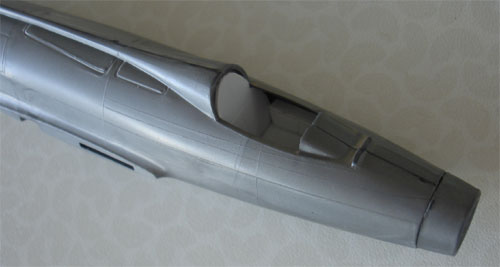
The cockpit details are in fact absent and a very simple affair. It can be detailed although it is small. A rear bulkhead was added from card. Some sidepanels were added and the seat will be replaced with one with more details added.
(NOTE: I later found out that the spine aft of the cockpit is a bit too wide to allow sliding to the rear the canopy... ; see remarks below...)
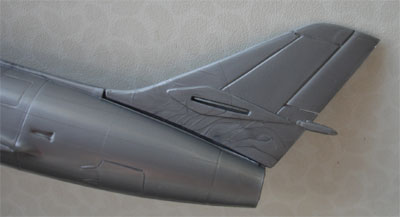
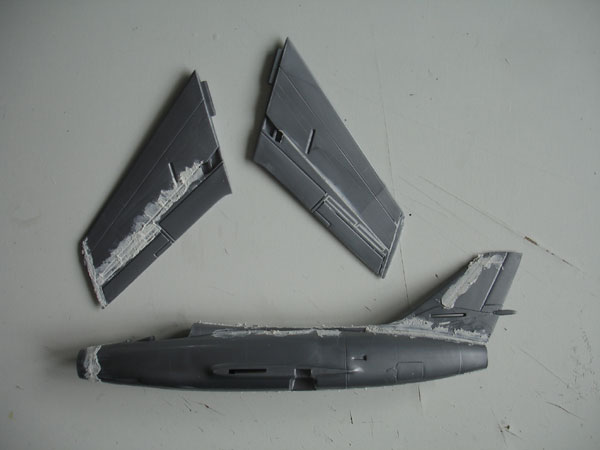
At the fin base a large gap needs
filler.
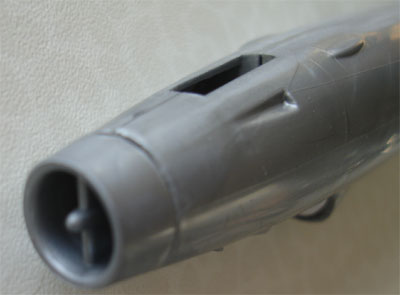
The air intake in the nose is also
not very deep but not a whole lot is seen inside. The fit requires sanding.
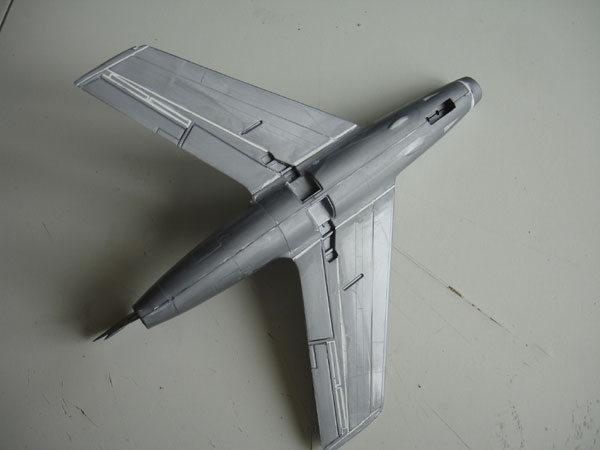
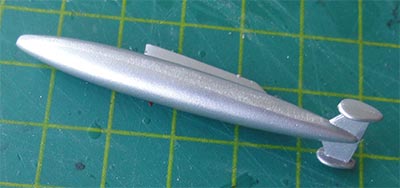
The main parts and fuselage are seen here, ready for next assembly.
Also at the lower wing, gaps needs
filling.
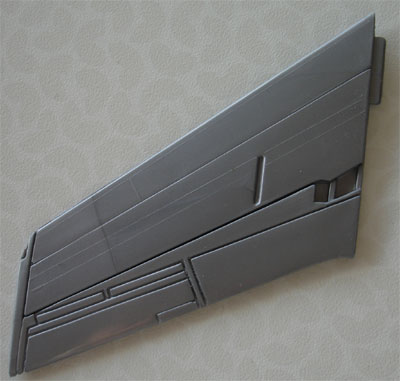
The aileron chords are a bit too
large I believe, so a new edge was carved in. The aileron sides got slots
cutt with a razor saw for a better look. Filling was done now and some
first sanding.
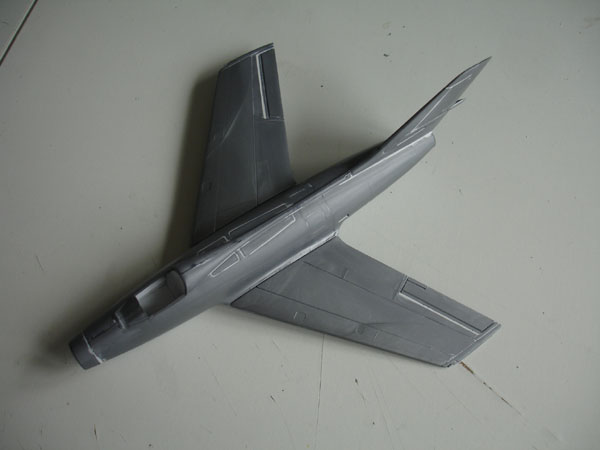
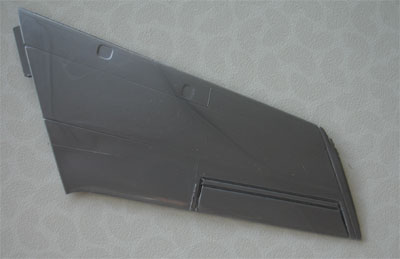
....with some sanding good fit was
achieved.
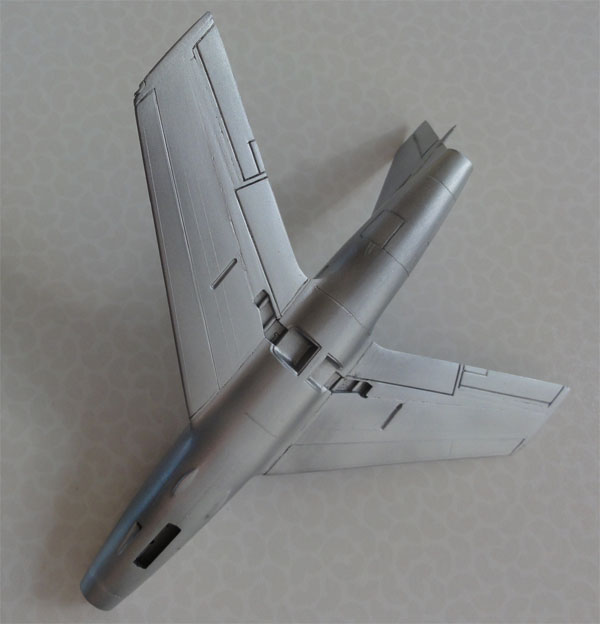
Also, note the filled panels at the
lower wings.
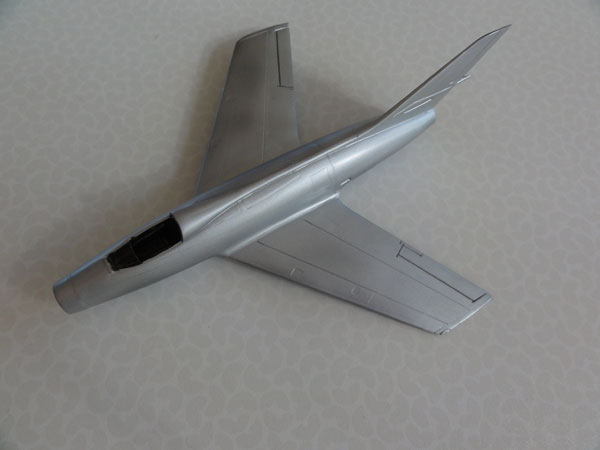
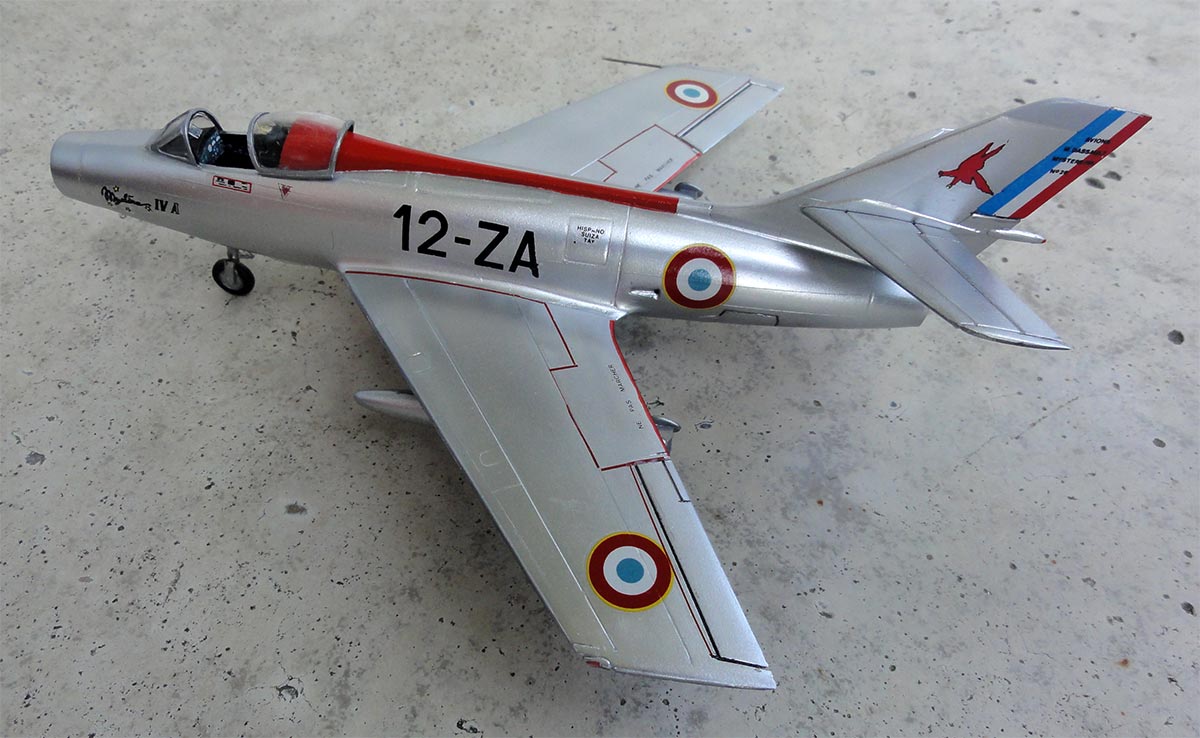
It was decided to make a rather metallic gloss aluminium metal scheme as supplied by the manufacturer, so a couple of grey layers were airbrushed. This was followed by a coat of natural metal using ALCLAD II polished aluminium metallic coat no. 105 using the airbrush at a low pressure (0.8 bar). When dry, it showed a good sheen. I did not put on a black gloss undercoat as the model is very small and I thought a too gloss sheen would not look realistic.
Some tiny gaps needed again some filler,
seen too late. After sanding, another coat of ALCLAD II aluminium was applied.
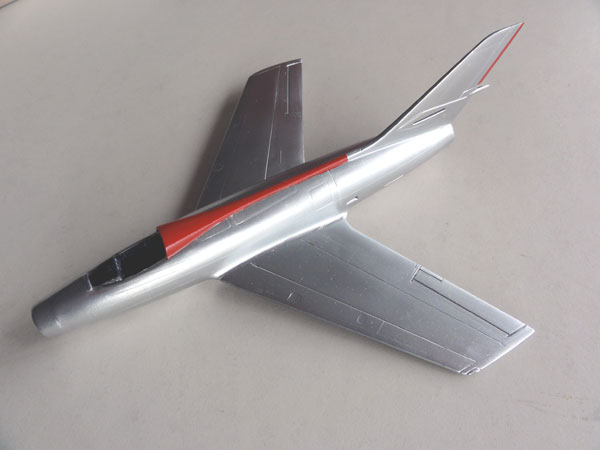
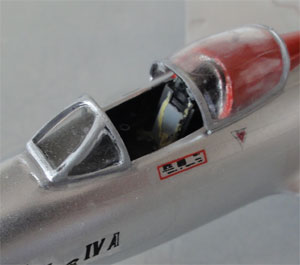
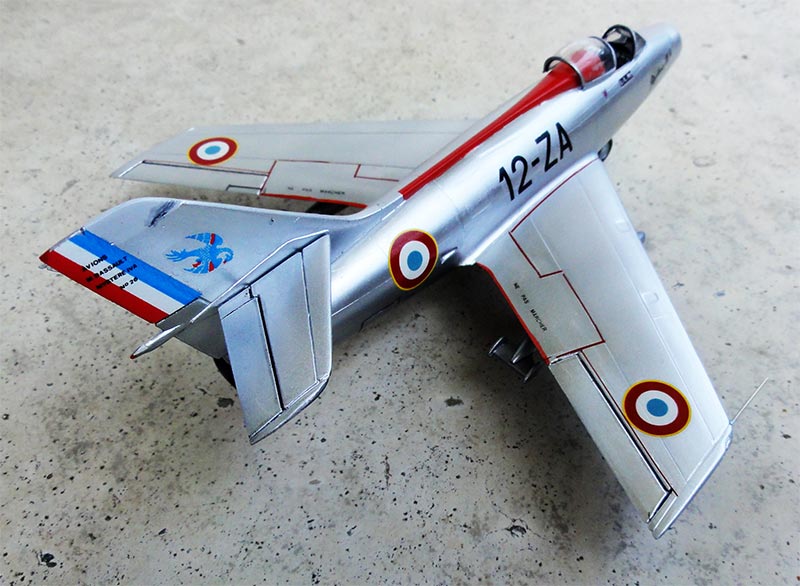
Typically of the period, Mysteres
had a red spine, so after masking, this was airbrushed on as well.
The smaller parts also were airbrushed and painted. The windscreen and rear canopy were separated with fine TIGER razorsaw and their edges painted by hand metal using REVELL acrylic aluminium. I really like this paint.
The cockpit interior was painted tyre
black and some instrument decals applied, found in my spare decals box.
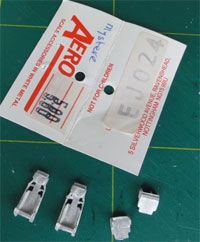
The Mystere had the SNCASO E95 seat. I had Aeroclub EJ024 seats in metal
that looked quite good but these proved to be too large so NOT used. I decided to add some bits
and pieces to the kit seat and detail that instead.

The model is ready for decalling
and adding the squadron paint scheme. But what decals to use? The kit ones
are a bit simple.
For the Mystere model, I decided to use the kit decals with some replacements. They have Armee de L 'Air decals for a Mystere of no.2 Esquadron Picardie in the year 1955. The blue area of the French flag on the rudder was made from spare decal in a more correct colour. Be carefull, as the kit decals are very brittle.
The French roundel replacements came from MODELDECAL sheet 62.
I always "drag each decal" through an amount of Johnson Future . This minimizes "silvering" and helps adhering to the model surface.
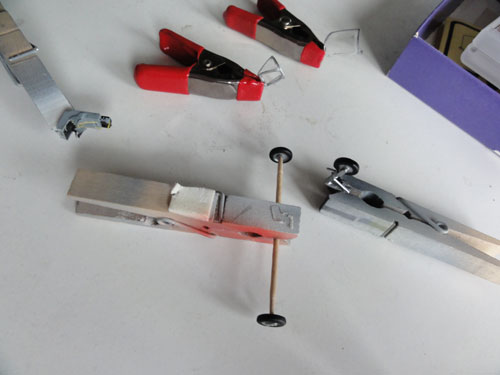
Next, the smaller parts like the gear and the seat were installed.
I found out
that the spine aft of the cockpit is a bit too wide to allow sliding the
rear canopy... So attaching the canopy in a rear slided position is impossible.
I thinned the
inner edges of the rear canopy. That was not enough, so added 2 tiny strips
of plastic to the lower canopy section and that set the canopy a bit higher;
it now could be installed. The small gap between the added strip and canopy
was made smooth with white glue and painted aluminium after drying.
So, if I would build the model again, I recommend sanding the spine a bit thinner before further model assembly, that is a better option.
The windscreen fitted OK, with gaps closed with white glue and painted when dry. Inside the canopy, I added 2 tiny mirrors cut from thin metallic shiny sheet, glued with super glue.
 .
. 
The undercarriage
got some tiny details like door retracting rods and brake lines made from
metal wire on the gear legs.
The engraved
wing moving surface panels (of flaps and elevator) got a wash of tinned
black paint to show them.
I wanted a pair of fuel tanks fitted below the wing. Although not sure these are entirely correct, I used 2 smaller tanks from the Airfix Super Mystere kit. These were airbrushed aluminium.
UPDATE: I later found out that L'Arsenal has much better tanks in resin (set AC7225). This set was purchased and installed instead.
A very tiny pitot tube was made from a needle and added inside the intake, at the splitting plate. At the right wing tip, a larger pitot tube was made from a metal needle.
Inside the wheel bays, some hydraulics were suggested with fine metal wire and fixed with superglue.
In the wingtips small notches were cut out for the anti-collision lights. On the left a red dot, on the right a blue dot was painted and the nothches filled with MicroScale Kristal Clear to get suggestions of "lights". No stores were added, the model look kept clean.
Finally the model got a decal protecting coat of Johnson Future with the airbrush.
![]()
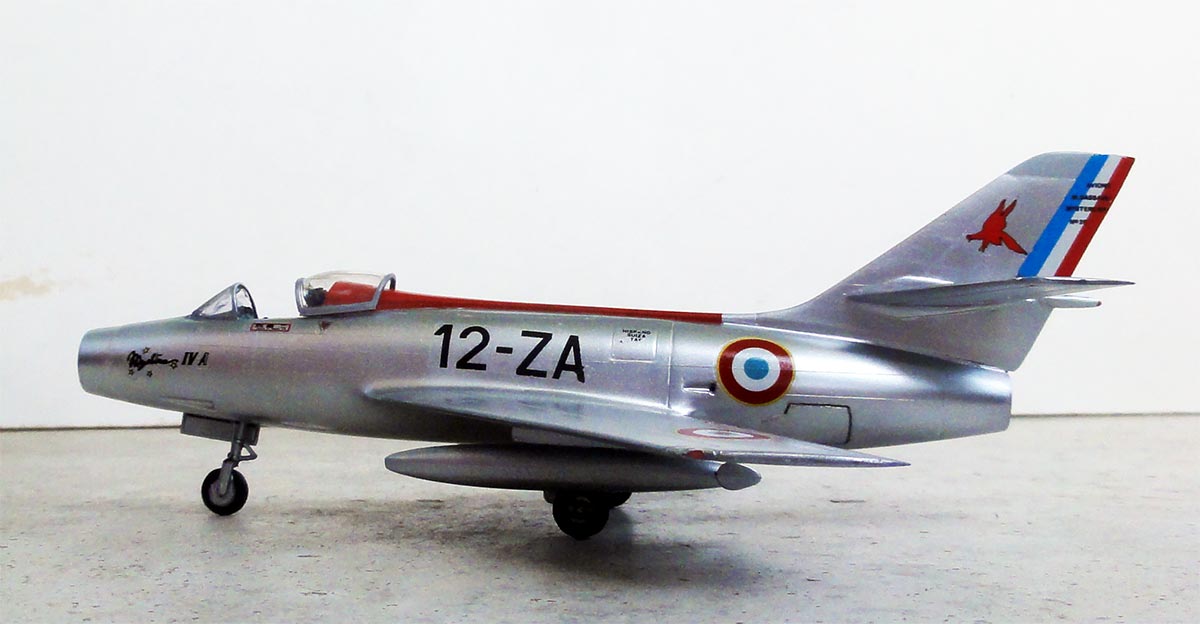

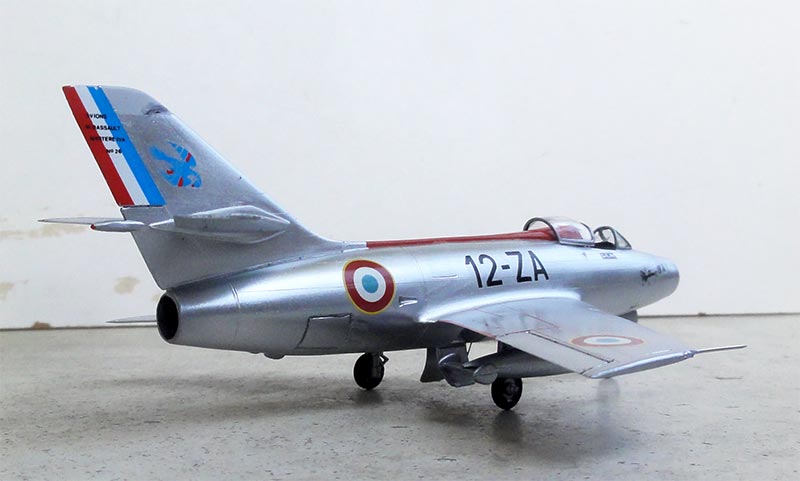 Armee de L 'Air Mystere IV.A, no.2 Esquadron Picardie, 1955

Although an old kit, a nice addition to my French Jet
Model collection.
On to next [ Page 2... ]
References:
- Scale Aircraft Modelling, "Inside story #14", Vol 14 / no.12 , Sept 1992
- Wings of Fame, Volume 13, pages 25>
Internet:
- WIKIPEDIA https://en.wikipedia.org/wiki/Dassault_Myst%C3%A8re
- http://www.airvectors.net/avmyst.html
-
Back to 1/72 Models.......

(c) Copyright Meindert "designer"/ All rights reserved. Your comments are welcomed by webmaster
Created this page
April 12, 2012;
updated January 2019