[ page 1 ]
MiG-23 model in 1/32 scale of TRUMPETER CHINA
page 2
 ..
..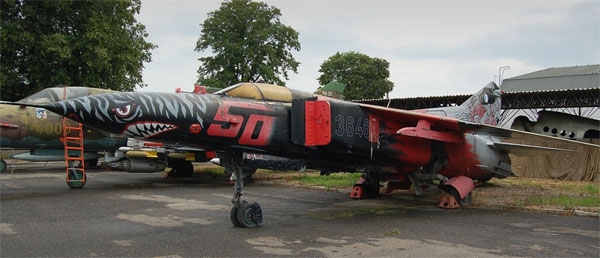
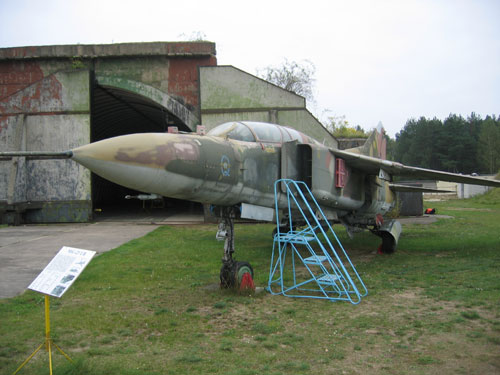
MiG-23UB two seater (in former DDR) and the MF "HELL FIGHTER" scheme which I photographed at Kbely
The Mikoyan MiG-23 is a fighter-attack aircraft designed in the Soviet Union (USSR) in the early 1960's with first flight in 1967. It is special in design as it has a swivel wing that can be moved back and forth to change wing sweep depending on flight speed. A single big R-29 engine provides thrust so that the maximum speed is around 23oo km/hr.
Production started in 1970 and over probably 5000 MiG-23 's were manufactured in various variants such as the UB two seater. The NATO used the code name "FLOGGER" for the type. A special version is a dedicated ground attack version, the MiG-27 with a different nose and other intakes and other differences.
MORE INFO ON
MY 1/72 MiG-23 pages.... (UPDATED)
![]()
In the Czech
Air Force museum of Kbely near Prague in Czechia I photoghraphed in 2005
this MiG-23 MF "Hell Fighter" demonstration aircraft. It is rather
weathered as it has been stored outside.

The devil on
the tail lost nearly all its red paint.
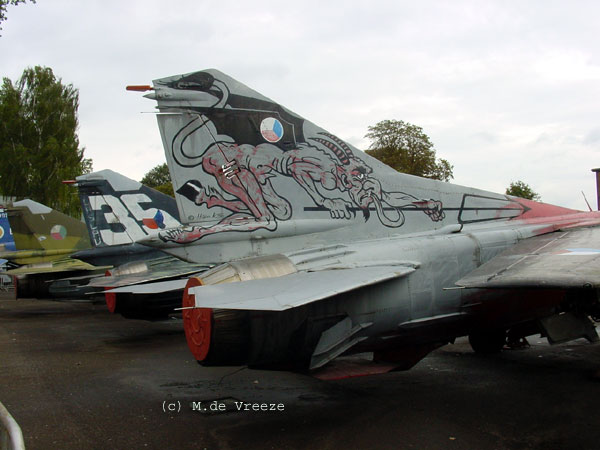
This plane is
a MiG-23 MF Flogger, which has the longer finbase and some smaller
changes as compared to the Trumpeter ML kit.
It was decided
to do a simple conversion on the Trumpeter kit to make this variant in
this scheme.
NOTE: TRUMPETER
now has issued this variant as well as kit no. 03209 of the MF. If you
buy this kit, this will reduce the conversion work.
 .
.
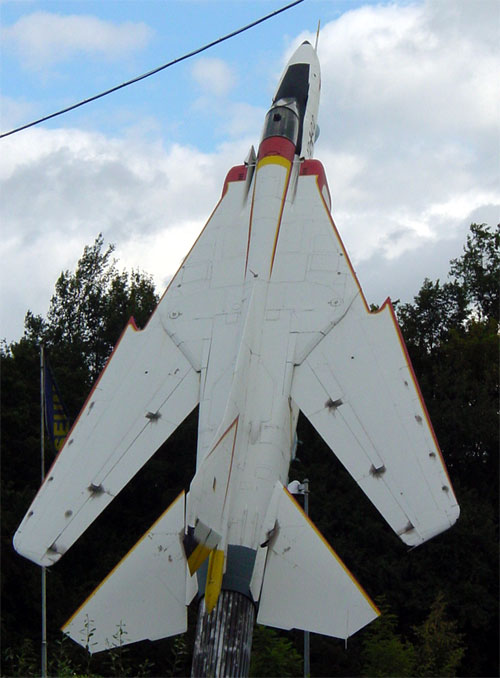
Another Mig-23
at a German museum after the Berlin Wall fall. Note the swept clean shape
![]()
What is
in the kit?
 .
. 
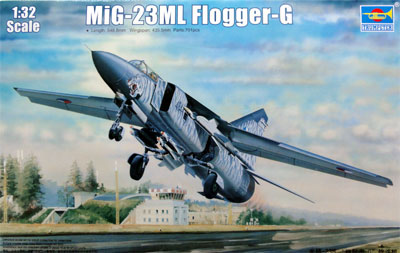
The kit box top is seen here of the 1/32 Trumpeter kit of the Mikoyan Mig-23 ML Flogger G, kitbox no. 03210.
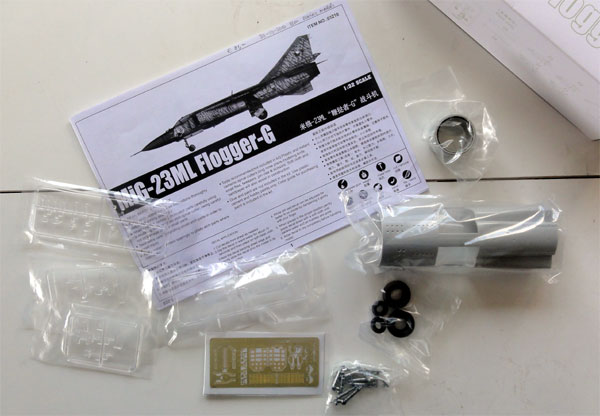
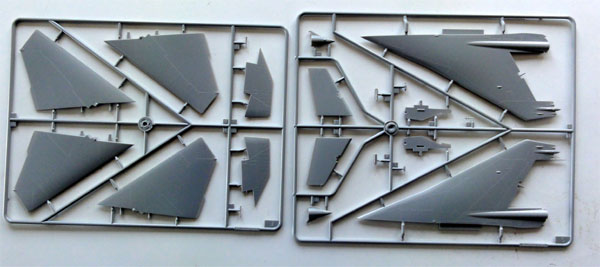
It is an excellent kit with lots of parts and many many stores. It has about 550 parts on more than 30 sprues in light grey, clear sprues and also an etched metal fret and metal parts for the undercarriage legs and (what I don't like) four rubber tyres as well.
Not all parts are needed for this FLOGGER-G, so Trumpeter will issue slightly different kits as well. Also, many parts are for the stores, of which there is a lot of them. I wish Trumpeter did not provide that many as 80% is often unused. The kit could be a bit cheaper I guess with less stores.
The parts have nice fine panel lines and good surface details. Also, the shape of the kit in a general sense looks great and the minor errors can be corrected, see this modelling report on how. As will be discovered, the fit is OK although filler is needed in some areas.
 .
.
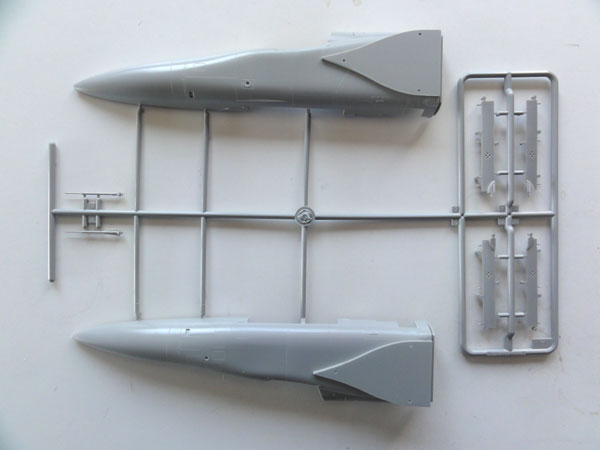
Some sprues will be shown only
 .
.
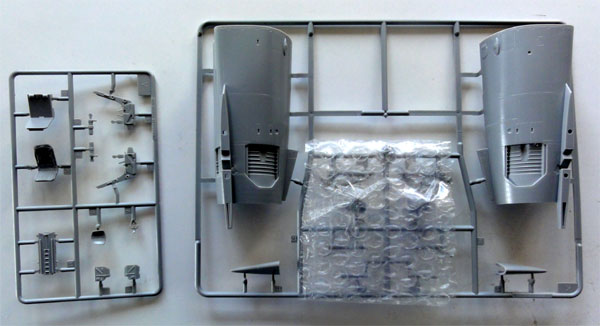
The nose parts are seen here. Will
Trumpeter issue a Mig-27 later? I surely hope so.
 .
.
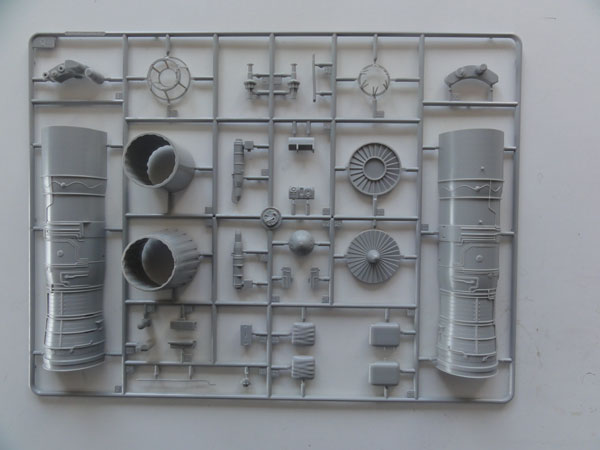
Engine parts are included as well
 .
.
 .
.
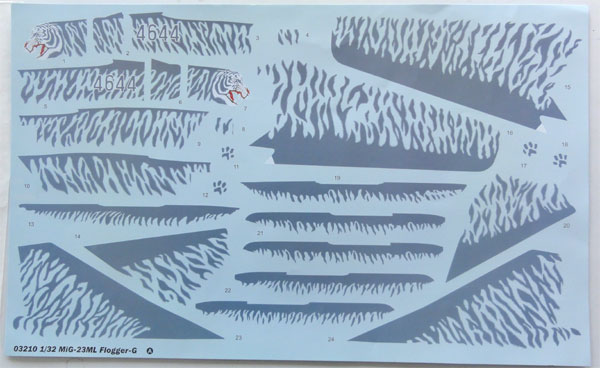
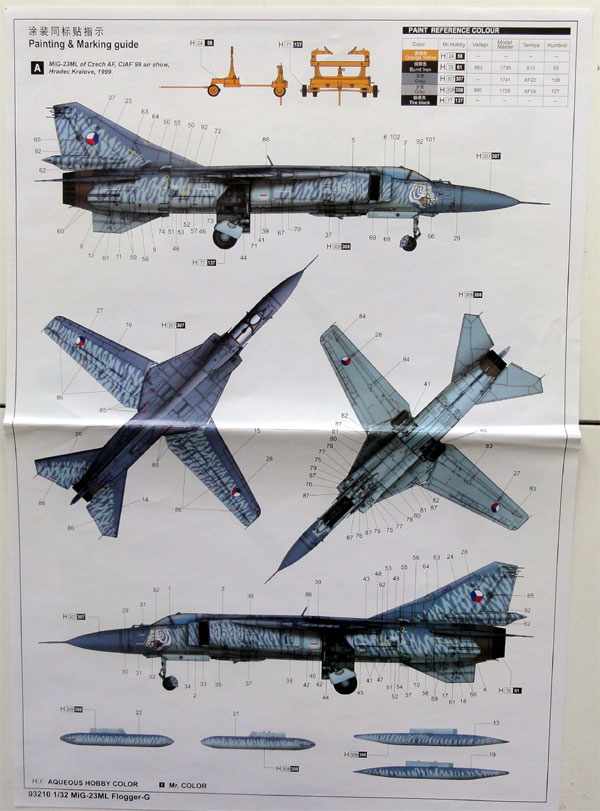
Markings for a CZECH AF "Tiger" scheme
and a Soviet AF scheme.
 .
.
A look at the schemes in the kit.
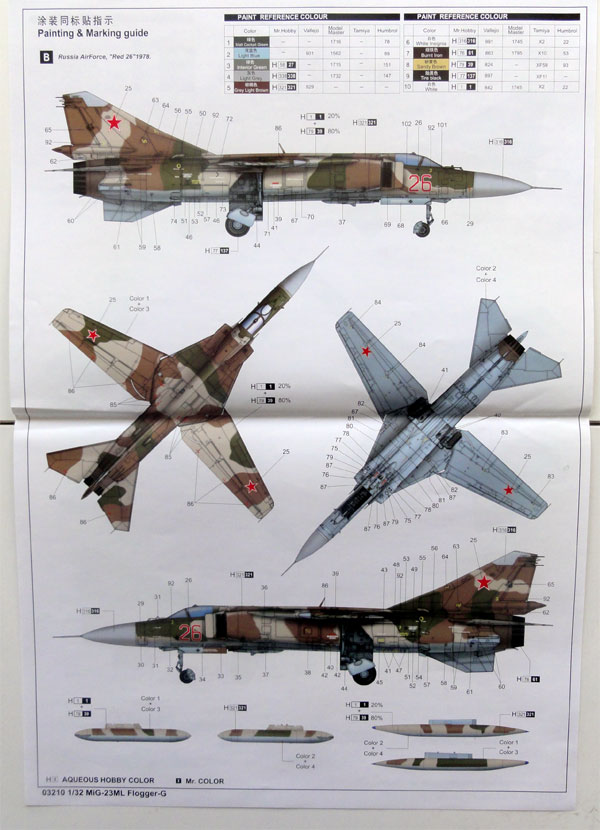 .
.
Also many stencils are provided and
lots of markings for the stores.
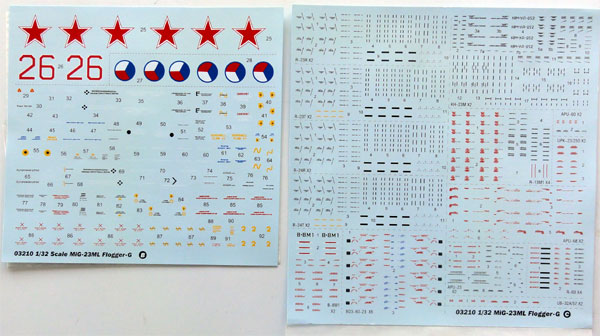 .
.
.
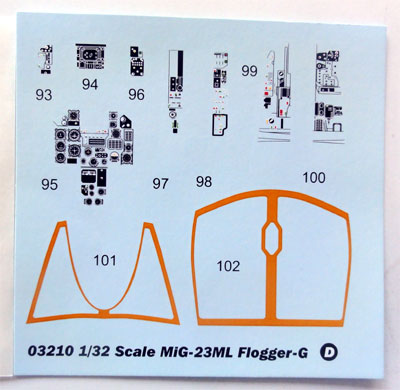 .
.
Canopy frame decal is seen here as
well.
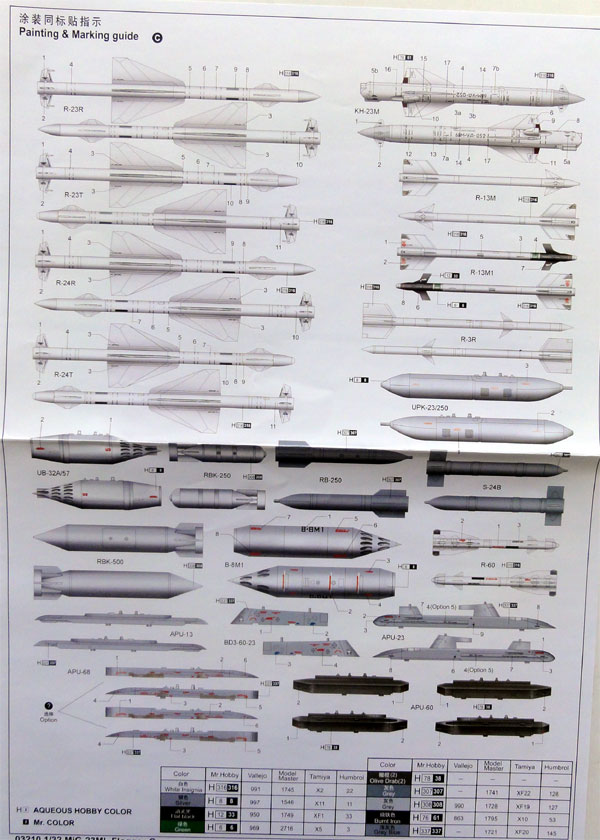 .
.
The kit is pretty good, but as always, some improvements can be made.
![]()
It was decided to do a simple conversion
on the Trumpeter kit to make the MF variant in the Czech "hell Fighter"
scheme which is a Mig-23 MF Flogger. It has the longer finbase and some
smaller changes as compared to the Trumpeter kit.
NOTE: later
TRUMPETER has issued this variant as well as kit no. 03209 of the MF. If
you buy this kit, this will reduce the conversion work. I did not have
this kit at the time however.
The most noticeable differences of
the MF as compared to the kit Mig-23 ML Flogger G are:
A- longer finbase, make this from
plastic card sanded in shape and fitted on top and in front of vertical
fin.
B- slightly different cockpit instrument
panel
C- make "odd rod" IFF arials in front
of windshield, do not use antenna part H15
D- AoA vane on left fuselage nose
slightly at different location below windshield
E- add small pitot near windshield
F- sensor fairing below nose (part
V3) is slightly different shape
G- use alternative nose wheel doors
in the kit (parts A1 and A2)
H- not 2 sensor pairs below intakes,
but single sensors (parts H19)
I- use single sensor , part H11 and
H122 not needed on intakes
K- fueldump pipe (part G27) not needed
L- add cable duct fairings at tail
section below horizontal stabilizers
![]()
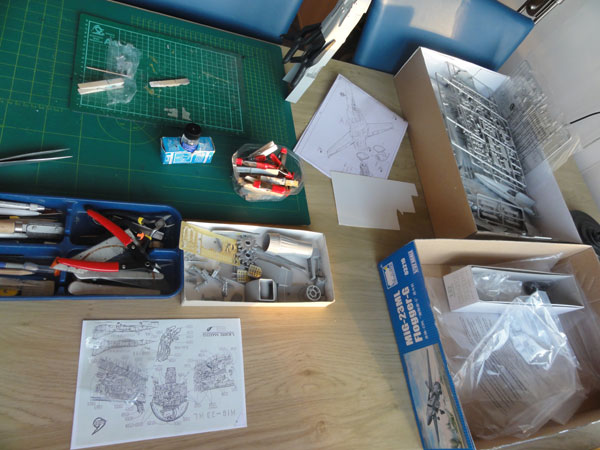
OK, let us
start the build!
![]()
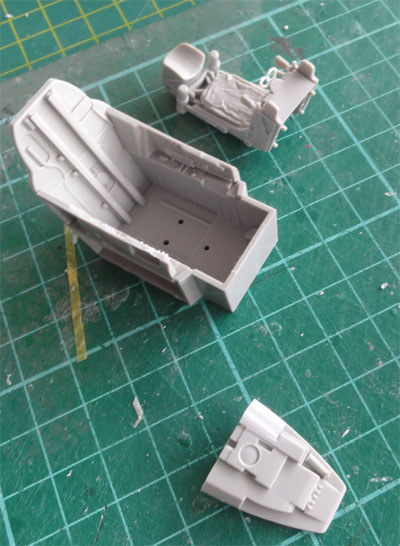
The cockpit looks good with a number of decals for the instrument consoles and instrument panels. There are numerous raised details. A sliding throttle handle is missing on the left side wall, I added one from sprue. Also, some extra wires and cables were added.
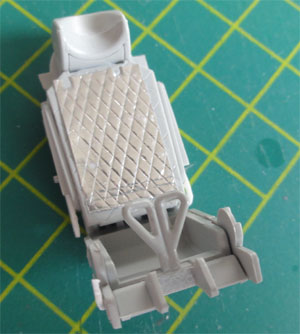
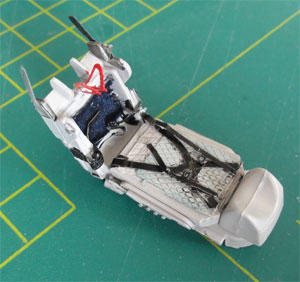
The ejection seat includes several
parts and there are two different seats in the kit (not seen in the instructions).
 .
.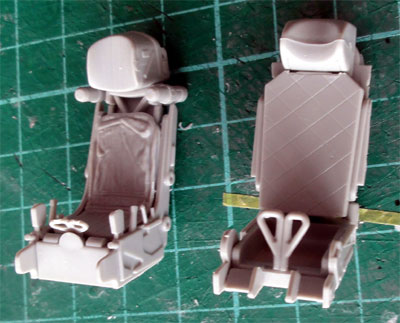
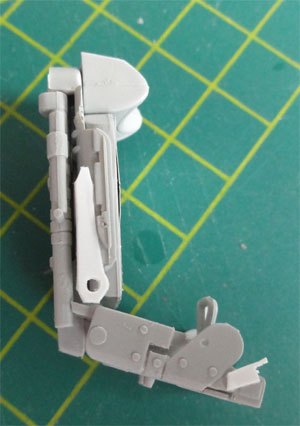
Two different seats are in the kit,
also for the K-36 seat. I used the seat seen on the right , the KM-1, but
refined it and made the seat back myself. For the straps there are some
etched metal parts, but I prefer tape and buckles and clippings made myself.
 .
. .
.
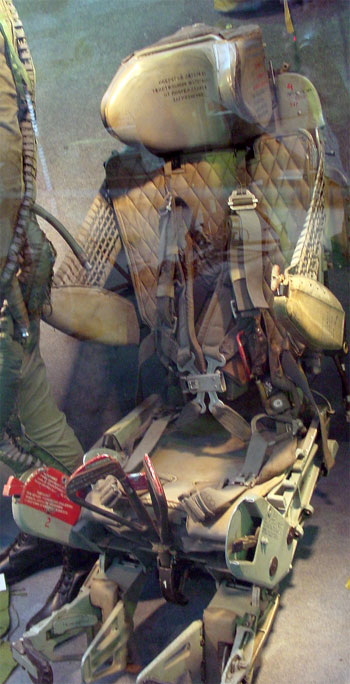
Here the real KM-1 seat is seen I
photographed in a German museum:
 ..
..
 .
.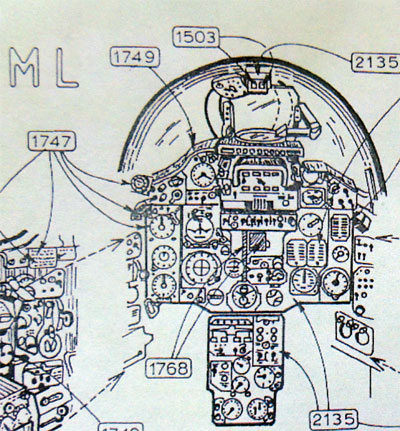 .
.
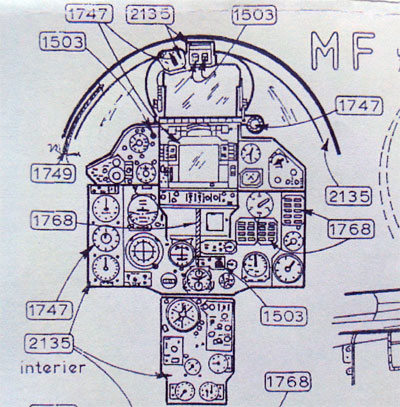
There are some differences in the
main instrument panel, for the MF I added a big display and some smaller
changes using some card. The instruments were later set and made from decals
punched out with a Waldron Punch and Dy set.
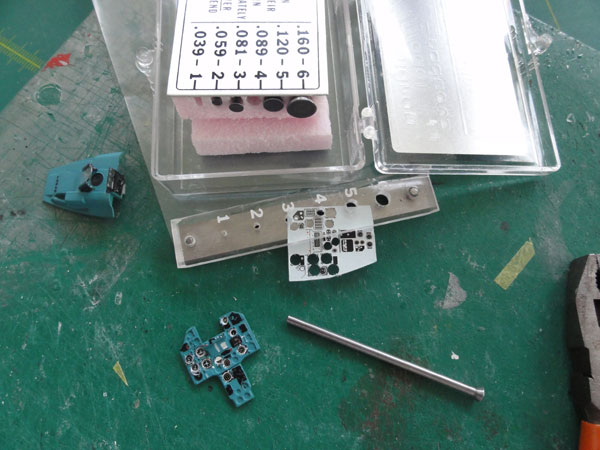 .
.
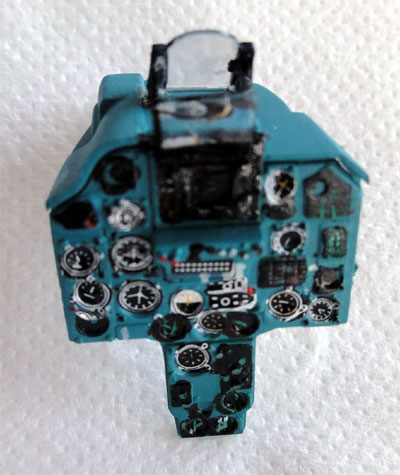 .
.
The cockpit tub was set in the nose
section:
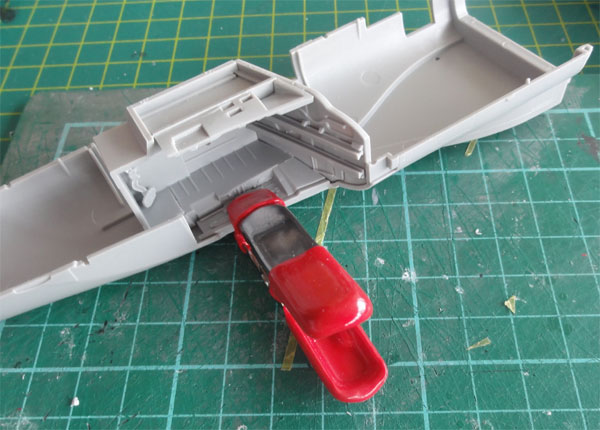
The interior was given first a base
coat of green, later the partiucular typical green/blue colour of Soviet
planes will be sprayed on with the airbrush. Note the added detail like
the sliding throttle in white plastic.
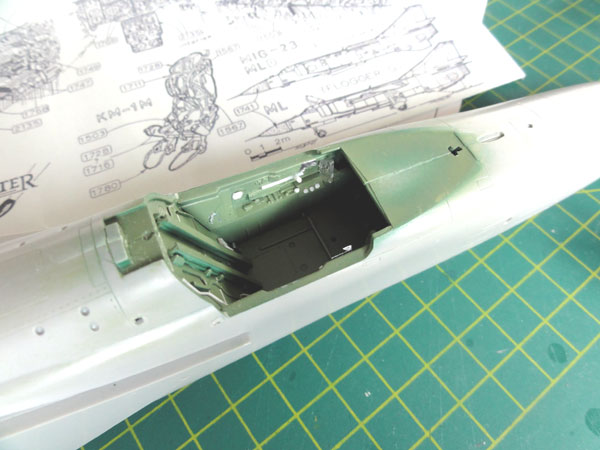 .
.
Here the correct colour is seen with
some painted details. Note also the opened up hole in the spine as directed
by the Trumpeter instructions in Step 3 to take later the strengthening
rods towards the intakes.
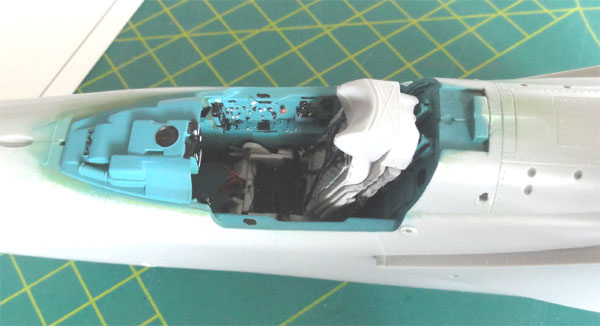 .
.
(note that main instrument panel
is not yet fitted).
![]()
Turning to the intakes, these
need some outside shape improvements. Particularly the upper corners were
sanded a bit rounder a a bit more curved. Also the intake lip edges were
sanded much finer. This can all be achieved with sandpaper.
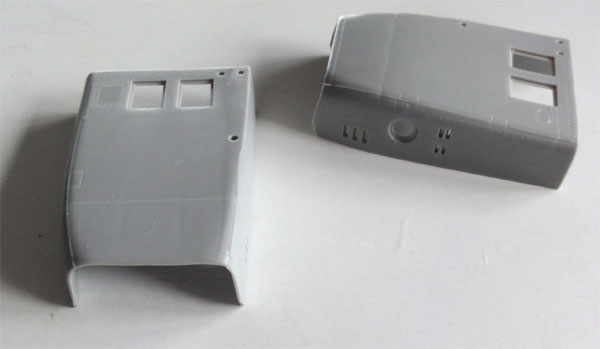 .
.
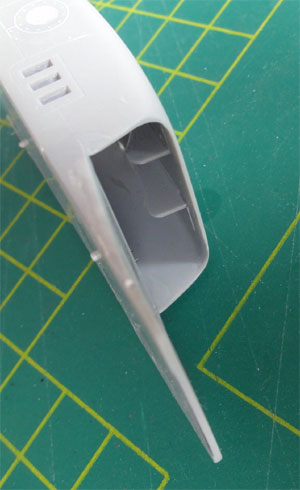
Inside the intakes, the airflow vanes
should have round edges , these can be achieved with some cutting and sanding
as well.
The lower part seen is uncorrected,
the upper right part vanes have been corrected through reshaping.
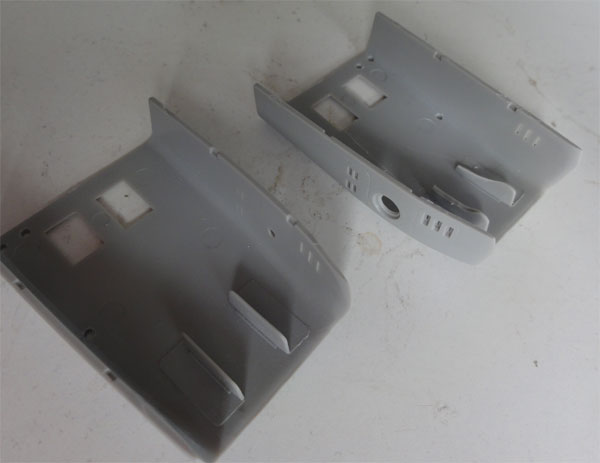 .
.
For the splitter plates two perforated
Photoi Etched parts are there as well. They can be used. But first, the
splitter plates have some shape inaccuracies. From card some triangles
were made, seen on the right. On the left seen installed. Some putty and
sanding made things smooth and more better looking.
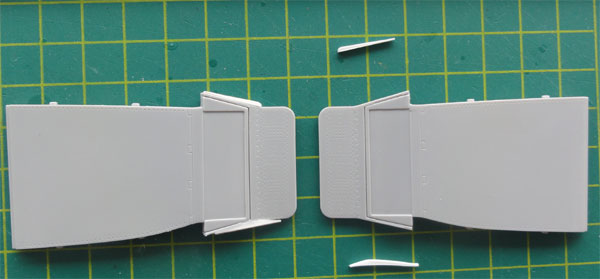 .
.
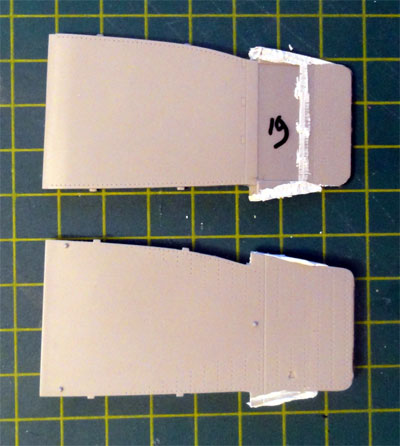 .
.
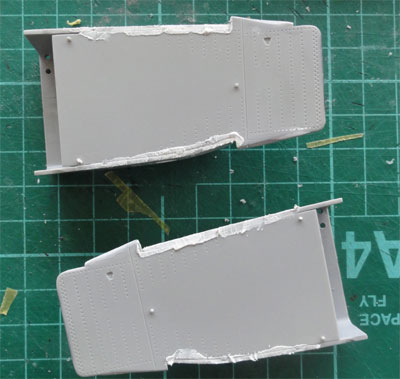
The rear of the intakes needed some
putty and sanding as well.
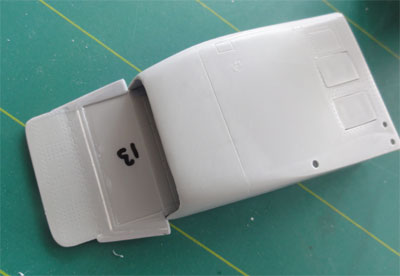 .
.
I wanted to avoid an ugly gap inside
each intake, so I closed and puttied the light holes (for clear parts GP2
and GP4). An intake assembled is seen here
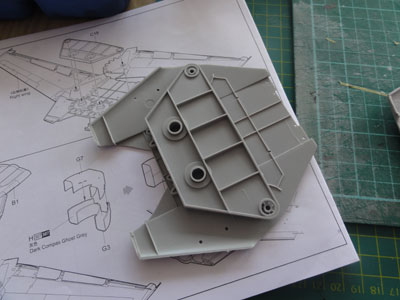
The wing swivel mechanism is OK as
seen in Step 7 , but I needed to make the holes a bit wider with a file
in part C15 to get a smoother operation.
 .
.
 .
.
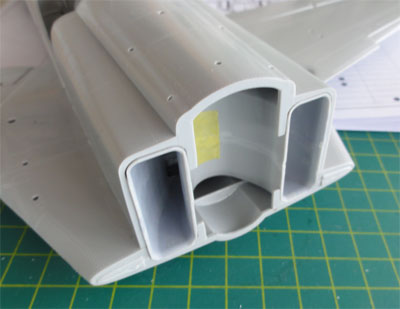
Next, the fuselage was assembled with
the ducts as per instructions (Steps 8, 9, and following).
The inside of the intake ducts have
no engine fan facing part, but nothing is seen of this when intakes are
fitted so no worries. I made the ducts inside smooth with some putty and
sanding however.
The intake colours are unclear, I
settled for light grey later on.
 .
.
.
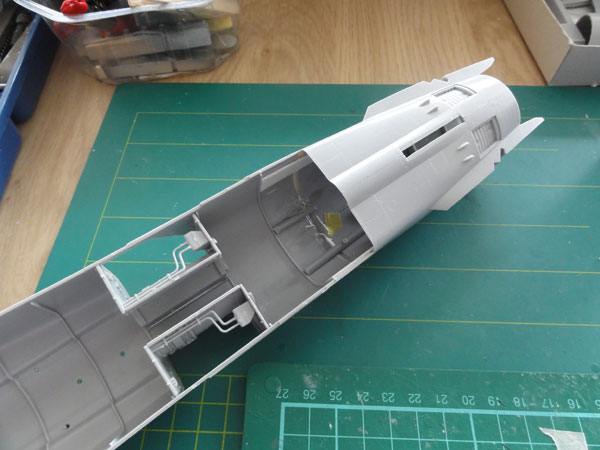
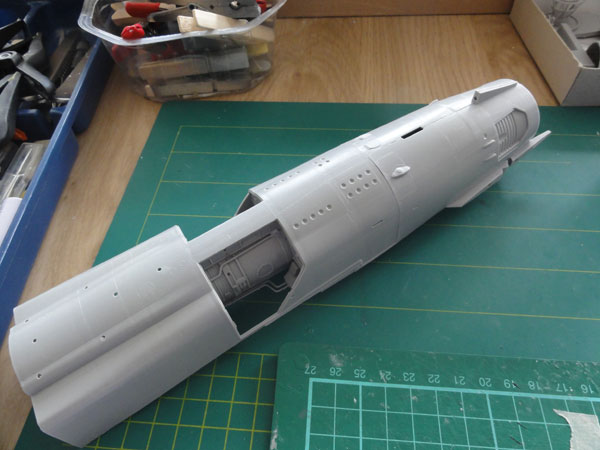
It was decided not to separate
the rear fuselage section to show the engine installed. The kit has nice
enginge parts and the R-29 engine model will be displayed separately. I
made sure that the assembly was strong at the fuselage break with extra
card and sprue.
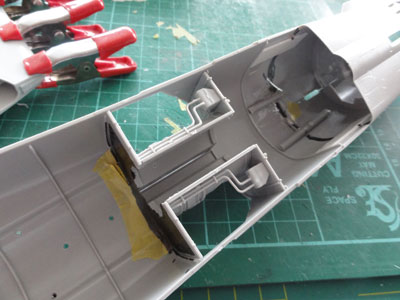
The main gear bays can be detailed
later, so installed at this point.
 .
.
 .
.
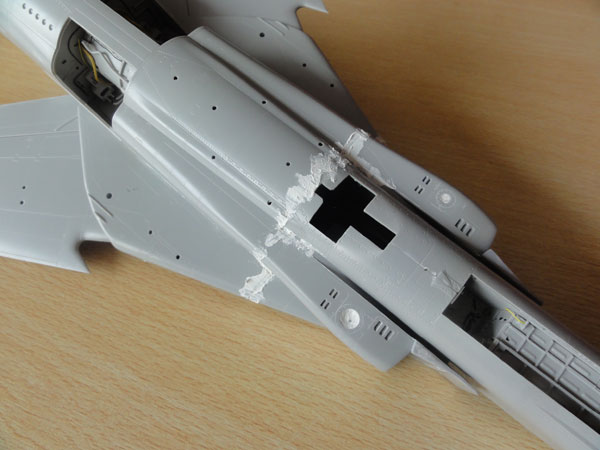
Some minor putty and sanding is needed
at the fuselage break.
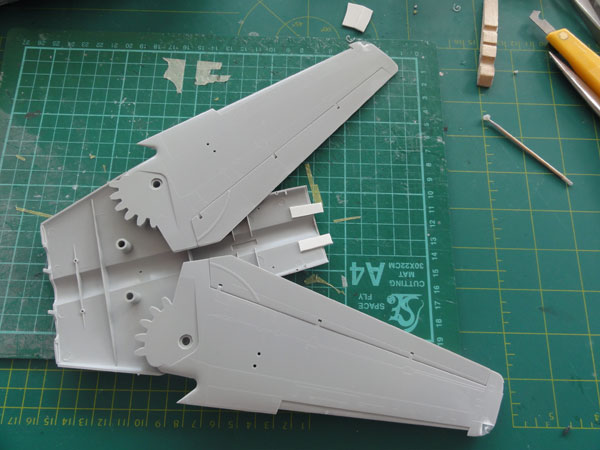
Wing assembly was straight forward as seen in Steps 5 and 6 of the instructions. The leading edge slats and trailing edge flaps are separate parts. Usually the Mig-23 is seen on the ground with wings swept aft, so the trailing edge flaps need to be set "up" for this model.
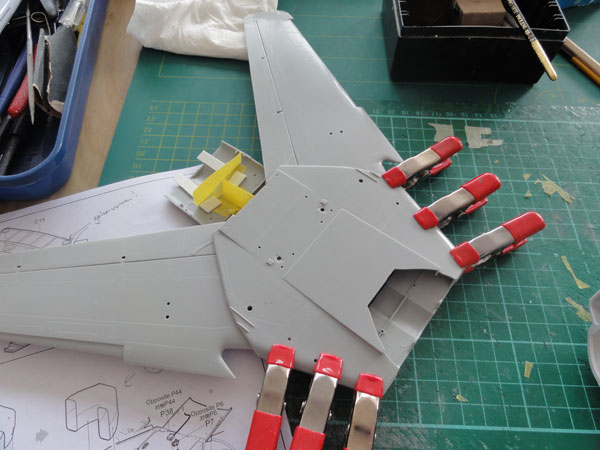 .
.
To prevent seeing "through" aft of
the wing slots, some tape was set inside.
.
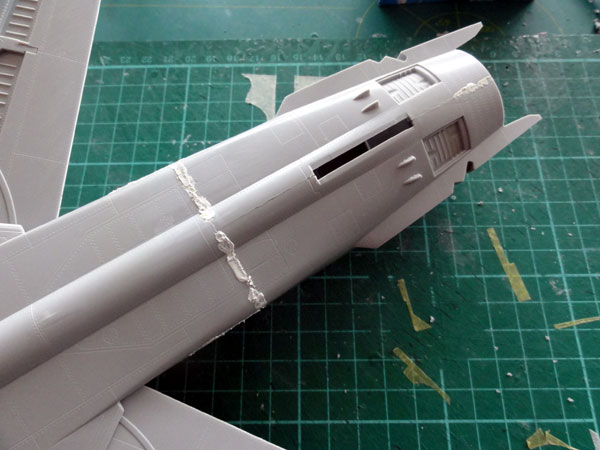 .
.
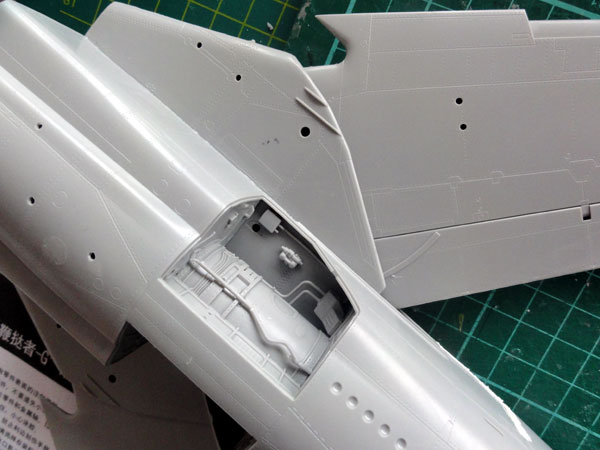 .
.
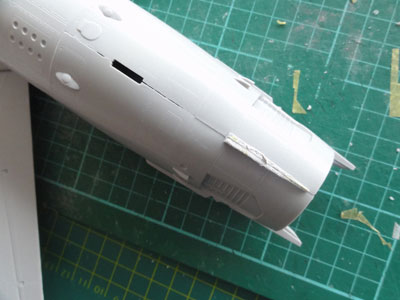
Some putty and sanding was needed
as well at the rear.
In step 15: do not glue the ventral
fin yet, it is rotated 90 degrees for planes on the ground.
The GSh-23 twin barreled gun pack
for under the fuselage aft the nose gear bay is provided including the
ammunition boxes. When retracted, not a lot is seen on the interior.
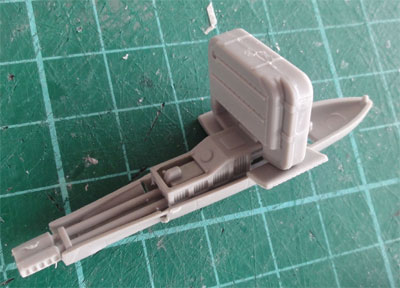 .
.
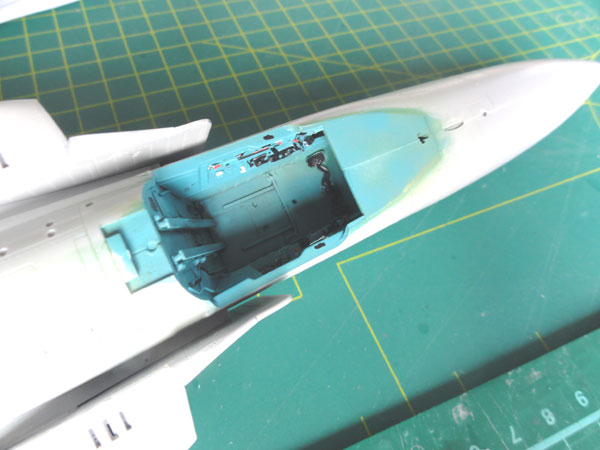
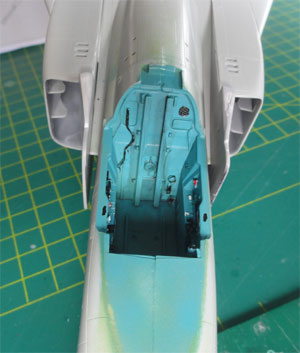
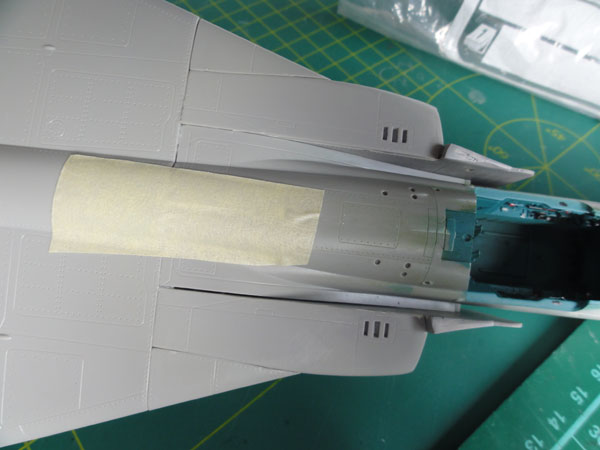
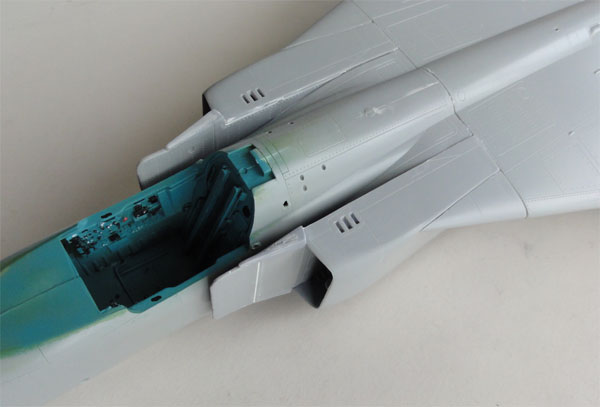
Further assembly was done and mating the nose and rear fuselage.
 .
.
.
 .
.
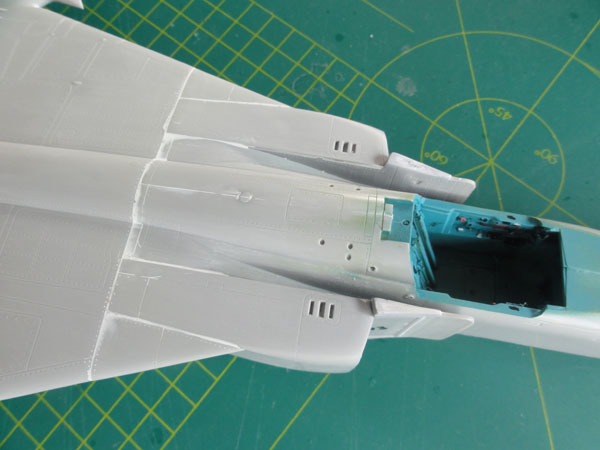
As seen here some putty is needed at the junctions
.
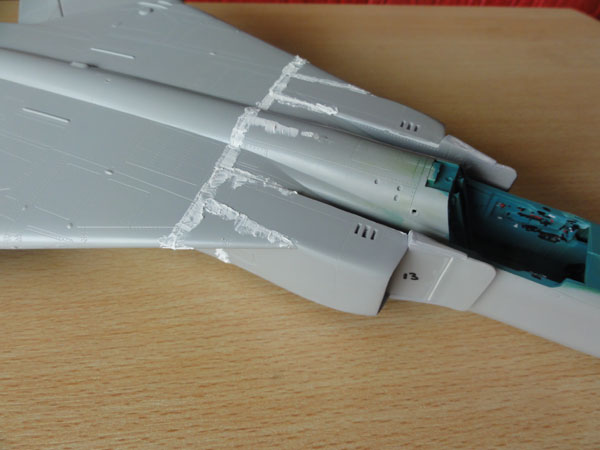
after sanding...
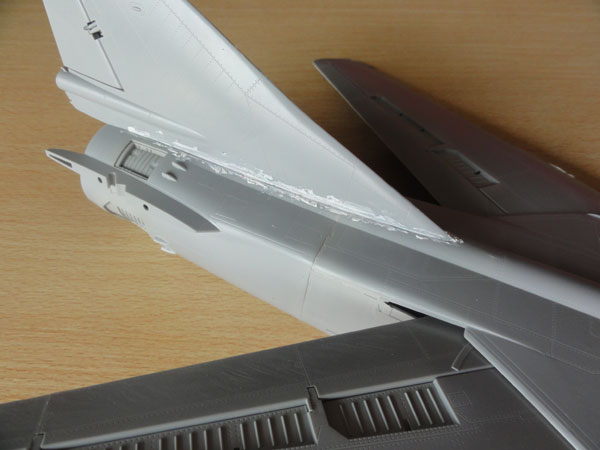
The vertical fin is seen here, and at the base some putty and sanding is needed as well. Please note that the MF has a longer dorsal fin, not seen yet in this picture.
NOTE: TRUMPETER now has issued this variant as well as kit no. 03209 of the MF. If you buy this kit, this will reduce the conversion work
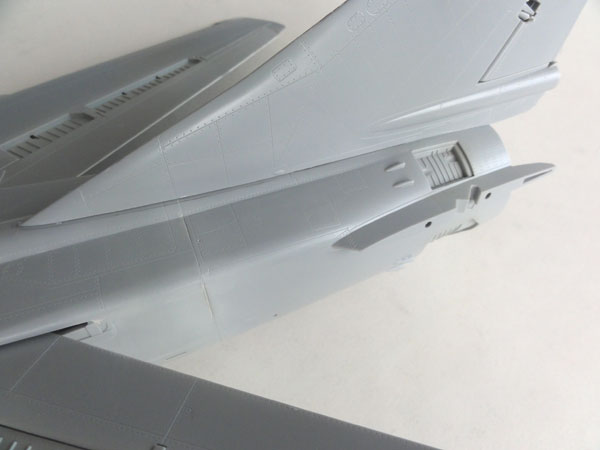 .
.
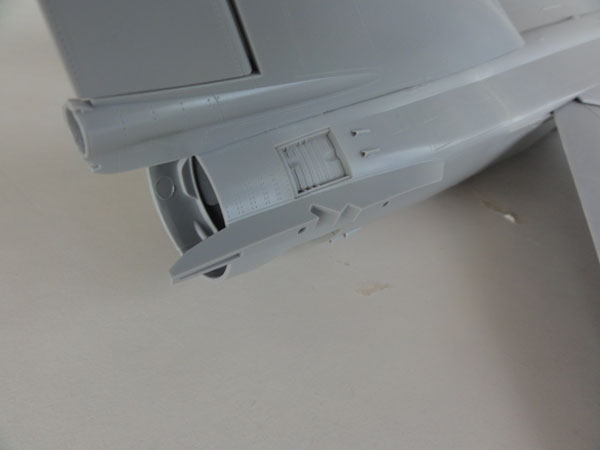 .
.
The vertical fin rear parahousing doors are kept open, just for fun.
The overall assembly is seen here.
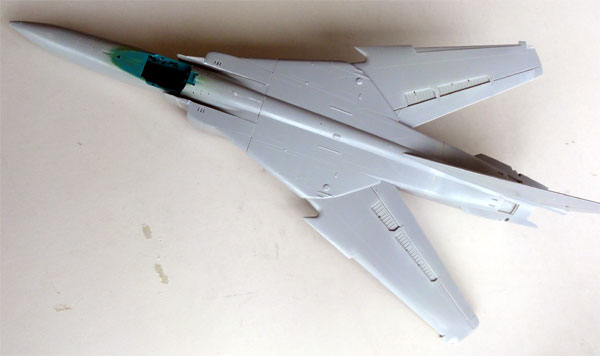
Putty was added in places,
to be sanded later.
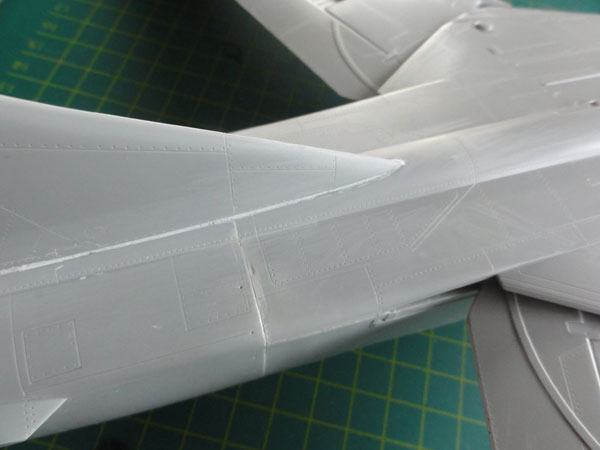
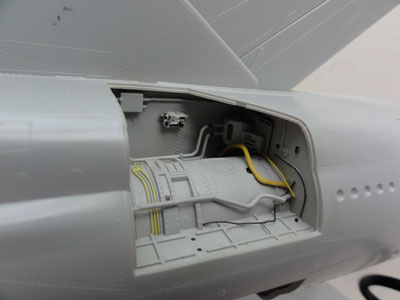
Next, some details were added in the
main gear bays made from wire and sprue.
 .
.
The bay colours are unclear, I settled
for light grey with some details painted.
 .
.
I forgot at this stage for "some
reason" to make the MF conversion of (A) longer finbase of the vertical
fin.
On to next [ Page 2... ]
Back to 1/32 scale Models.......
(c) Copyright Meindert "designer"/ All rights reserved. Your comments are welcomed by webmaster
Created this page May 14, 2011