[ Page 2 ]
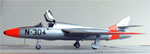
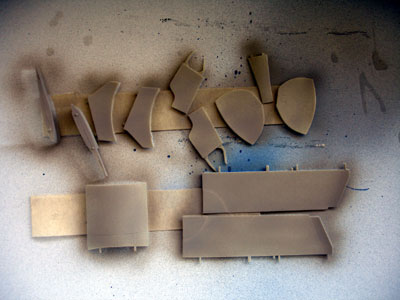
1/32 scale Hunter T-7 FISHER conversion of Revell kit
Page 1
Page 2
Page 3
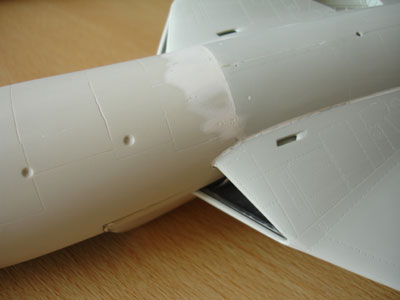
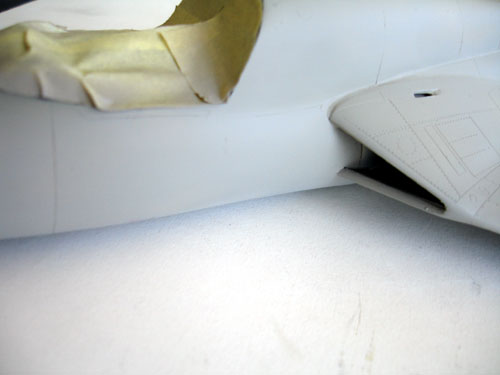
STEP 18
This is a very important stage in
the model construction. The wing halves were mated to the fuselage. The
overall fuselage is now ready for further taking on the wing halves.
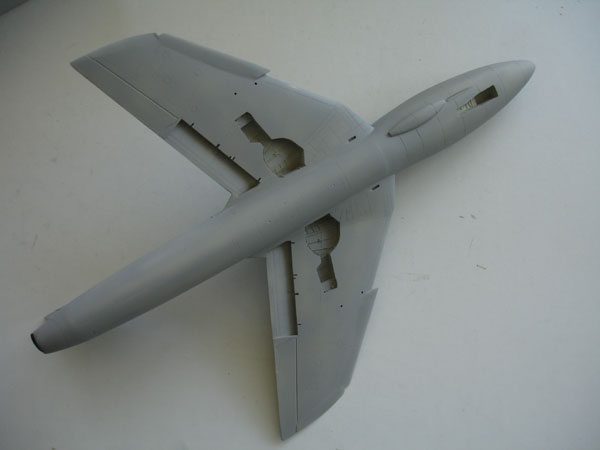
Refer to Revell instruction STEP 18
to assemble the wing to the fuselage. You will find that it may be necessary
to cut off some of the plastic thickness sligthly on the insides of the
parts on the forward bend edges of the wing intake gloves to get a snug
fit. I also had to remove 1 mm on the rear wing root junction.
The inner intake can be snugly glued
into the wing intake gloves.
 .
.
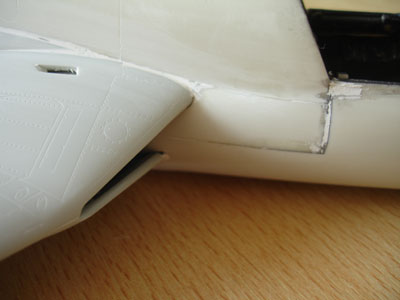
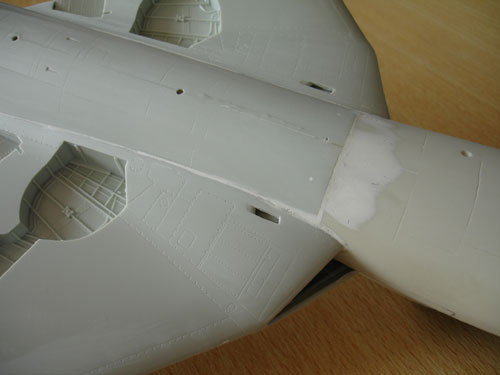
The dorsal spine needs filler as
well.
Some filler was added on the mating
edges and sanded when dry. Quite some filler was need in front on the intakes.
STEP 21, 22
Assemble stabilizers as shown, but
I had to thin down the attachement lips. On the outside edges you may need
some filler on the edges. (Do not fit yet to the main assembly).
STEP 23 can be skipped regarding the spine.
Skip STEPs 24 up to 35 regarding the undercarriages for later. Note that FISHER provides metal gear legs.
Now continue on....
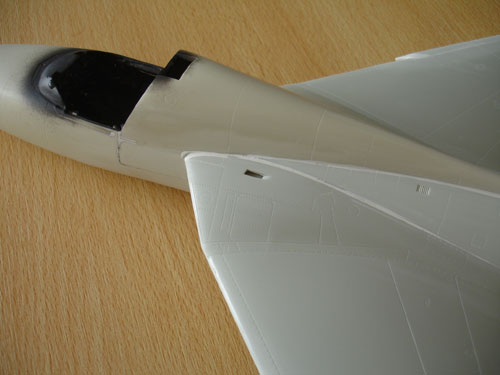
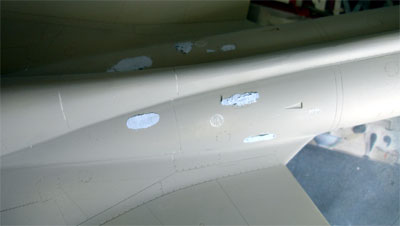
After puttying and sanding, a first
base light grey coat was airbrushed on the model to check for any errors
and flaws. Some filling and sanding may be needed.
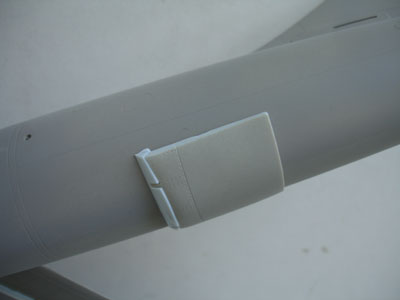
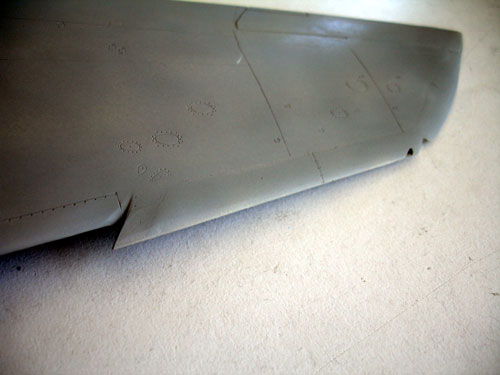
Step 36
The lower airbrake was assembled
and set closed. The rear lower airbrake is seen here.
The overall model assembled again
got a base light grey coat.
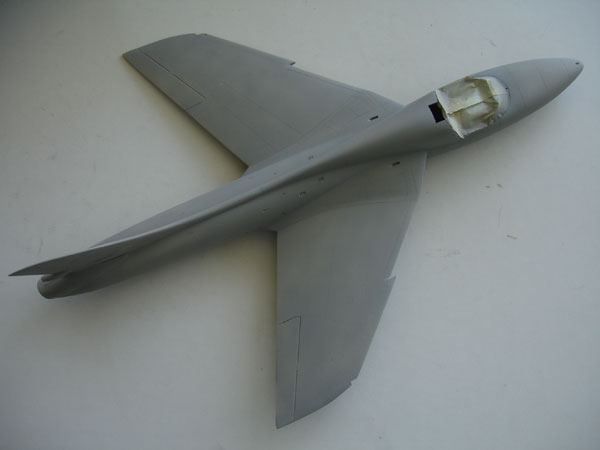
The light grey enables checking for
the required smooth sanded finish. You see here the saw tooth needs some
little filler again.
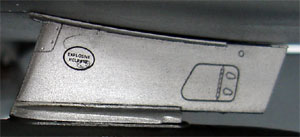
Gun packfairing, fitted without any
problem and the gun nozzle was drilled out a bit.
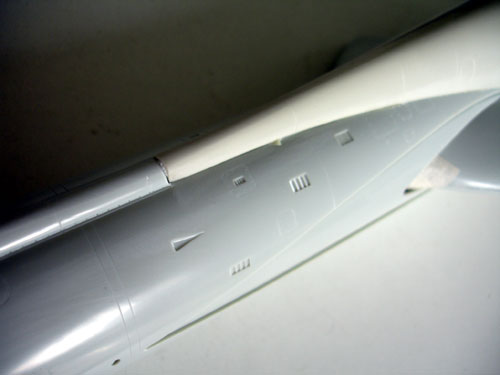
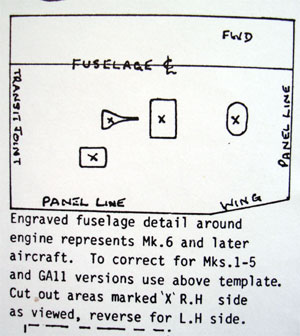
The mk.4 and the T-7 had a different
engine than the mk.6. On the mid upper fuselage you will find a different
configuration on
the grills and small auxiliary intakes
for the engine as on the Revell kits.
I used the drawing from the Echelon
Hunter kit instructions. Most upper grill and intakes on the part # 23+24
were filled and new ones cut open and inscribed. Putty was used to fill
up the not relevant kit details.
 .
.
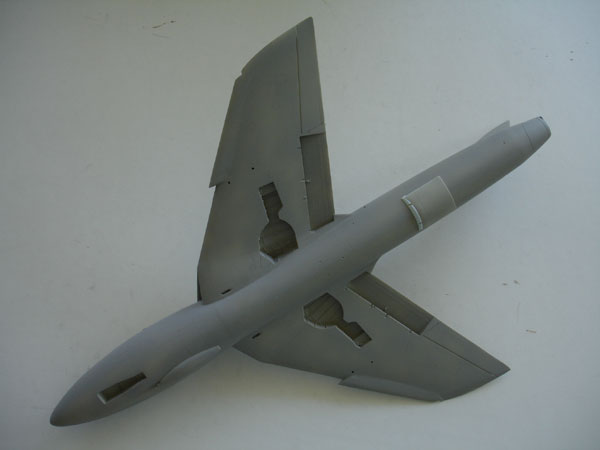
The main fuselage and wing assembly
is now ready. Some parts painted with wheels from the Revell kit
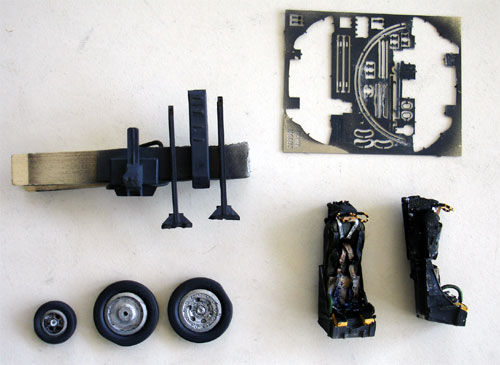
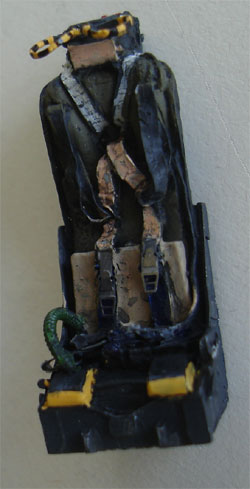
With some seat details. Some belts/straps are also blue on Dutch Hunters.
 .
.
Next...
In the main undercarriage bays some details of brake wires and hydraulics were added inside the bay with some stretched sprue.
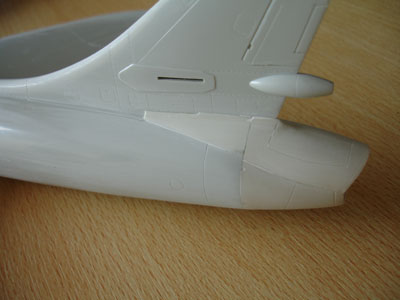
Step 37
The tail bumper was installed but
not yet the belly antennas.
Steps 40-42 can be skipped for the T-7.
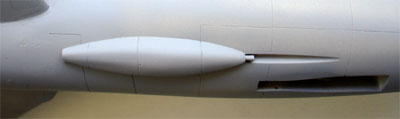
Steps 43-45
The wing fuel tanks were assembled
as they are often seen on the T-7 as well. For the RNeth AF mk.6 Hunter
the pylons with parts #101-104 are not correct. We are lucky to have the
parts of the other pylons still in the kit; they are still on the stores
sprue.
Use the parts #112-115 for a RNeth
AF Mk.6. I could not really find the small bulges on the pylons on pictures,
so sanded these off.
Steps 48-53 (for F.mk6) can be skipped regarding the Sidewinder missiles and pylons
![]()
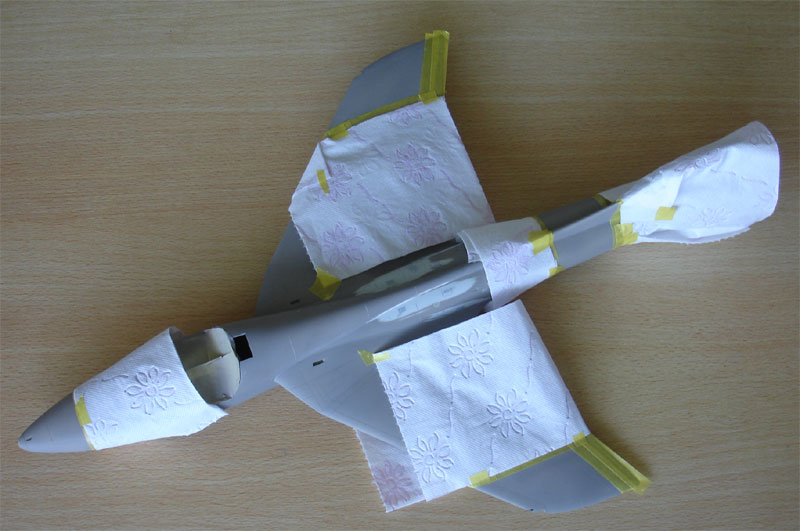
The model is now ready to get the
first end state colour coats to be airbrushed.
I purchased a 1/32 decal set from FLEVO Decals
This set includes decals for Dutch AF T-33 and T-7 Hunter.
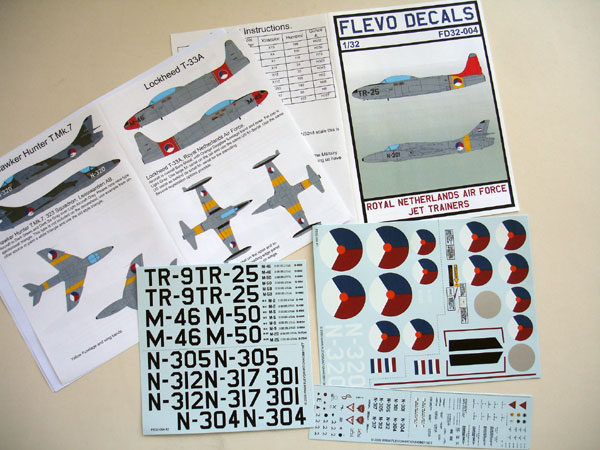 .
.
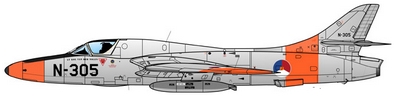
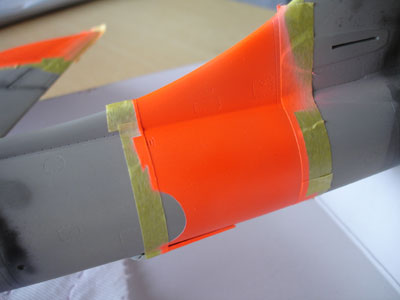
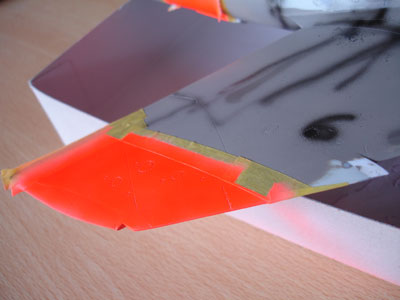
Dutch Air Force Hunter T-7 schemes had a variety of yellow dayglow or orange-red dayglow stripes with high speed silver base coat. I opted for the orange-red dayglow. Masking was done and after applying a coat of matt white, the dayglow was airbrushed on using Modelmaster 1775E
NOTE: the FLEVO decals drawings are
not entirely correct; Dutch AF Hunters had their ailerons painted in high
speed silver, so not dayglow as shown in the instructions. Fin antenna
panels are also sometimes light grey, not always black.
 .
.
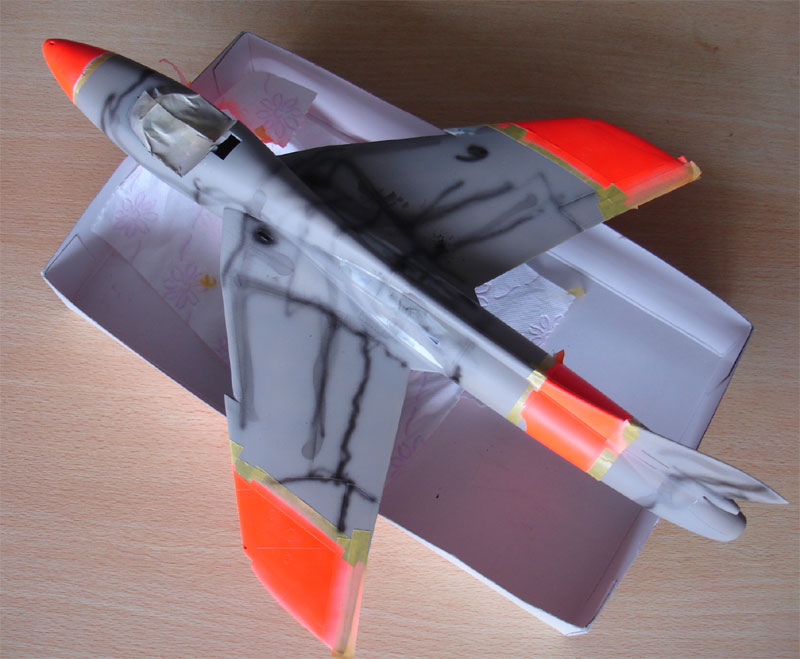
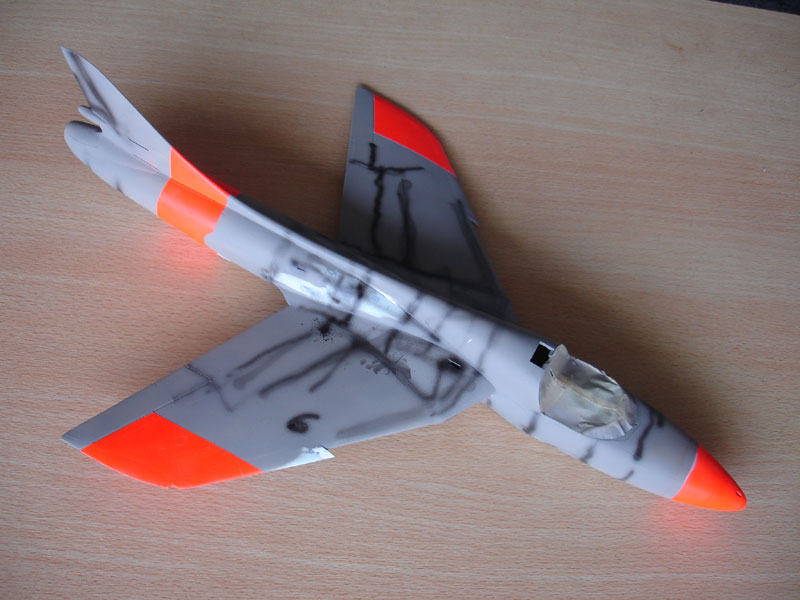
Note the kept free round section
for the Dutch AF roundels to be added later. It has a silver edge.
Some pre-shading was done on panel
lines as well with black.
.
Back to Hunter main page
Back to 1/32 Models.......

(c) Copyright Meindert "designer"/ All rights reserved. Your comments are welcomed by webmaster
Created this page
July 3, 2010