Royal Netherlands Air Force "kaasjager"
[ page 2 ]
F-86 Sabres in 1/72 scale: MODELART F-86K Kaasjager modelling report
page 2
page 3
page 4
page 5
... continued from page 1....
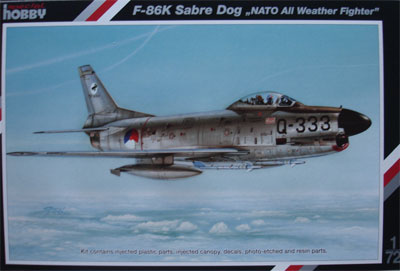
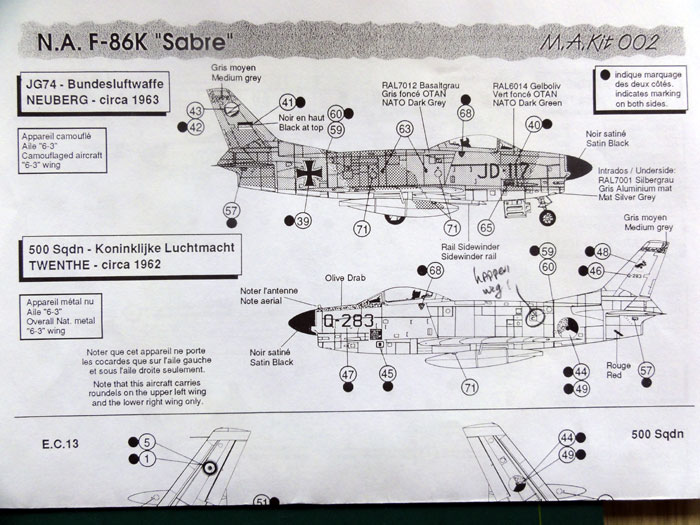
(2) F-86K Sabre "Kaasjager" of the Royal Netherlands Air Force
On the old days, converting the Airfix kit of the F-86D Sabredog was the only option to get a proper F-86K. This variant requires a lengtened fuselage (8 inch in real, so about 3mm 1/72 scale) and some other changes like adding the four guns. I got a resin MODELART conversion kit however for the F-86K.
FOR INFORMATION:
later on Special
Hobby has issued a 1/72 F-86K kit. The kit wing span is too large for
an early type wing. It could be reduced in span as the chord is OK for
the early type slatted wing F-86K which is common to the F-86D wing. Parts and
box are seen here.
 .
.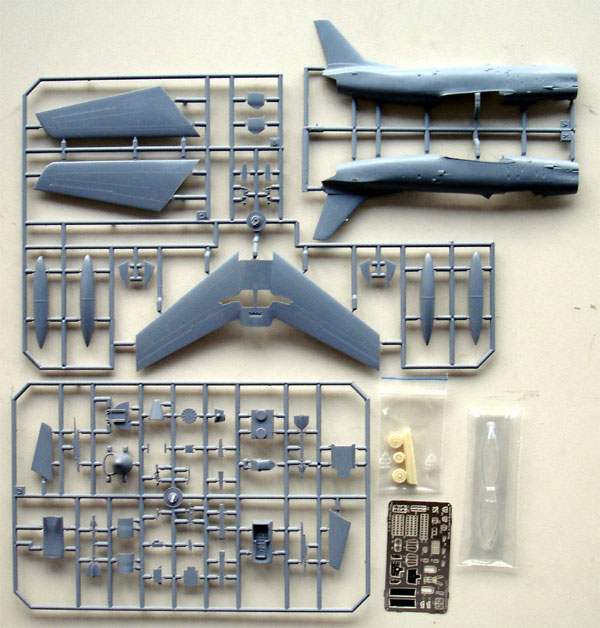
The
main parts are seen here....
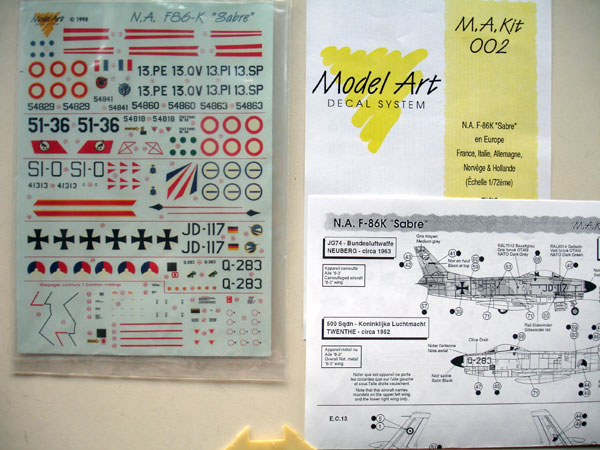
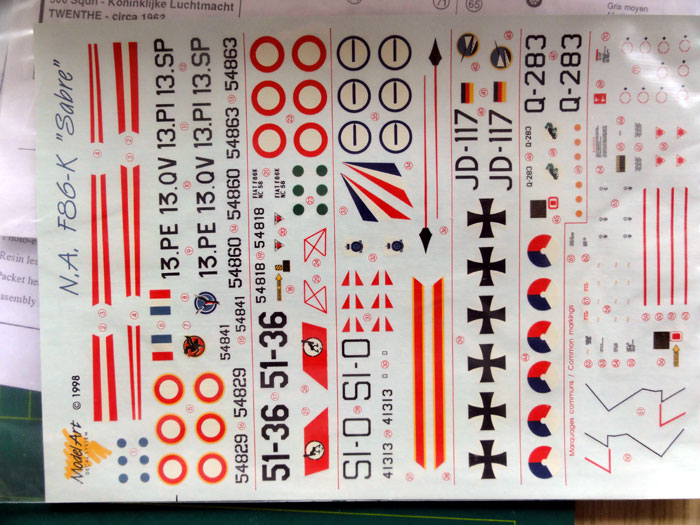
.... and the decals including
Dutch Air Force (Koninklijke Luchtmacht) decals for no.500 squadron:
... and includes an etched metal
fret...
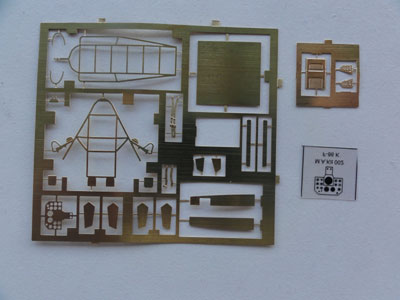
Inside
the cockpit, the floor is too shallow, not a lot can be done as it is rock
solid! The
kit is thus rather simple and straight forward. So it was decided to built
a later style F-86K of the Koninklijke Luchtmacht.
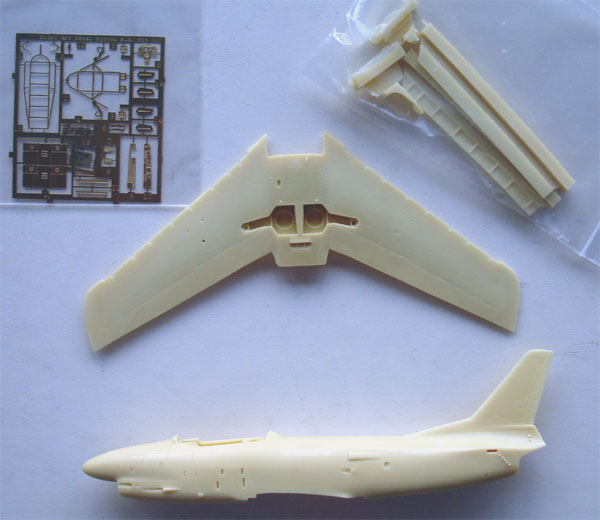
OK,
let's get on with the correct
MODELART
kit with many resin parts.....
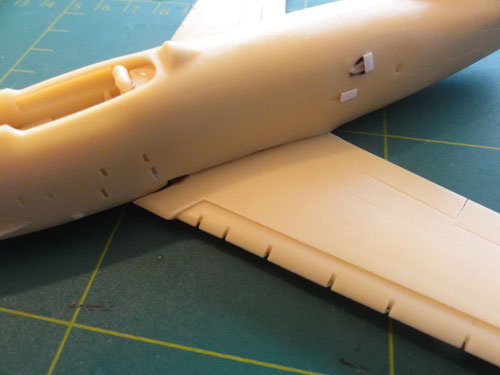
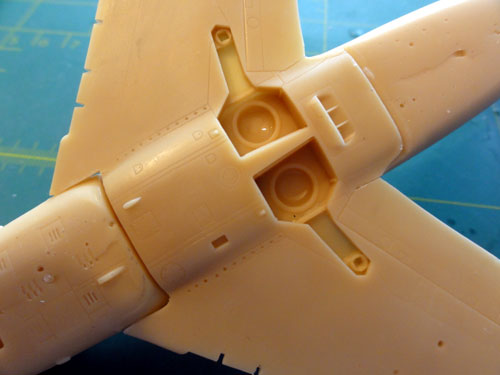
The
MODELART
MA-002 kit was further assembled. There are only a few big main parts,
but still some putty is required with sanding things smooth. Note the incredible
large gaps at the wing root!
The
smaller intakes at the sides were also made from thin card and drilled
out.
A base coat of grey was airbrushed to see anything that needs correction
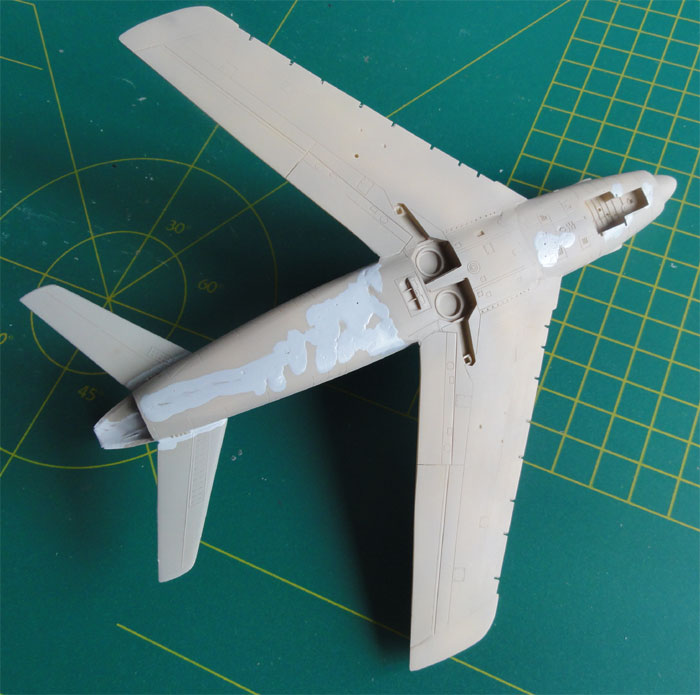
In
some areas, Mr.Surfacer putty was used which is very thin to fill
any tiny gaps in the resin.
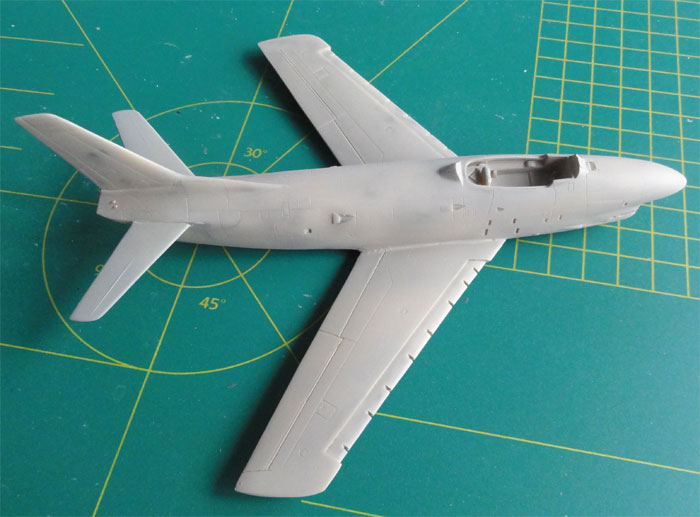
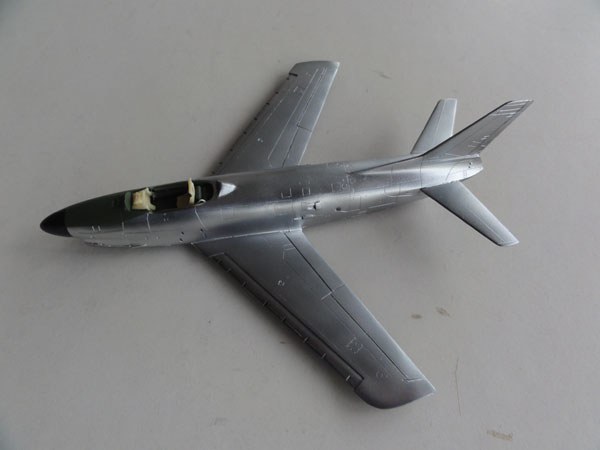
Polishing the model is a next important step as it would get the upper metal colour.
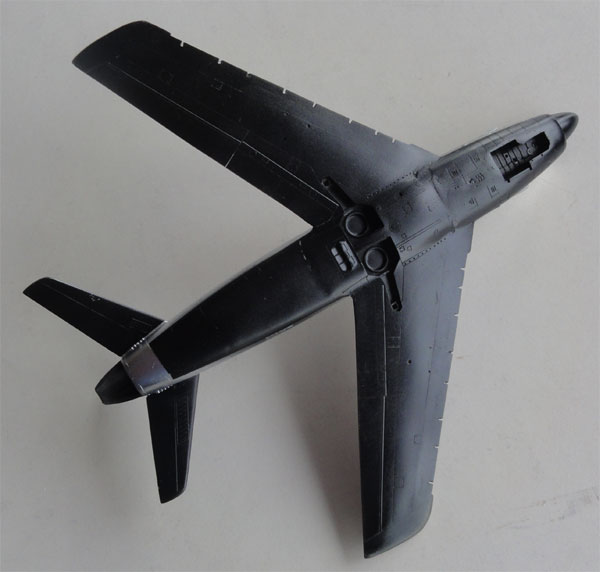
The ALCLAD II method was used here with ALC-105 "polished aluminium". This requires first a base coat of gloss black, which was airbrushed with a couple of extra gloss coats of Johnson Future.
This particular F-86K kaasjager has black undersurfaces. So the black was masked off and the upper surfaces got the ALCLAD metal.
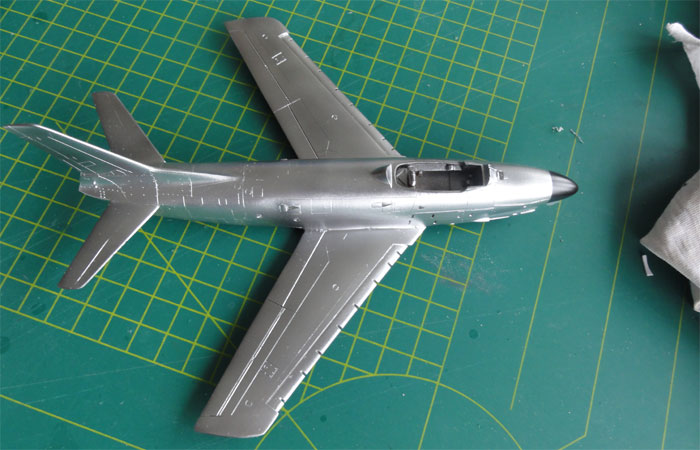
For the ALCLAD an old BADGER
150 airbrush was used. Quickly clean the airbrush when ready
as ALCLAD quickly dries and clogs up your airbrush and its nozzle.
Some painting is now needed
at the smaller bits.

The cockpit details (from
resin in the kit) were set. The green anti glare panel is also seen here.
It was masked off and airbrushed.
On
to next [ Page 3... ]
Back to 1/72 Models
(c) Copyright "designer"/ All rights reserved. Your comments are welcomed by webmaster
Updated this page
December 24, 2011