"Prototypes and experimentals"
General Dynamics F-16 prototypes and experimentals in 1/72 scale : modelling reports
..
F-16 CCV
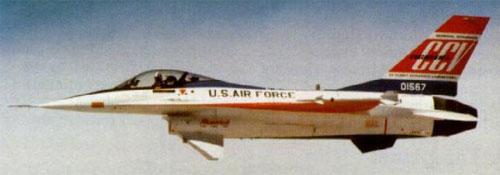
Another experimental F-16 was the Control Configured Vehicle (CCV). The CCV was made by modifying the first YF-16 (#72-1567). It was converted end 1975 and was used by the USAF Flight Dynamics Laboratory. The CCV had "decoupled" flight control surfaces. The CCV flew first in March 1976. More than 85 test flights were made until summer 1977. Findings were used in later F-16 updates.
After the 1/72
prototype seen on another page, next the F-16 CCV was made...
F-16 CCV
..
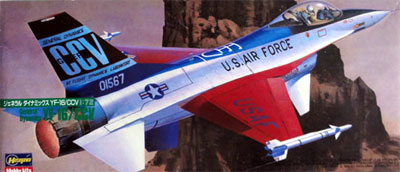
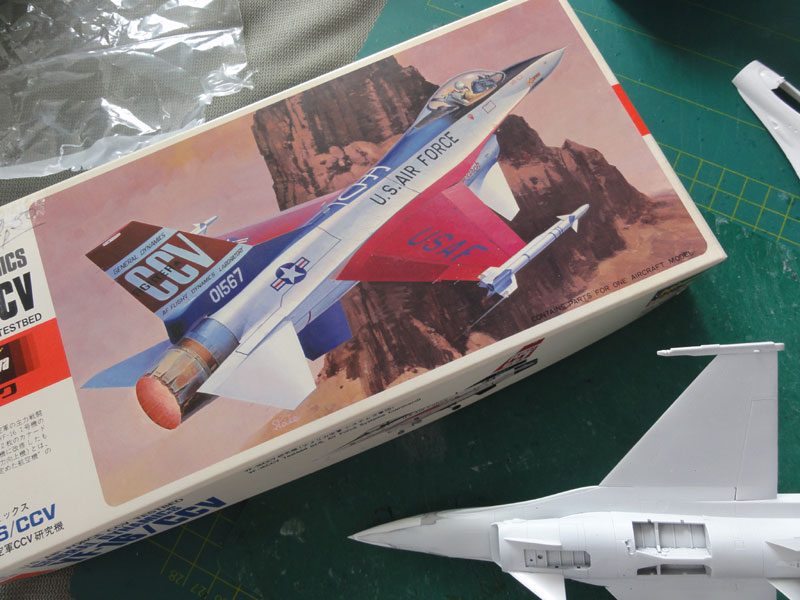
For the F-16 CCV, Hasegawa issued kit no.1193 released in 1987 with parts seen here....

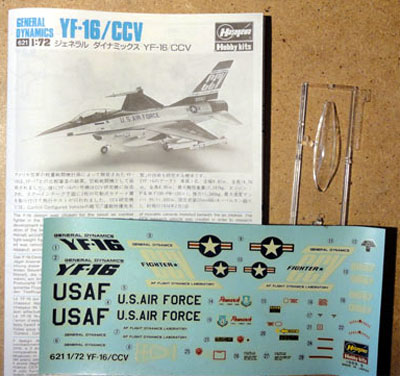
The old Hasegawa F-16 CCV parts are
seen here. The decals are for a tail with CCV titels, but also a YF-16
tail.
For this model it was choosen that
a later Hasegawa "F-16A Plus" kit was to be combined with this old Hasegawa
F-16 CCV kit (no. 621). (look here for a 1/72 F-16A
KLu...).
The reason is that the old Hasegawa
F-16 CCV kit has odd shapes, raised panels and being
somewhat simple. Converting the better F-16A "Plus" kit to a CCV seemed
a better option. It would provide a finer and more accurate a F-16 as the model
has inscribed panels lines and far better shapes.
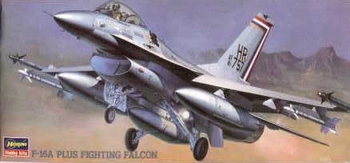
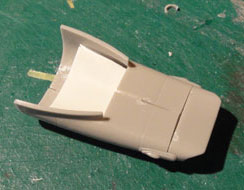
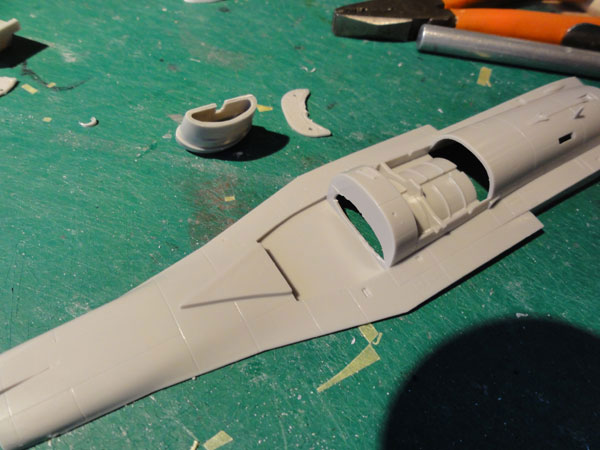
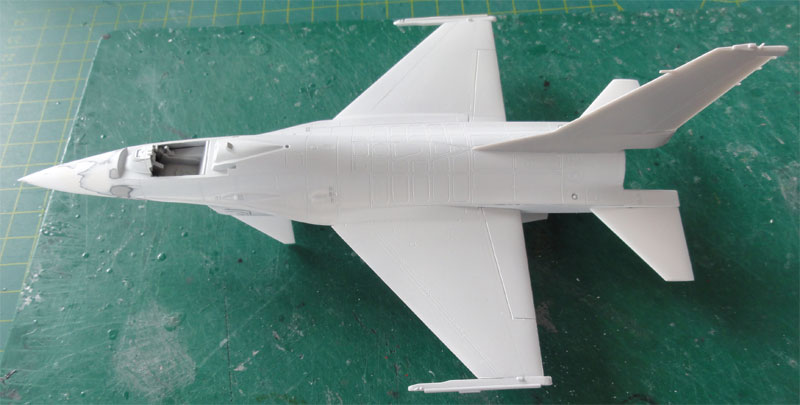
So starting point was the newer Hasegawa F-16A "Plus" kit. It has the correct older small F100 engine intake. The F-16A Plus kit got in the intake an extra piece of card to suggest a tunnel. A hole was made in part #B1 , in the the bulkhead in front of the main undercarriage bay, this will give some more "depth".
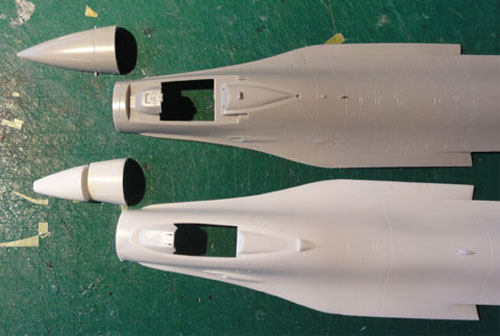
The nose of the CCV is very pointy
in the real aircraft, much more than the later standard F-16 nose. See below for a comparison of the older and newer
kit....
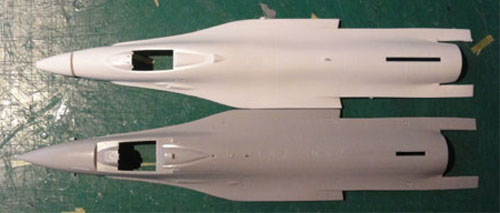
So the old Hasegawa kit CCV nose
was cut off with a razor saw and "crafted" onto the F-16A "Plus". More
filling and sanding was needed but now a sharp thin nose was there.

Filling and sanding...
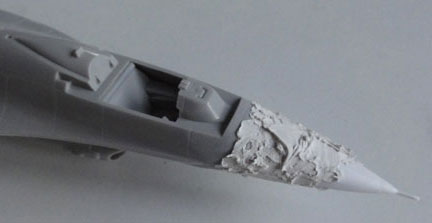 .
.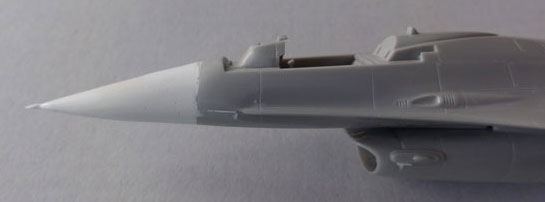
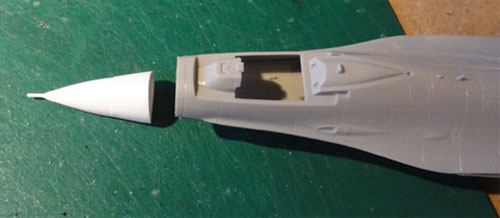
The result is a much more pointier
nose as on the first F-16's and also the CCV.
For the seat, the CCV part #B36 was used which looks like an "old type" seat. Add some detail from scrap like harness/ straps from tape.
The model also got the small original
type "early block" horizontal stabilizers #B37 + B38 from the CCV kit. The same is for
the vertical tail, the CCV tail #A5 was set onto the model. It has a thin
tail and the correct rear fairing base shape.
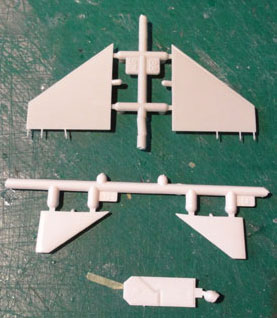
The CCV thin wheels #B20 and 2 section
nose wheel doors #B35 were also used. (later, the F-16 got a single nose door).
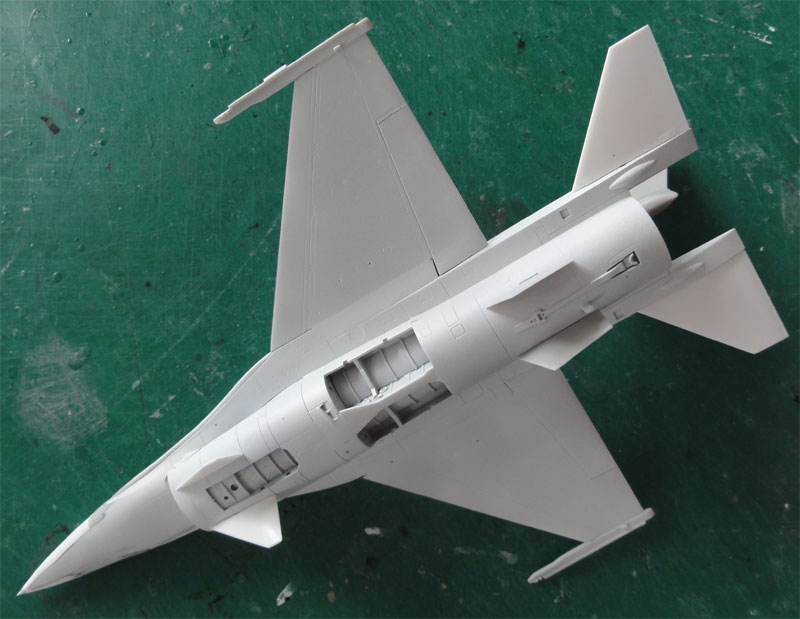
Only minor filler in other areas is
needed. Some white glue to close gaps is sufficient, like at the CCV forward
strakes and rear ventral fins.
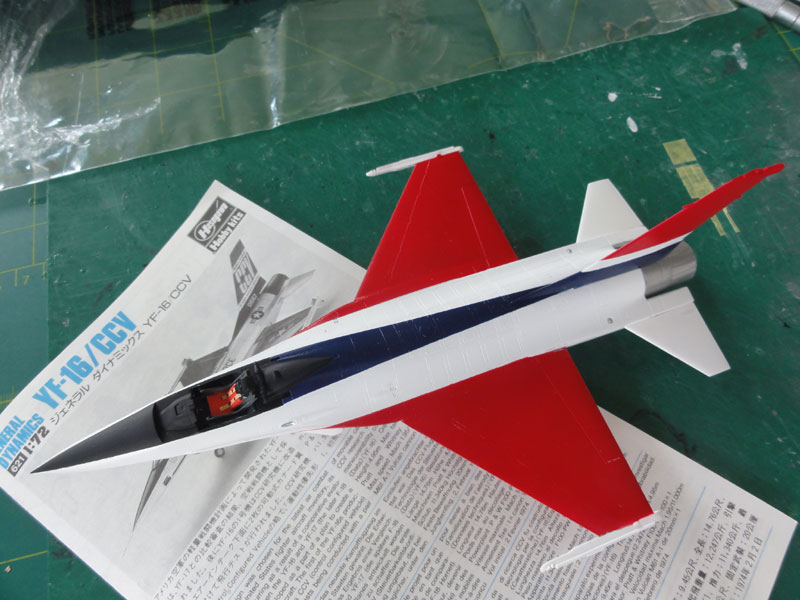
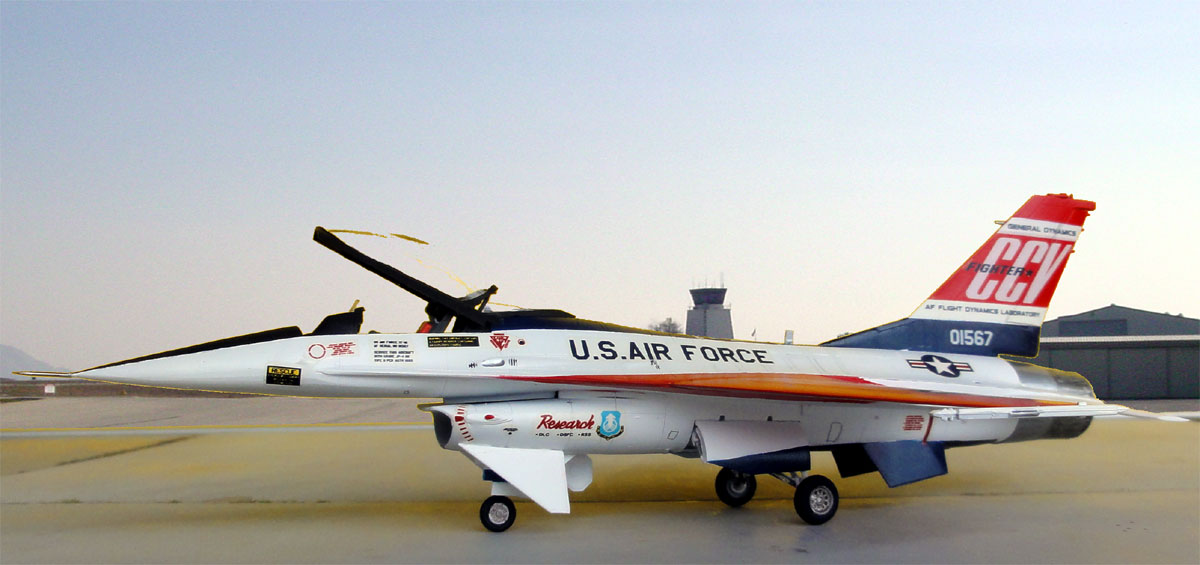
The base coat was white, seen here;
applied with the airbrush, using Revell Aqua white #301 acrylic.
Next, the required colours were applied,
in parallel and similarly with the F-16
prototype. Masking was a lot of work.

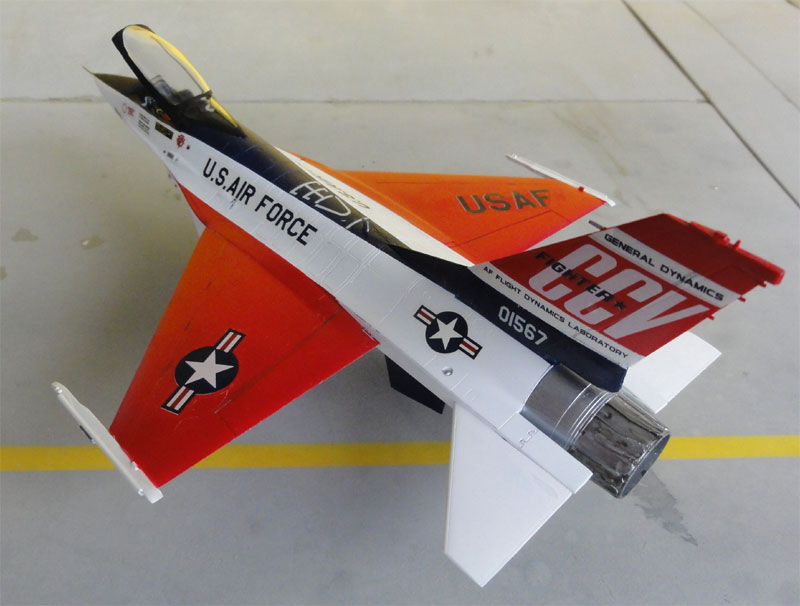
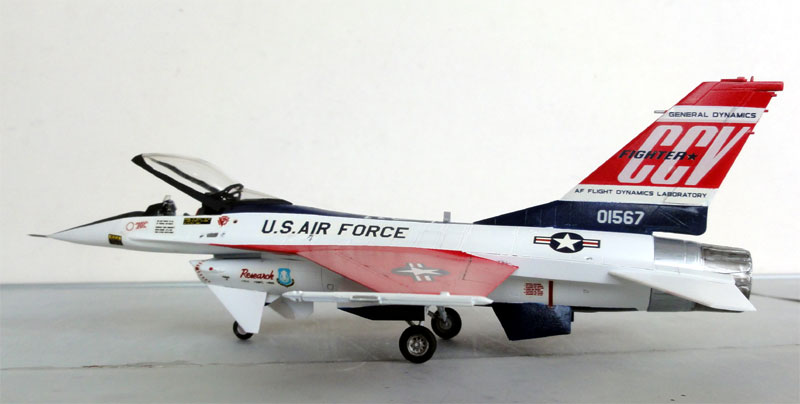
The model got the decals from the old F-16 CCV kit of Hasegawa for the CCV markings on the tail. The white stripes on the vertical tail got an underlying white spare decal to prevent "shining through". These decals were fine.
The canopy frame was painted black and will be set open. Finally, a metal nose pitot was added made from a thin needle. To protect the model, decals and to get an even gloss sheen, with the airbrush a coat of MR.HOBBY GUNZE SANGYO H30 acrylic clear was added.
The small CCV model is seen here......
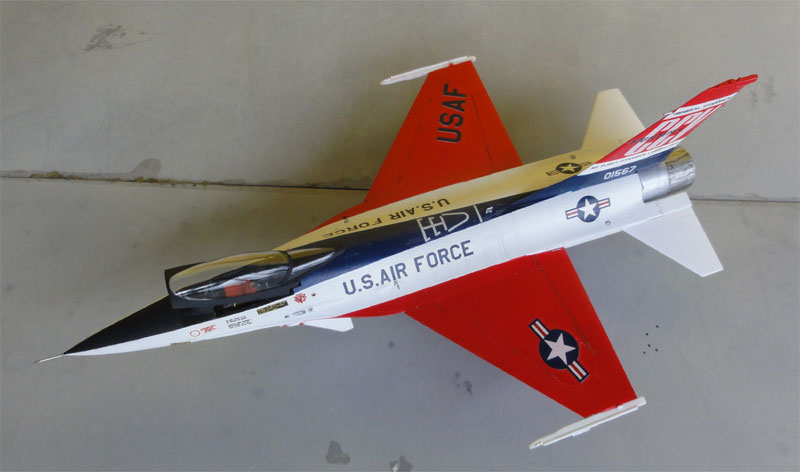
Another nice couple of F-16's
in the 1/72 F-16 model collection.

References on F-16 aircraft:
- see F-16 1/32 info page here.....

(c) Copyright "designer"/ All rights reserved. Your comments are welcomed by webmaster
Created this page
October 19, 2013