[Page 3]
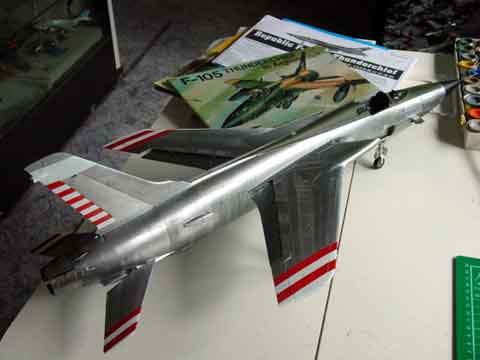
F-105D model in 1/32 scale
TRUMPETER
The F-105D kit required small changes for the "early sub-type" F-105D of this particular unit to be modelled:
- the dorsal fin navigation light
is not needed; the fairing was already removed, the gap filled; part #H1
is not needed
- the rear intake scopes with parts
# J27, 32, 36, 42 are not fitted on this particular older block variant
of the F-105D and thus not needed
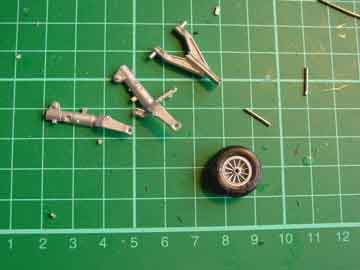
- the nose pitot tube #J39 was replaced
by a thick metal "paper clip" pin
- the nose leg got a metal axle
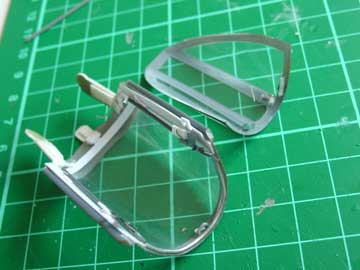
The inside of the canopy and windscreen
was detailed with sprue and card, making the de-misting ducts, hooks and
mirrors form metal sheet.
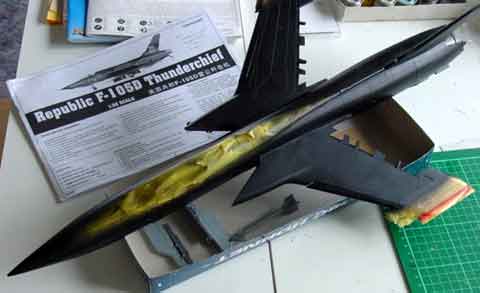
Applying the paint finish
The kit, filled, sanded (using the special nail polish trick) and polished to remove tiny scratches was now to be given its basic paint finishes with an airbrush.
First, the green anti-glare and dorsal fin paint was applied using Humbrol 30 "green" enamel.
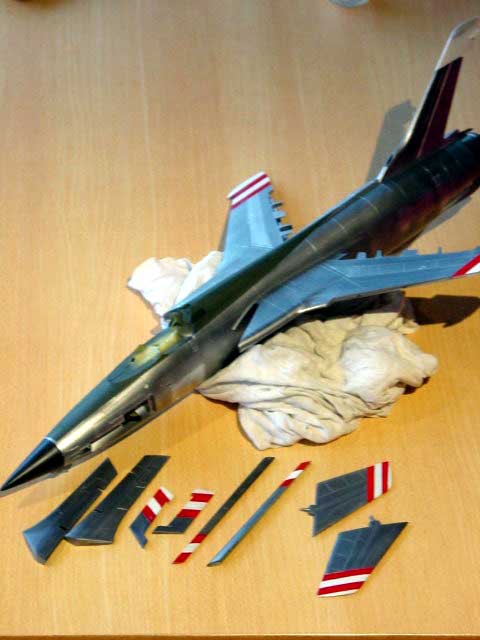
Next, the white coats at wing tips,
stabilizer tips, fin tip and the rudder were sprayed. After 48 hrs drying,
with tape the red striping was masked off and sprayed using Humbrol 220
"red" .
After 48 hrs drying, it was now time
top go for the metallic finish. First, the green and striping were masked
off.
Now it was time for the metal.
The method to be used for the metal was applying the ALCLAD II coating. It requires a black shiny/gloss undercoat. This was applied first by setting a coat of "any black" , followed by a thick coat of acrylic varnish of Johnson Klear/ Future. The radar nose radome should also be black, so masked off.
Next, various shades of the (older) ALCLAD
II paints can be applied. The basic metal sheen was ALCLAD II Aluminium E
with details of various panels in ALCLAD II Aluminum A.
Apply many thin coats and after 30
minutes drying the paint can be polished with an old T-shirt cloth. The
effect is really good with a metallic look. Please note that F-105's of
that period are not really shiny.
Note: the stores such as the large
fuel tanks and pylons got a similar treatment.
Markings were self made or came from the spare box:
- The fin flash lightings were cut form yellow colour decal and the flames at the edges hand painted.
- the US AIR FORCE titles came from the spare box as well as the Stars-and-bars from Microscale; the stars-and-bars vary in size on different Thuds, a large one was needed here
- smaller stencilling such as " no steps" , warnings and panel-instructions came from the Trumpeter kit but the rescue markings and arrow were replaced.
- the spade marking on the fin top was made from black decal.
- red outline panels were made from red decal stripe and/or painted using a cocktail stick.
- the " Goofy" decal of the comic strip was scanned from the Warpaint book, reduced in size and printed on clear decal sheet from BareMetal Foil.
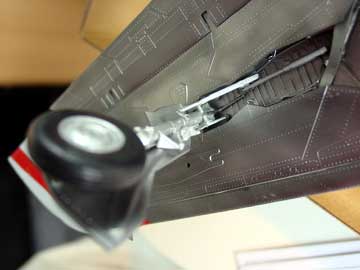
Final finishing and assembly showed the following:
- the wing tip lights # H9 and H10 should be made somewhat smaller to fit
- some extra detailing was applied below the windscreen and to parts # J52 and J55
On to next F-105 [ Page 4 ]
Back to 32 scale Models.......

(c) Copyright Meindert "designer"/ All rights reserved. Your comments are welcomed by webmaster
Created April 18, 2004