trainer two seater
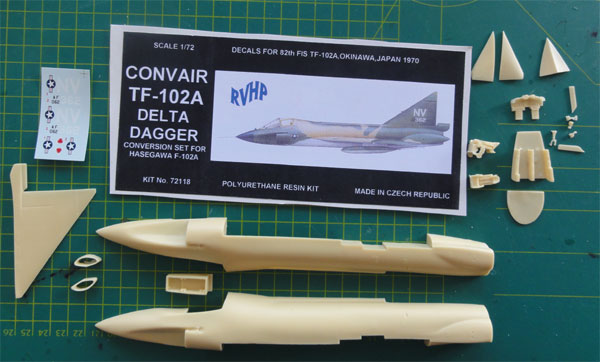
1/72 scale conversion kit for a TF-102 Delta Dagger
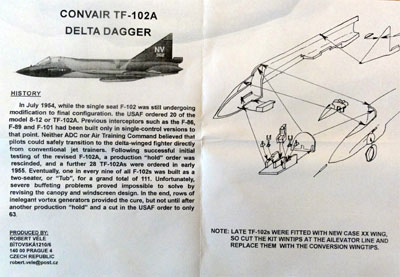
The Convair F-102 Delta Dagger was the first operational supersonic interceptor and delta-wing fighter of the USAF. Also a F-102 two seater variant was developed and put into USAF service to train F-102A pilots. The airframe retained the delta wing but got a side-by-side cockpit , leading to a very different appaerance than the normal Delta Dagger.
About 110 TF-102
two seater planes were built (in addition to about 900 F-102 "Deuces")
Nice to look at this YouTube
video... [external link]
The kit
The conversion kit of RVHP is to be combined with the Hasegawa model in 1/72 scale (or you can use the same kit in the Minicraft offering). The kit was ordered through internet and costed about 30 EURO.
You get in the conversion kit resin parts of the fuselage and some other parts like the cockpit, canopy and vertical tail. The remainder of the parts are to be used from any of the Hasegawa kits.
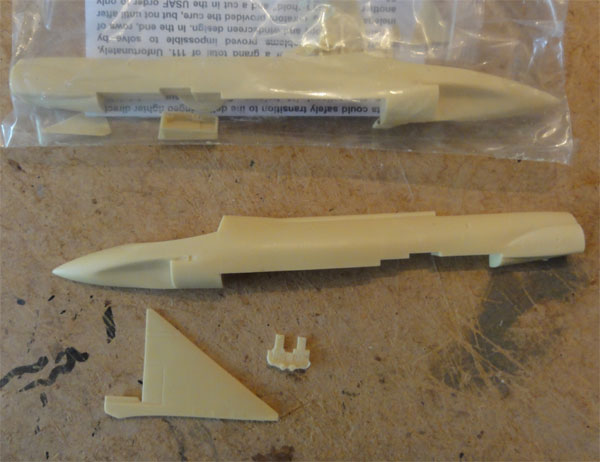
The parts are all right, with the
exception of the too shallow intakes. Not a lot can be done about this,
as it would require drilling holes in the intake rear ends at the resin
fuselage, a task just too much work for this build.
![]()
Assembly
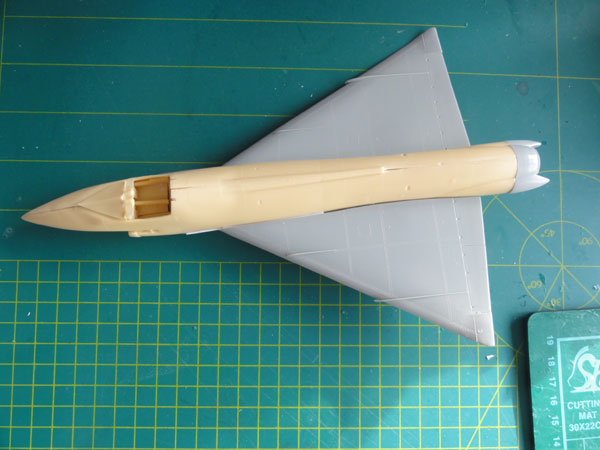
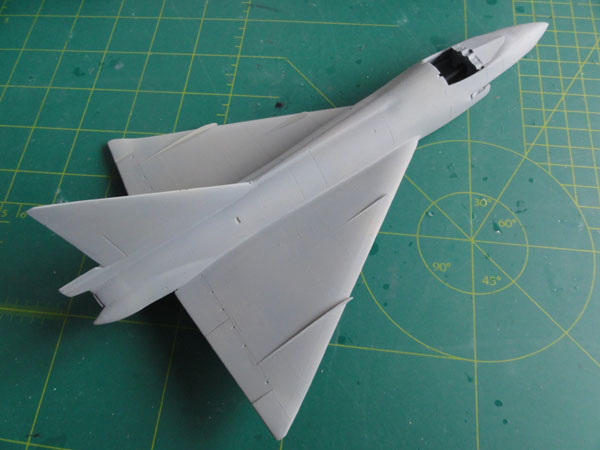
The 1/72 model was assembled starting
with the main fuselage with the wider trainer nose section.
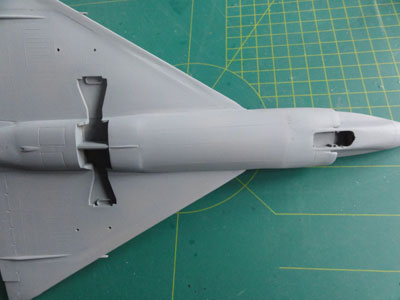
The air intakes are not very deep, but not a lot can be done about it as drilling open the fuselage is quite risky. Covering the intake with a protection cover may be an alternative.
The air intakes needed minor filler. 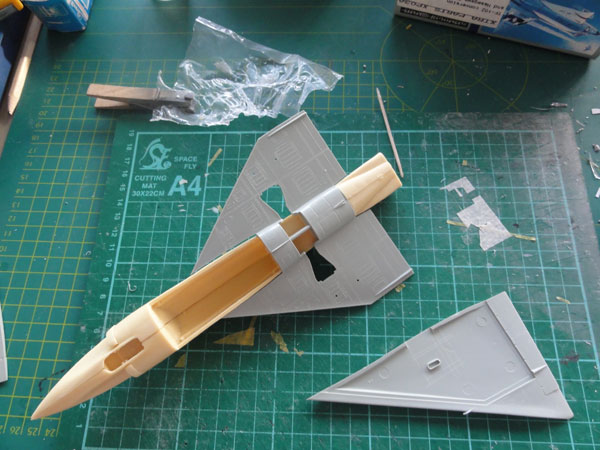
The wing was set and numerous clamps used during glue curing.
Late TF-102 got new case
XX wings, with different curved wing tip, for which resin tips are in the
conversion kit.
The model would depict a
Soesterberg
32 TFS unit TF-102 with serial 56-2336 and this plane did not have
the case XX wing. So no wingtips required removal.

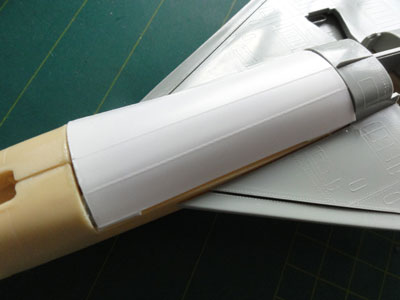
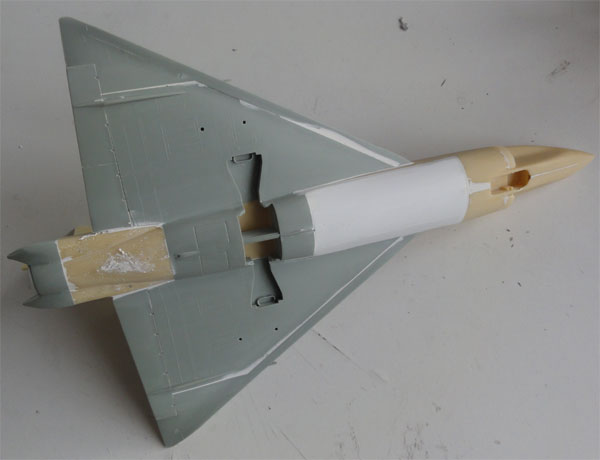
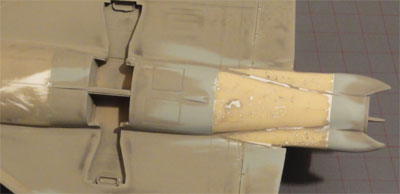
The biggest fit issue is the big weapons bay. Those doors simply will not look right when assembled as the assembly is very tideous.
So, it was decided close the the large missile bay doors by using a single big piece of plastic card, bended in shape. Numerous amounts of putty were used to close all gaps and to get a good shape. Although not 100% OK, I was happy with it.
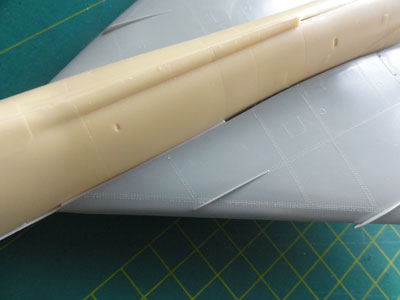
and after sanding and filling.....
Note the large seams at the wing
Also the upper wing root needs filler.
Considerable sanding was also needed at the rear tail area.
First the sanding was done. When things looked smooth, the vertical tail was fitted. Note that the tail is very similar to the kit part shape, but it lacks two antennas.
After this was all done, the overall model got a base coat of light grey to check for any flaws. Corrections with putty and sanding was done in case of inperfections.
This showed that tiny resin gaps
are present at the lower tail area, again needing filling. This was done,
sanding followed and another base coat...
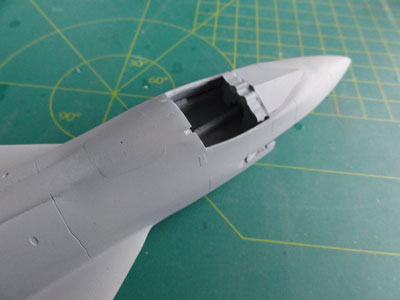
Now, the grey TF-102 looks OK. The
cockpit detailing will be done next.
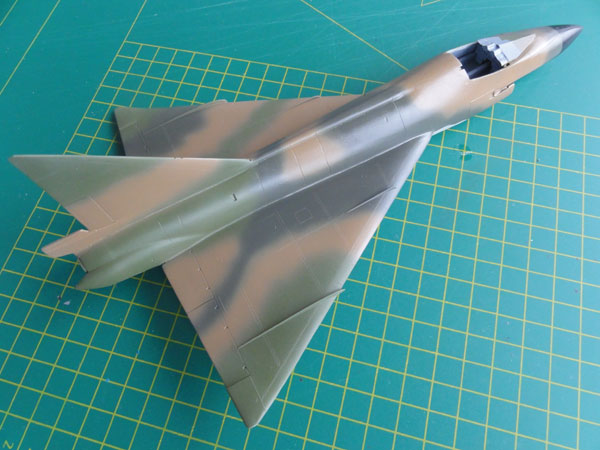
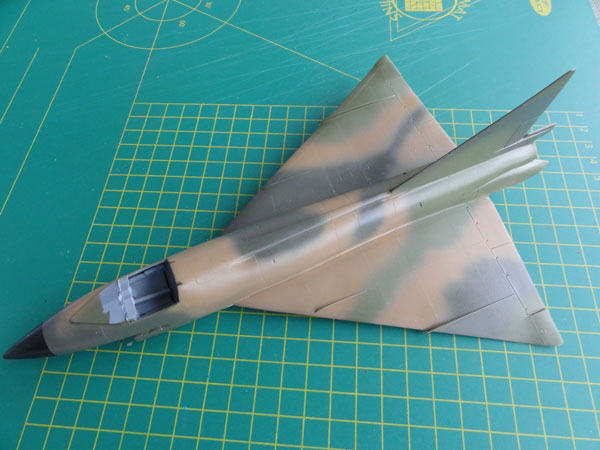
After the overall grey, the typical USAF Vietnam camouflage scheme with Federal Standard FS colours was airbrushed "free hand". The camouflage scheme pattern was as per RVHP instructions.
The enamel colours used were in this
order applied:
FS36622 pale grey for the lower surfaces,
for which enamel Humbrol no.28 was used.
The lower areas were masked and then...
FS34102 medium
green using Humbrol 117
FS34079 dark
green using Humbrol 163
FS30219 tan
for the upper camo using Humbrol 118
(for acrylic colours, look at Gunze Sanyo suggestions here...)
The wing tanks, gear doors were not
forgotten.
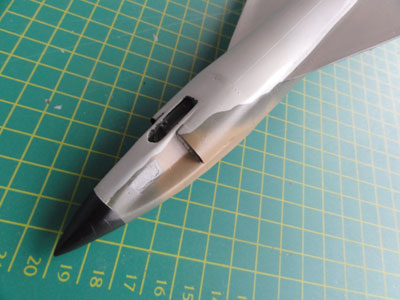
The radome was also masked and sprayed
black.
The cockpit interior was painted
medium grey.
Details to be added next, particularly in the cockpit.
On to next
[ Page 2... ]
Back to 1/72 Models.......

(c) Copyright Meindert "designer"/ All rights reserved. Your comments are welcomed by webmaster
Created this page
December 31, 2011
Updated March 9, 2012