[ page 2 ]
1/72 scale kits of the North American F-100D Super Sabre made by Meindert de Vreeze
....continued from Page 1....
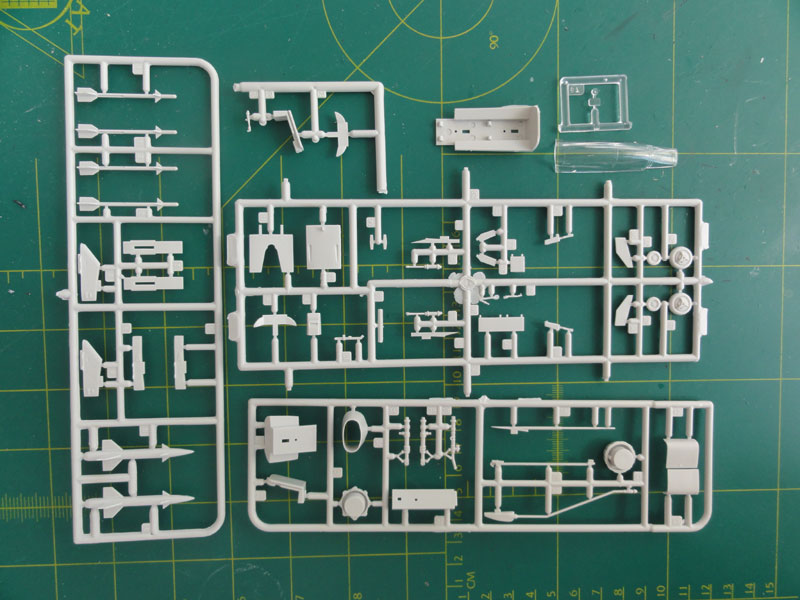
AMT
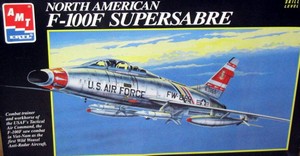
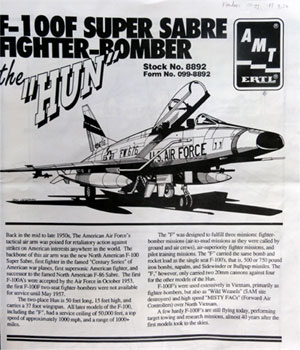
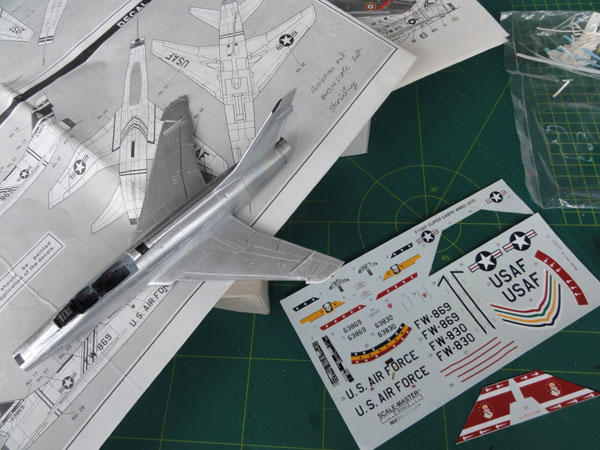
In parallel to making the ESCI kit, the AMT 1/72 kit (no. 8892) for a two seater F-100F was assembled. I bought the kit at a modelshow in 1999 and did not know it existed. This is a nice kit and it has a lot in common with the ESCI F-100D kit.
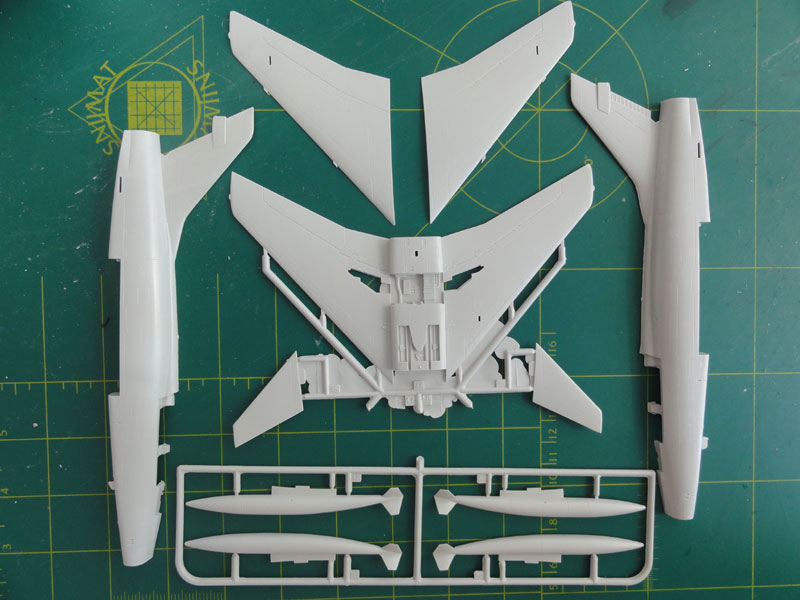
note the "flash" to be removed...
Similar improvements as to the ESCI
kit were made such as:
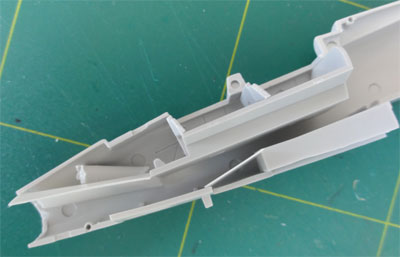
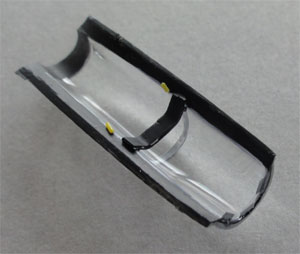
- the opened up nose intake and added
intake tunnel
- stabilizer gaps filled to set these
stabs at an angle
- opened up deeper exhaust
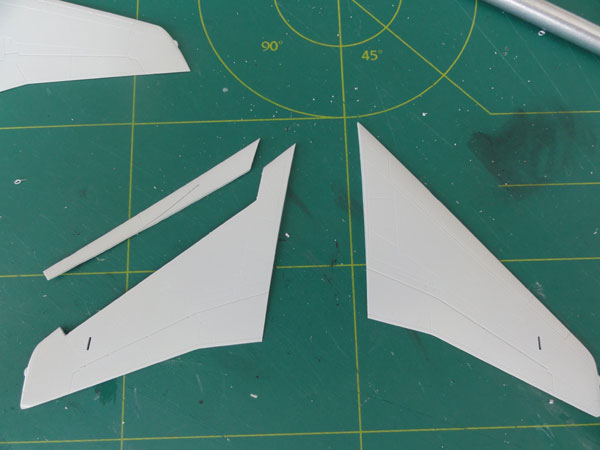
- the slats were now separated from the
wing halves as slats are often drooped down on parked Super Sabres. The gaps
on the insides of the wing below the slats were closed with plastic card
and white glue. This is not a lot of work.
The cockpit could also benefit from
some extra details from small pieces of card and some rod. This will be
done later. For now the cockpit interior was simply painted medium grey
(about FS36321).
 ..
..
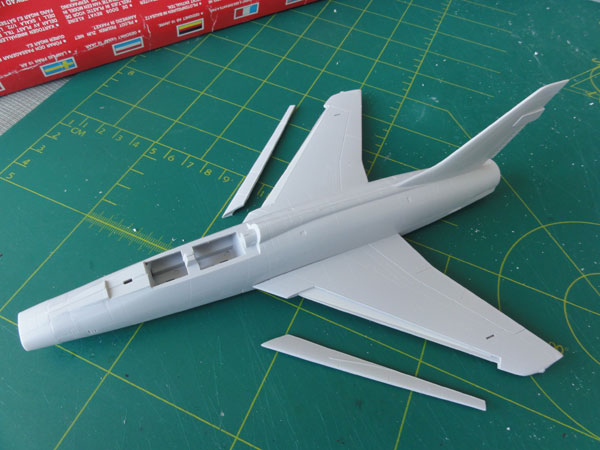
Hardly any filler was needed, so
quickly a grey primer coat was set on with the airbrush.
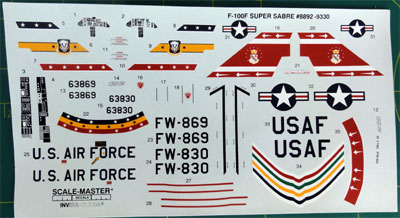
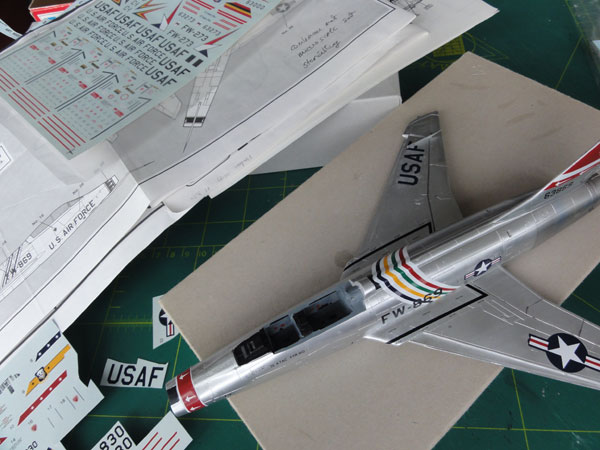
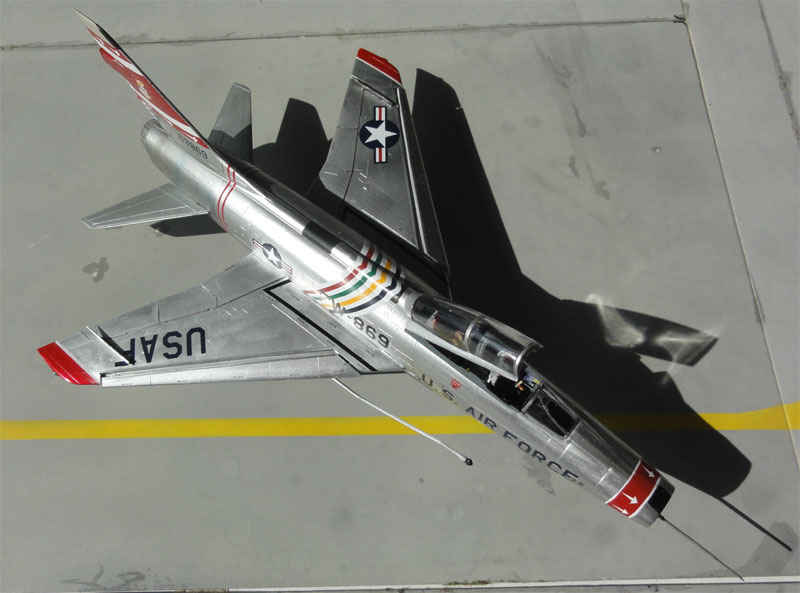
The AMT kit scheme with decals for
the 353 TFS of the USAF 354 TFW is
very nice indeed with a metallic look.
As with the ESCI F-100D for the Armee
de l 'Air, the ALCLAD II polished aluminium paints were airbrushed. The
model got the similar treatment (see page 1...).
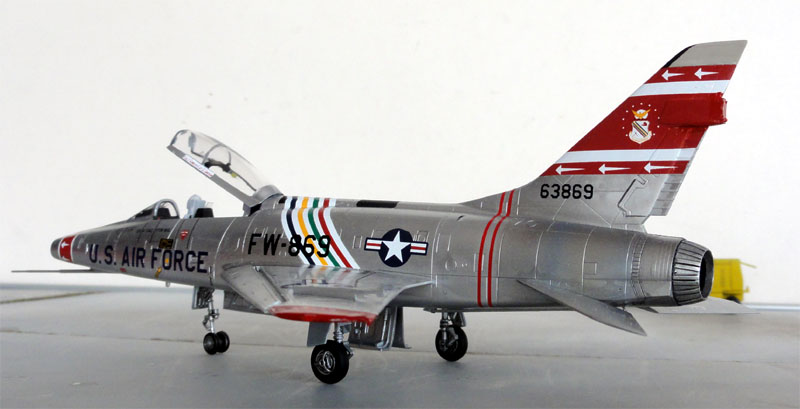
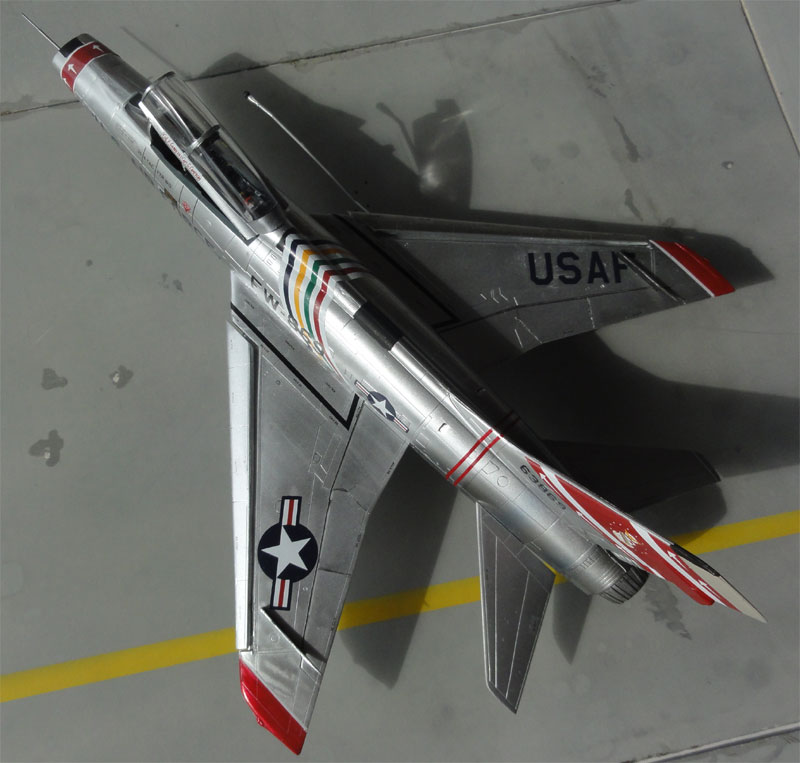
On the internet I found a nice photo that showed that this squadrons' Super Sabres have red wing tips and sometimes red areas on their banana fueltank. This is not shown in the AMT kit drawings. The red areas were later on added through hand painted with a brush. Also, some "no steps" are seen on the trailing edges of the flaps and these were added from a spare MicroScale F-100 set 72-97.
The AMT kit decals were applied. These
look great but are VERY THIN and break up easily, so be carefull.
I did not like the glue on the
decals, so each decal was turned washed with water and a brush to remove the decal
glue. Next, each cleaned up decal was dragged through Johnson
Future/Pledge varnish; this will fix the decal on te model without
air bubbles (so preventing "silvering").
Otherwise, I cut the striping decal
#34 in half and removed 0,3 mm from each halve, it is a but too long. The
red striping decals #19 + 20 on the vertical tail did not fit and
fell apart and brittled. I have to fix this with red paint. The red band
on the nose is a nice decal.
Some smaller NO STEP stencilling
was set on the slats and stabilizers from a MICROSCALE (Superscale) F-100
Set 72-79.
After decals were set, the model was
completed in a similar fashion as the ESCI F-100D (see
page 1) with adding the smaller parts, the slats and getting a protectice
coat of gloss Johnson Future/Kleer. This will protect the decals for years
to come.
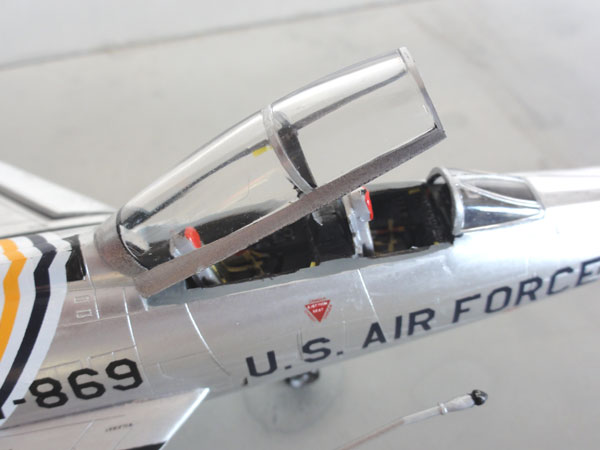
Inside the two seater canopy, a cross bar was made from plastic card as wel as pilot mirrors from thin metal foil. The inner canopy frame was painted black.
NOTE: I later found out that the mid-frame of the long two seat canopy is in the wrong position, it should be sanded off, polished and moved more to the rear! So when you build this kit, do not forget this correction.
 ..
..
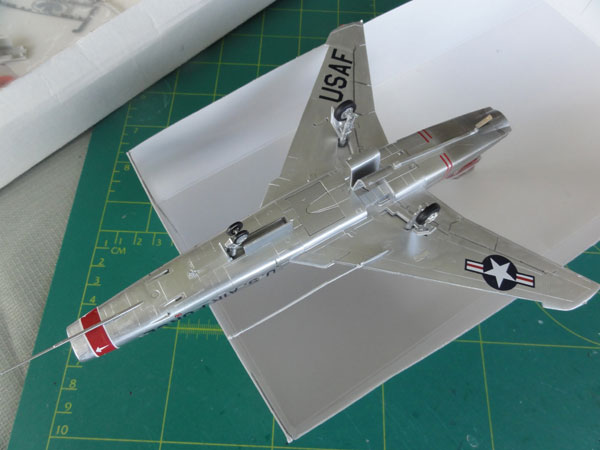
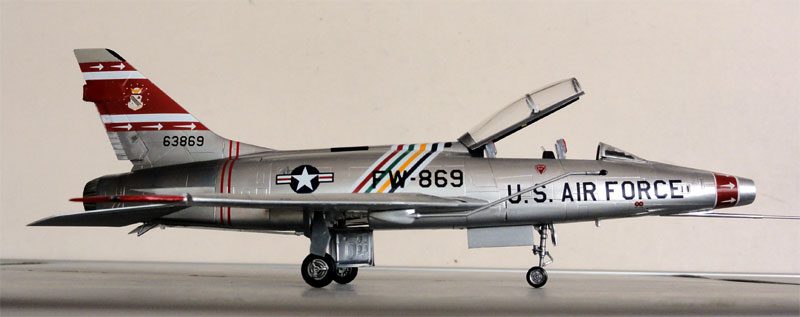
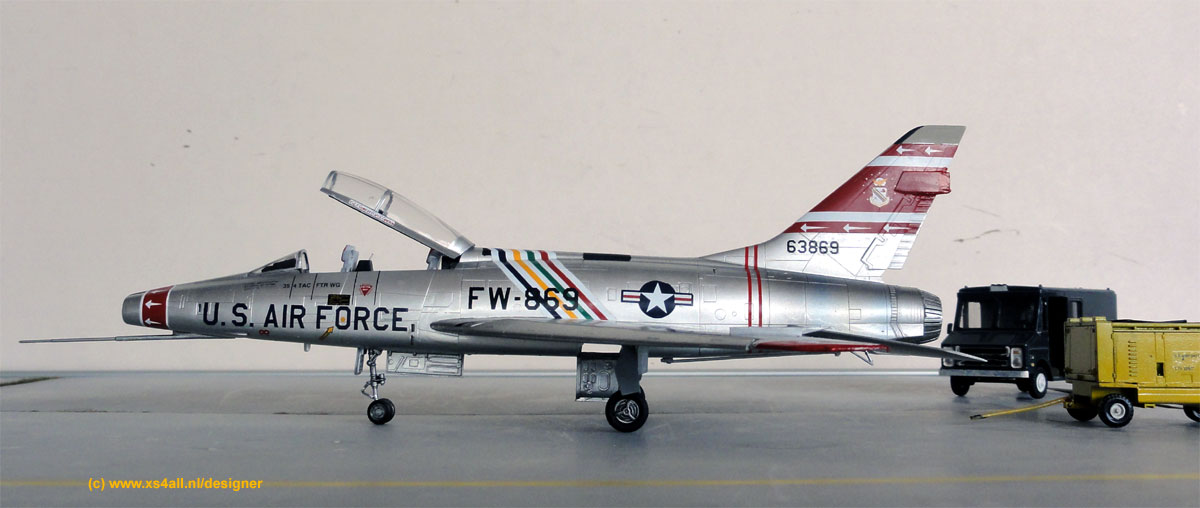
After decals drying for 24 hours, finally the model got a decal protecting coat of Johnson Future/Pledge with the airbrush. No fueltanks were added as this aircraft was assumed to be used for training near the home airbase. And that completed this model...


.. and a scenery
in a landscape..
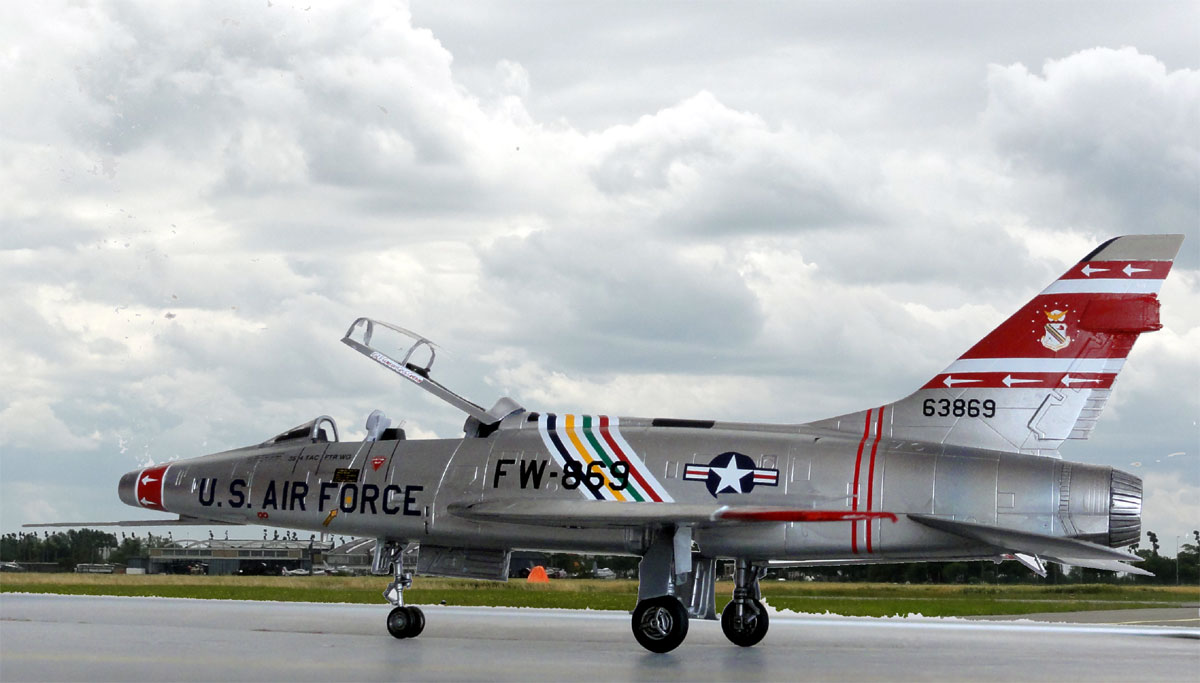
Now this is a nice two seater USAF
F-100F Super Sabre in the Cold War 1/72 model collection.
Next will be the good old Hasegawa kit for a F-100D in a Vietnam scheme....
On to next [ page 3...]
go back to F-100 page 1...
Back to 1/72 Models.......

(c) Copyright Meindert "designer"/ All rights reserved. Your comments are welcomed by webmaster
Created this page
July 4, 2012