[ page 3 ]
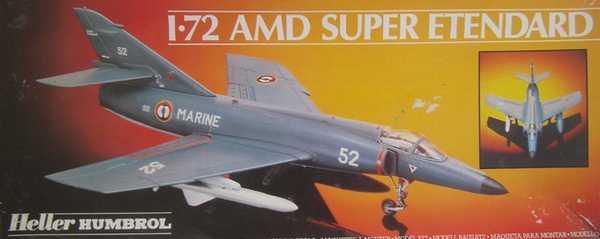
1/72 scale model of the Super Etendard of HELLER
... back to page 2...
Another 1/72 scale kit of the French HELLER was made. An earlier made model was seen at page 1....
The
kit is basic as it was released in 1984. It looks OK and the main
undercarrriage doors are moulded closed which also is possible on a
real Super Etendard.
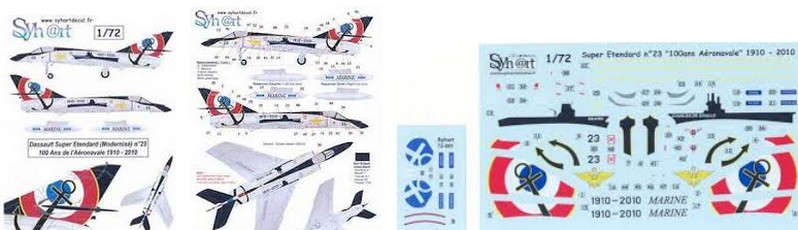
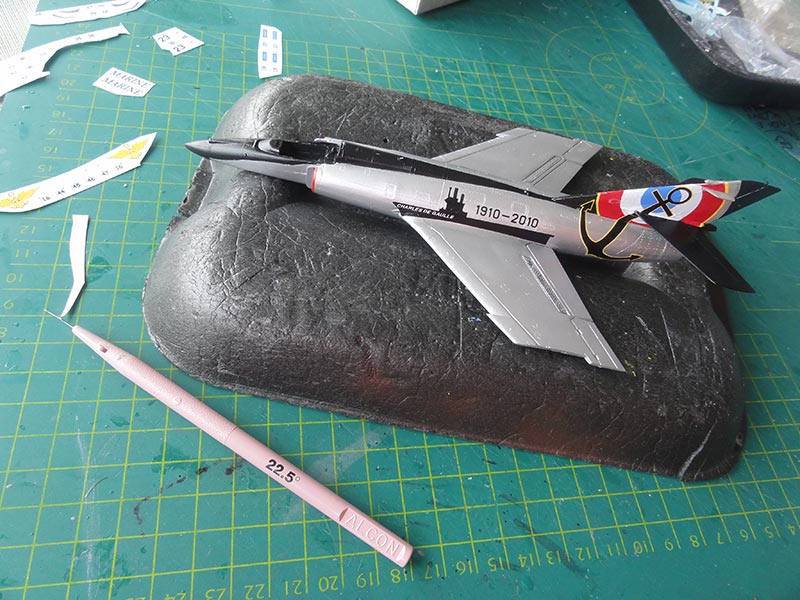
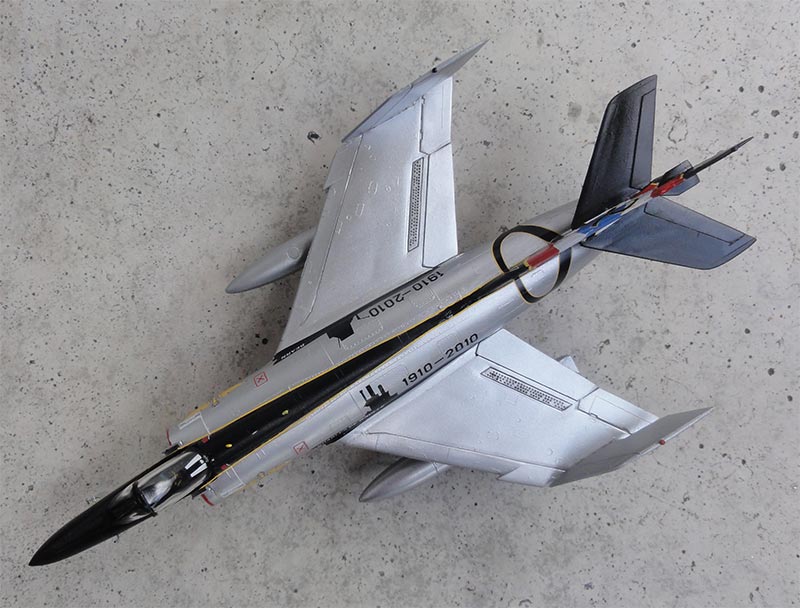
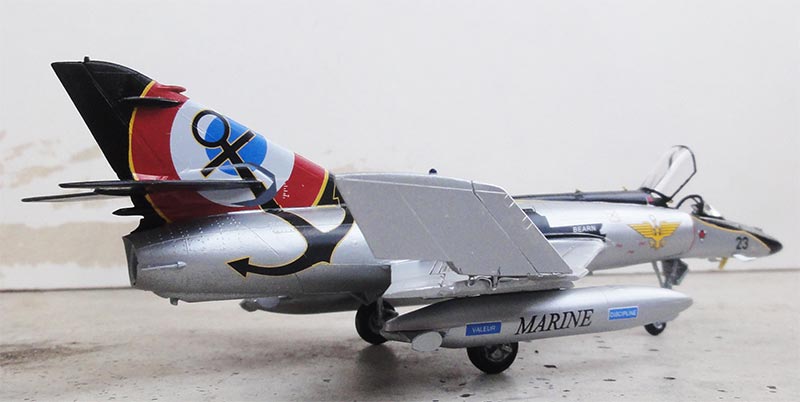
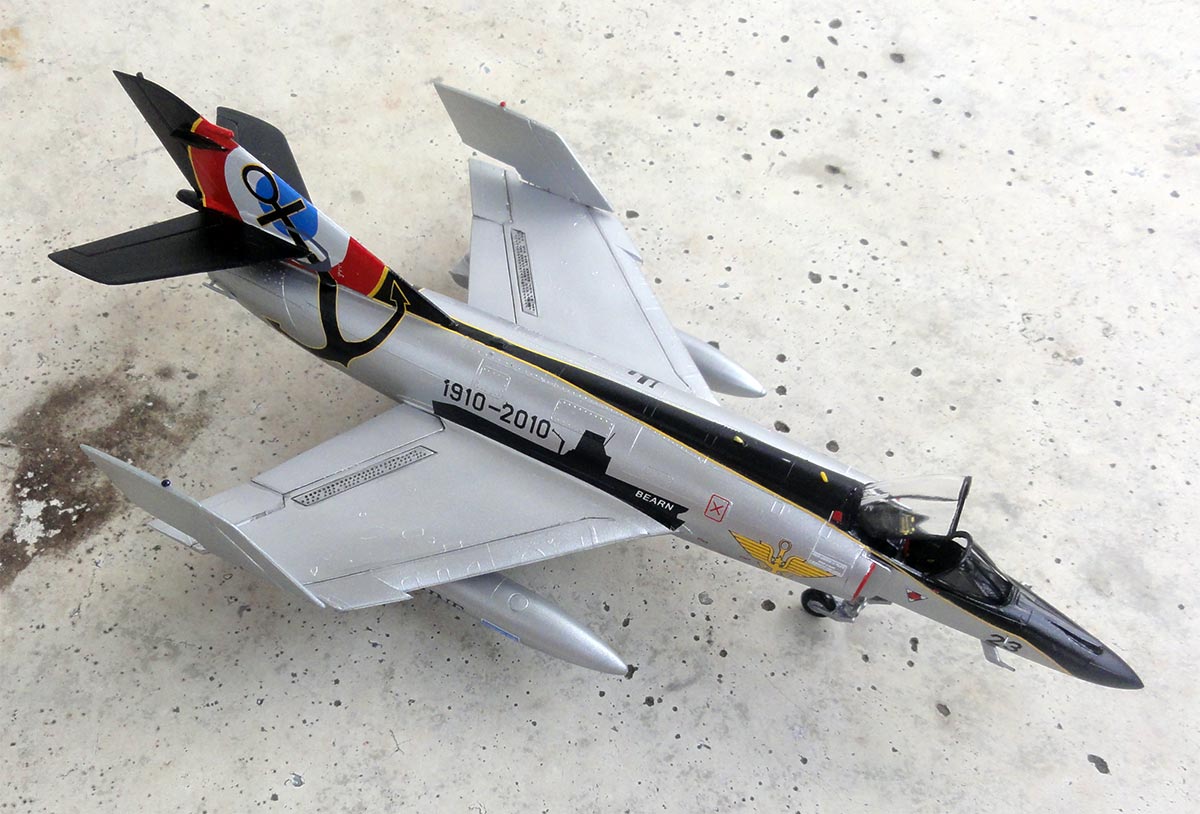
I had acquired a very nice decalset from SYHART #72-061 with a French anniversary scheme of "100 Ans Aeronavale 1910-2010". That looked rather nice.
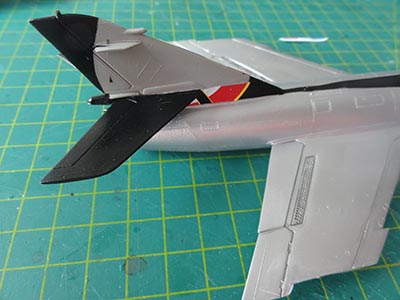
I also opted to set the wing tips up a seen on stored aircraft in carrier hangars. With a TIGER razor saw the tips were cut off. This is a bit complex as it is not a straight cut. The rest of the kit was assembled as per instructions.
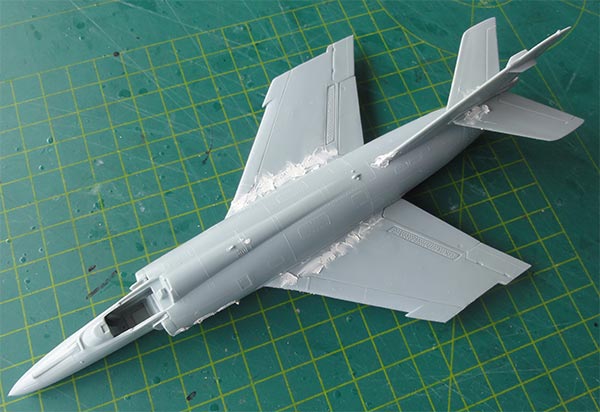
Some putty / filler is needed at the wing root joint and lower sections.
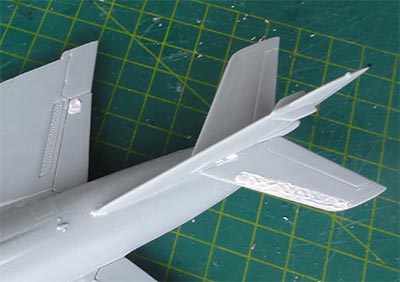
I also saw some sinks marks on the stabilizer. These were filled and sanded when dried.
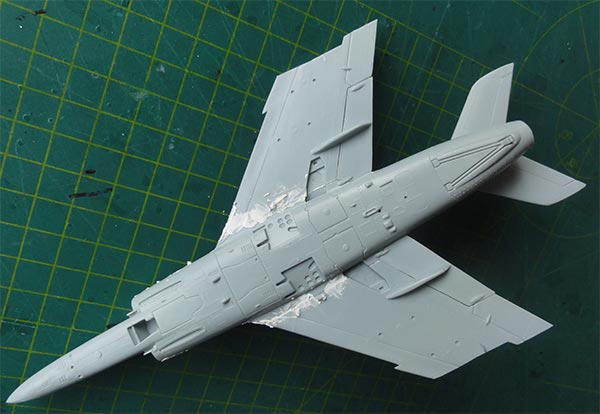
After sanding it turns out that even for such an old kit only very small amounts of putty is needed.
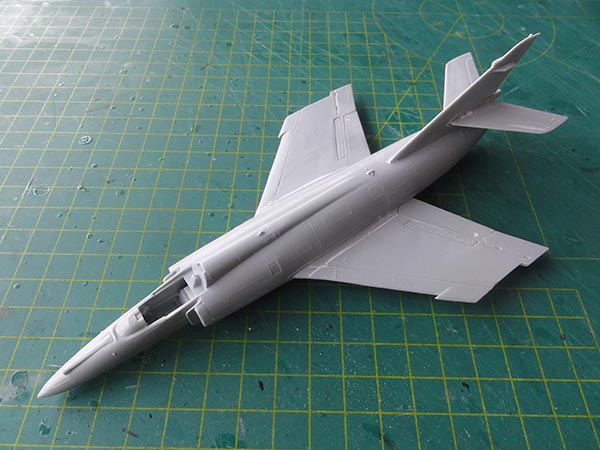
After assembly, a couple of light grey base coats were applied with the airbrush to check for any flaws that needed rework. The cockpit interior was painted very dark grey.
Now the biggest challenge comes: the paint scheme.
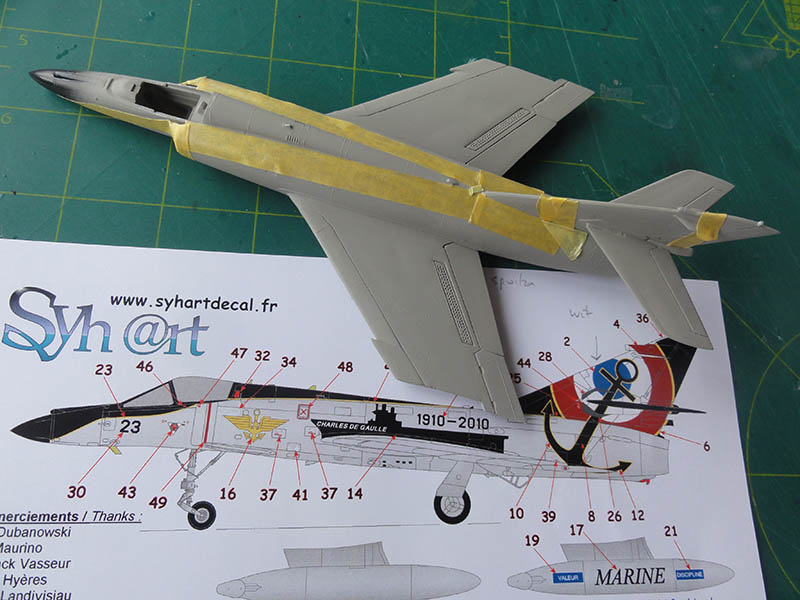
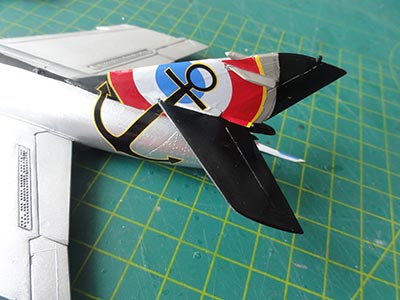
The tail areas that were to have a red-white colour were masked. Next, the black areas were to be airbrushed. I used the decal as a pattern how to mask these with fine Tamiya tape. For the black I than airbrushed Revell aqua 07 acrylic black.
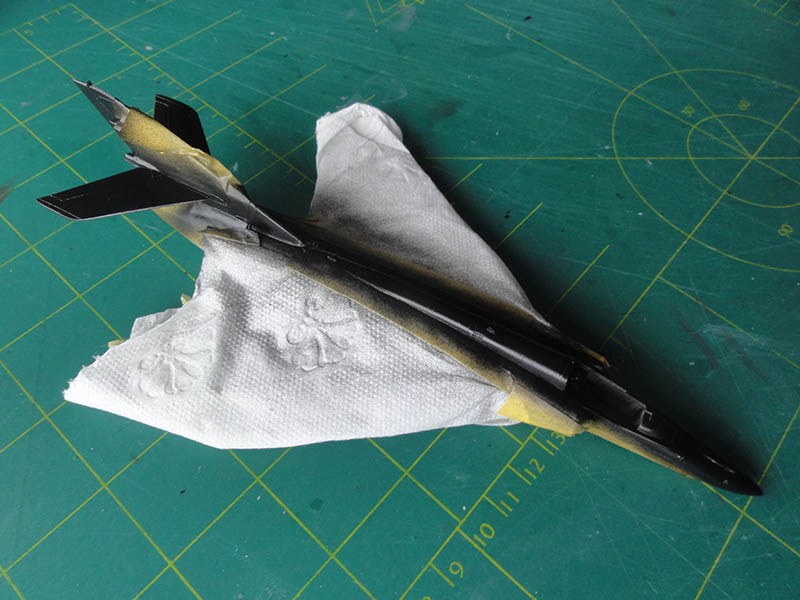
When dried, the black areas were covered. The final colour of this scheme "aluminium" was airbrushed next using Revell aqua 90 "silver" (and not aluminium as the real anniversary Super Etendard looked rather glossy).

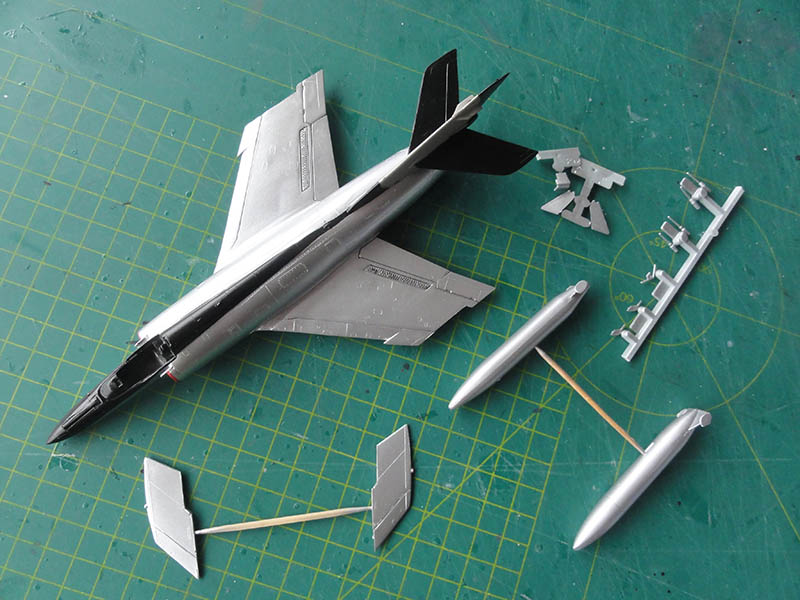
Note that 2 fuel tanks were seen on this aircraft, these were retrieved from the Academy kit (the single one in the Heller kit is different). I also added the end plates from card on the fuel tank fins. The tanks were also airbrushed. A little thinned black wash was added inside the hinge lines of flaps and upper wing speed brakes.
The Syhart decals followed next (no gloss varnish needed first as the paints are glossy to avoid "silvering").
It takes quite some care to apply these excellent decals. The tail was done first, I had to trim a bit the area around the horizontal stabilizers. The decals are very vulnerable and thin so be carefull. The yellow edge lines also were applied as per decal sheet provided. For this apparantly no French roundels were applicable. The large tail decal is better applied in a few sections. I also used decal softener, such as from DACO.
After decalling, some uncovered small areas needed a bit paint of again black, white and red (using Revell aqua 330).
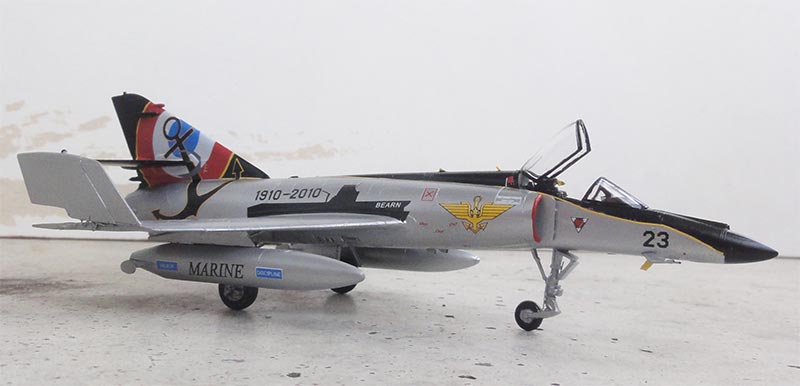
Next followed details like the undercarriage. The gear legs I painted aluminium with also alu wheel hubs. I added from thin metal wire some hydraulic lines on these. At the wing tip hinges a metal bended rod was used to add strength and hinge mechanism detail was added from scrap.
Inside the cockpit on the seat some yellow activation chords from sprue were added. Anti-collision lights and tiny bits like the pitot tubes were painted. The 2 fuel tanks were added on the lower wing pylons. Some small antennes were added from card and painted yellow.A glossy coat of Johnson Future/Pledge varnish followed with the airbrush and the tyres were painted matt varnish.
The canopy was set open after a mirror was installed at its inside frame and that completed the model.
SUPER ETENDARD 100 Ans Aeronavale

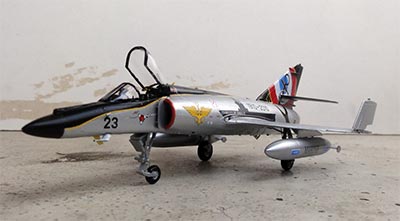
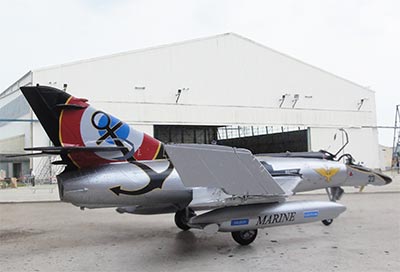
... in a scenery...

At Landivisiau base.
A very smart looking model.
Back to 1/72 Models.......

(c) Copyright "designer"/ All rights reserved. Your comments are welcomed by webmaster
Created this page
July 8, 2018