MACH2
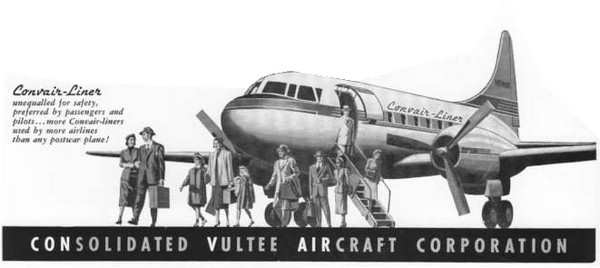
The American Convair company developed after the Second World War a family of piston engined airliners as replacement of the famous Douglas DC-3, starting with model 240 for about 40 passengers and Pratt and Whitney R-2800 Double Wasp engines. First flight was in March 1947. Model 340 got a longer fuselage with 4 extra passenger seats, bigger wing span and more powerful engines. The Model 440 was a 340 but with better soundproofing, streamlined nacelles and could be fitted with different longer nose with weather radar. Optional was a cabin version that could carry 52 passengers with smaller luggage area and extra cabin windows.
The type was also produced for military roles and designated USAF C-131 Samaritan a T-29 trainer.
Some 1,086 aircraft were manufactured (including 10 by Canadair as CC-109 Cosmopolitan). Over 75 airlines operated the type all over the World as well as some 10 air forces.
Data Model 440:
2x Pratt and Whitney R-2800 Double Wasp of about 2500hp
Wing span: 32,12 m
Length: Model 440 usually 24,84 m (Model 340: 24,13 m)
Cruising speed: 465 km/hr
Range with max.payload about 750 km
Empty weight: 15100 kg
Max. takeoff weight: 22500 kg
![]()
There were a few 1/72 Convair airliner kits such as the Execuform vacuform and the rare Proteus resin kit. But in 2013 MACH2 from France came with an injection moulded short run kit in 1/72. This kit has appeared in a few different releases over the years but the box content look to be the same but with different decals.
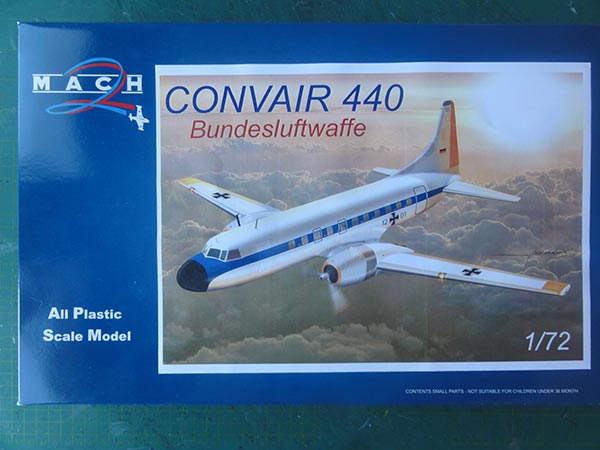
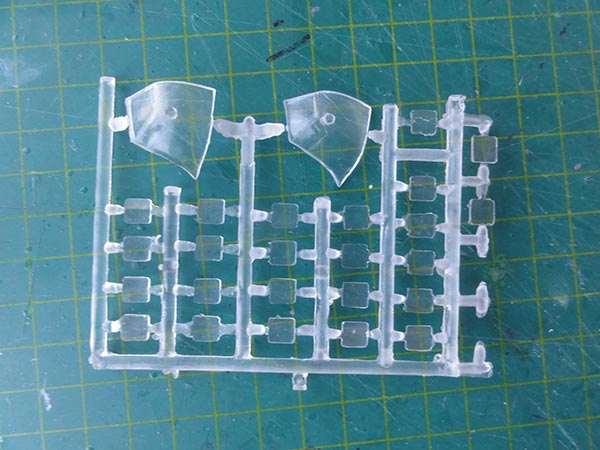
MACH2 kit GP.053 is for a Convair 440 in a West-Germand Bundes Luftwaffe scheme. There are about 60 parts in white plastic and 30 parts in clear. This is really a short short run kit.
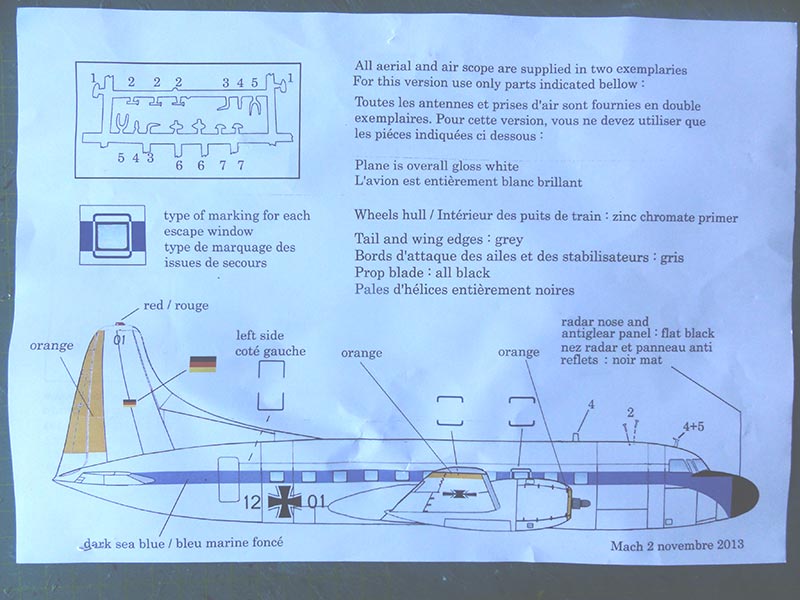
Kit GP.053 has decals for a Bundes Luftwaffe plane 12+01 .
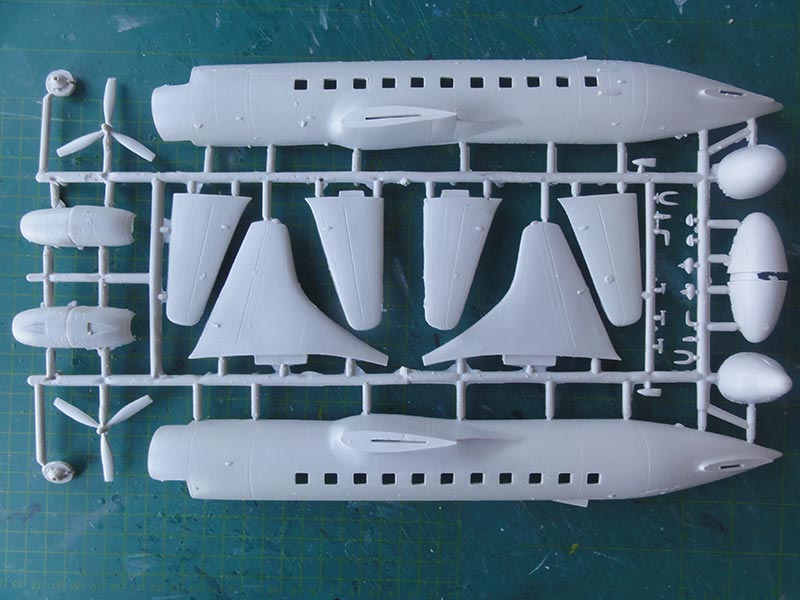
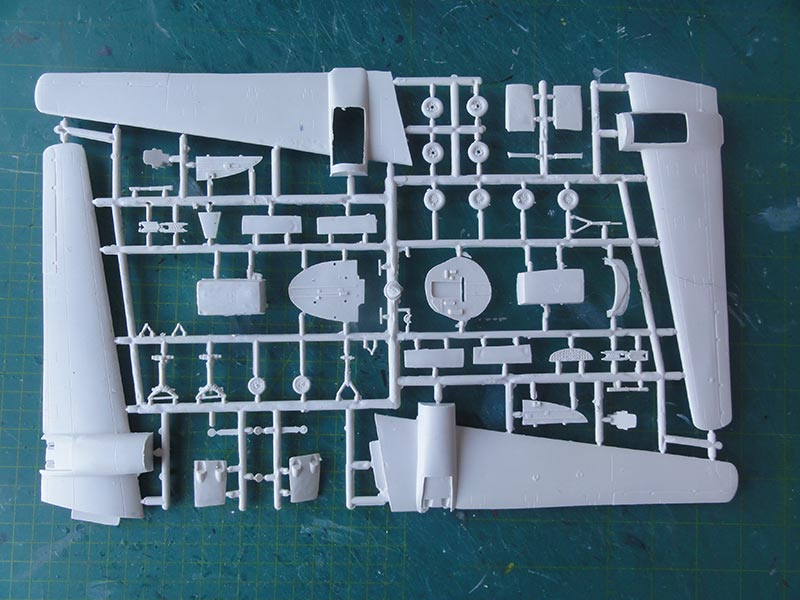
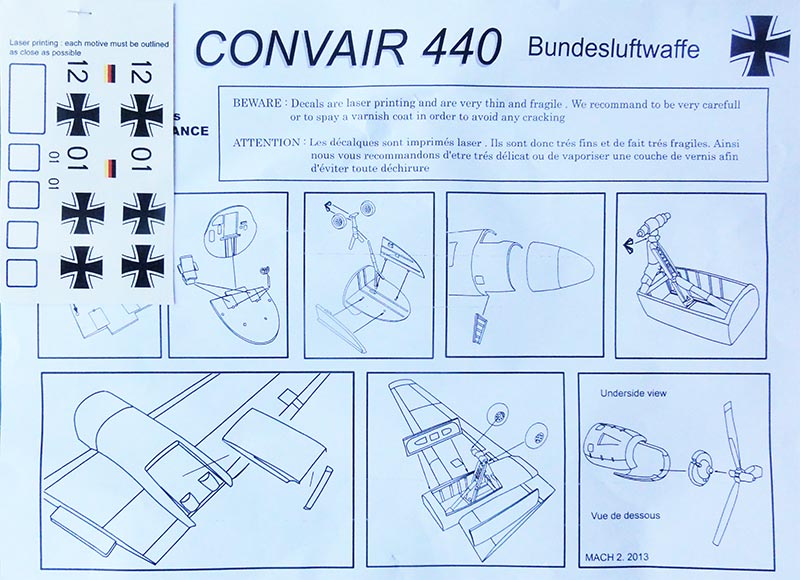
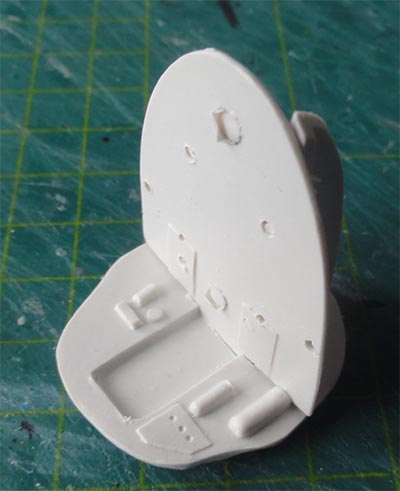
There is a very basic cockpit interior but no cabin interior. All doors are moulded closed. You get a choice for 3 nose shapes with possible a weather radar and training radar. Check photos of what you will need. There are also different antennas though very crude. The wheels are all in 2 halves and rather crude. Look in your spares box for alternative wheels.
I had different MACH2 kits over the years and some had mis-aligned windows and unsymmetric shapes. But this kit is pretty good with only the rear windows being a bit mis-aligned. The many small windows are not very clear but do fit! If you make a model with an airline cheat line, this will all be quite acceptable.
The engines are shown in 2 crude bits with no Double Wasp details. I could not find replacements so the parts will be installed. The propellers look not too bad.
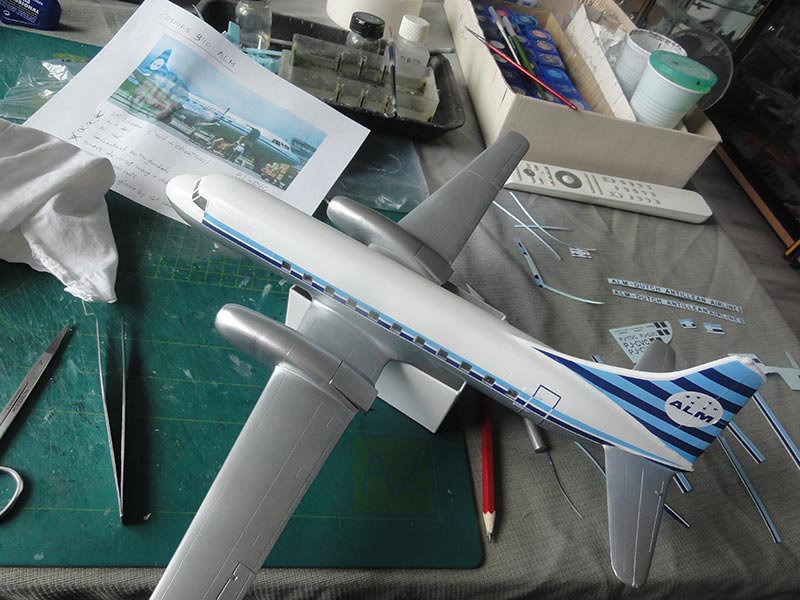
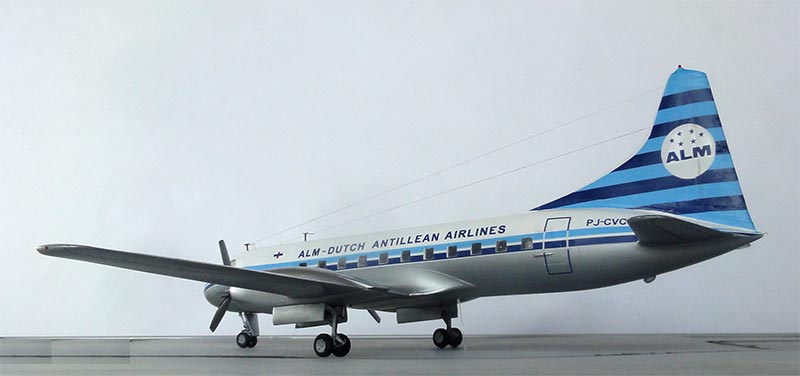
I will make the model as a Convair 340 in a scheme of the Dutch Antilles "Antilliaanse Luchtvaartmaatschappij" (ALM) as flown in the 1970s. The decals for the scheme will be home designed, more about that later on.
![]()
Back to the making the kit.
The
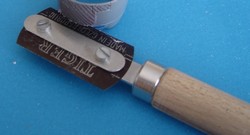
first things to do is to seperate the main parts with a razor saw from
the sprues. All look crude but you will be surprised that after
cleaning up the parts with sandpaper, sanding block and knife, the
parts look not bad. The surfaces of the parts though show dents and scratches
and the injection moulded pips coming through some areas. All need
carefull sanding, some filling and putty. Remove the raised pips on the
part' insides.
It is best to do this as much as possible before starting assembly and to get a more enjoyable start.
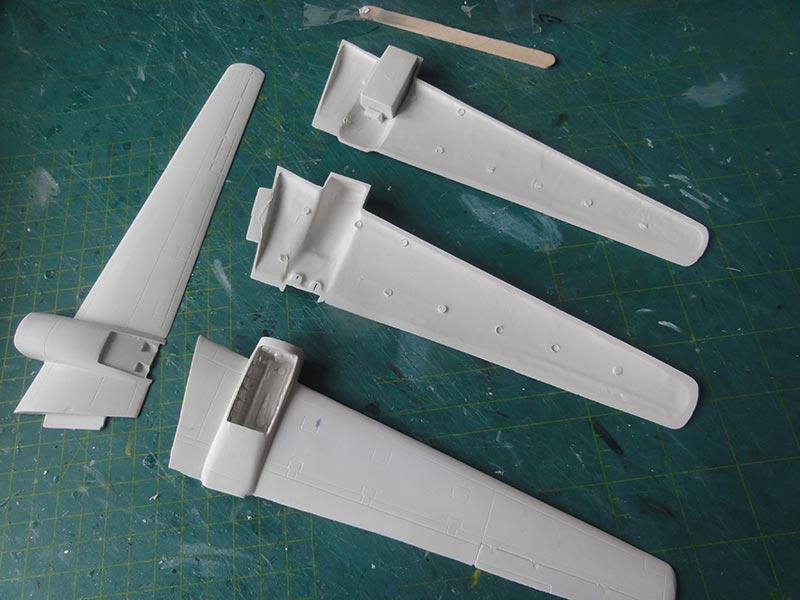
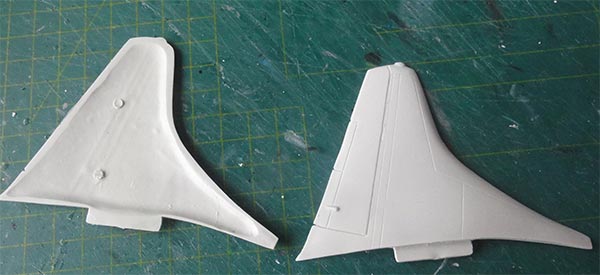
The wing parts, tailplane halves and fin mate quite good, some sanding will give you straight edges. Mating the fuselage gives some gaps but is also acceptable.
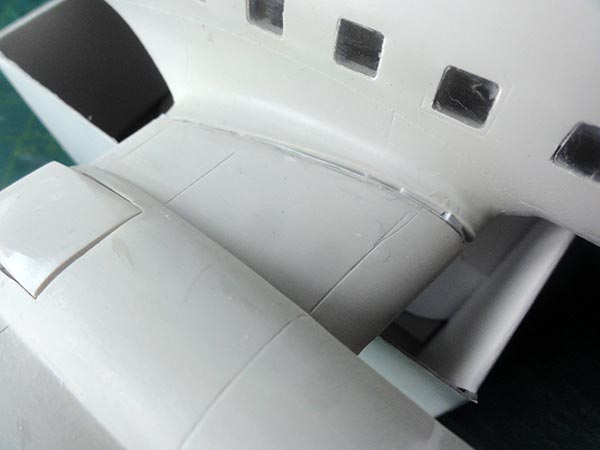
The wing halves were tackled first. It seems that the Convair 340/ 440 has streamlined nacelles. Some putty was needed to fill the mould dents as well as at the traling edges.
There are also what seem to be exhaust nacelle flaps for the Model 340 included, I used the flat parts and will not close the gaps here as these are adjustable.
The fuselage window rows are better tackled before any fuselage closure. Each window needs to be installed, use thin cement/ glue. The windows fit remarkably well. Let dry. When dried sand the outsides' of each window row flat and than polish clear. Note that any paint scheme cheat line over the windows will also help to have the windows look better.
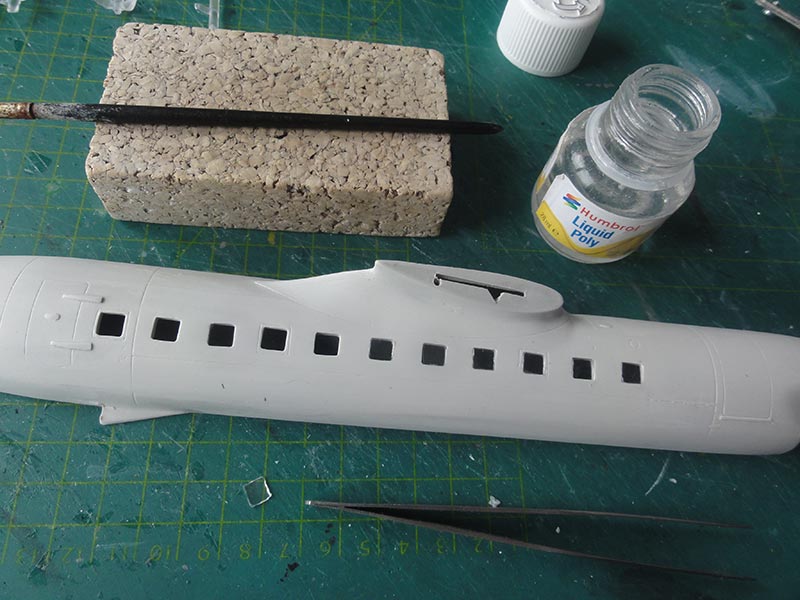
The cockpit is crude but acceptable when closed and painted.
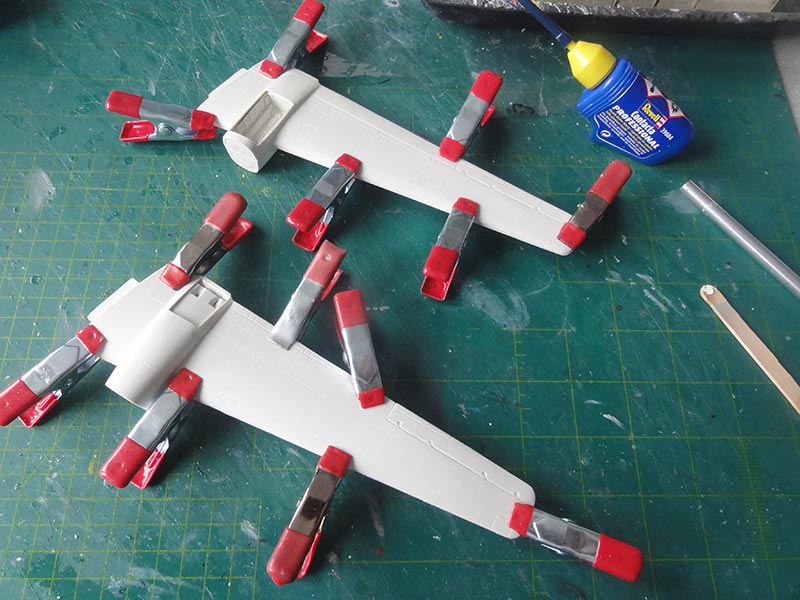
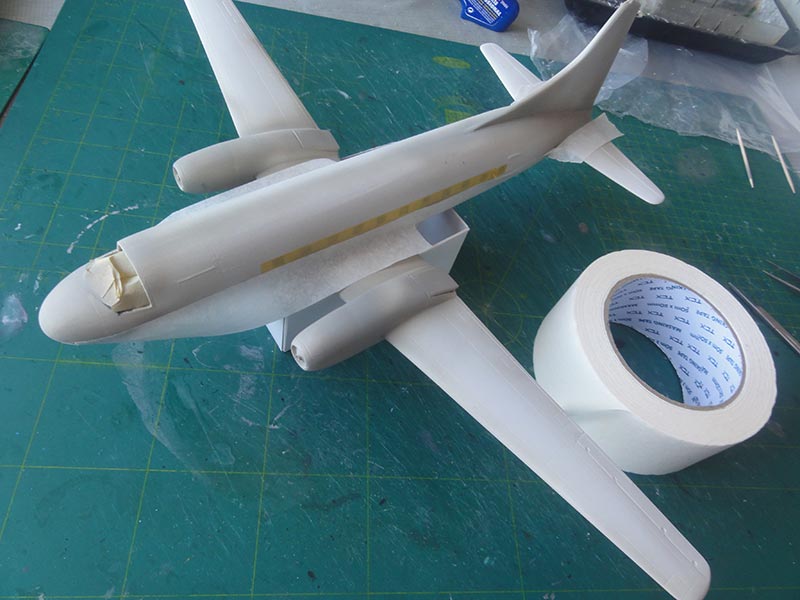
The fuselage halves were joined and needed strips to close the gaps and putty to smoothen things up. The vertical tail was also installed as it needed closing up the joints.
Fitting the wing halves was now done. For closing up the large gaps, again strip and putty was needed. Ensure a strong joint and the wing has a dihedral so ensure symmetry.
The horizontal stabilizers also needed putty and sanding. They have a horizontal settting.
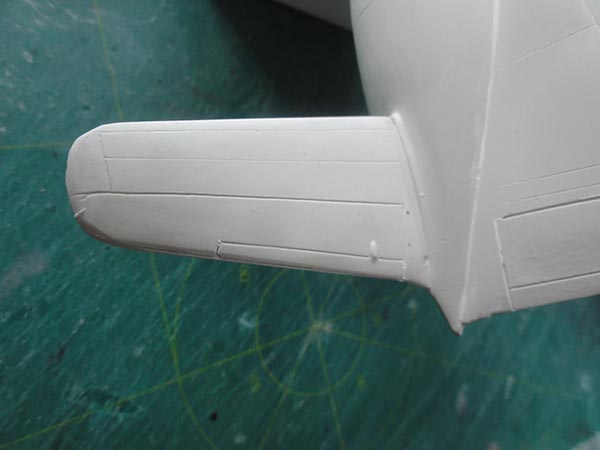

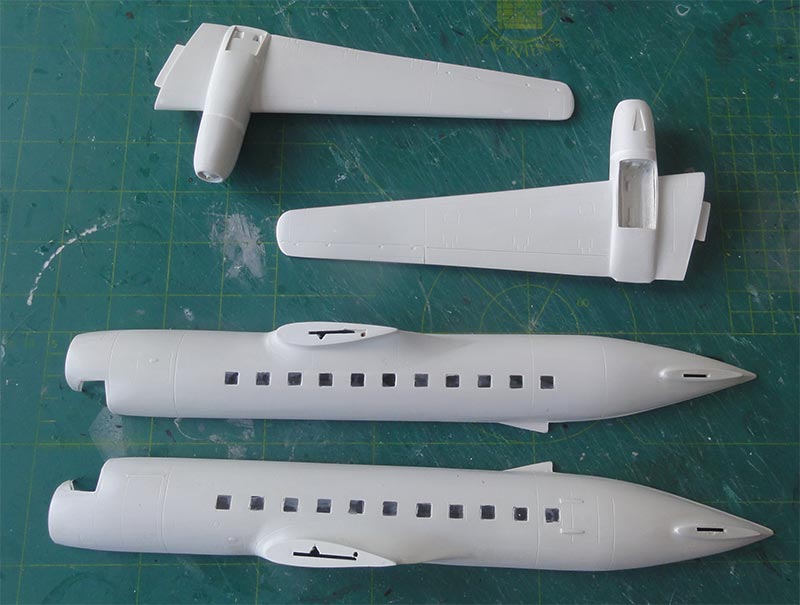
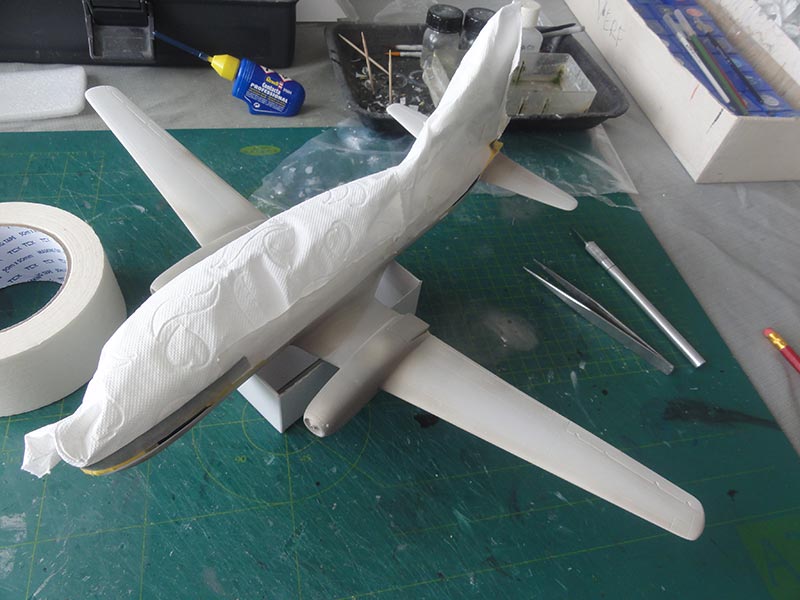
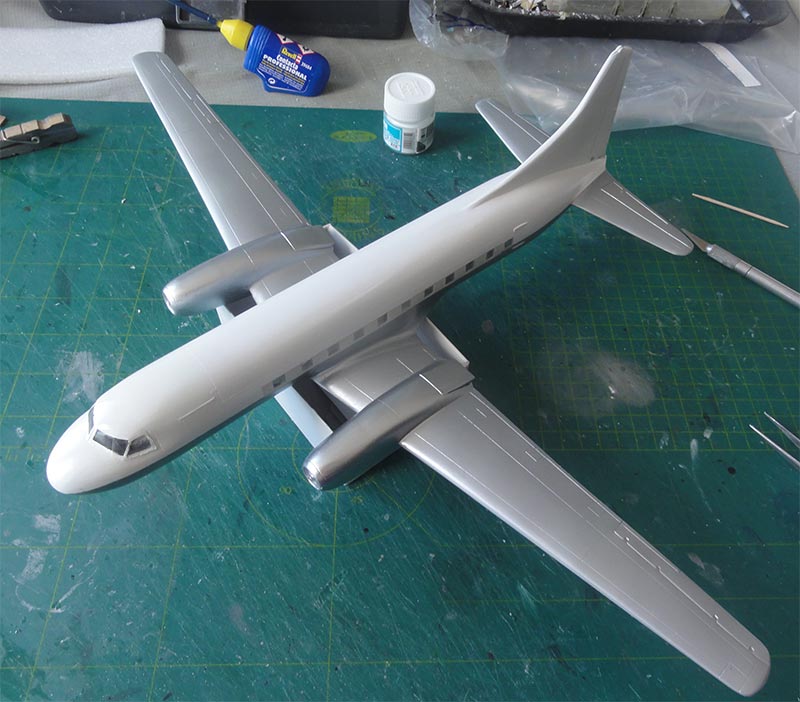
The overall assembled model is seen here. It got a base grey coat by airbrushing my favourite Revell Aqua 75 acryllic "steingrau".

The ALM scheme has a white upper cabin and vertical tail so make sure that surfaces are smooth.
So first a mat white coat with Revell Aqua 05 was airbrushed, followed by Gunze Sangyo H1 gloss white.
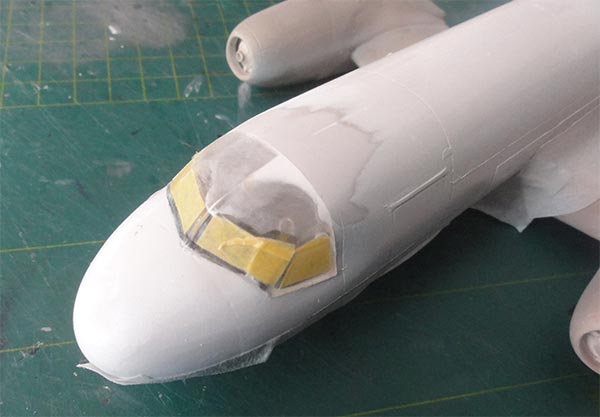
I found that in my kit, two starboard (right) cockpit windows were supplied so the missing port window was missing. A mail to MACH2 setlled this and the missing window was received per post. Great service from MACH2.
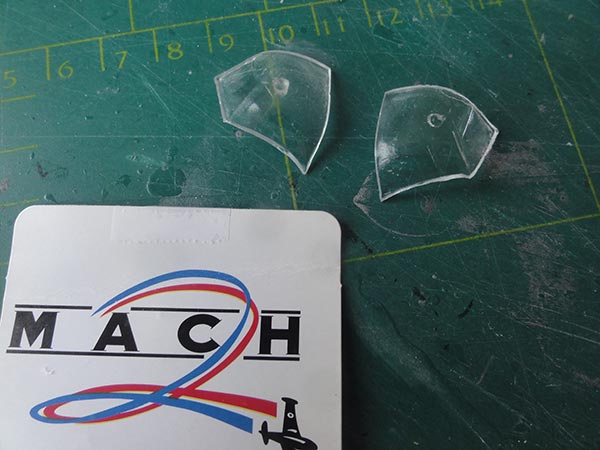
The cockpit was painted light grey with some controls added and cockpit seat cushions blue and with belts. Closing it up with the windows needed some putty and sanding on top to get a smooth result. This also needed again airbrushing in the area.
The other surfaces are aluminium with glossy metal engine nacelles. This really needed a smooth surface. The white upper cabin and tail sections were masked off and for the aluminium Vallejo 77.701 acrylic was airbrushed. The nacelles got a coat with Vallejo Chrome 77.707.
I still found some tiny scratches
that will spoil model appearance. So the surfaces got a few thin coats
of Johnson Future / Pledge acrylic floor varnish airbrushed.
This will fill the tiny scratches.
A good way to thin the Future/ Pledge is with 25% Gunze Sangyo Levelling Thinner. This will give an excellent smooth result. Than followed again a few thin airbrushed coats with Vallejo 77.701 aluminium and all looked much smoother now.
![]()
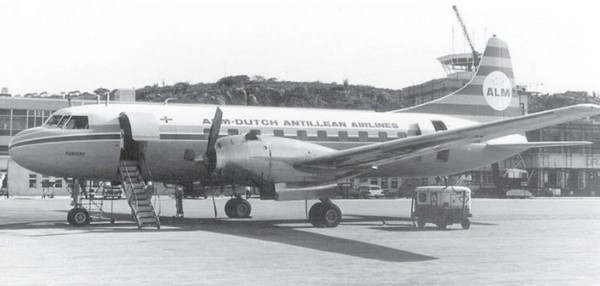
( photo: courtesy Luchtvaartkennis )
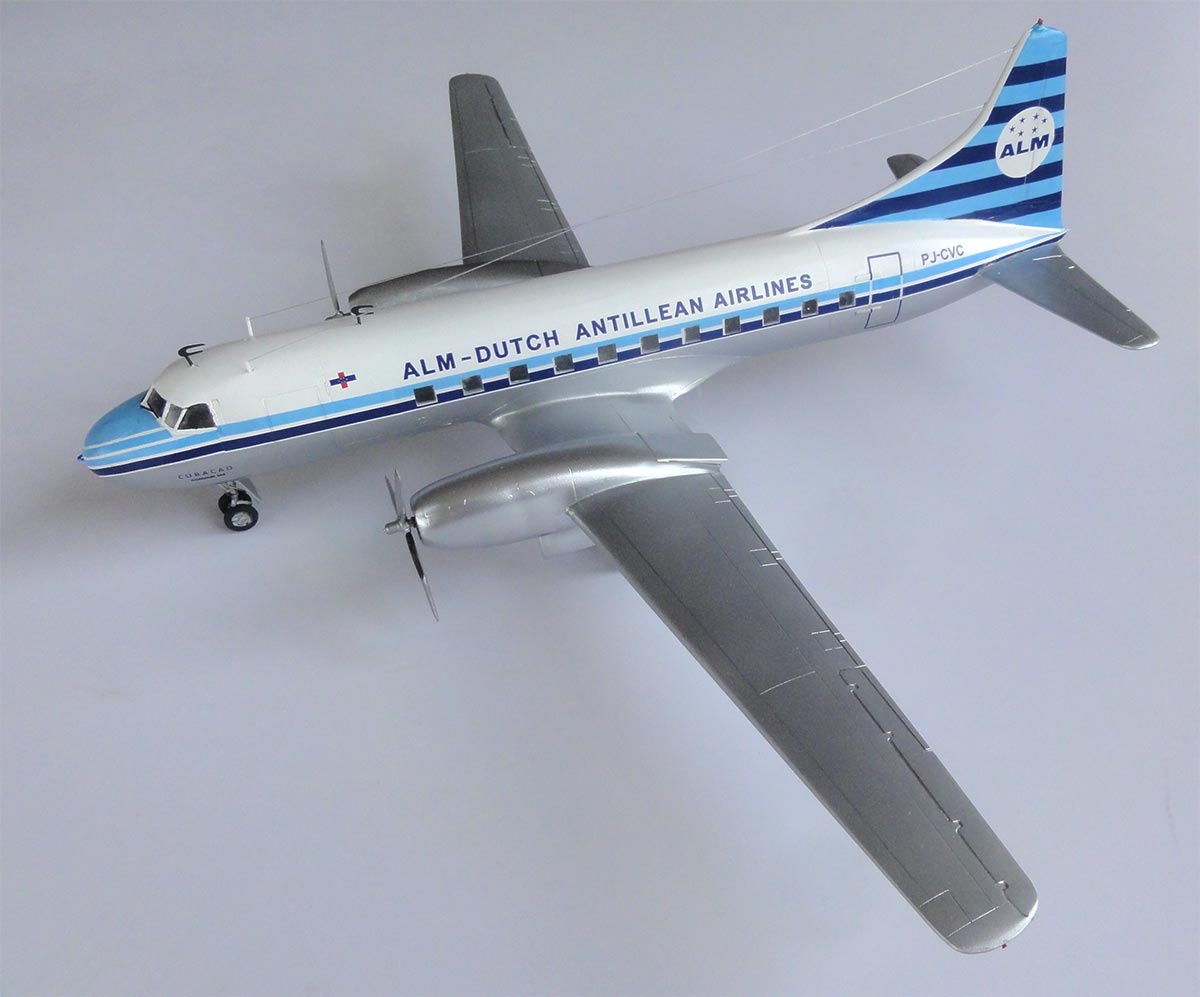
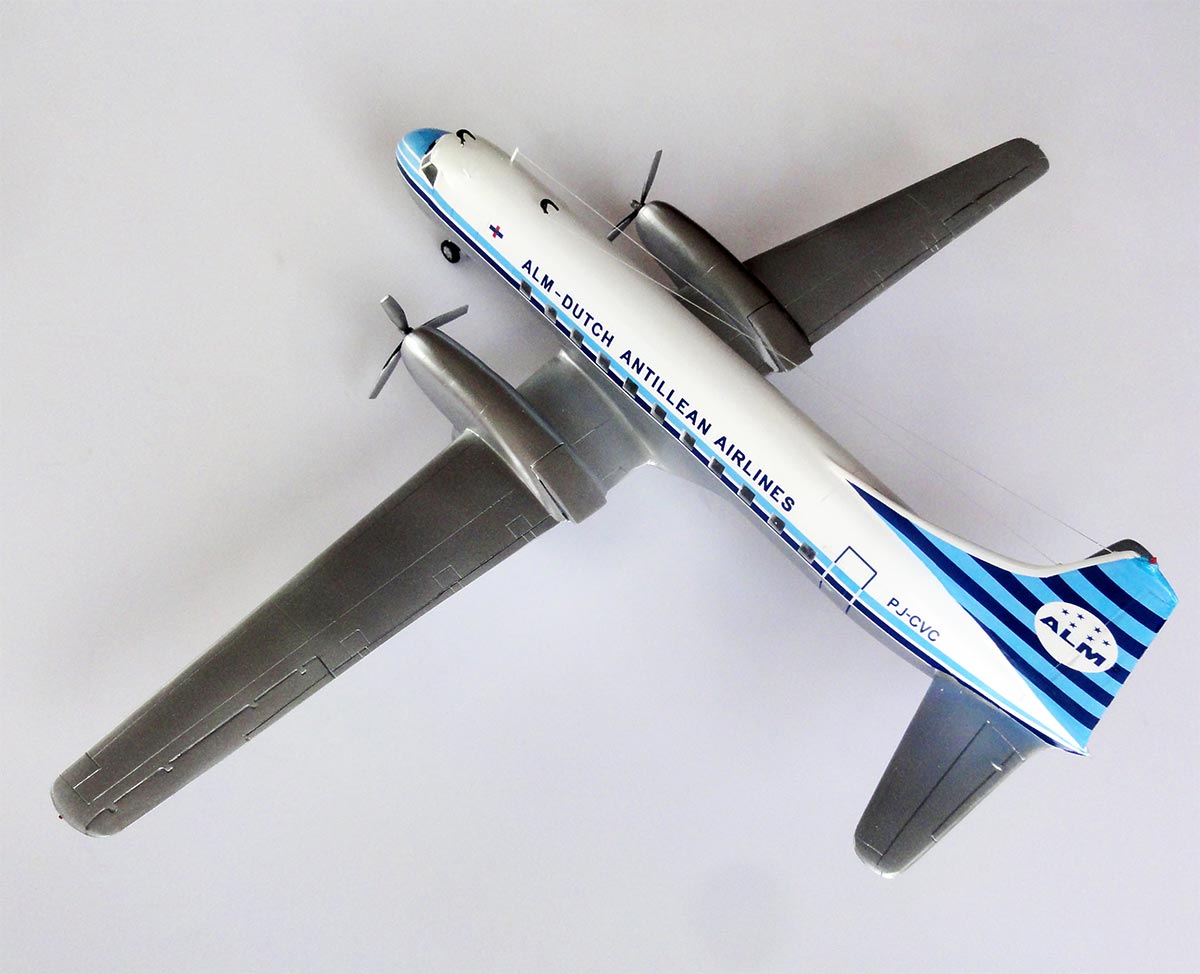
Convair 340 's were flown by the Dutch Antilles "Antilliaanse Luchtvaart Maatschappij" (ALM) in the 1970s. They had registrations PJ-CVA named Aruba, PJ-CVB named Bonaire / Bonairu and PJ-CVC named Curaçao / Corsow. Decals were designed and I made PJ-CVC.
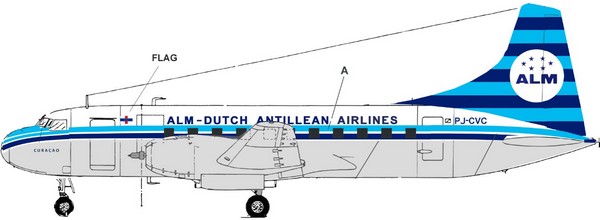
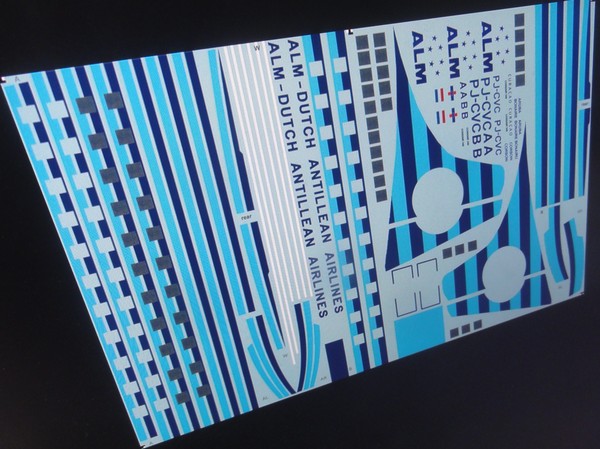
Decal designing was done looking at photos and drawings. I also got information from aviation historian and curator Cedric Bronswinkel of the Aviation museum at Curaçao. The ALM scheme was based on the KLM West Indies division scheme with similar colours. There were 2 schemes with different cheatlines that were designed both as well as the markings for the 3 Convairs. The cheatline cabin window openings were adjusted to fit the MACH2 kit. The decals were custom laser printed and 1 model can be made.
If you are interested in this decals sheet AIPD-16 for your model, look at my decal page here how to get one...
The
decals need cutting out from the continuous decal film, otherwise no
other preparation are needed as they are laser printed and very thin.
Essential is a gloss model surface but the airbrushed paints were
glossy indeed.
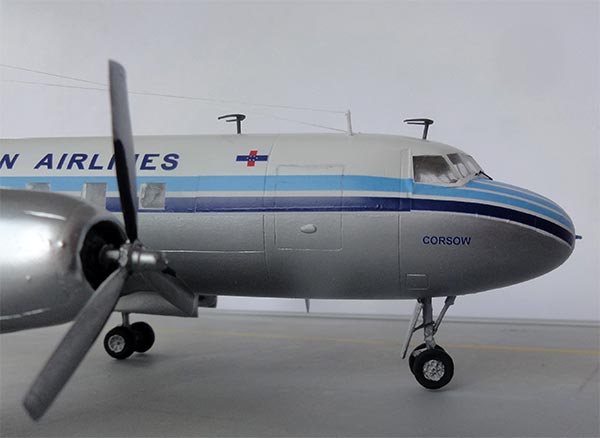
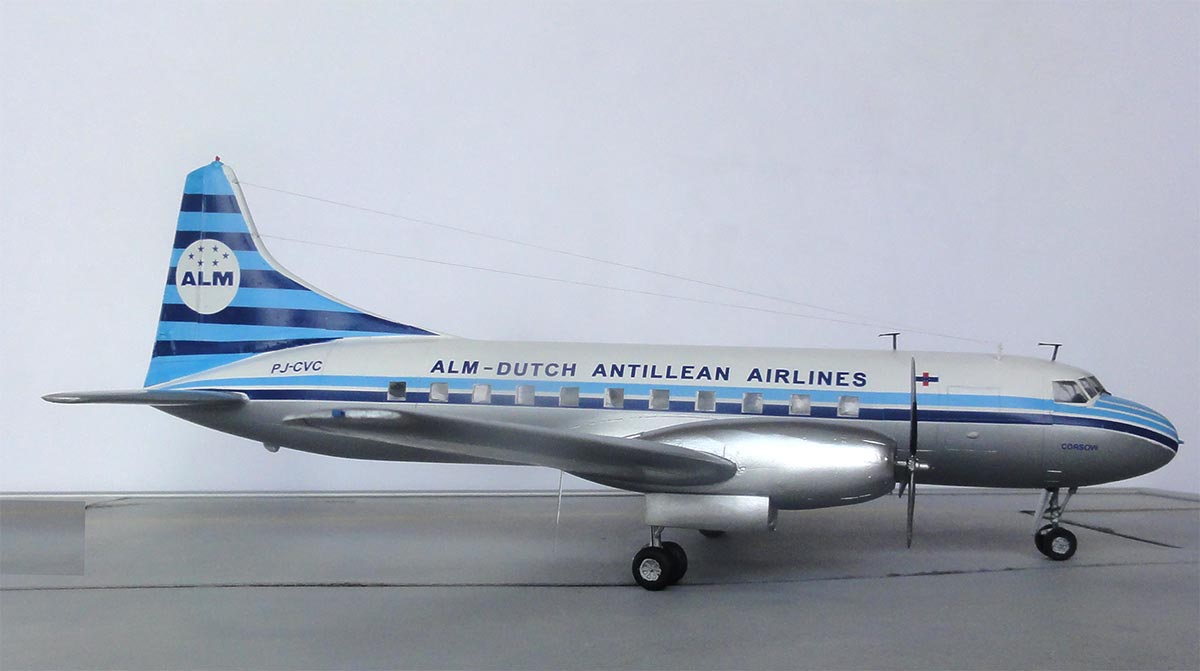
The decals were applied taking a lot of effort at the nose section. Depending on the paint scheme, the anti-glare panel has either a black of blue colour.
Some tail stripe edges on the tail were painted with matching colours Gunze Sangyo dark blue H5 and 323 light blue.
![]()
The Convairs did not seem to have (black edged) pneumatic de-icing. The nacelles insides were painted metal with some black wash to suggest the Double Wasp radial engines.
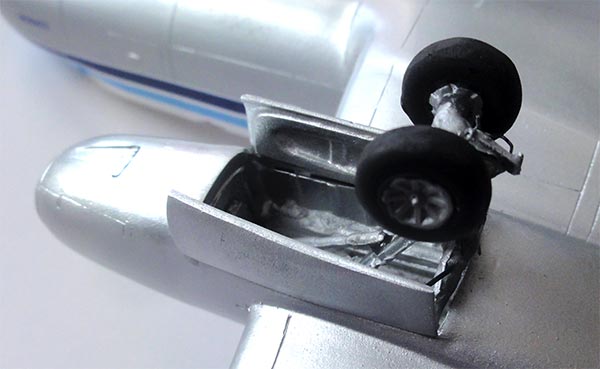
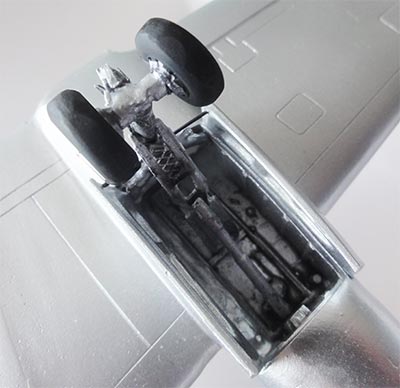
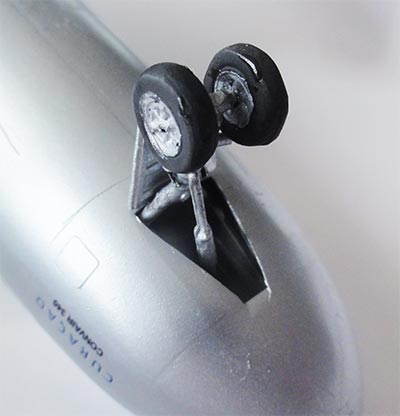
The Menasco landing gear parts in the kit are a bit crude. I found some better main wheels in the spares box and these were airbrushed tyre black with metal hubs. The landing gear struts were also painted metal and the insides' of gear bays have this colour probably as well. I suggested a few hydraulic tubing/ lines from metal wire on the legs and inside the bays though I had no clear photos. On the nose strut a landing light was set and on the nose a small curved handle.
The propellers are metal with black de-icing strips, these were airbrushed and hand painted.
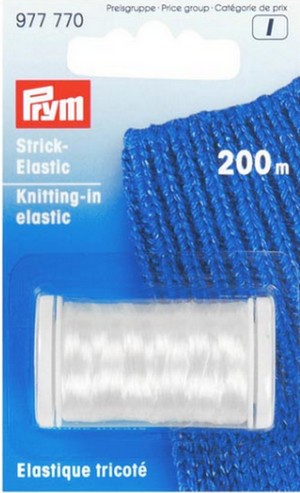
The anti-collision lights on the wing tips were painted red and blue and at the tail end a transparant bit set for the big tail anti-collision light. Some smaller spine antennas from thin card were made as well though these were not that clear on old photos. I used a drawing from the Ginter book. Two long wire antennas were added from flexible elastic PRYM line, fixed with superglue.
The model got a decal protecting coat of gloss varnish with Johnson Future/ Pledge thinned with 25% Gunze Sangyo Levelling Thinner. This protect the decals and also gives a nice sheen. That completed this model.

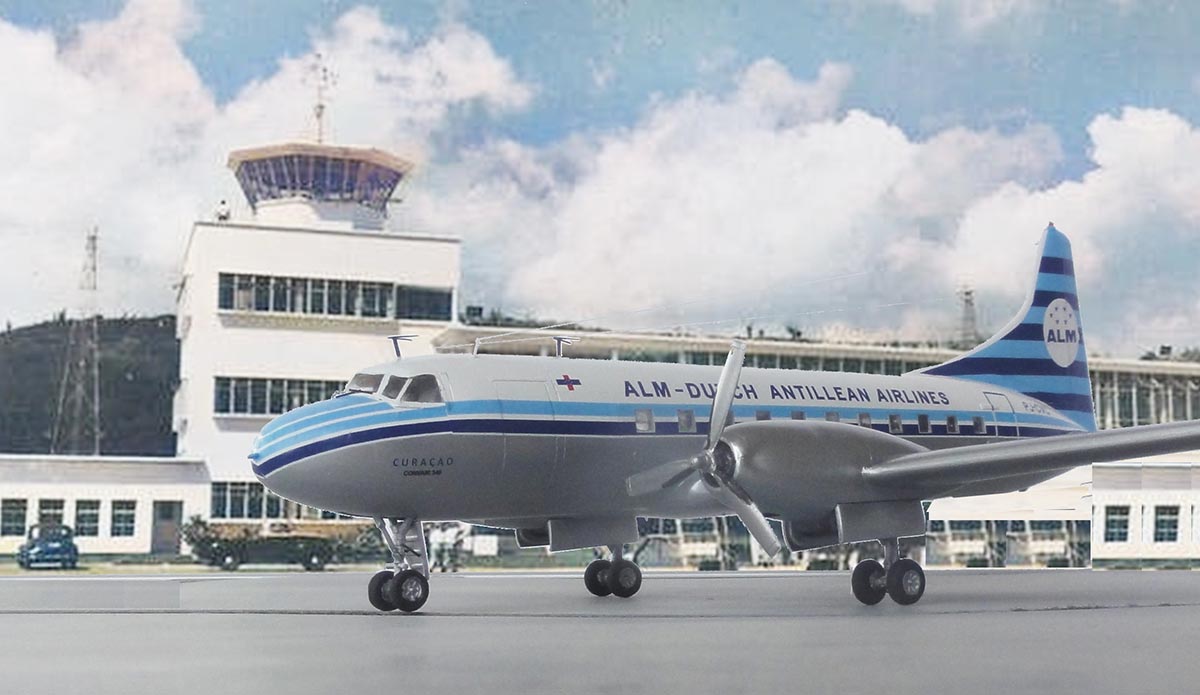
Convair 340, Dutch Antilles "Antilliaanse Luchtvaart Maatschappij" (ALM), PJ-CVC named Curaçao / Corsow, 1970s.
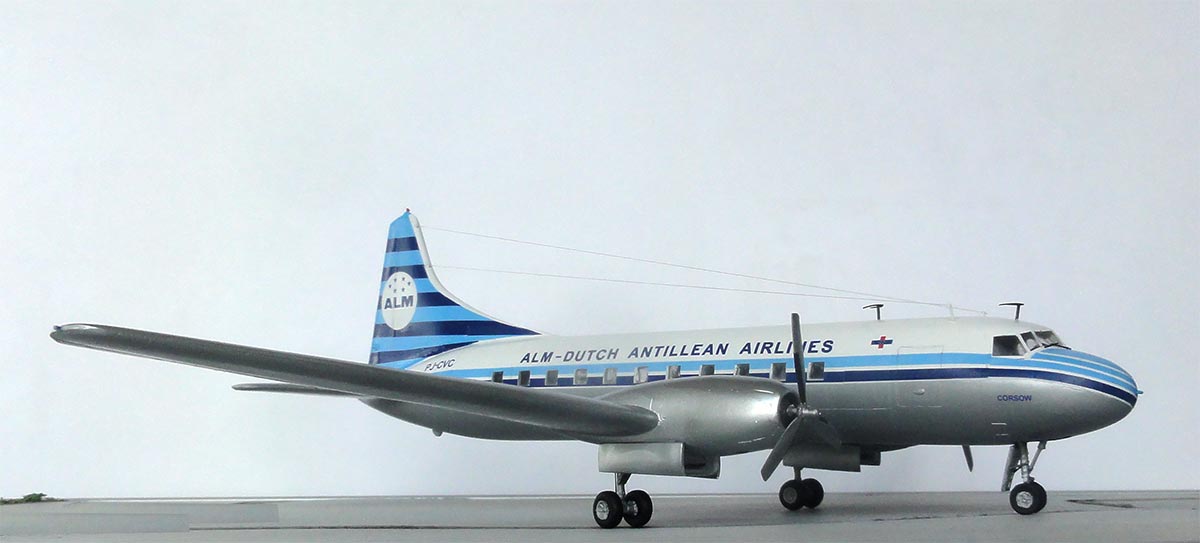
... at Curaçao Hato airport...
References:
Book: Convair C-131 T-29, naval fighters series, Steve Ginter, 1987
Internet:
Wiki Convair 240 airliner family

(c) Copyright Meindert "designer"/ All rights reserved. Your comments are welcomed by webmaster
Created this page October 6, 2023