Amodel
Beech 1900D in 1/72 scale: Amodel kit modelling
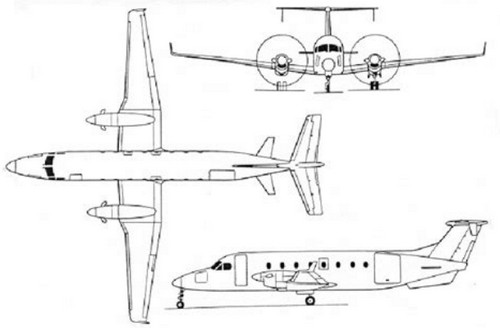
The Beechcraft 1900 was developed as a "very much larger" Beech Super King Air with a cabin for 19 passengers. First flight was in 1982. Some 700 have been manufactured. The 1900D got a heigher raised cabin so you can walk up in the cabin. It also got more powerful PT6A-27D engines with 1279 shp, larger tail and winglets.
External Dimensions: Length 17.62 m and wing span 17,64 m-----------
In a series of short run kits were released by AModel from the Ukraine. The different boxes have with different decals. I bought kit #72317 with decals for a single scheme of MESA Airlines of the USA.

The kit has about 160 parts in 7 sprues and a small etched metal fret.
No parts numbers are shown on the sprues, you will need to locate the parts with the sprue drawings.
There is a nice cockpit interior but no cabin floor. But the doors are moulded closed and with the small windows, no interior details are seen.
The AModel instructions suggest that the cabin windows are to be set from the outsides, I found they are better set from the insides; this means that the I changed the painting sequence and airbrushed first the cabin window rows before closing up the fuselage. This will make masking later much easier. Trimming is needed to install all windows.
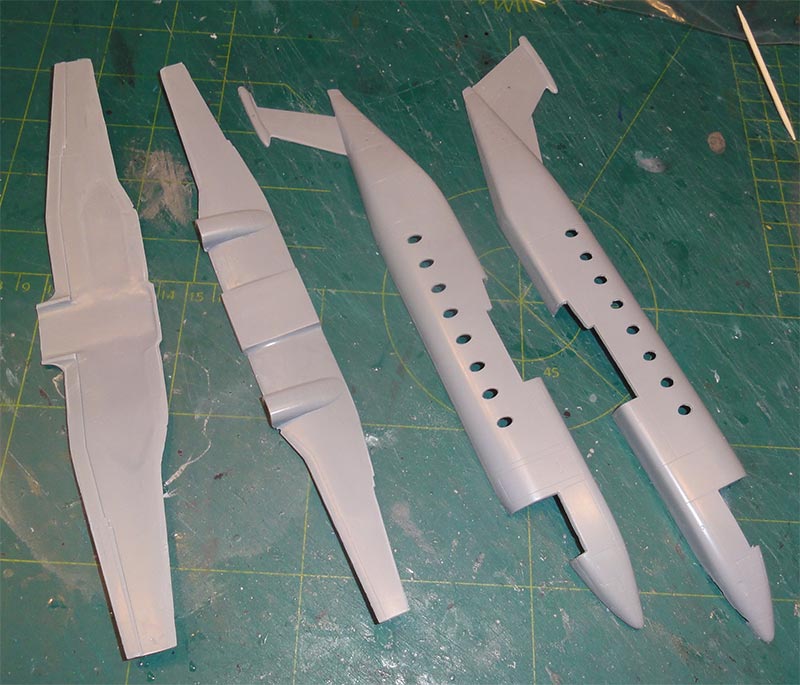

It was decided to make this model in a different scheme: for an EZ Air Beechcraft 1900D as flown in the Dutch Antilles. More about that later on. It has an overall light colour of Fed.Std 35622.
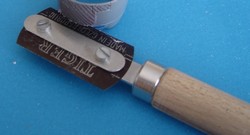
The kit has sprues with thick sprue gates, so remove each part with a razor saw.
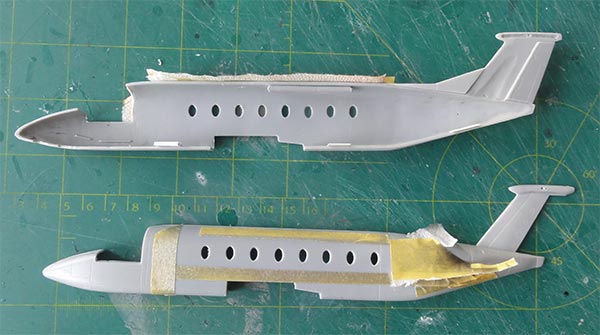
The outsides of the cabin rows of each fuselage half got a base white coat.
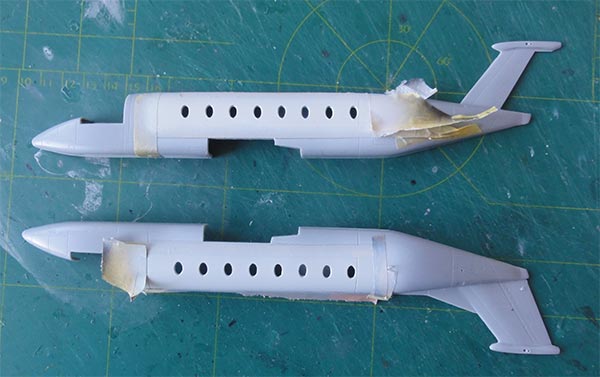
The cockpit parts were assembled and painted light grey. The seats can be detailed later on.
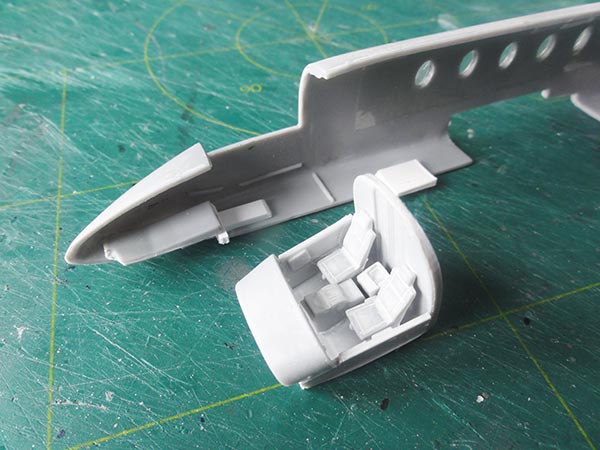
The many cabin windows were set from the inside, some trimming/ sanding is needed. Try to avoid glue spills. Set aside to dry.
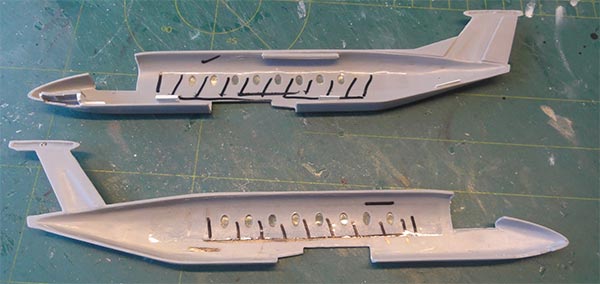
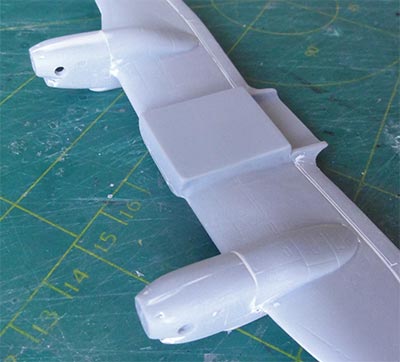
The wing was assembled, it needed a lot of sanding and putty. Also set the nacelles and the winglets. Some sanding was needed at the surfaces insides'
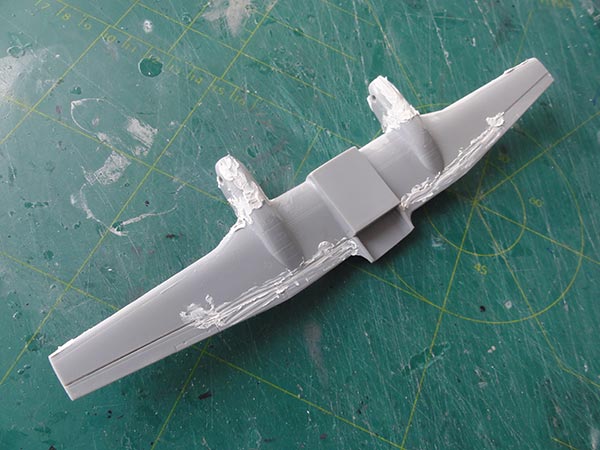

Do not yet fit any detail parts.
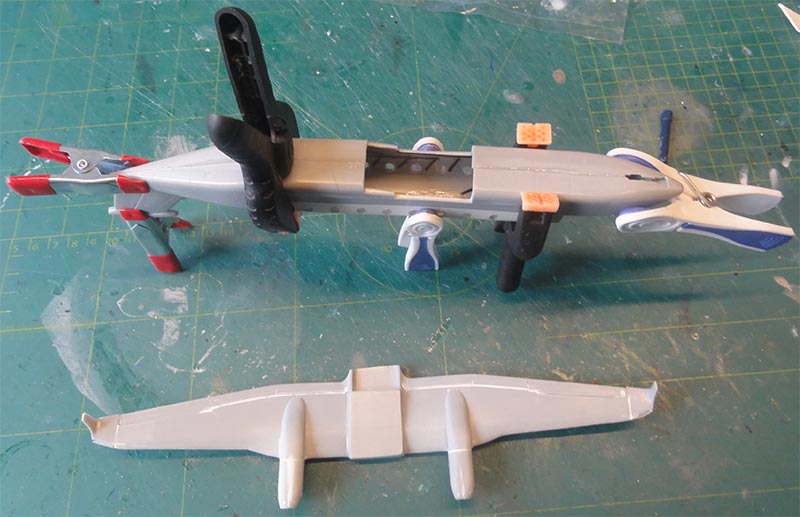
The fuselage was closed up, but add a lot of nose weight to avoid "tail sitting".
The fuselage seams needed putty and sanding, that's usual with airliner kits.
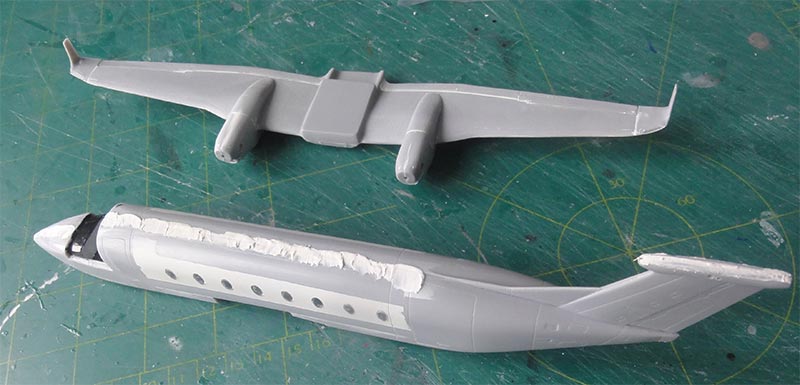
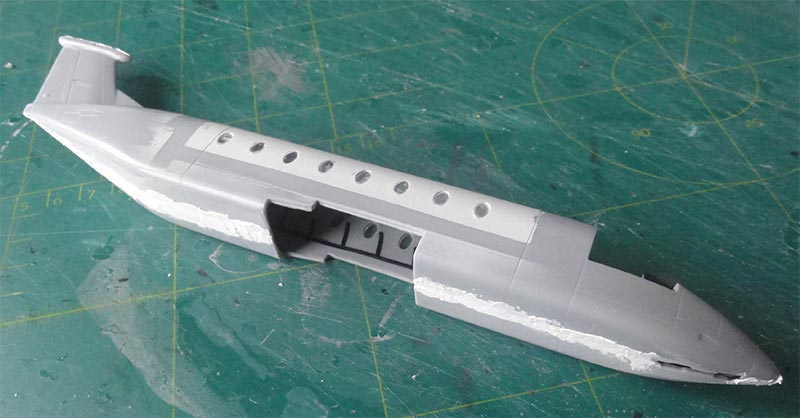
The wing and fuselage assemblies were joined, putty needed at the joints. Inside the cockpit, some painting was done and the pilot seats got straps made from masking tape. Add the instrument decal.
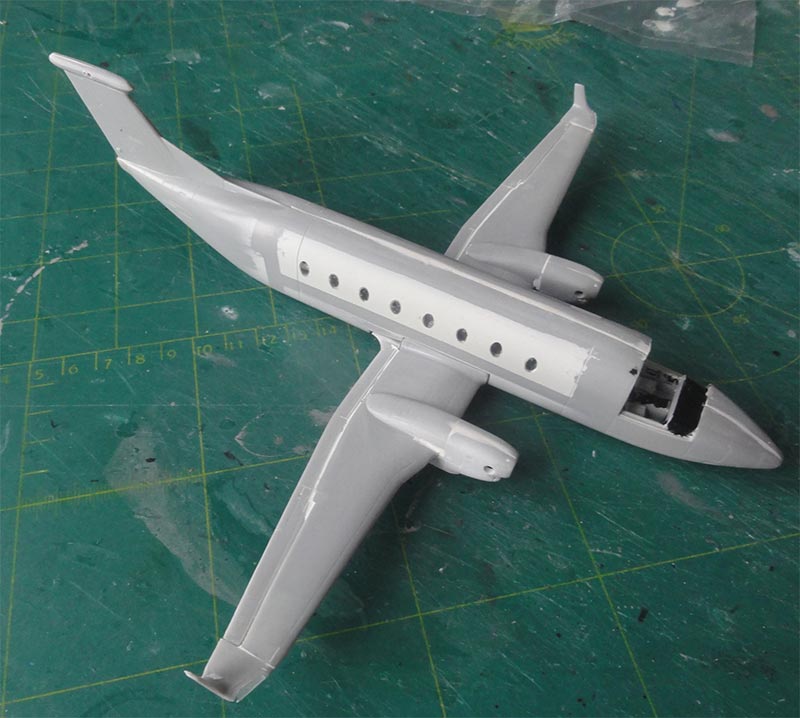
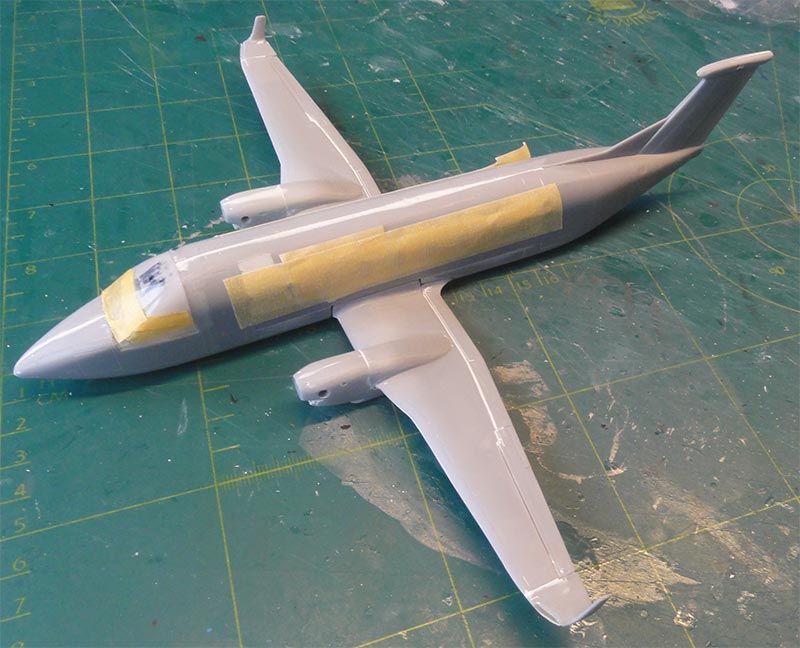
Masking tape protected the windows and rows, the cockpit glass was installed and masked. Putty was needed at the gaps.
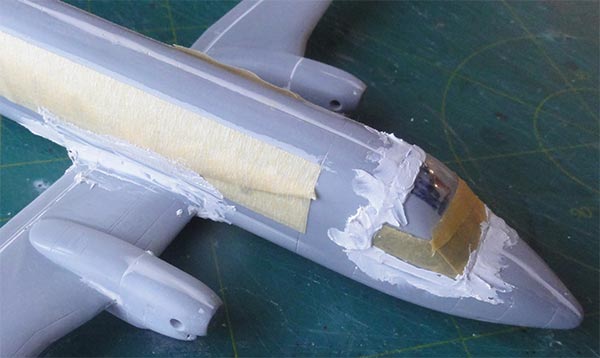
Be careful when sanding the cockpit areas.
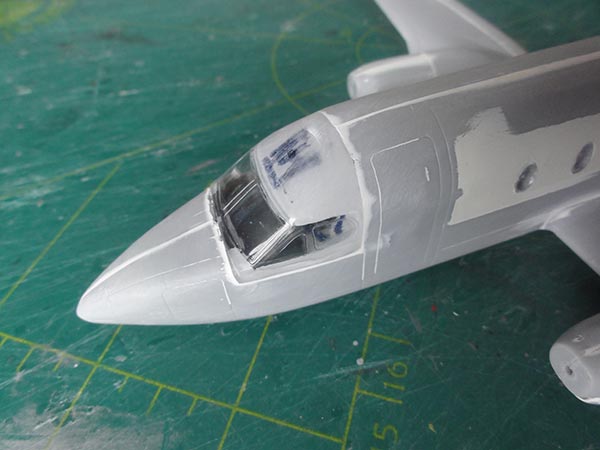
Polishing was done at windows with polishing paste.
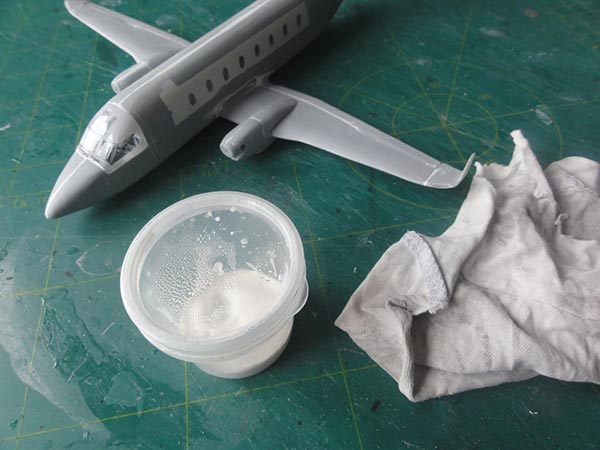
When done, again masking tape was set to protect the windows.
The smaller aerodynamic surfaces were set like T- stabilizer, the strakes #46 and rear fuselage vanes #45.
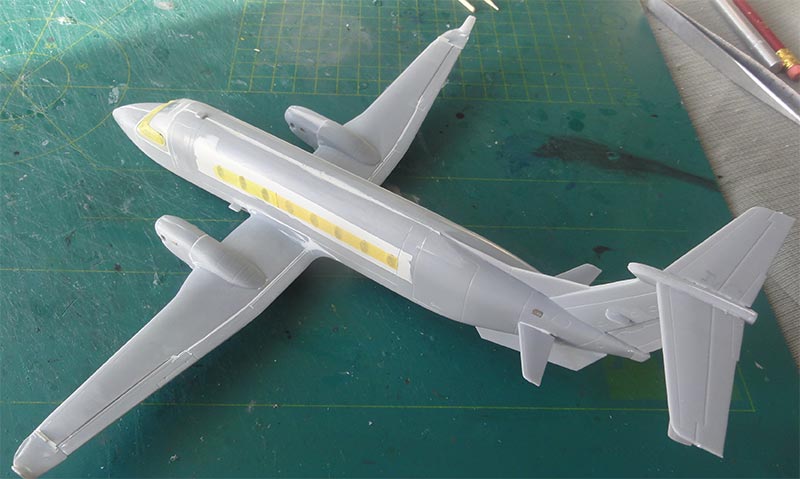
Putty and sanding was also needed at the lower surfaces.
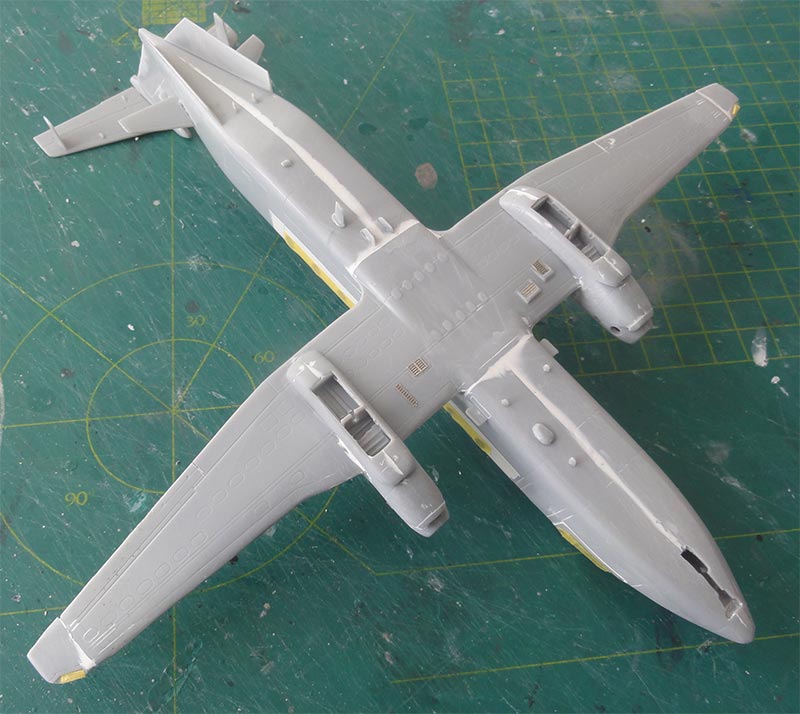
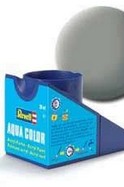
A base grey coat was airbrushed. I often use thinned Revell 75 steingrau Aqua paint. Any repairs were made.
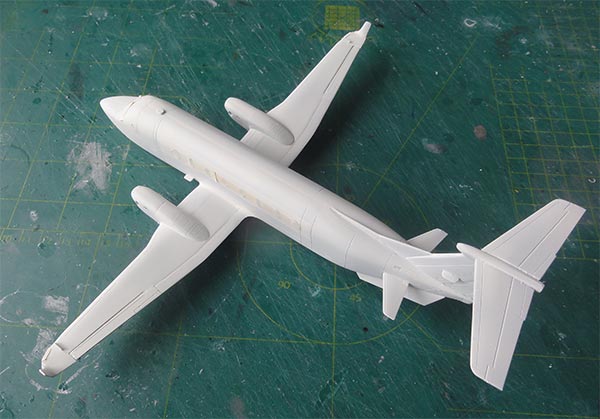
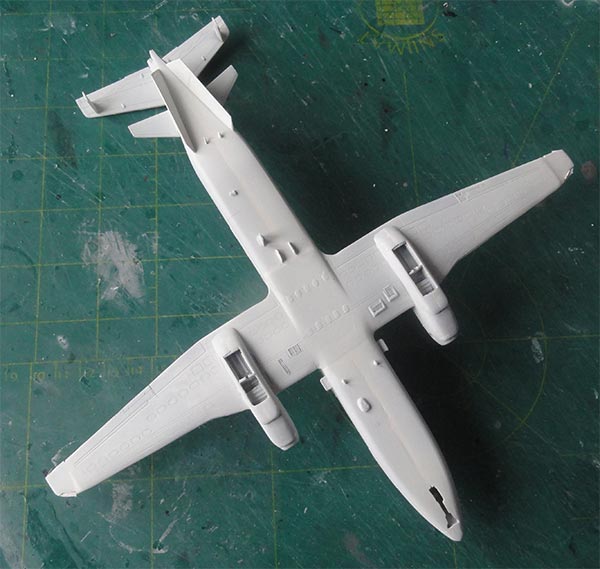
It was now time for the airliner paint scheme.
The model would get a paint scheme of EZ Air. They operated 2 Beechcraft 1900D aircraft flying in the Dutch Antilles.
My modelling friend George, his son Jarreth and Cedric Bronswinkel in Curacao provided details. Jarreth checked the airframe colour with a paint sample and it was FS 35622. The decals were home designed by me, using many photos.
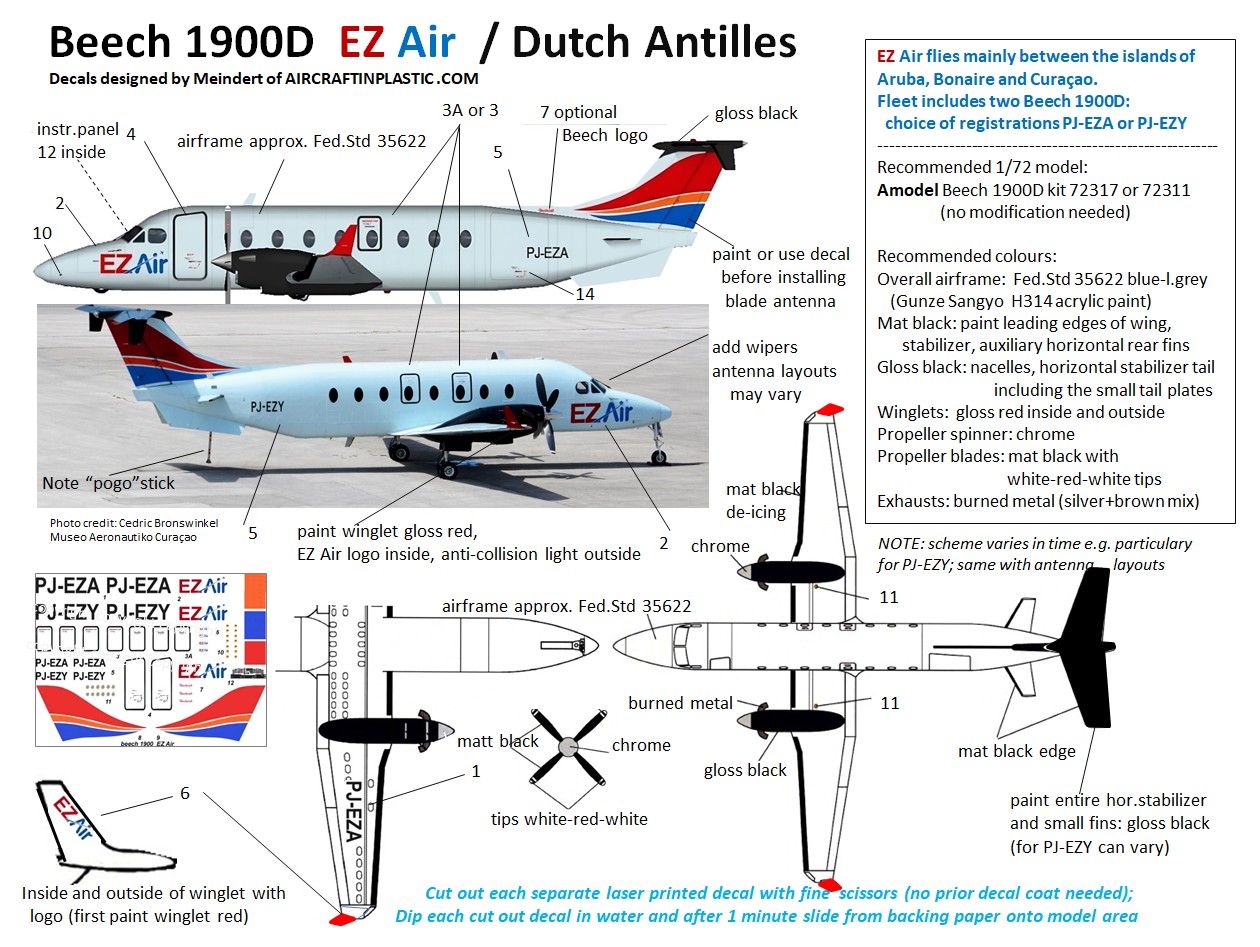
A scheme was drawn as well by me as seen above. The home designed decals were laser printed by a Third Party.
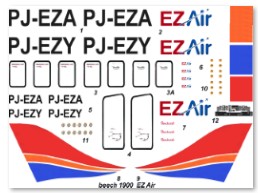
(George also got a few decals sheets and made a couple of models with this kit for friends in Curacao as well). If you want AIPD-118 "Beech 1900D EZ Air Dutch Antilles" decals sheet as well, let me know.
I picked aircraft PJ-EZY. There are small variations in EZ AIR paint schemes during their service career, this scheme had a black stabilizer was well.
The model windows were carefully masked. I used Microscale masking fluid.
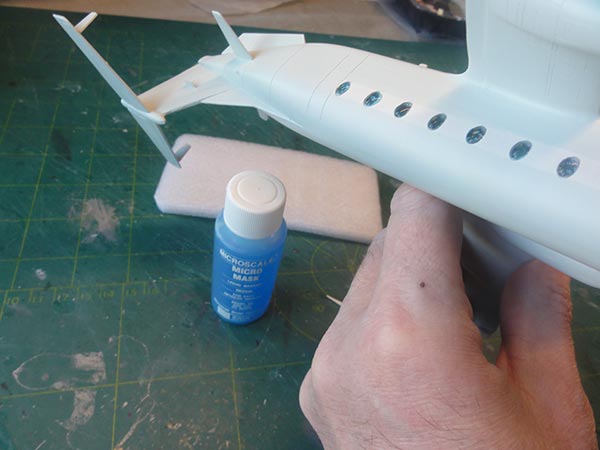
Set horizontal while the fluid dries.
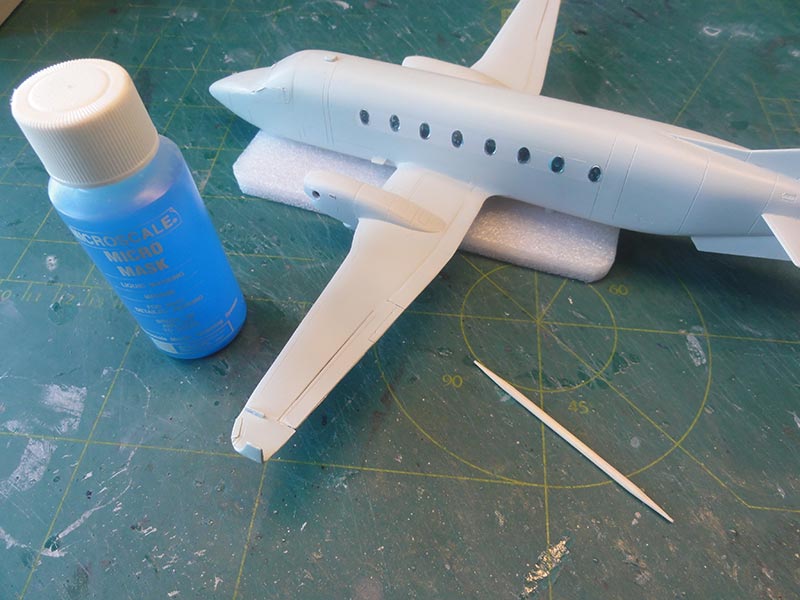
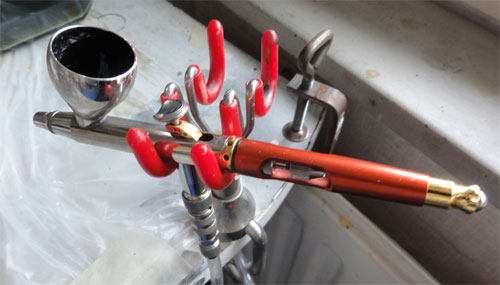
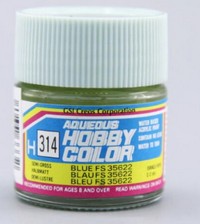
When masking had dried, the overall model was airbrushed FS 35622 with Gunze Sango Mr.Hobby H314 acryllic paint.
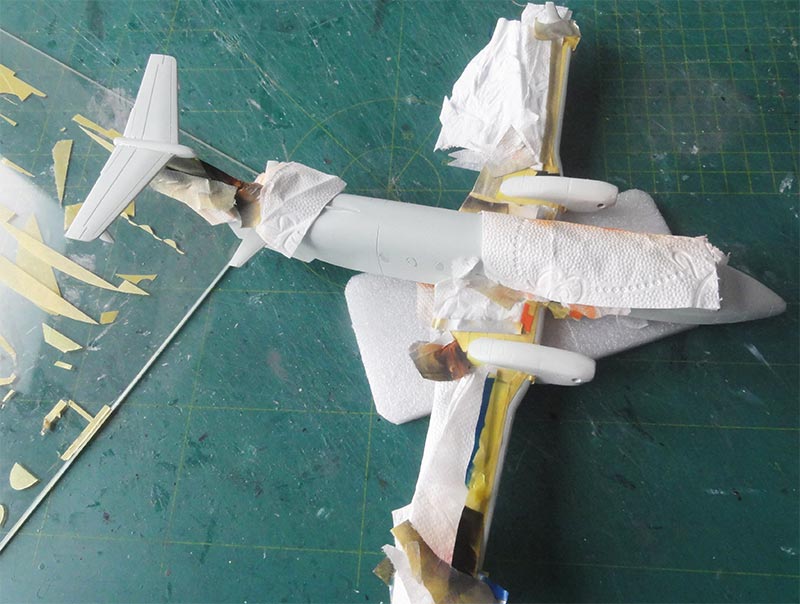
When dried, polish the paint surfaces smooth.

The small wing tip lights are in the kit, set in place and mask.
The various de-icing boots and nacelles were masked and airbrushed mat black.
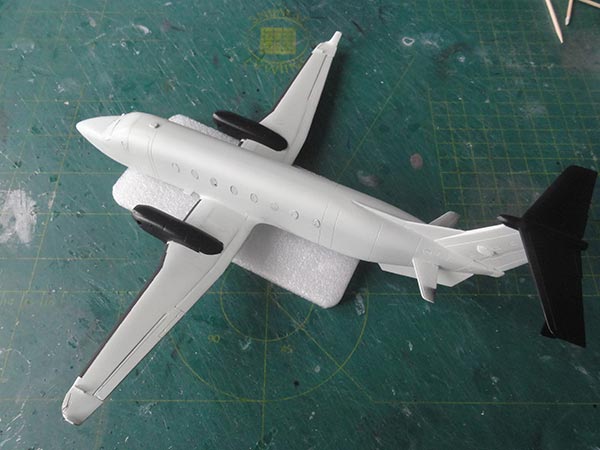
Various smaller antennas were set, identify these looking at photos. The winglets were handpainted red.

As the model had a glossy surface, decalling could be done. Each decal had to be cut out with fine scissors from the continuous decal film. The decals are thin and were set as usual without any problem. I also made small EZ logo decals to be set on winglet insides and outsides.
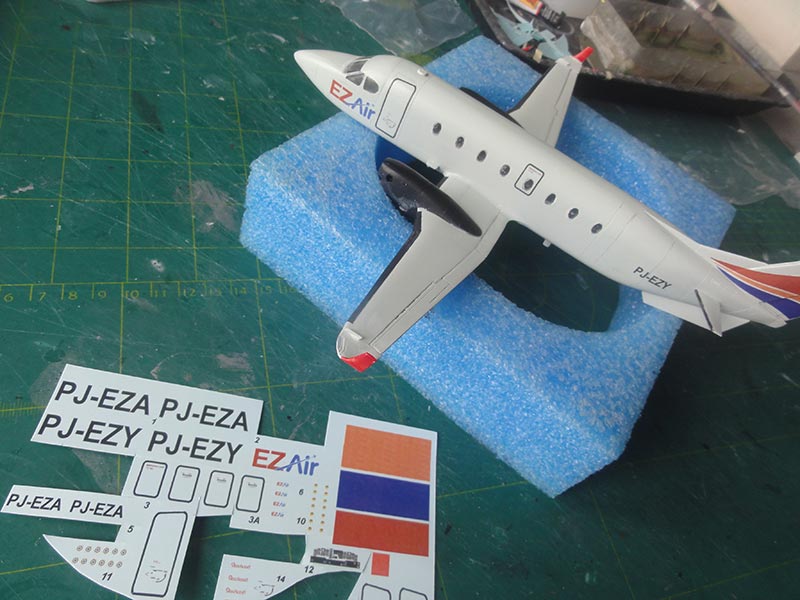
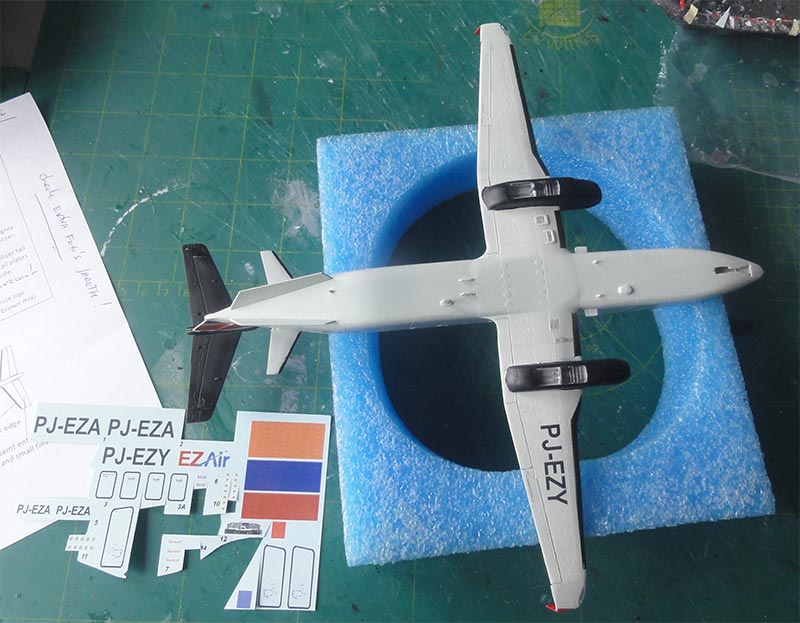
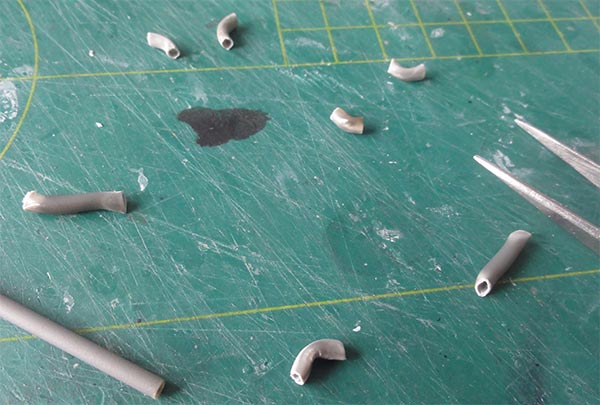
After decalling was completed, the smaller bits were to be installed. The 2x2 engine exhaust pipes #19 were replaced and made from hollow tubes.
The landing gear as per kit is fragile but was installed without any issue. (I forgot to make photos). The tyres are tyre black and the legs and wheel hubs aluminium.
The propellers were painted black and have white-red-white tips. This needs patience. The spinner was painted chrome.
Windscreen wipers were added, made from thin black stretched sprue. A few pitot tubes completed assembly.
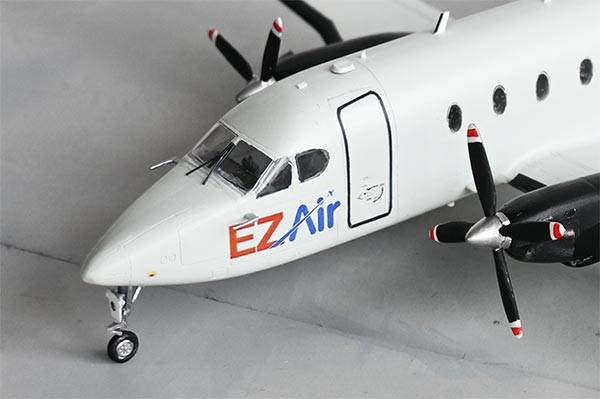
Finally, a gloss varnish was airbrushed to protect the decals and that completed this special model.
External Dimensions: Length 17.62 m and wing span 17,64 m
In 1/72 scale: 245 mm and 245 mm; the model is accurate within 1 - 2 mm

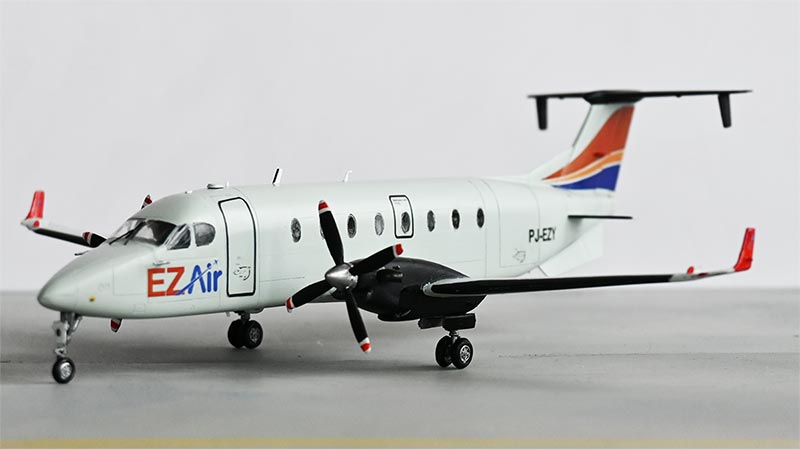
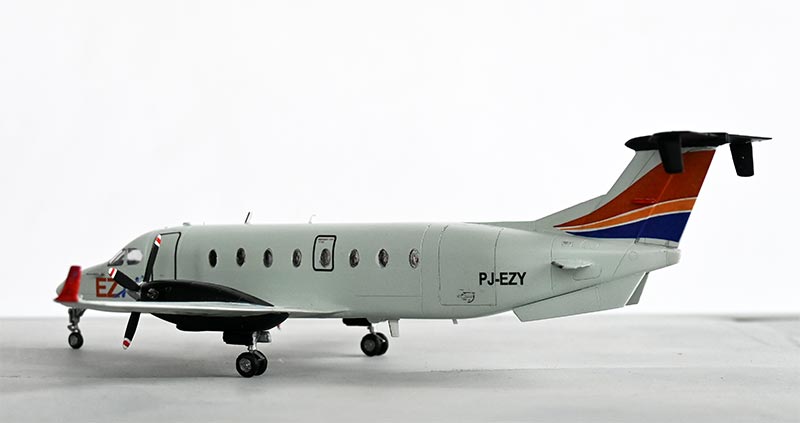
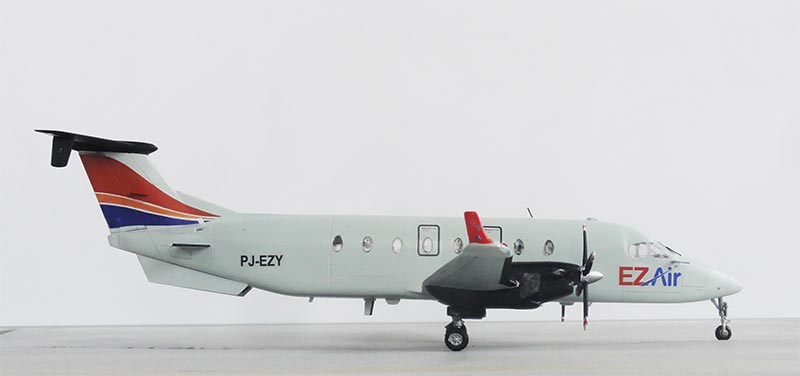
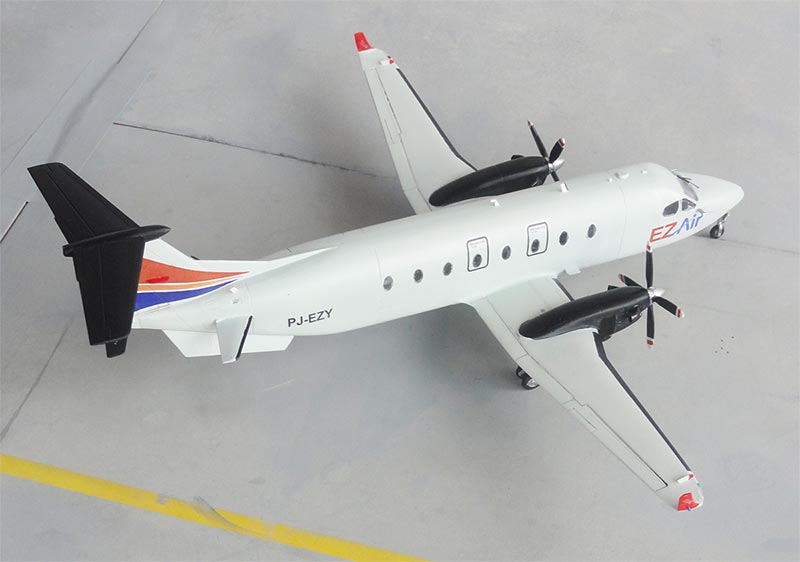
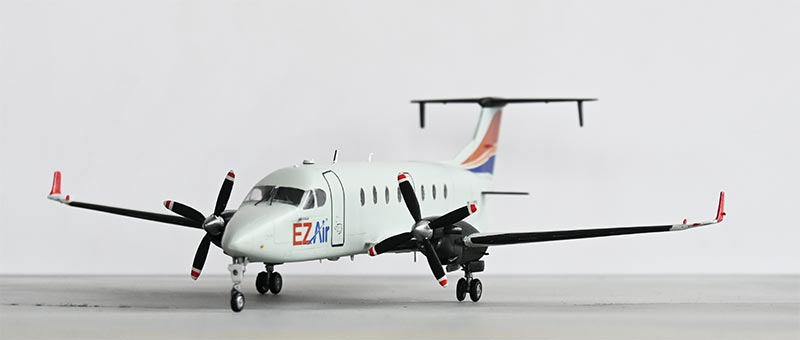
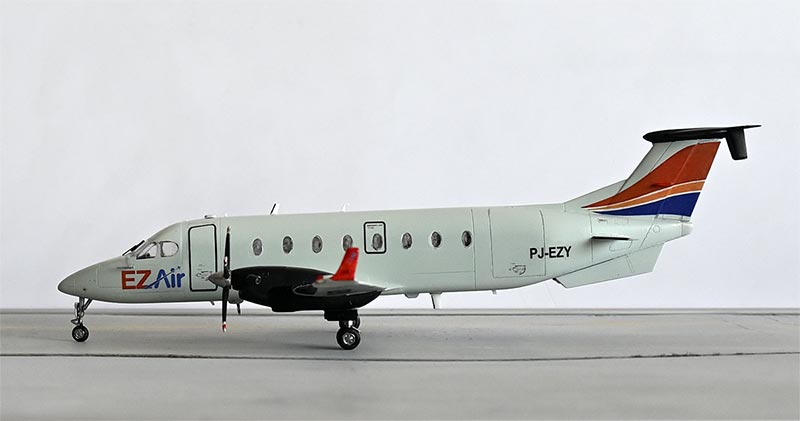
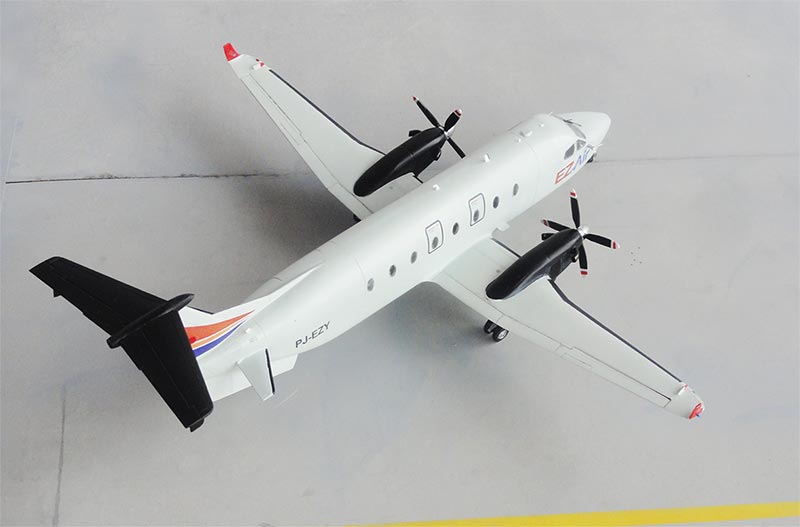
... at Hato Curacao airport....
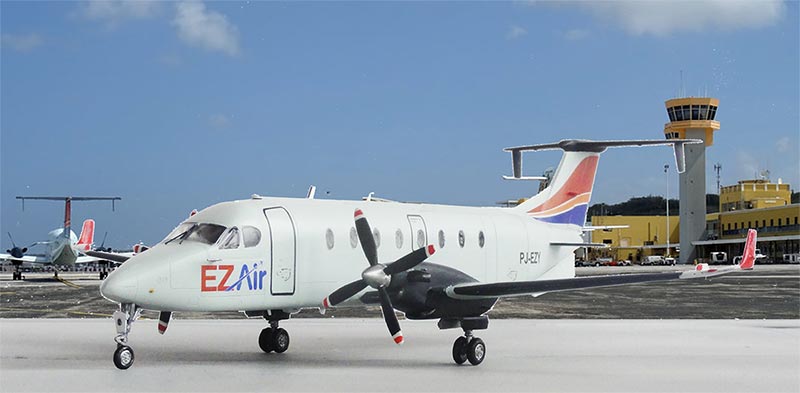
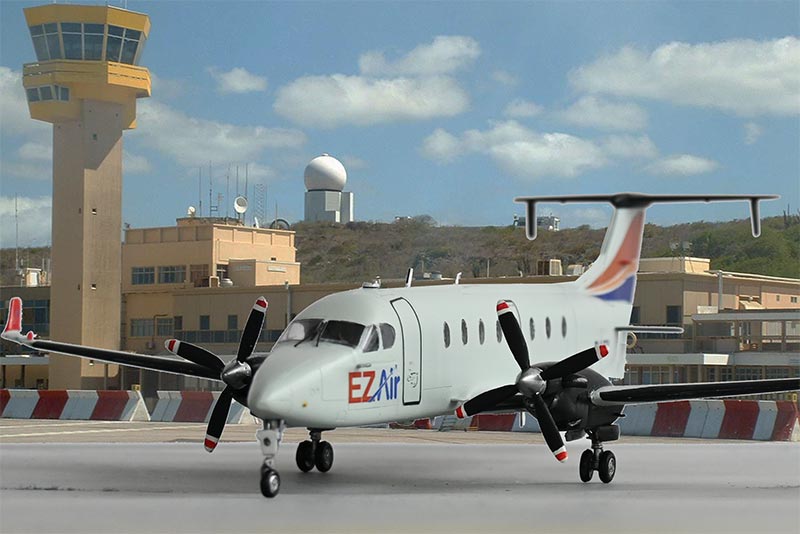
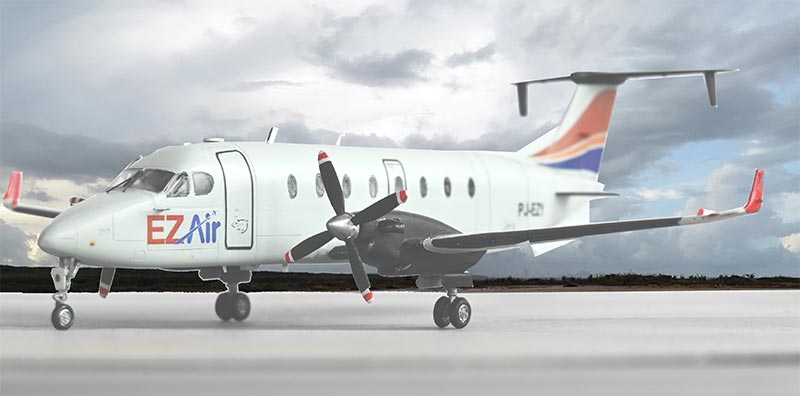
Decals from my AIPD-118 "Beech 1900 D EZ Air Dutch Antilles" set
Back to 1/72 Prop Models
(c) Copyright "designer"/ All rights reserved. Your comments are welcomed by webmaster
Created this page May 15, 2023