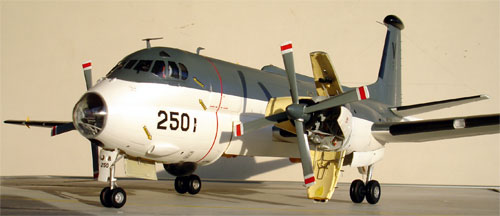
Royal Netherlands Naval Air Service MLD
[ page 2 ]
Revell Breguet Atlantic model in 1/72 scale
....continued from page 1....

Colours
Officially, the Dutch Atlantics were painted in Medium Sea Grey BS 687 (top and side surfaces) and White (lower surfaces). Xtracolor X3 enamel can be used here.
However, the first four Dutch Atlantics that were directly transferred from the French Navy to the Dutch Navy had a "Gris Blue Clair" color, for which Xtracolor X396 enamel can be used.
I used Humbrol Autenthic HF-4, an old enamel paint jar I still had, with some white paint added in the mix.
NOTE: when airbrushing enamels, wear a facemask with filters!
Masking was done, using Tamiya
masking tape and tissue paper. The black de-icing boots at the leading
edges took some time to mask.
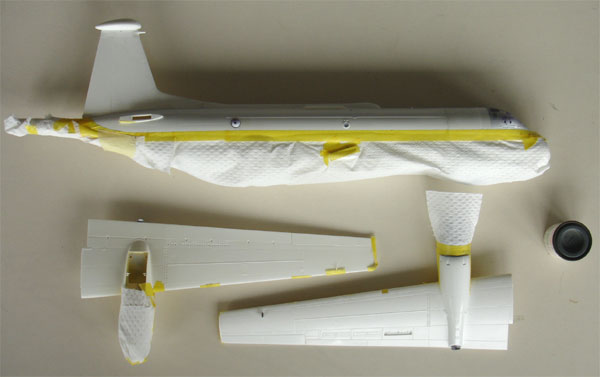
Using a Badger model 150 airbrush,
the following result was obtained. Masking was needed with masking of the
"bubble' windows.
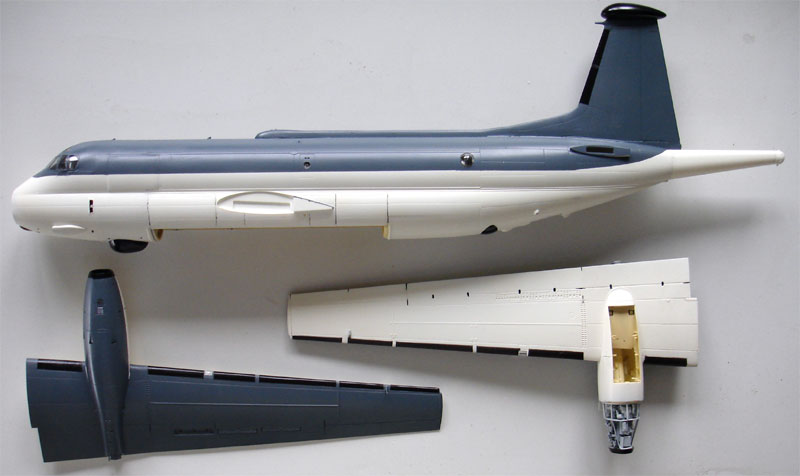
Next step is to fit the main wings
and other details. (On hind sight I should have used a metal spar for strength! but did
not, so strongly recommended to do so on your model! )
![]()
![]()
Markings
The Revell decals are OK, but markings
can be improved in some areas.
a. the Dutch roundels "blue"on the
Revell sheet is a bit too light, replacing by Dutch Decal roundels is recommended;
diameter should be 17 mm.
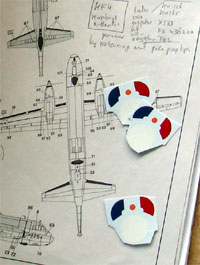
b. the roundels on a white surface
need a thin black round bordering line; these can be found on Dutch Decal
sheet #72025 ;
c. the SP.13A marking should read
SP-13A;
d. the number "254" style can be
improved using Dutch Decal set numbers;
e. the orange rescue arrows should
be yellow, replace with others from decal spare box; also add two arrows
at the cockpit top emergency hatch;
f. the propeller warning red
lines need some cutting; the danger markings should be at 5 mm below the
grey demarkation line;
g. use decal no.60 as indicated on
the German scheme also on a Dutch airplane;
h. some markings are not provided
by the Revell kit, like the yellow fuselage cuttting lines just forward
of the hor. stabilizer and the red fire distinguisher marking; these were
obtained from the Dutch Decal set.
To prevent "silvering", make sure to have a gloss undercoat and use plenty of Johnson Future when applying the decals.

Propeller blades are medium grey
and the tips can be yellow (at delivery) or white-dayglow red-white as
these were repainted later. I painted the white tips and used red decals
stripes. The black inside quarter de-incing boots were painted black with
a fine brush. This is quite some work.
Final finishing
- The long antenna wires were made
from thin fishing line fixed with drops of Eduard Superglue;
- Below the fuselage aft of the ordnance
bay, 4 antennas were made from stretched sprue;
- A metal pitot tube was added to
the fine leading edge, made from a needle;
- The supplied clear lights were
added in the nose door and tips of wing after putting drops of red and
blue on their location corners. Also, bits of red transparant scrap plastic
"lights" wer added on top and lower aft fuselage;
- All "static dischargers" were added
to the outher flying surfaces, made from very thin stretched sprue. This
takes some time;
- Various antennas were painted yellow;
As the last step, the overall model received a shiny coat of gloss Johnson Future, applied with the air brush. This will also protect the decals.
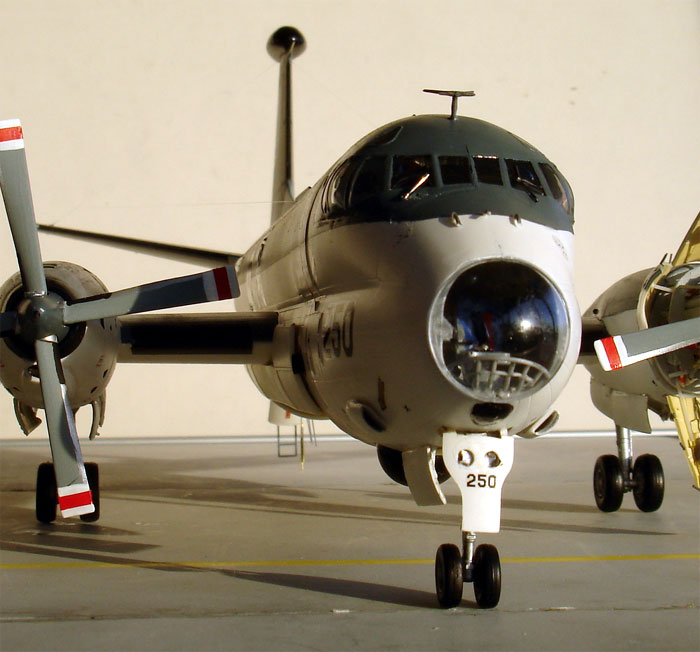
 .
.
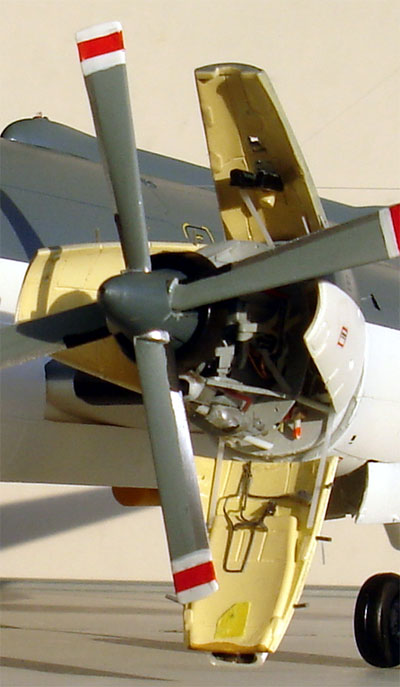
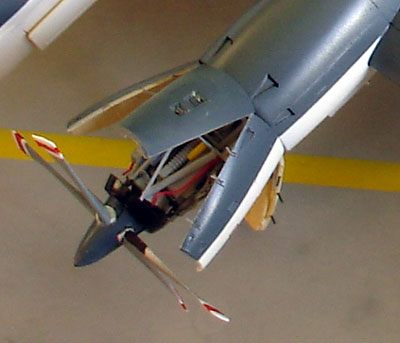
The engine nacelle opened-up
hatches were set in place, with holding braces from plastic rod. Also note
the opening latches, made from very tiny plastic rod bits.
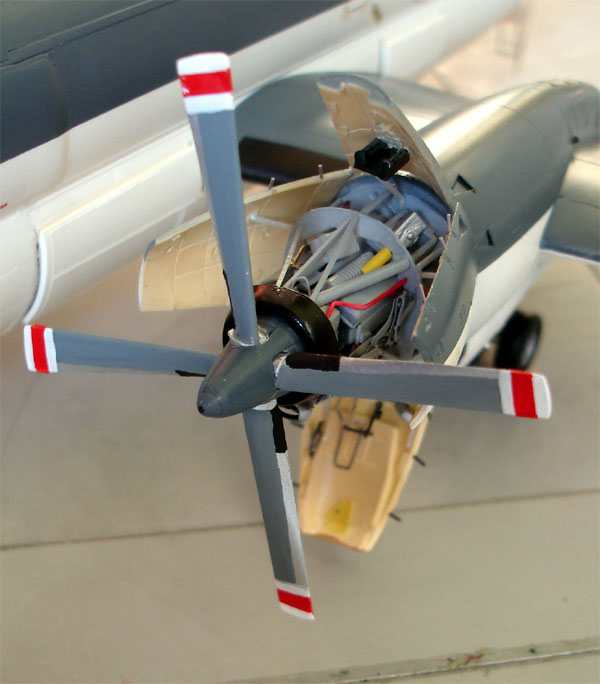 .
.
opened
up engine nacelle, the RR Tyne engine was made from scratch
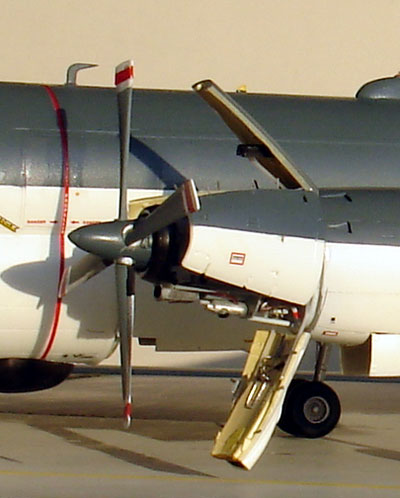 .
.
.
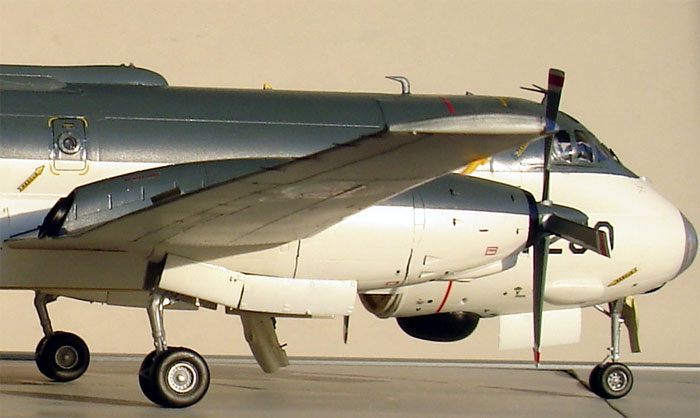 .
.
in this
view the blue tip anti-collision light can be seen.
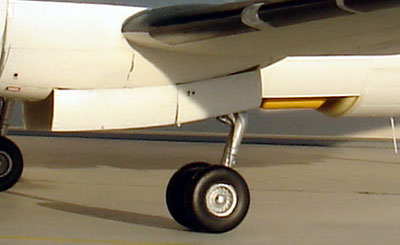 gear details
 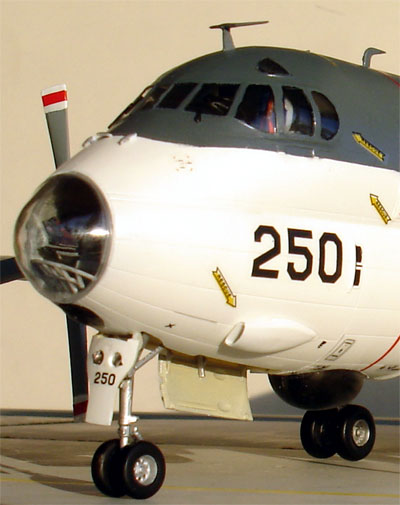 .....
.....
nose
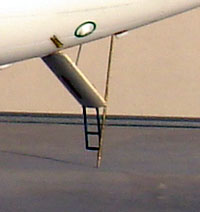
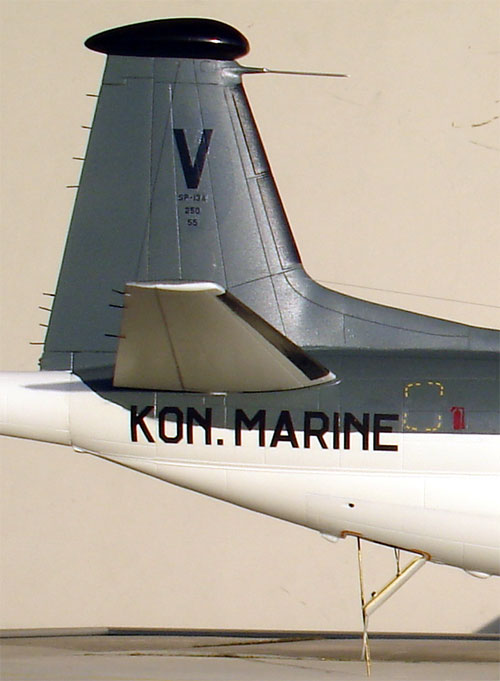
and rear entry hatch (with metal pin);
Despite adding weight in the nose,
I ended up with a "tail sitter". A piece of metal pin was glued onto the
rear entry hatch to keep the model in nose down ground position.
 .
.
.

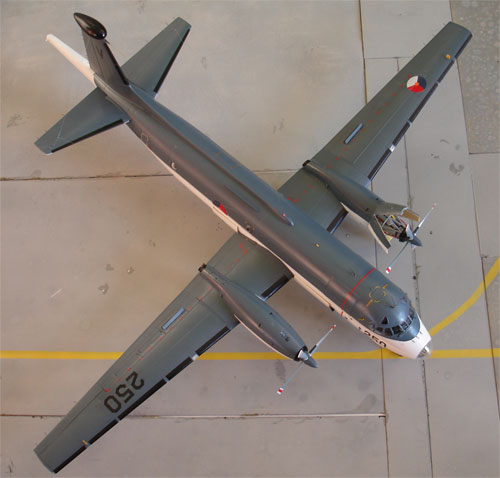
upper view of wind shield area, note
the wipers and the two rescue arrows on the top emergency hatch. Also note
the 3 small pitot heads, made from metal rod.
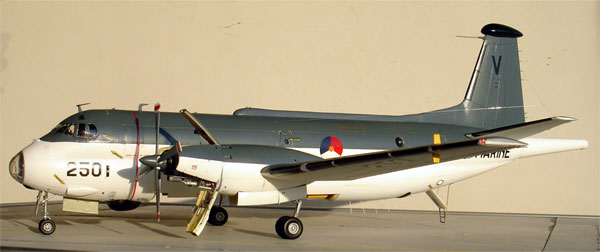
The result
is a nice Dutch Atlantic in the collection, now to find some shelf space...
Back to 1/72 models...

(c) Copyright Meindert "designer"/ All rights reserved. Your comments are welcomed by webmaster
