[Page 2]
AN-22 Antei in 1/72 Scale

.. continued from page 1....
steps /9/10/11
Obviously it was decided to keep
the ramp doors opened... otherwise if you close them you do not need to
fit the interior at all!
The fitting of the interior is a little
bit difficult but can be done. Don't bother to much about it as little
of it can be seen. It is important however to open up the vacupart windows.
The indicated lines are slightly incorrect so draw the location of the
windows from the outside with a pencil and cut out from vacuparts #6 and
#7 . I also had to remove a considerable section of the floor part #8,
it was made "less wide". The roof part #5 was fitted last.
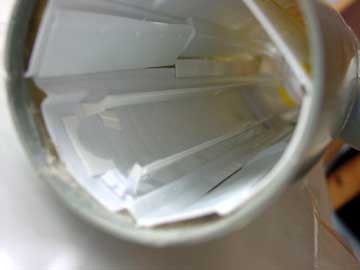
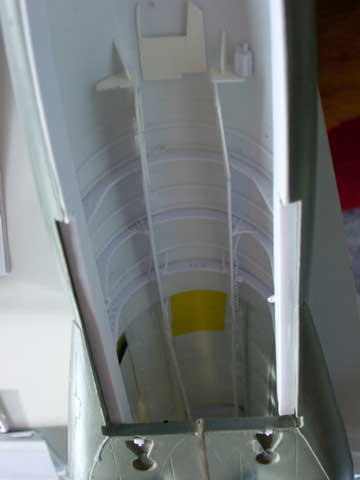
The entire interior seems to be white
and light grey with the cargo rails being red/orange. These rails are for
loading with the moving crane dollies (parts #221).
13/14/12
Of step 12, the struts/jacks were
not mounted yet, this will be done at the final stage of assembly.
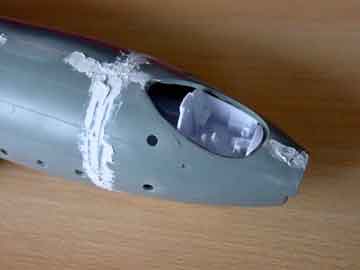
Now, the completed cockpit assembly
with nose was fitted on the main fuselage. Assure to do it right to
get a flush smooth result otherwise you will see a "break" edge when the
white is applied.... I had to tear off mine and re-assemble again....
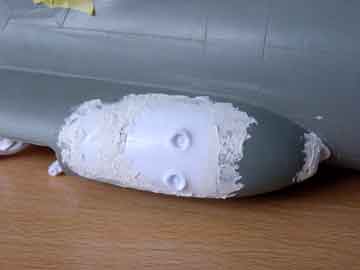
Also, the fairings of the undercarriage
needs some filling and sanding.
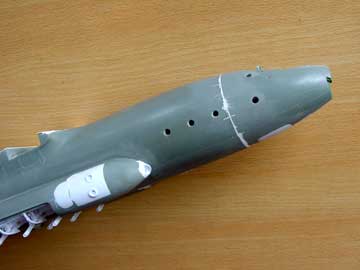
This fuselage is huge now!

24
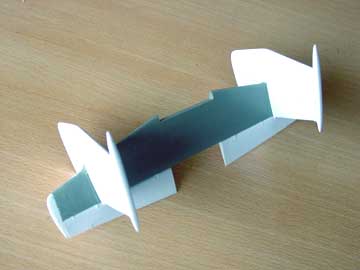
The assembly of stabilizer is straightforward,
but note that mine did not fit flush with the main top fuselage end.
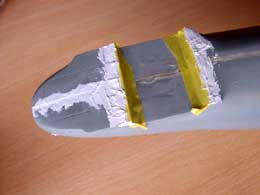 .
. 
Plastic card was needed and sanding
on top of the rear end to get a good effect.
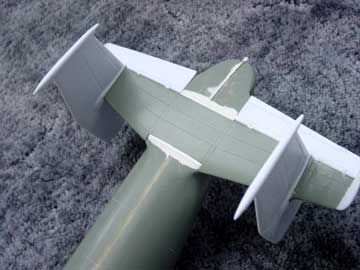
25/26
The wing. well well.... patient work
now is needed on fitting the flaps! Lots of them. Mark all parts with a
number in order to not get them mixed up. The flap parts all need clean
up and you do not get a 100% result but it will be impressive enough.
The alignment of all parts is not
always achievable. I also found the gap between the main wing a forward
flap a bit to large. A piece of plastic strip (4mm wide) was glued over
the entire aft trailing edge of the wing .
27/28
The engines need some filling and
sanding. Combine step 27 and 28 and attach the nacelles onto the wing in
one go. So you can align and adjust the wide of the nacelle parts. Fill
with lots of putty and sand to get smooth.
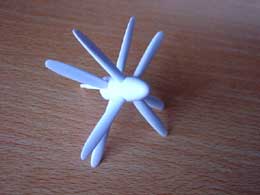
The props are a bit of a headache
to get a good result, the prop hubs needing filling and sanding. Try to
avoid mixing up the blades. But the end result is impressive. The props
were NOT fitted fixed to the model in order to prevent damage. They can
be plugged it separately for transport purposes.
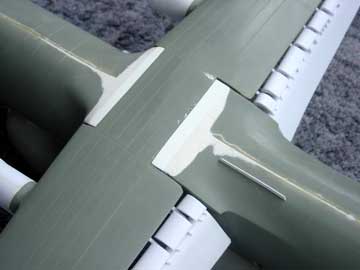
29
I decided not to glue/fix
the main wing for transporting purposes. The gap between the fuselage and
wing (that will always be there) is closed by using white scotch tape that
can be taped on and teared off as needed. The tape is sprayed in the same
colour as the fuselage and wing (white).
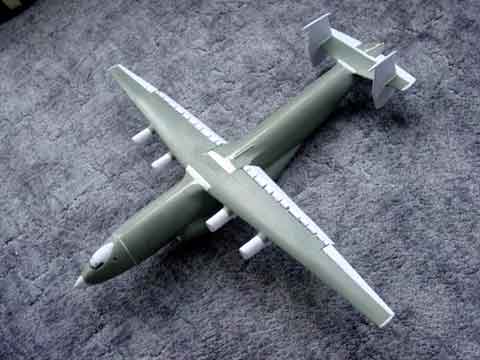
Paint scheme
Before proceeding further, it is
now time for main painting. It is needed to do some major colouring spraying
on the model. It was decided to opt for the AEROFLOT scheme with grey and
white. Looking at real pictures it was soon discovered that the exact demarcation
lines between the grey-white and black areas varies in time for several
aircraft. So study pictures for the plane you want to make. (many pictures
can be found at www.airliners.net
).
Another very nice source is the site
from
Ken Duffey. Ken informed me about some tricks he used modelling his
model, thank you Ken!
Using spray cans with light grey and white paint this can be done for such a huge model. It otherwise takes you a lot of time using a normal airbrush. So commercial spray cans can be used (from the firm Halfords and in Holland also from HEMA). The light grey must be similar to about Humbrol 146 grey.
Please note there is a very thin white line between the blue stripes and the light grey of the lower fuselage.
NOTE: Contrary to the AMODEL painting instructions for the AEROFLOT scheme, the lower main wing and lower stabilizer are light grey (not white!). Also, the nacelles of the engines are upper white and lower grey. All the entire upper surfaces are white as indicated.
Before starting painting, the glass
cockpit parts were fitted on the nose top. Some filling and sanding is
needed to get it all smooth. Also, the transparent windows in the nose
(part #13 and #15) were fitted and needing some gap closing with filler.
The windows were masked off before
painting the overall fuselage with Humbrol Maskol fluid (tape can also
be used).
Next, using the blue decals (lines)
as a pattern with masking tape the separate white and grey areas were masked
off and sprayed. This was done off course outside the house. Various amounts
and layers of paint spraying were needed. Take your time.
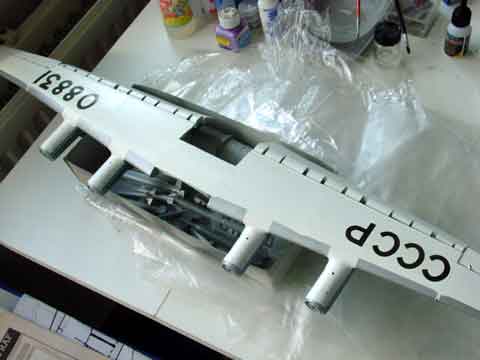
The overall wing was sprayed. The
leading edges of the wing, stabilizer and fins are metallic/dark grey.
Also the engine nacelle front- edges are this colur. This was masked of
with tape and sprayed in an aluminum colour. Masking takes considerable
time but is rewarding.
It was also decided to leave the fins white and the nacelle hubs/spinners black as seen on several planes. The propeller blades got a base coat ob black and painted on aluminum leading edges with yellow tips.
Now back to final finishing.
22/23/
The nose wheel needs alignment with
the rear wheels. The rear wheels were not fitted after being painted and
the overall model got its paint scheme.
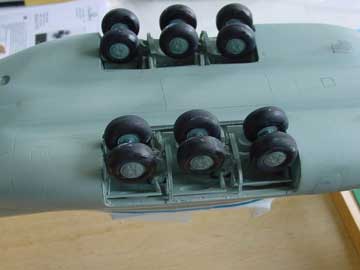
It was assured that all main wheels touched the ground.... Combined this with the nose wheel gave me some trouble. It was discovered that the nose strut was way too long. I could barely fit the nose wheels on the lower fuselage in an appropriate way. Finally I got is right but it was also a bit luck here.
12 (struts)
The rear struts (parts # 185 in step
12) were used here to get the model stable and preventing a "tail sitter".
These struts were fitted now and the model is almost ready.
On to next [ Page 3].....

(c) Copyright Meindert "designer"/ All rights reserved. Your comments are welcomed by webmaster