Alouette III Heller
[ page 2 ]


Alouette III models in 1/72 scale
page 2
page 3
page 4
page 5
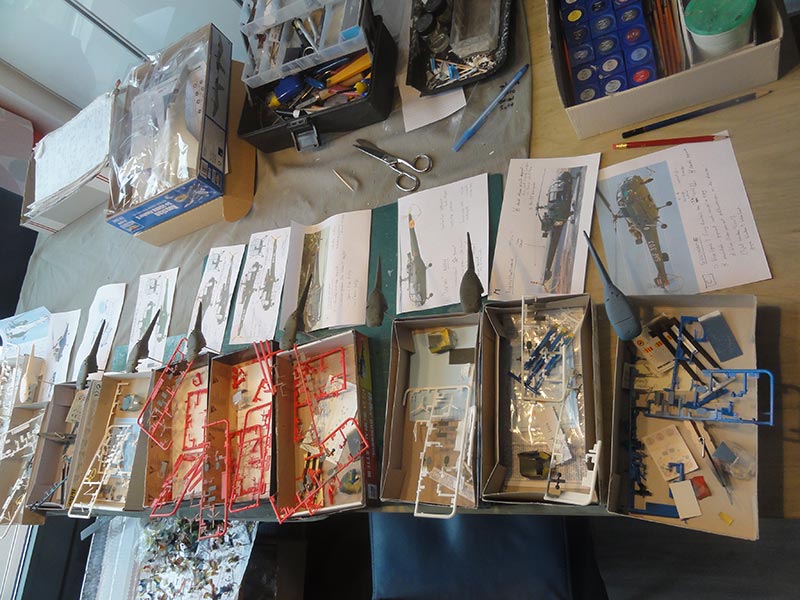
Several Alouette III models will be made. Here are some suggestions when building the Heller kit.
[0] you get parts for the SE3160/ SA316 Artouste engine or the SA319 Astouze engine. Check which one is applicable for your desired Alouette III model. See [7].
[1] Aligning the forward lower floor to the mid fuselage is crucial, otherwise you get gaps between the bulbous windows and the airframe. If things prove to go wrong later, white glue can be used to close any gaps.
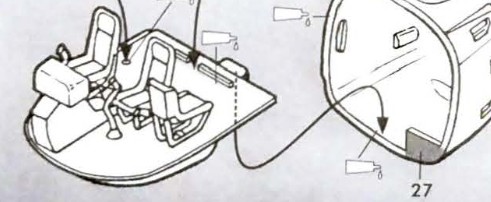
The lower areas may need some filler/ putty.
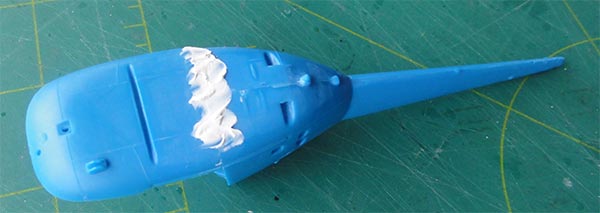
SAR Alouettes often had the lower port panel below the port cabin sliding door removed. Later Heller kits show this on the insides of the part and indicates this in the instructions. Again, check if it needs to be removed for your desired model. See [5].
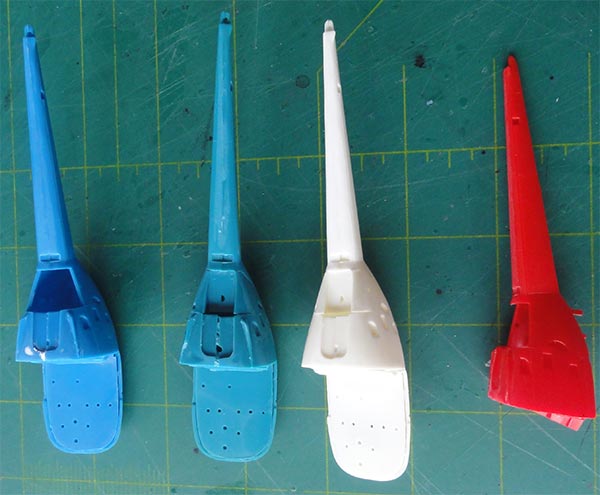
Here the series of models seen made in parallel..... Note the various colours.....
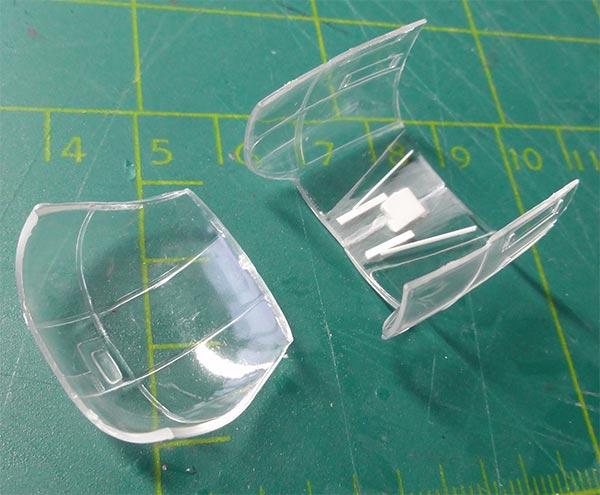
[2] The large bulbous cabin windows need some care. It is better to glue these very carefully before setting onto the model. I added inside a piece of card for a stronger joint.

Also on the inside some detail was suggested where in the real Alouette III some circuit breakers and headphone installments are seen.
[3] Sometimes the fairing in the middle is not seen on top of the roof so sand this one off if not present. (study photos of your desired helicopter model).

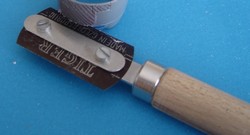
Also, it is worthwhile to see if you want to open up any of the forward doors or larger aft sliding doors. In that case, use a fine razor saw from TIGER but be careful not to break the glass panels!
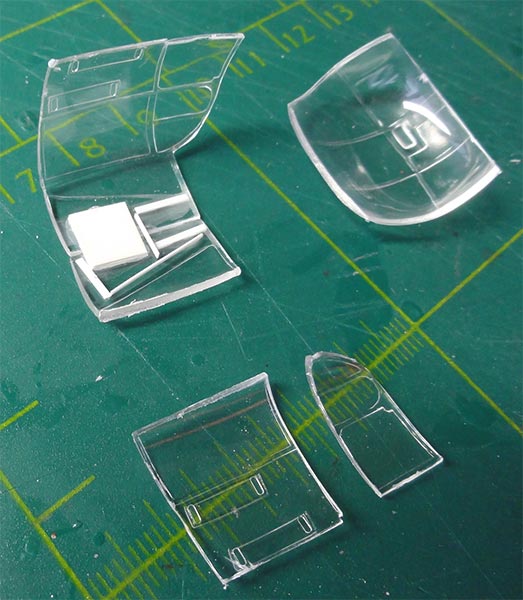
[4] Cabin configuration may vary, sometimes with different benches and the left seat turned towards the rear. The pilot sits in the right seat. The collective and pitch controls are nicely in the kit.
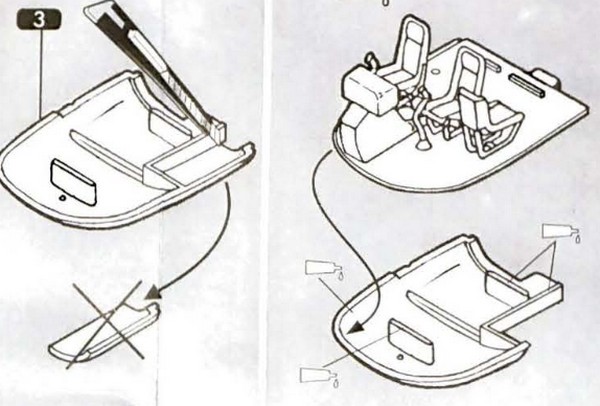
[5] For a SAR version with hoist, it may be needed to cut out a section of the lower floor part #3. The later released kits with this option show this with an engraved cutting line on the inside. It is not very clear but also an area needs to be removed from the floor panel #4.
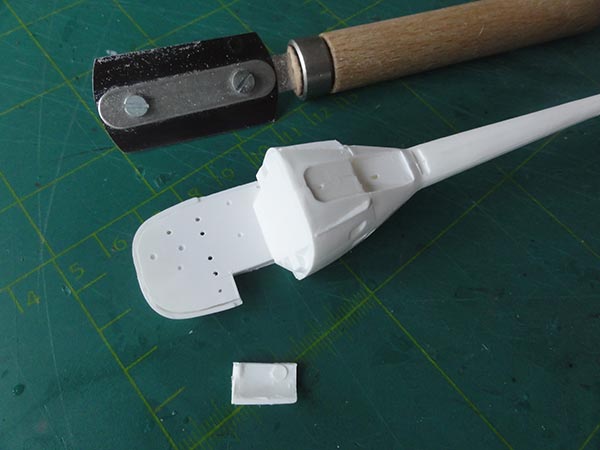
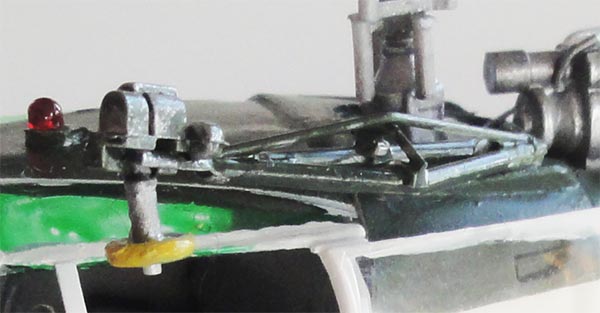
The hoist parts can be made a bit finer with thinner frames from plastic rod. Usually the part #70 was replaced. In order to fit a hoist, I found that a small base plate from card was needed on the roof.
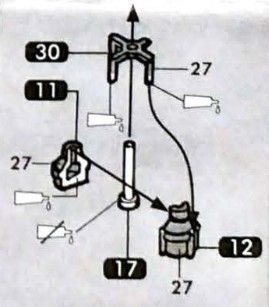
[6] The main rotor is better kept detachable as it remains vulnerable. I would remove the lower stop bit at aisle part #17 so it can be detached or make a new long aisle from scrap.
[7] There is a choice of 2 engines in the kit, the SE3160/ SA316 with Artouste with parts #36+37 or the Astazou used in the SA319 with main parts #38+39. Study photos which engine is appropriate for your desired model. Each engine can look better by adding extra details like pipes, hydraulics and fuel lines and adding such detail is worthwhile.
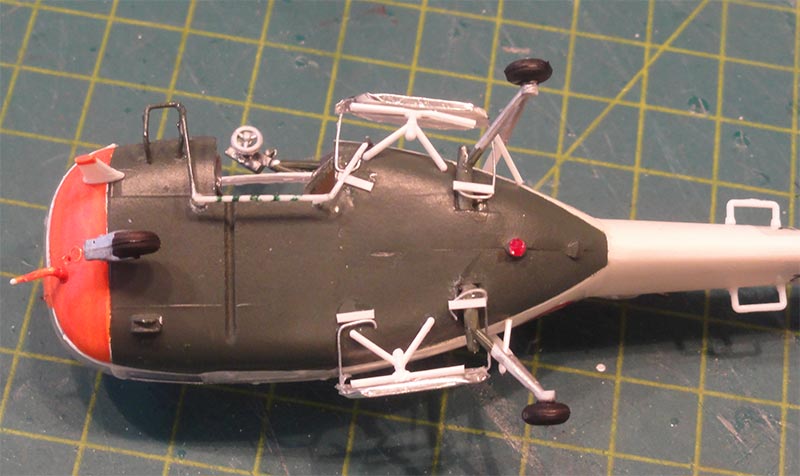
[8] Antennas and smaller fairings may vary. In many cases only the basic antennas are seen but sometimes more like in the illustration below:
Antennas and fairings below the cockpit and on the tail boom are common. There is sometimes also a longer tail protection bar in front of the tail part #34.
Also, on the wind screen a wiper was added from thin black stretched sprue. This wiper is located either left or right on the central screen so study photos.
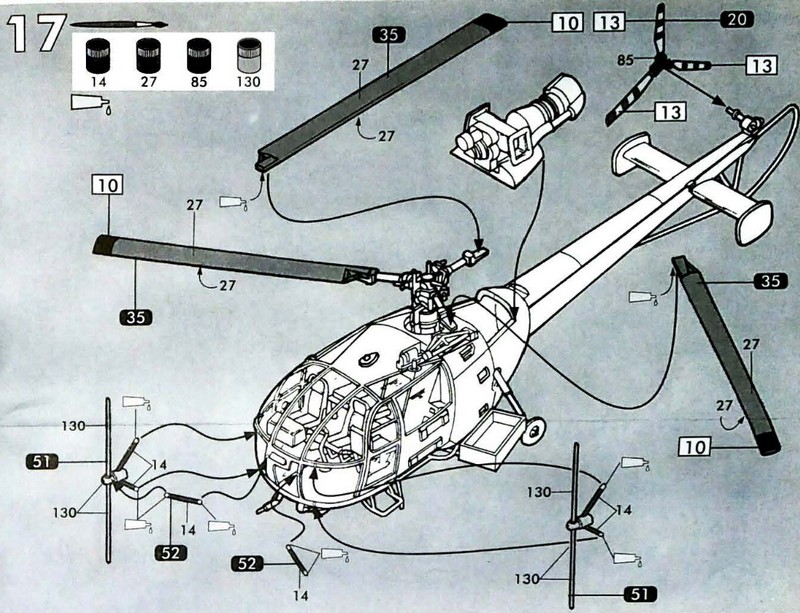
[9] The Alouette can be seen with many different steps and frames on the outside. I usually replaced these with thinner ones from rod and stretched sprue using the kit parts are pattern. It is a lot of work but worthwhile on such a small model.
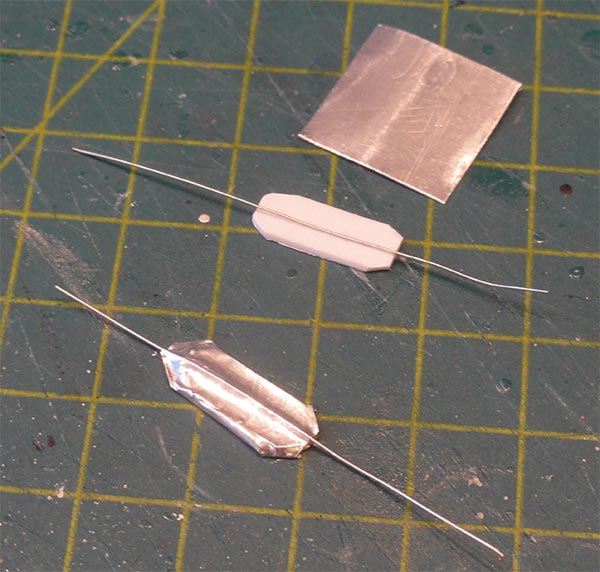
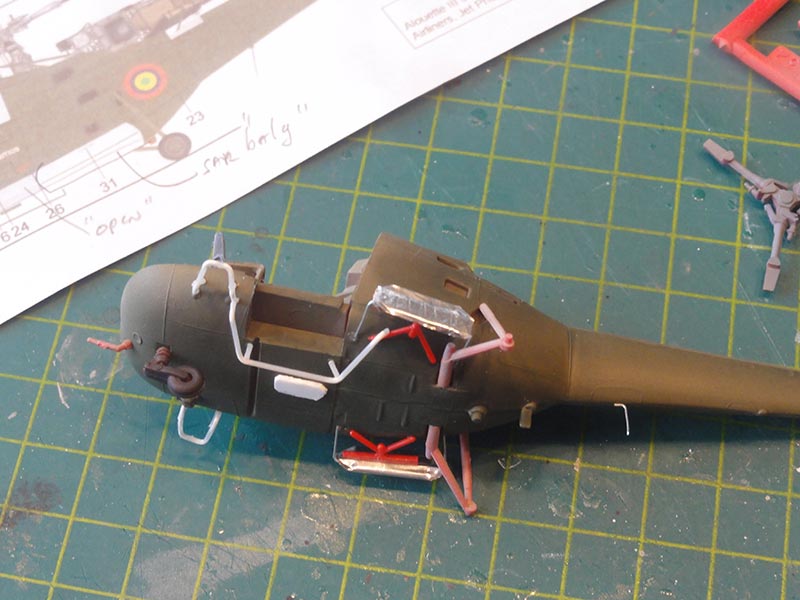
[10] Some Alouettes are seen with floatation gear. When landing on the water, these are inflated/ blown to rest on the water. These need to to be made from scrap. Study photos such as from the walk around (links on first page). The photos show my interpretation how. The gear was made with card and self adhesive foil that was engraved a bit.
On to next [ Page 3 .... ]
Back to Models page....

(c) Copyright Meindert "designer"/ All rights reserved. Your comments are welcomed by webmaster
Created this page
February 9, 2021