Roden
[ page 2 ]
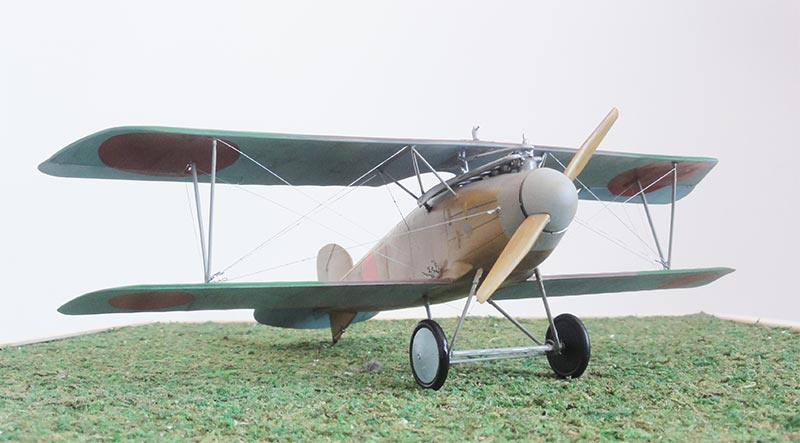
Albatros D.III in 1/32 scale: building the Roden kit
.. continued from page 1....
Rigging
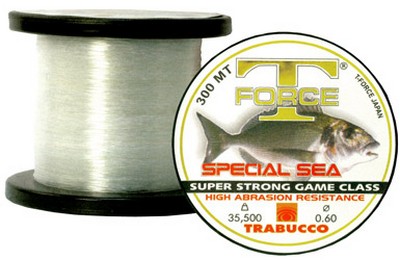
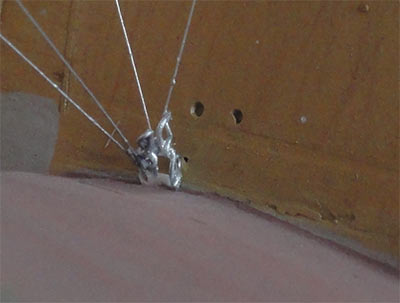
There are several methods to apply rigging wires, but I opted to use 0.1mm thick fishing lines. They provide added strength to the model, which is particularly useful in larger scales like 1/32. To secure the lines, I used fresh super glue at the corners.
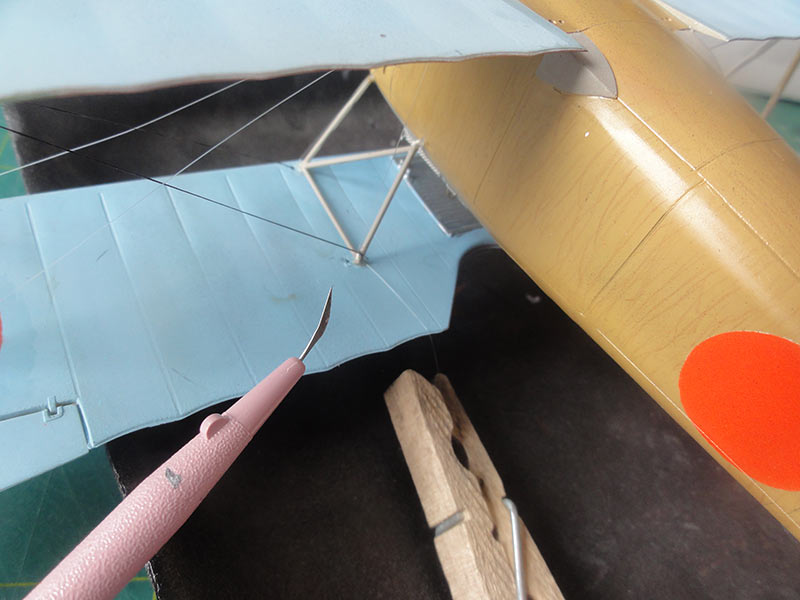
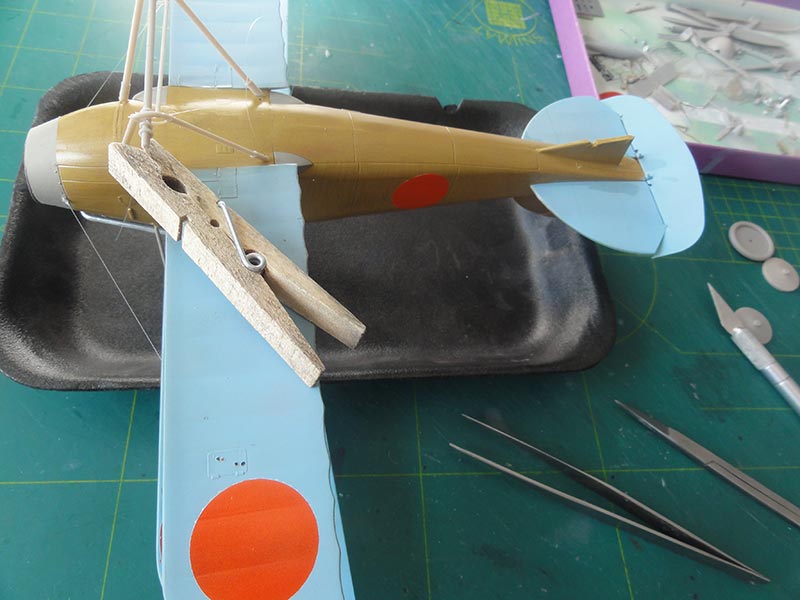
It's important to use longer pieces of fishing line and thread them through to the other corners to ensure proper tension. While waiting for the glue to dry, it's a good idea to keep a piece of fishing line stable by hanging a clothespin on it.
Once the glue is completely dry, excess wire can be carefully trimmed using a sharp scalpel. Roden's instructions provide a good reference for how to set the rigging wires.
On biplanes, it's common to see cable turn buckles in the lower corners of the struts. While you can purchase these aftermarket, I opted to make my own using twisted pieces of thin metal wire. I found this wire in the strip closures of a pack of sandwich bags. Using fine pliers, I pulled out the metal wire and twisted it to form the buckles. After cutting it off, I attached the buckles to the bottom corners of the fishing line wires using super glue. This approach allowed me to customize the turn buckles to fit my specific model and saved me the expense of purchasing aftermarket parts.
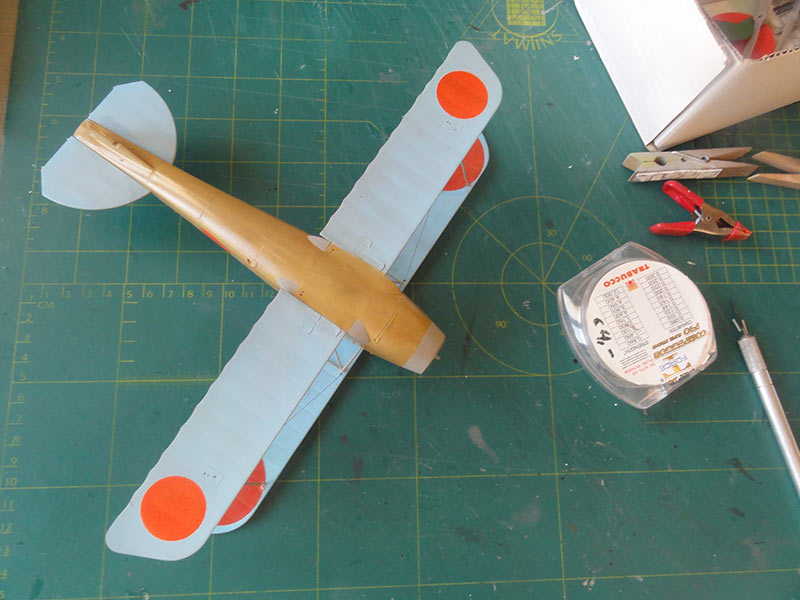
When done, the rigging and wires were painted in aluminium metal paint with a thin fine brush. Inevitably there is a stain here and there and you can get rid of these by tipping with a fine brush in the required color.
The steering cables at the two ailerons and the elevator are loose sections of fishing line.

page 2
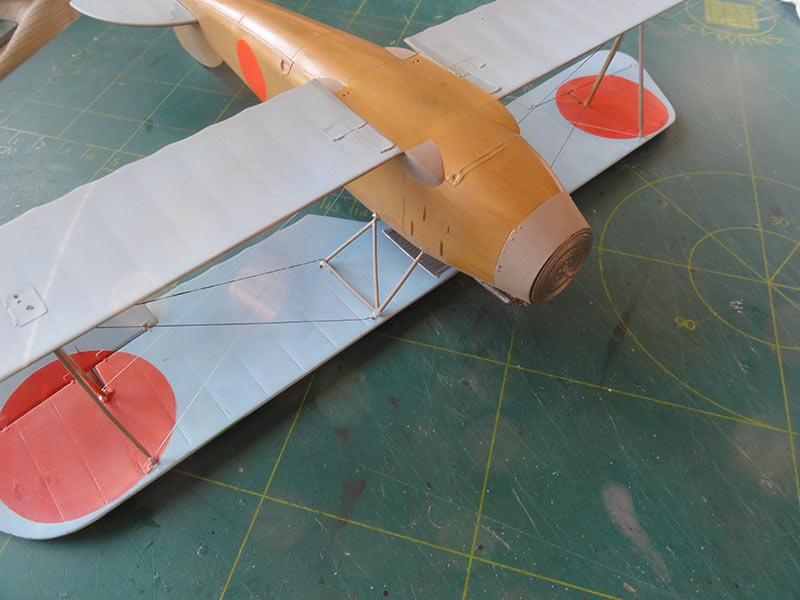
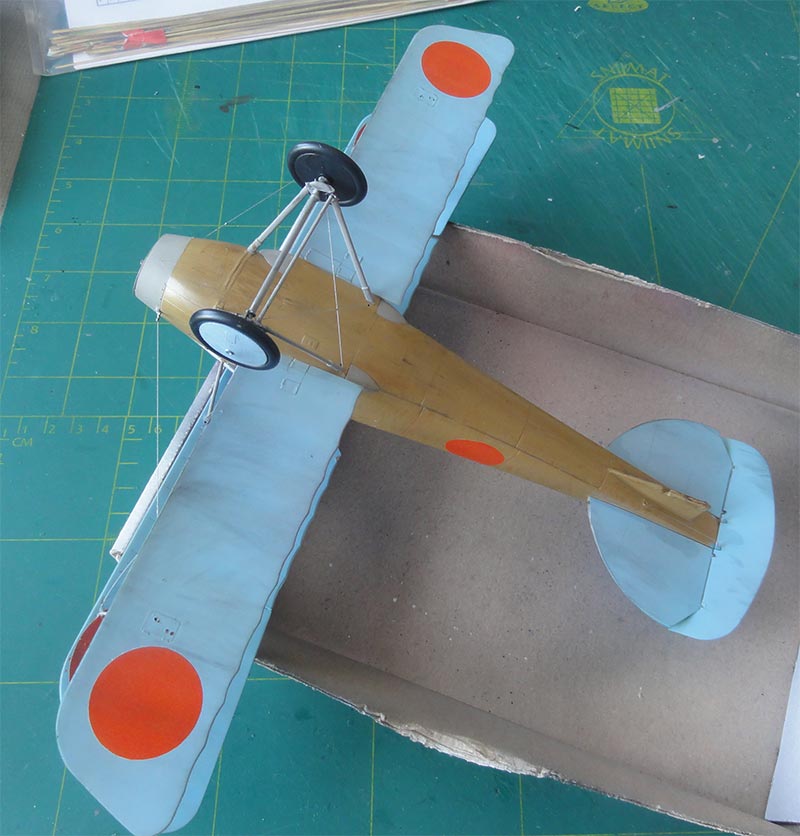
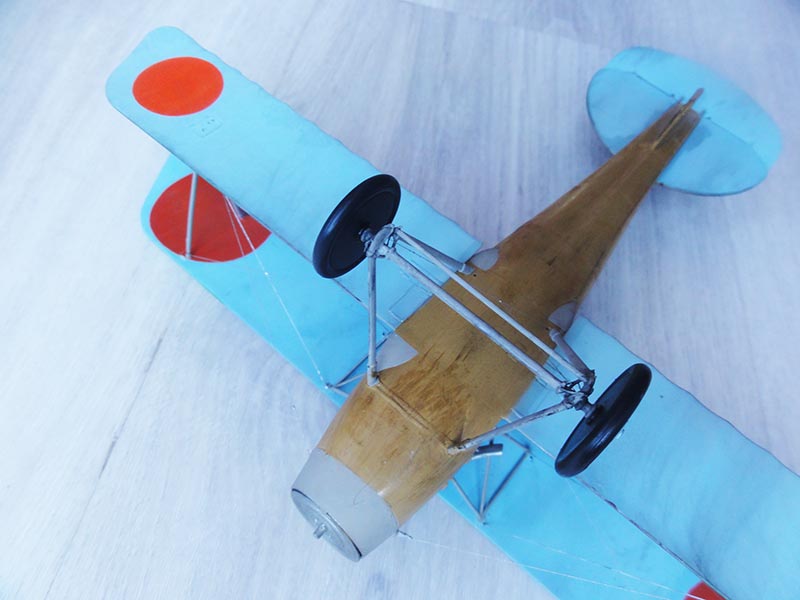
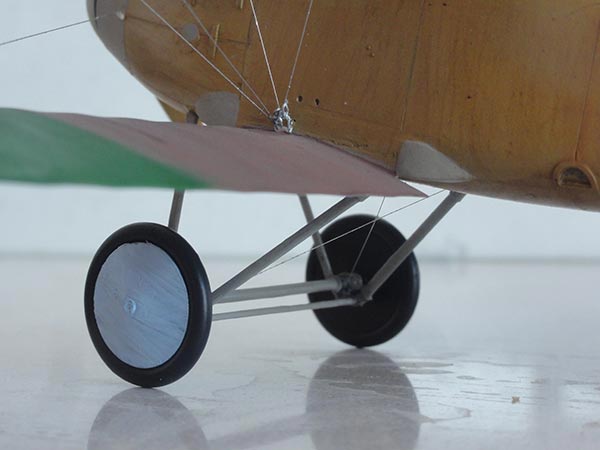
After all this was done, the landing gear struts and wheels were set. Align carefully to get a symmetrical result.
The cross wires between the gear struts were also made with fishing line.
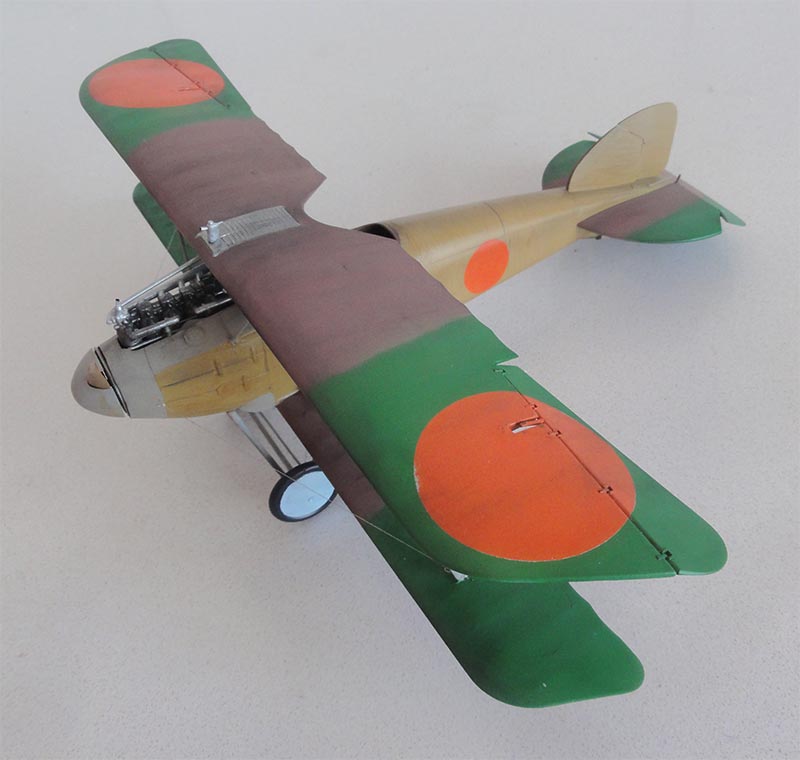
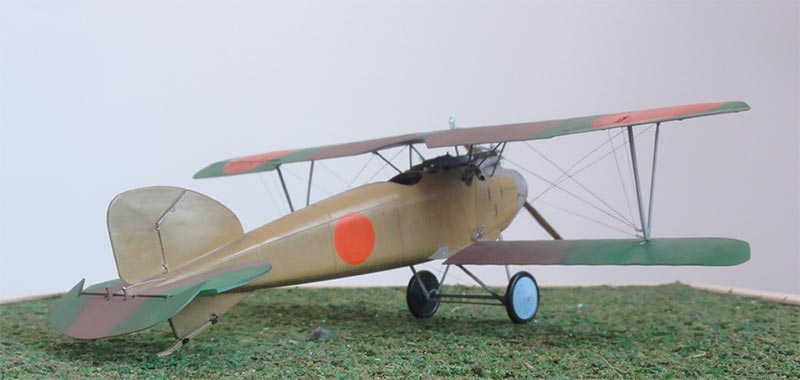
For the wheels parts #6D and the outer wheel cover #12D applied over the (spoke) wheels. They got a light blue color.
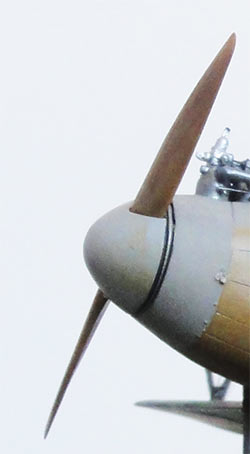
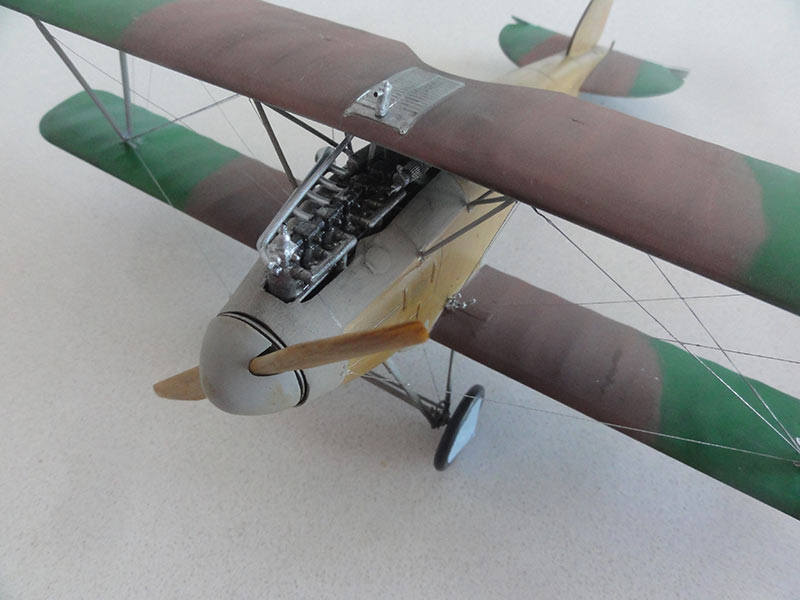
Determining the exact type of propeller used on this specific Albatros model based on photographs can be difficult. For this build, I decided to use kit propeller part #12B. To achieve a realistic wood grain effect on the propeller, I employed the same technique as previously described. After painting the propeller in a wood color, I created the wood grain effect using artist oil paint.
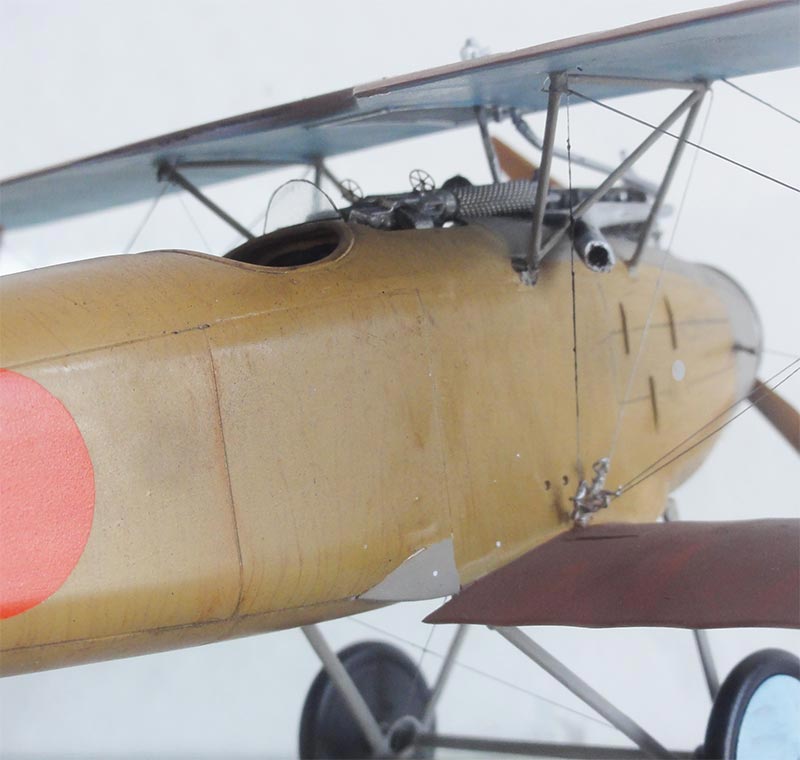
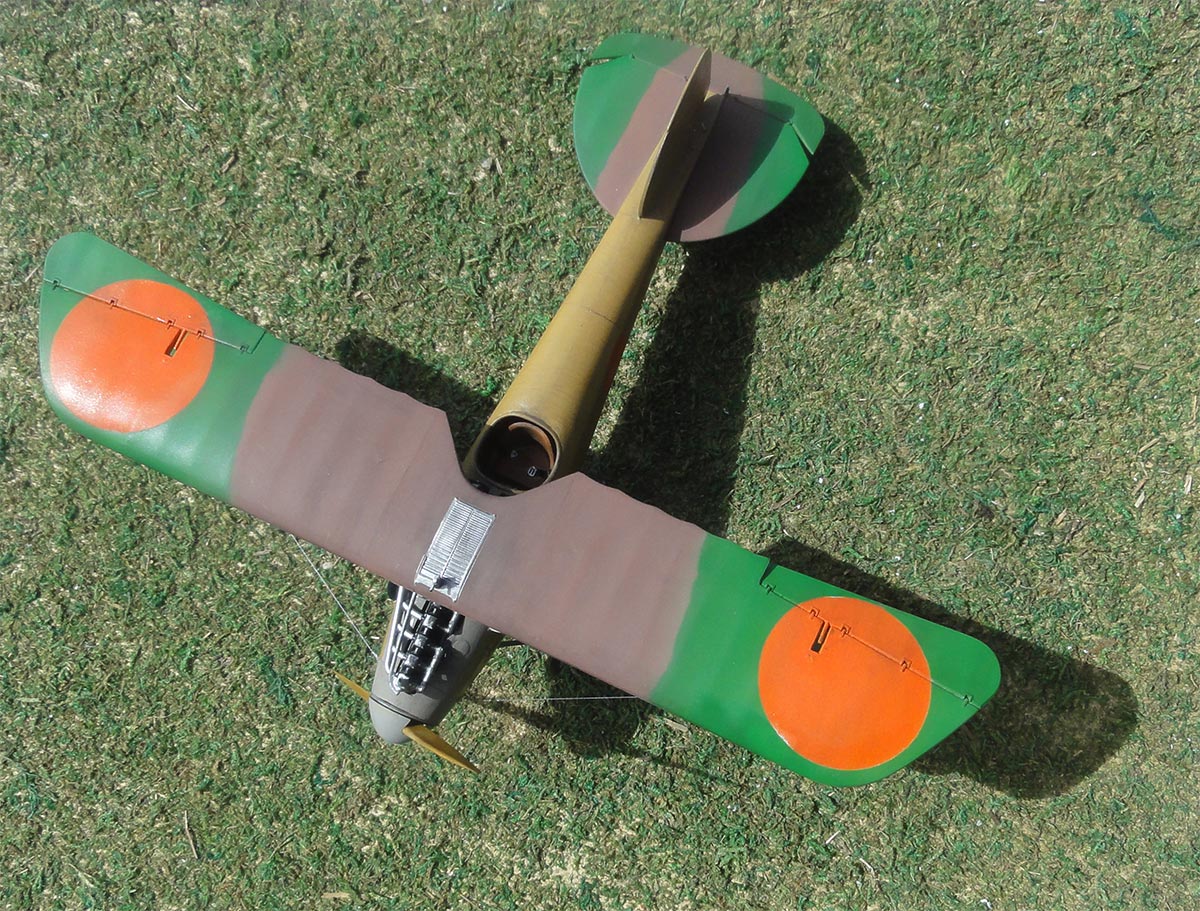
Once the propeller was in place, I noticed that the small water pump on top of the engine behind the propeller appeared to be too small. To rectify this, I used a piece of rod to make it larger. Additionally, I fabricated the two water pipes that connect to and from the upper wing radiator using plastic rod, and secured them in place.
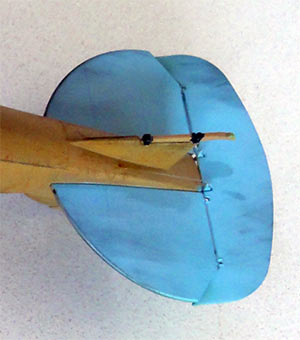
The rear tail glove was set in place and painted in wood brown with black rubber fixes.
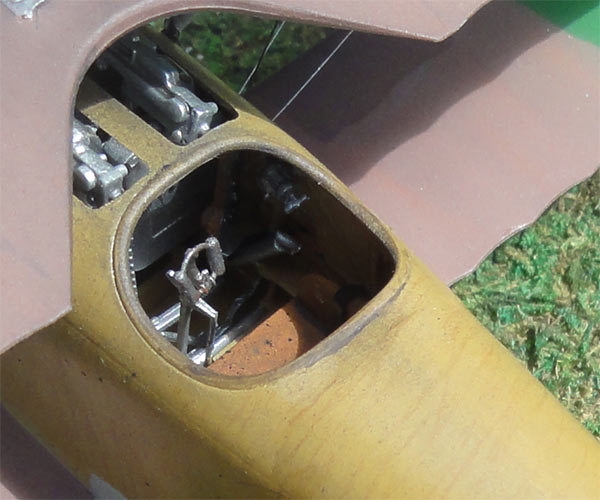
Seat straps were made from tape, and etched metal buckles were added from the spare parts box to complete the look. To give the impression of brown leather upholstery, the rim around the cockpit opening was painted in a slightly darker shade of brown.
(wind screen here not yet fitted).
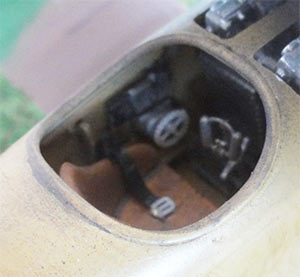
To enhance the authenticity of the model, I added a missing speed indicator, commonly known as the "tachograph," to part #26A. Since the pilot didn't have much more to rely on than his "eyeball mark one," this instrument was a crucial tool for maintaining control during flight.
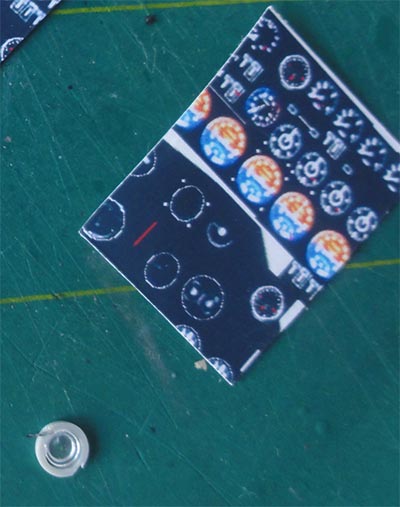
To create the tachograph, I utilized a piece of paper with printed instruments that I had created years ago. I carefully cut out a disk to the correct size and shape and attached it to the designated area using a small amount of glue. The final result looked great and added an extra level of detail to the cockpit.
The kit includes two small windshields of thin transparent film, I mounted screen #2. I made the edge black with a permanent marker. The speed indicator is now also seen.
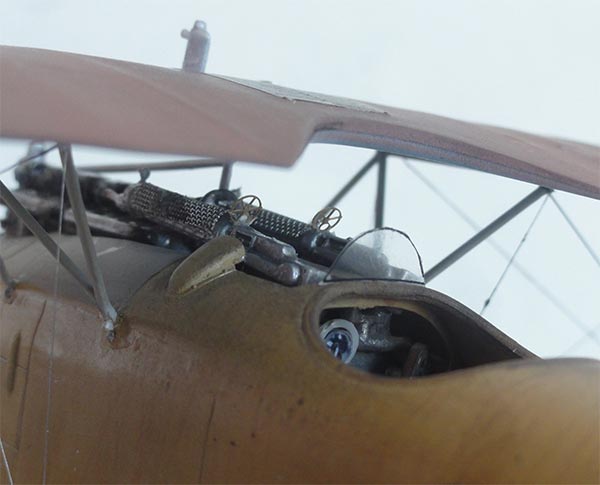
Two small Spandau gun aiming frames were added found in the spares box from etched metal. Note the ammo feeding.
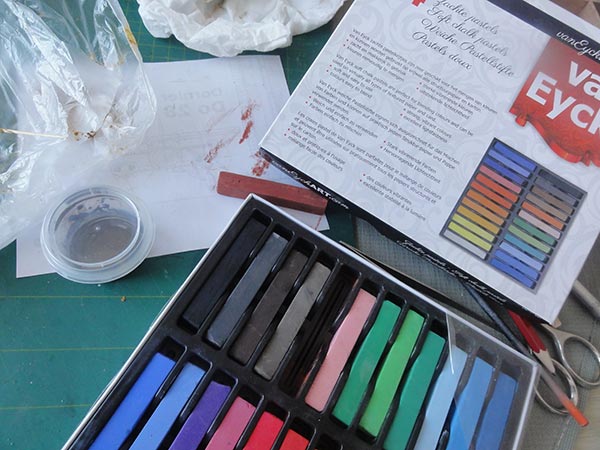
To achieve the final finish, I used a "van Eyck" pastels set from the local discount store "De Action". I applied some stripes of dark brown and dark blue pastel on the lower areas of the model and rubbed them in the direction of flight. This gives the model a weathered appearance, but it's important not to overdo it. Keep in mind that this aircraft operated from grass fields and was made of fabric and wood.
I could not see the LvA registration "AL211" on photos of this particular Albatros, so did not bother further. So it was not necessary to apply a final varnish layer as all markings were airbrushed. That completed the model.
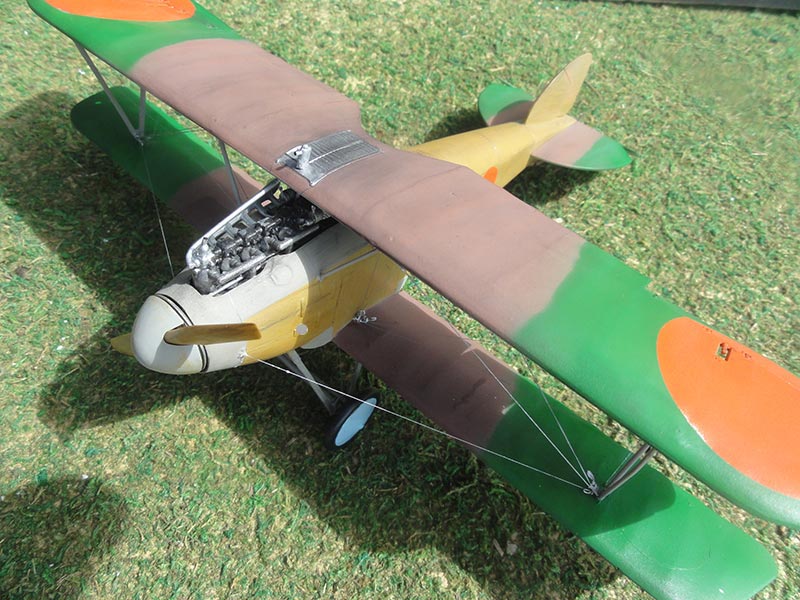

Some views set in a landscape....

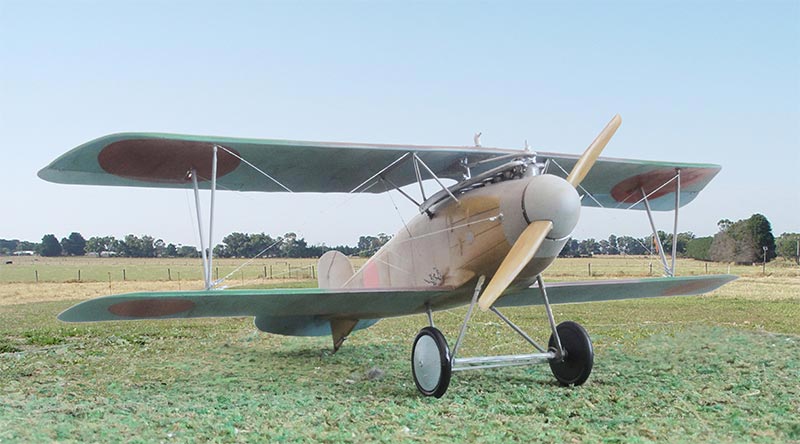
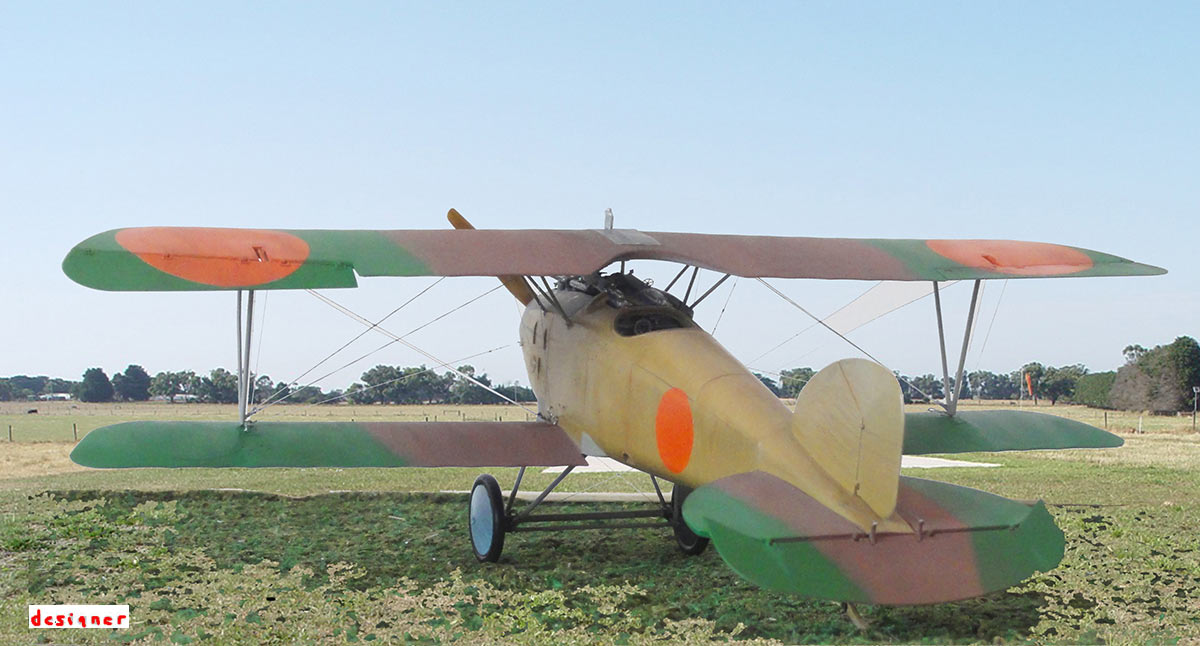
"Flying over the Dutch coast near Texel" (I constructed a pilot in the cockpit)

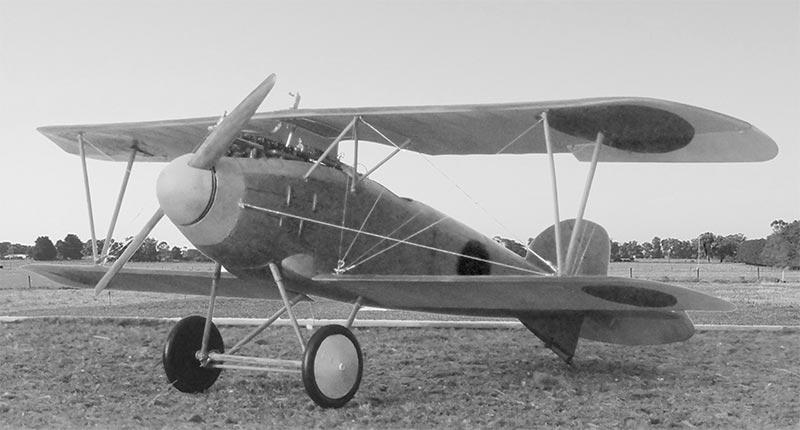
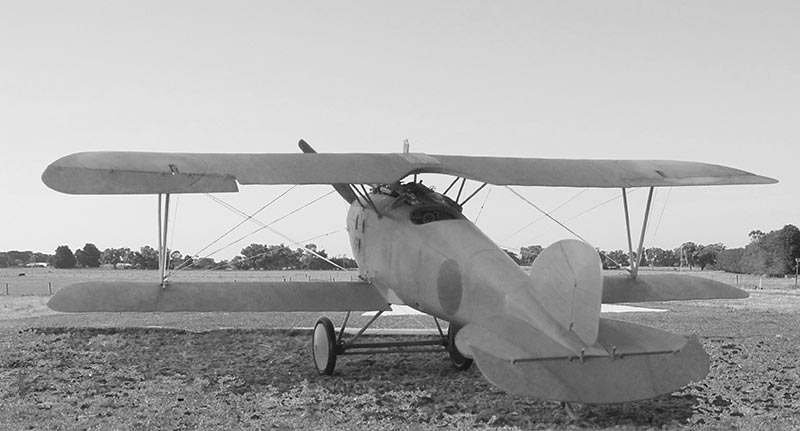
Photos of the model set in black - white. Look very similar to the originals of 1917.
A nice Albatros D.III in 1/32 scale from “the Great War” as interned by the Dutch Luchtvaartafdeeling.
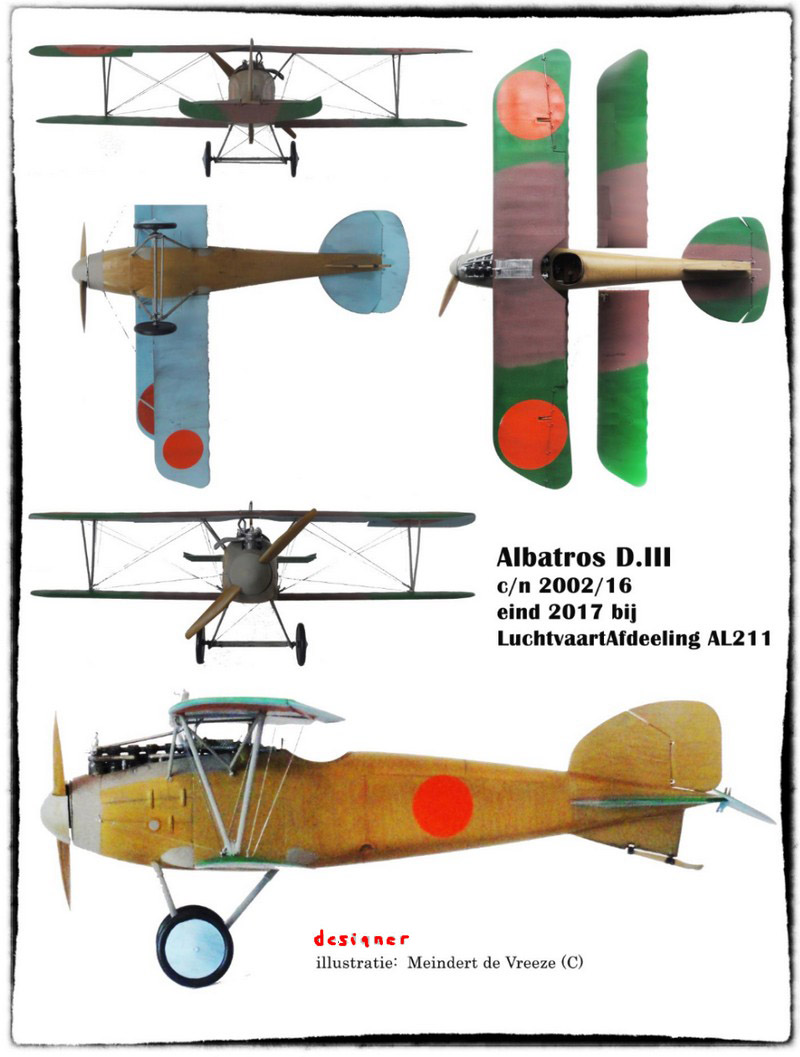
The colour profile drawing/ poster that I constructed (later on) with my model photos:
Back to 1/32 Models

(c) Copyright Meindert "designer"/ All rights reserved. Your comments are welcomed by webmaster
Created this page December 11, 2021