F-2 Fighter JASDF
[Page 2]
F-2 model in 1/32 scale
Conversion from a F-16 kit
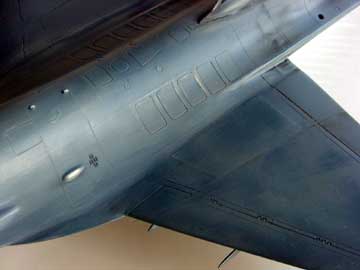
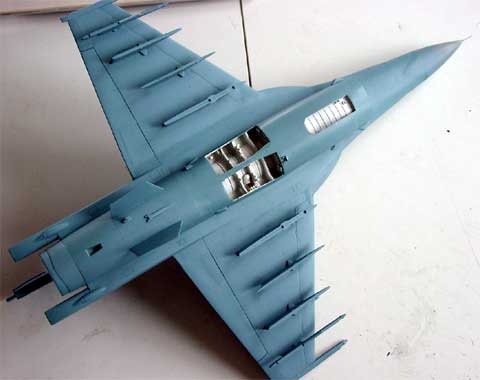
Before painting, several layer of grey base coats were added to check for any errors in filling, sanding, panellines etc. This reveals all flaws. Several corrections were necessary. Below, the junction between the inboard "card" wing and fuselage and outher wing can be seen. Still some sanding is needed, but it is almost OK now.
The overall model received its pylons
etc as they can by airsprayed in one go. Also, the dorsal fins were added,
unchanged from the F-16 kit.
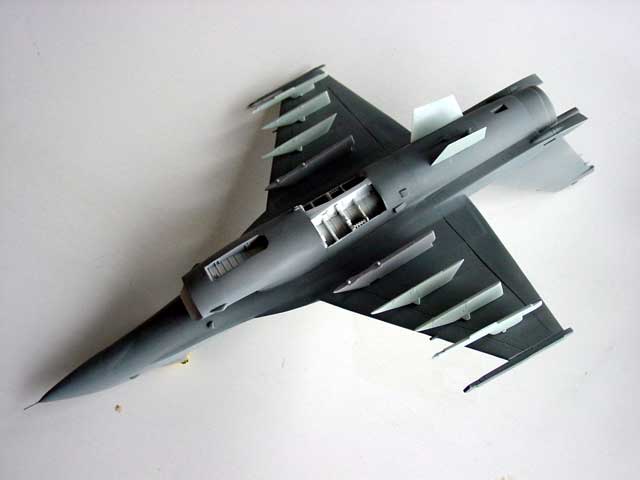
After a light grey base coat (Humbrol
64 light grey enamel was used but any brand can be used), it was time to apply
the final coats.
Now there comes
up a problem. What are the correct colours of this plane?
The 1/72 kit
of Hasegawa indicates
a. Mr.Color
no. 72 / Mr.Hobby Gunze Sangyo 56 medium blue for
the overall lower/upper
;
b. Mr.Color
no. 14 / Mr.Hobby Gunze Sangyo 54 navy blue for camo pattern on top.
It was
difficult to assess the correct colours. From other sources, I found suggestions
as to use Federal Standard FS35164 and FS35109. Suggestions were Gunze Sangyo 56 equivalent
to be Humbrol 144 (being about FS35164). For Gunze 54 = Humbrol 77 was
suggested.
Now, I got
the impression looking at various real pictures of the F-2 that the colors
were more blue"ish" than grey"ish".
Looking
again at the vast array of paints and colour pictures, I first selected
the following paints:
a. Xtracolor
X603 Flanker blue for the overall coat
b. a
mix of 75% Xtracolor X125 (FS15164) + 25% X163 blue angels
blue
for the camo
pattern on top of the plane.
LATER ON, IT
WAS DISCOVERED THIS WAS NOT A CONVINCING CHOICE (MORE ON THAT ON PAGE 3)
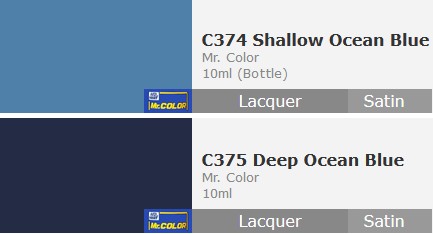
NOTE: Mr.Color has for medium shallow ocean blue (a) C374 and for deep ocean blue (b) C375 lacquer paints:
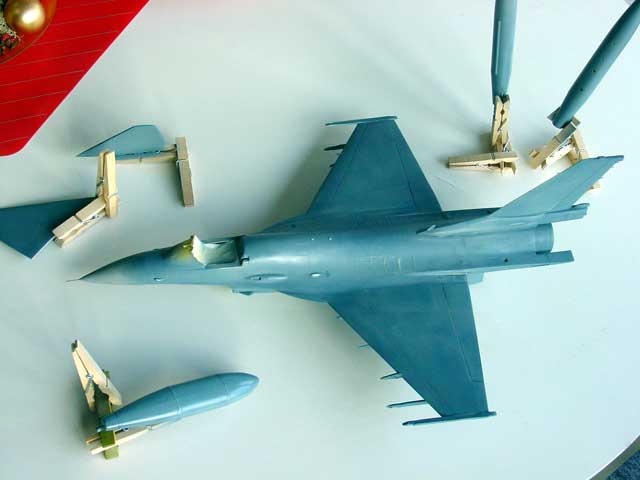
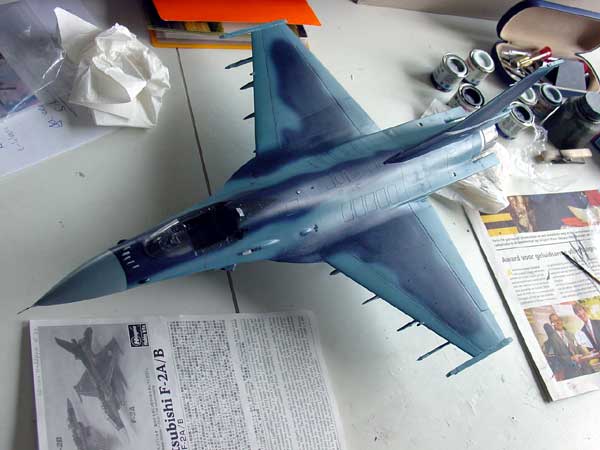
The basic model seen with its overal
coat. The other colour of the upper camouflage pattern is not yet applied.
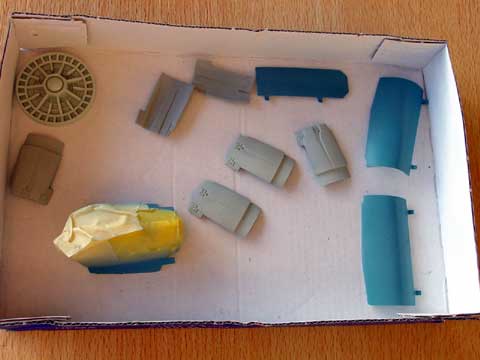
Some of the other parts. The exhaust
has the F-16C GE-100 engine feathers and these are supplied in the
1/32 Revell kit.
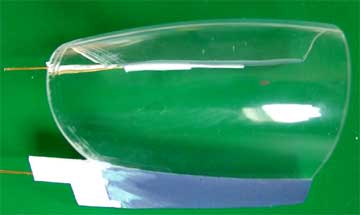
The Revell F-16 cockpit canopy is obviously a single
part. I needed to convert it as the F-2 has a very different canopy
that the F-16. I also had to make the various hinge parts etc.
The F-2 windscreen was made from a piece of transparant plastic as it is single curved. The whole canopy was thus changed in shape and the whole canopy is in a more forward position on a F-2.
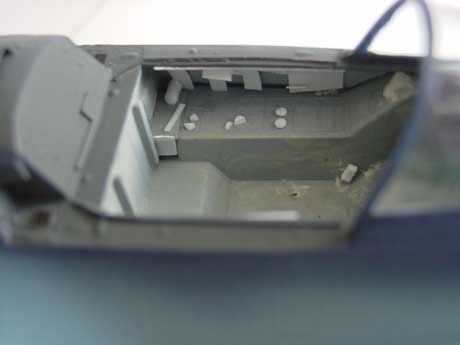
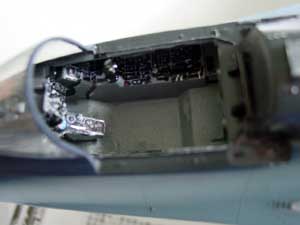
Below, some detail in the main wheel
bays can be seen made from stretched sprue. Still to be further detailed.
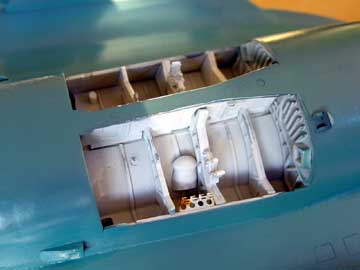
...and the cockpit area

Next steps are to apply the darker
camouflage colour.
After that, to build up the inner
cockpit section and adding other parts.
The initial selected colours were
not convincing me as I looked at the model and various pictures of the
real plane. Again, I started experimenting with various shades of blue
and grey.
I found the following to be the
best
selection:
a. Overall color Blue:
CREATEX acrylic Slate Blue/ "Schiefergrau"; [ it looks like Fed.Standard
35190 ]
b. Pattern: Humbrol 104
Grey/BLue enamel paint [ it looks like Fed.Standard 35053 ]
The model was now sprayed with these
colours and the particular dark blue/grey camo pattern masked as needed.
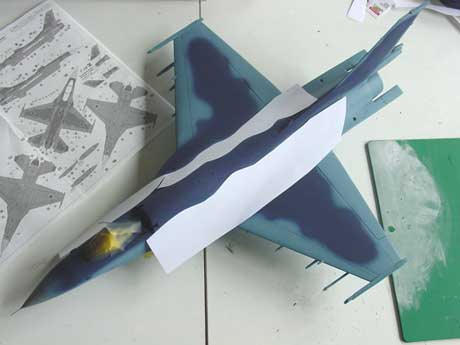
Some overspray you always get (!^@?^!)
and was again corrected.
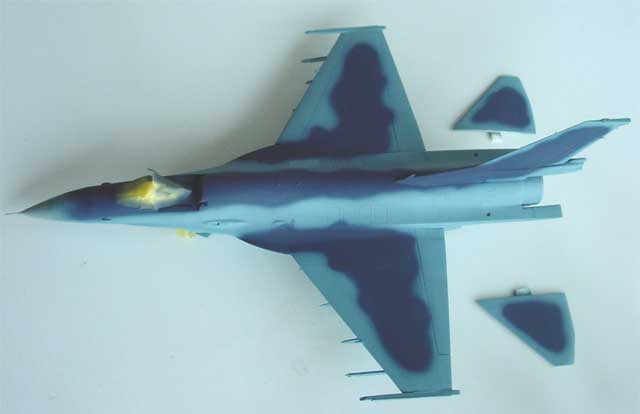
I think this is a convincing result
now. At last I could get on with the rest of this model.
Obviously the lower area is the overall
blue and the pylons were set in place to spray them also.
ALLOW A LOT OF DRYING TIME BEFORE HANDLING THE MODEL AFTER SPRAYING! THE acrylic OF CREATEX IS VERY SENSITIVE TO PLAIN WATER.
Finally, I applied several coats of
Johnson
Future to get a glosh result, ready to take on the later decals.
The F-2 has a windscreen! The hinged canopy section required a bit longer rear arm than I originally thought. This was made with some white card and the fuselage section at the rear screen was also adapted.
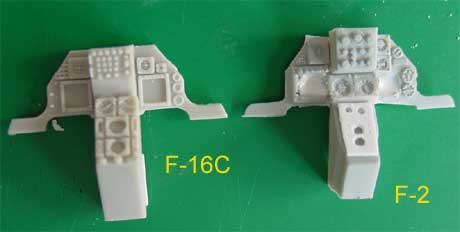
The F-2 instrument panel was made by converting a spare Hasegawa F-16 panel I had. I added the F-16"C" type CRT screens.
The inner F-2 cockpit area is quite
small as is the F-16 cockpit and really not so big. With some stock card
en sprue, details were added. Note that the used Revell F-16 tub already
has some raised details. The side walls were also not forgotten.
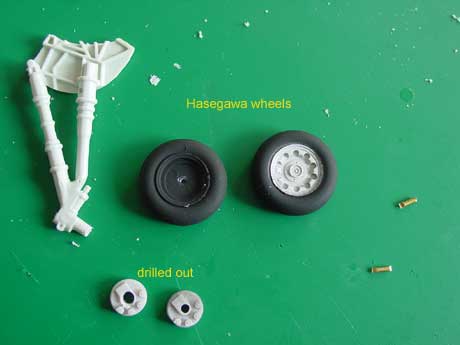
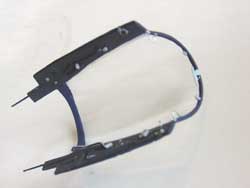
The F-2 wheels came from a spare set I had from the Hasegawa 1/32 F-16 kit. The Revell F-16 gear legs were adjusted and will get these wheels later on. I had to drill out the hole in the brake parts. For strength, small pieces of metal rod will be used at the aisle.
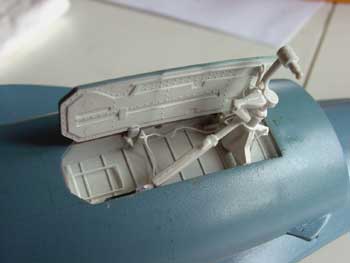
The nose wheel gear bay is seen here
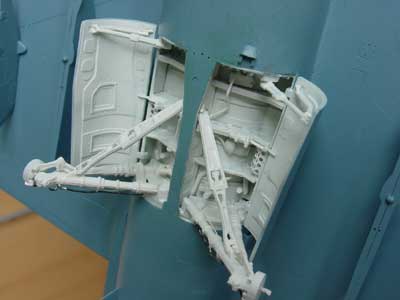
and the main gear bay. Some extra
colours are to be added later on.
 the small cockpit got a set of instrument panels from decals and some raised
detail from sprue and card. The main instrument panel looking like the
F-16"C" panel was also added. Otherwise the cockpit is pretty clean.
the small cockpit got a set of instrument panels from decals and some raised
detail from sprue and card. The main instrument panel looking like the
F-16"C" panel was also added. Otherwise the cockpit is pretty clean.
To next [ PAGE 3 ] ....

![]()
(c) Copyright "designer"/ All rights reserved. Your comments are welcomed by webmaster
Created February 5, 2005