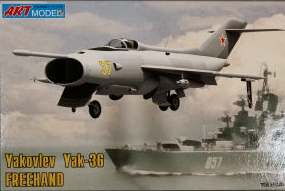
ART MODEL in 1/72 scale
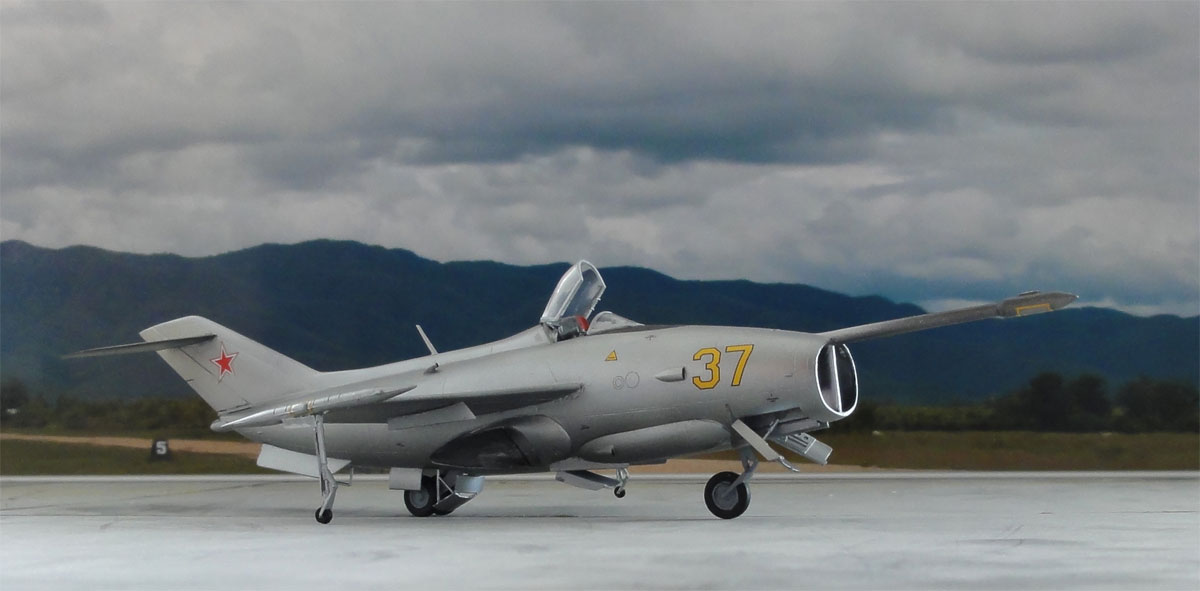
1/72 scale kit of the Yakovlev YAK-36 FREEHAND VTOL aircraft

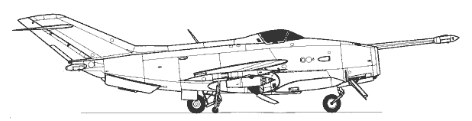
The Yakovlev design bureau designed YAK-36 after seeing a British Short SC-1 at Farnborough 1960 performing a vertical take off and landing and many hoovers... The first Yak was ready in 1964 and its was shown at the Soviet Domodedovo airshow in 1967. It got the NATO code name FREEHAND and it was more a test aircraft and this type was not put into production, but the experience obtained was later used in other VTOL designs like the same type-designated Yak-38 FORGER much later on.
![]()
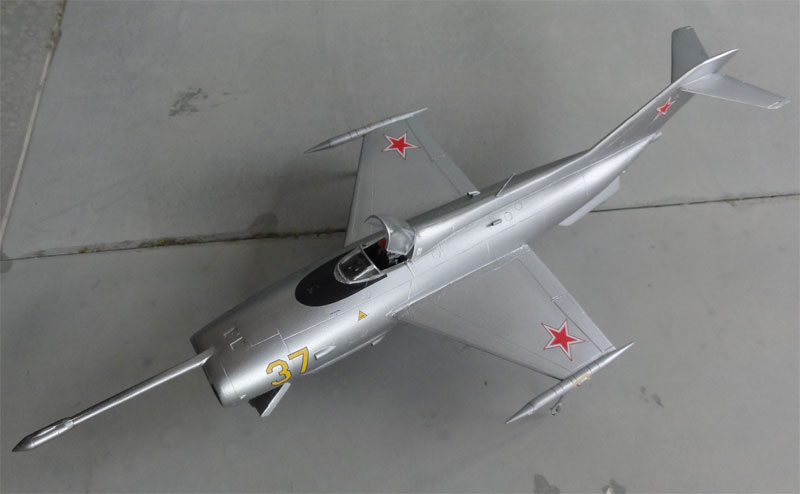
ART MODEL issued this kit in 1/72 scale in 2010 and it has about 50 parts. This is a short run kit but the plastic parts are well done and look for those familiar with AMODEL a bit finer. Some resin parts are provided as well for the exhaust nozzles, 2 rocket pods and the seat. The decals are simple but fine and the panel lines are finely engraved. The instructions are a bit vague.
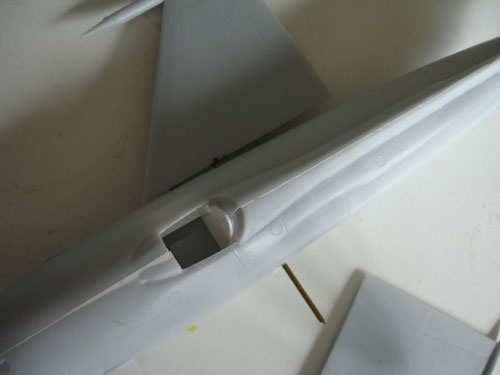
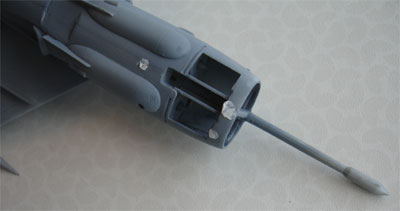
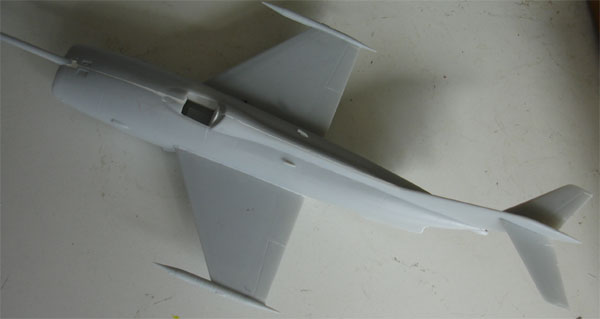
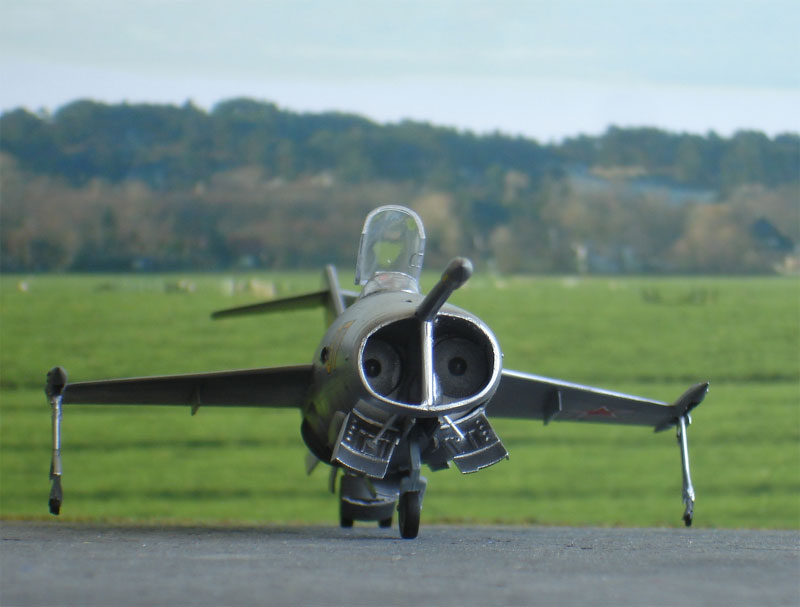
Starting with the cockpit, I added a rear bulkhead in the cockpit and some extra details like simple side panels, otherwise it is very bare and empty. The forward intake needs some work as well, I added very thin plastic card to get a bit of an aerodynamic smooth shape in the intake towards the engine fans.
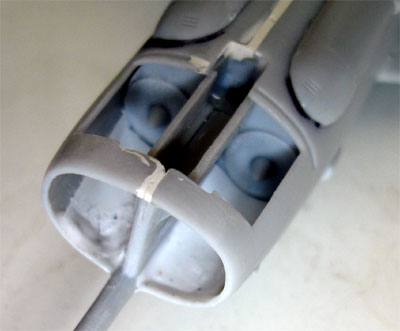
The fuselage at the lower mating surface
was made a bit thicker by inserting a strip of 1 mm card to get a good
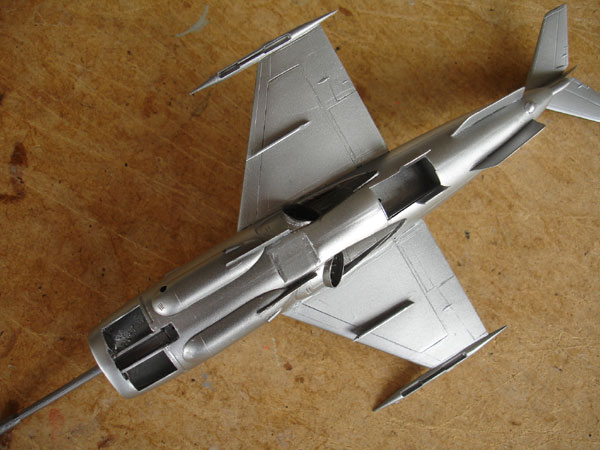
fit. I also had to add the exhaust resin parts from the insides from the
fuselage although they fit excellently. 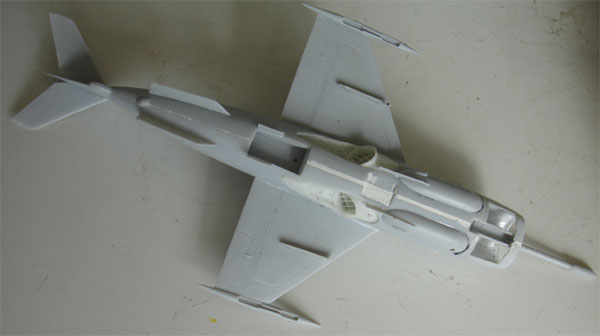
Filling and sanding was needed at various places but nothing hard and that can not be taken care off. Filling was done with ALABASTINE CAR FILLER, which is a white colour putty. This is a fine putty that is cheap, does not shrink a lot and is very fine.
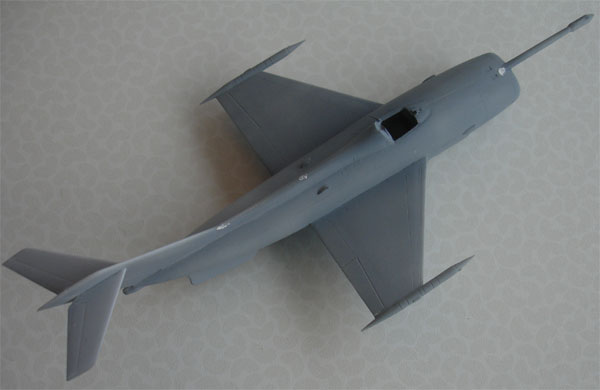
The wing halves are very thin, so
I used metail pins for a stronger joint with holes drilled out and pins
added.
After sanding, the model got a coat
of base grey to check for any flaws. Some small work was still needed.
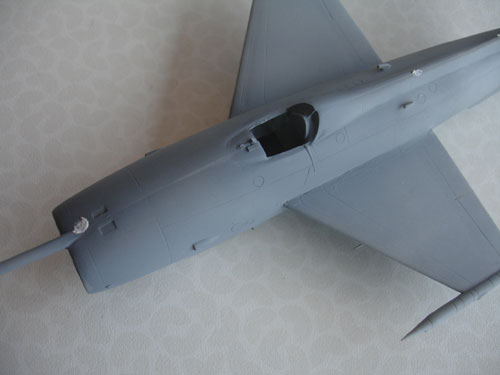
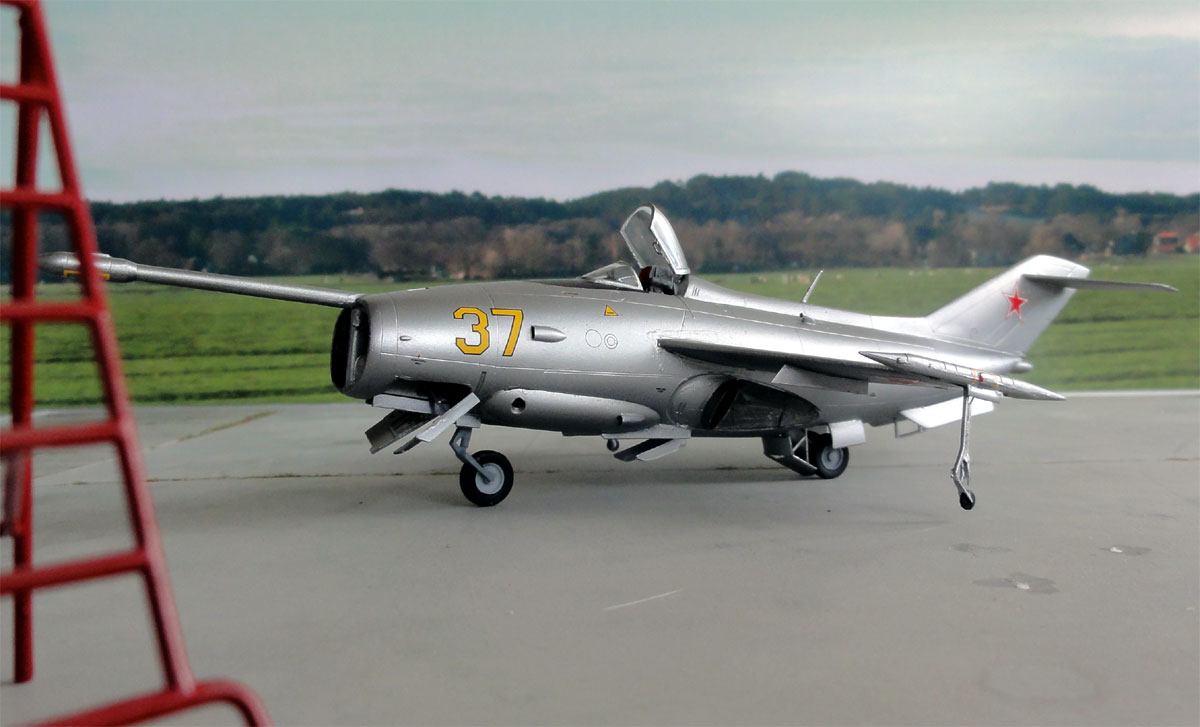
As the model will have a metal finish,
it needs to be absolutely fault free.
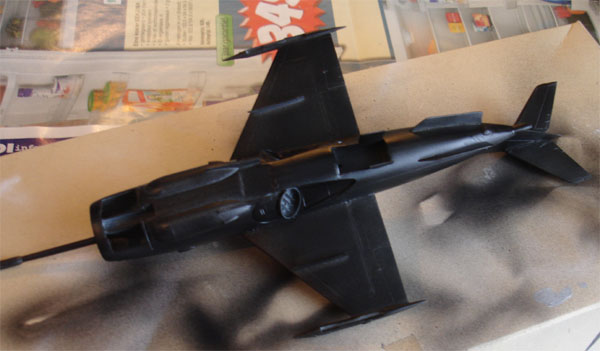
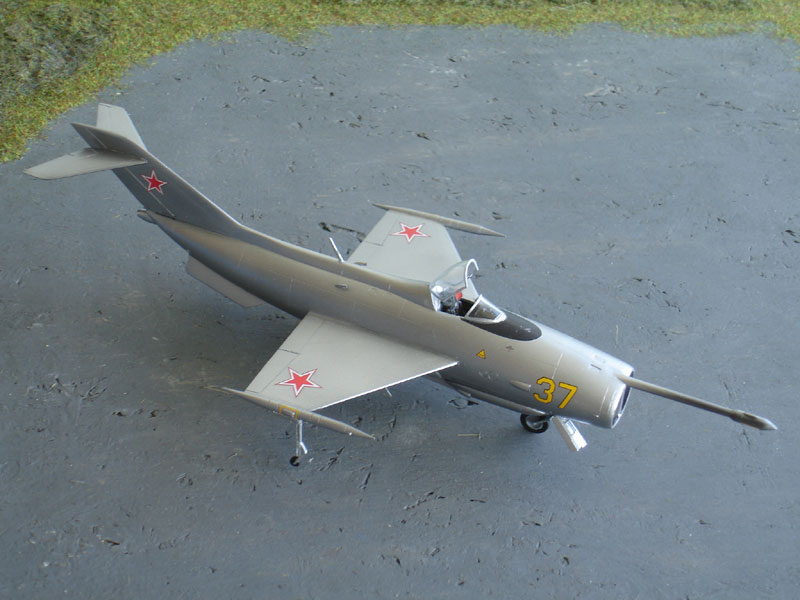
After that, a gloss black coat was added using the airbrush and when dry, followed by a couple op coats of of Johnson Future to ensure that a very smooth finish is there.
Next, a couple of coats of ALCLAD
II gloss Aluminium was applied with the airbrush.
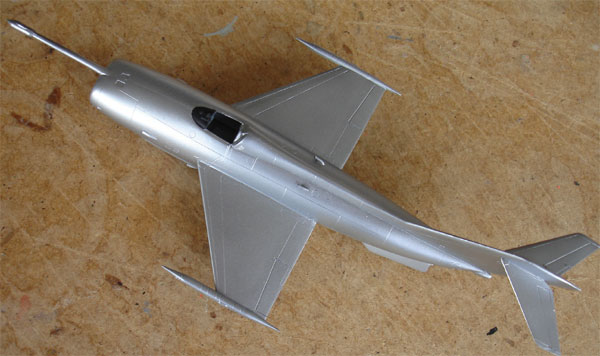
The gloss metallic model was than
ready for the kit decals, which are OK.
Finally, the gears were added and
the canopy. This is a one piece canopy, so it needed a cut with a very
fine razorsaw to set it open. The seat was added and the smaller antennas
and the black anti-glare panel added using the decal. This was made matt
with a dull coat of varnish.

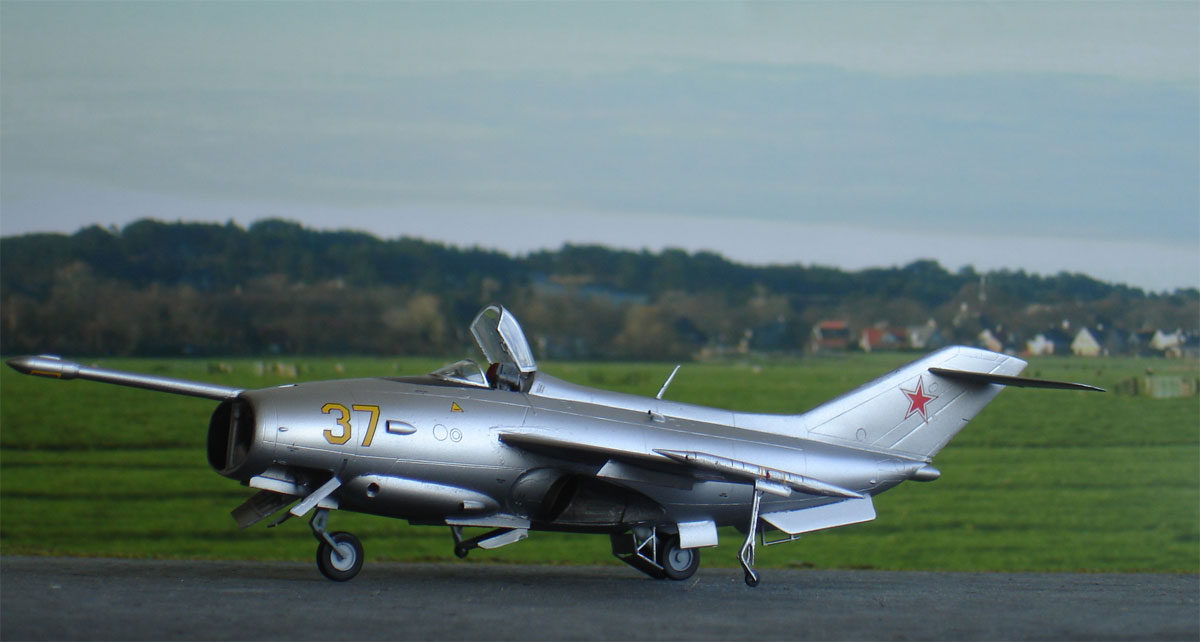
This model is a nice addition in the Soviet model collection.
References:
http://en.wikipedia.org/wiki/Yakovlev_Yak-36
Back to 1/72 Models.......

(c) Copyright Meindert "designer"/ All rights reserved. Your comments are welcomed by webmaster
Created this page July 17, 2011