Trumpeter conversion
[ page 3 ]

.... continued from trainer previous conversion page ...
After over 6 weeks drying time, the AK Black base and microfiller paint had finally dried. It was not needed to strip the model to remove all paint. But I threw away the AK Primer Black paint and will not use it again.
Meanwhile, I had investigated a nice paint scheme....

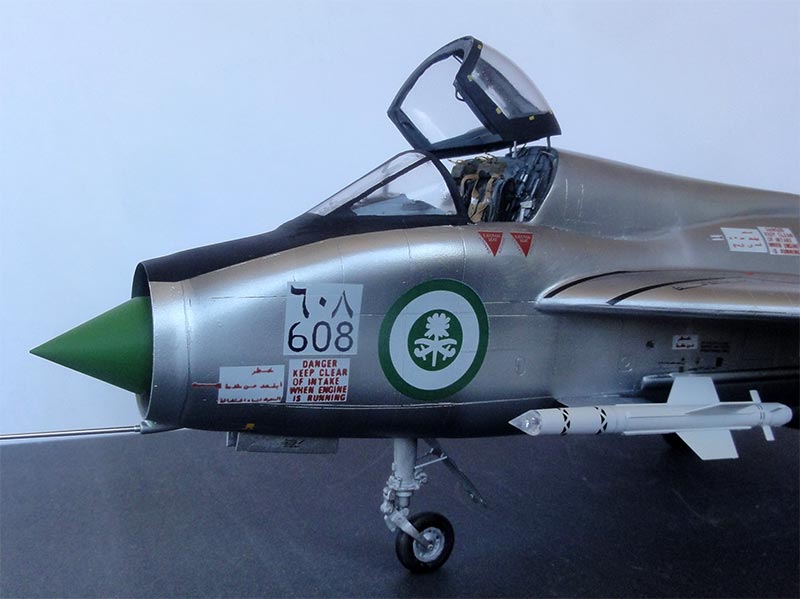
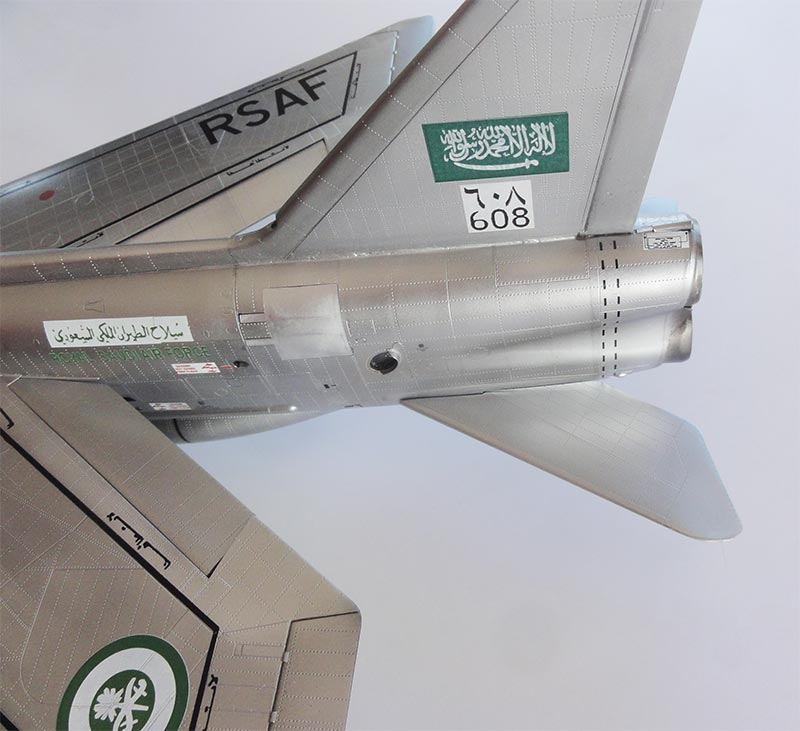
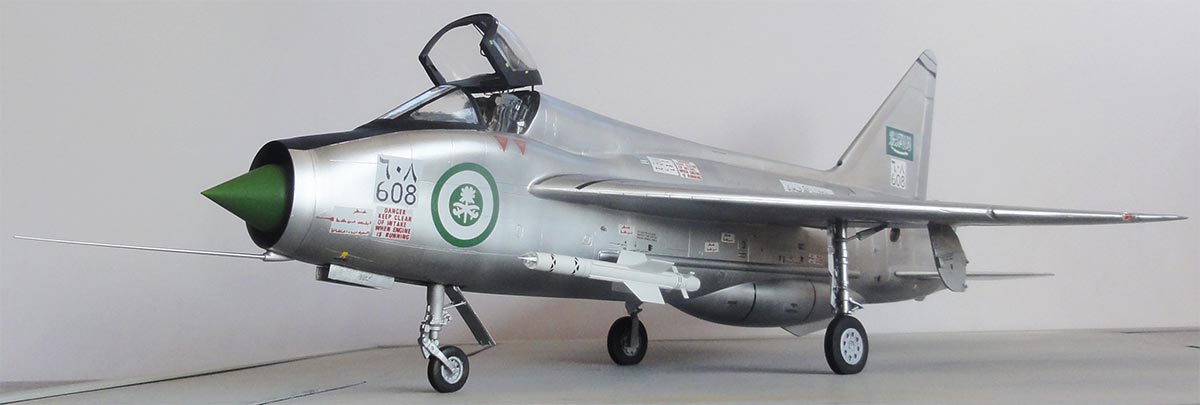
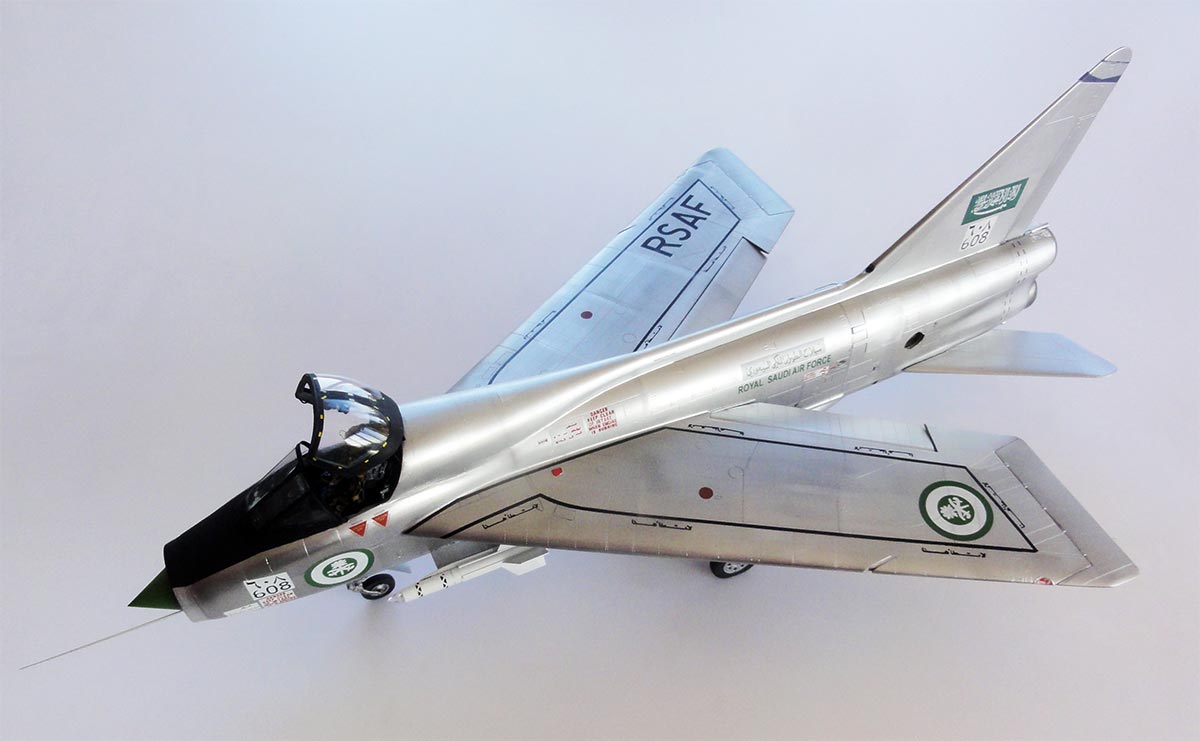
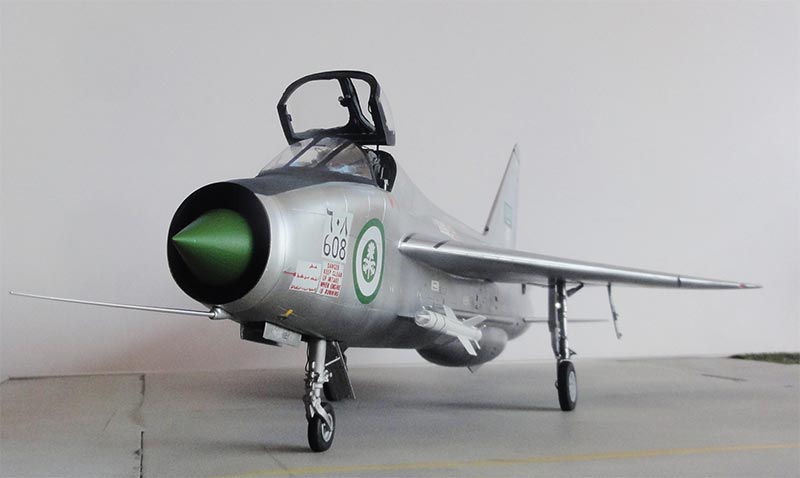
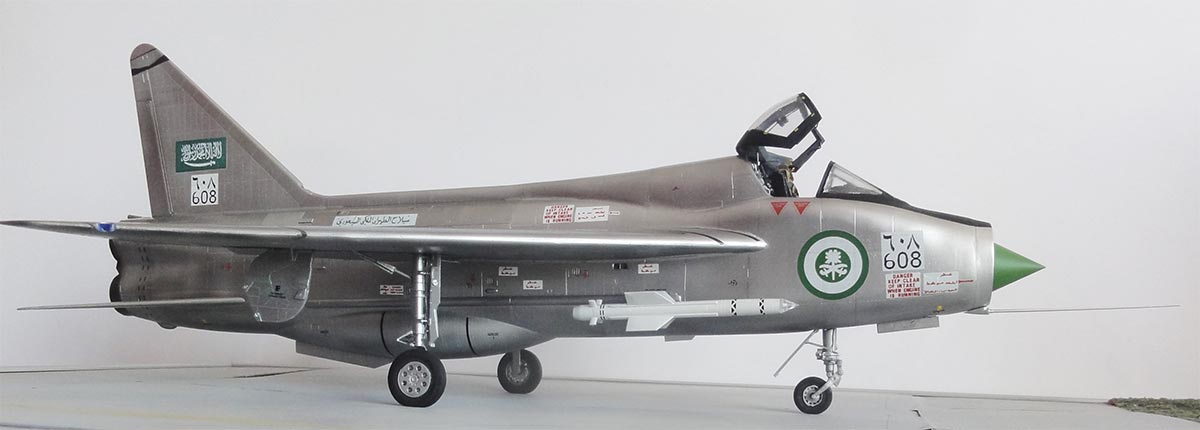
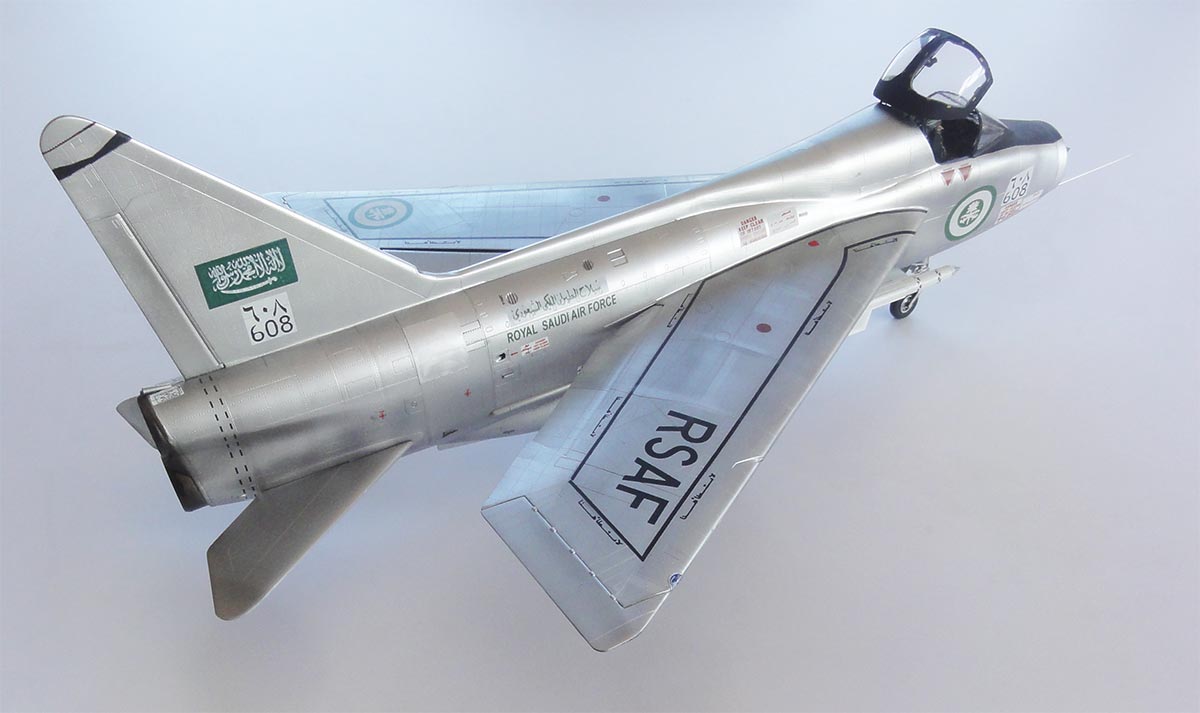
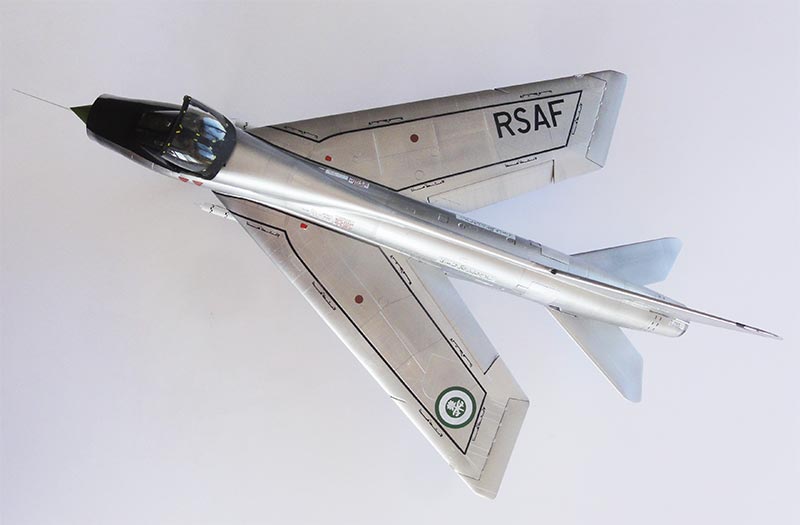
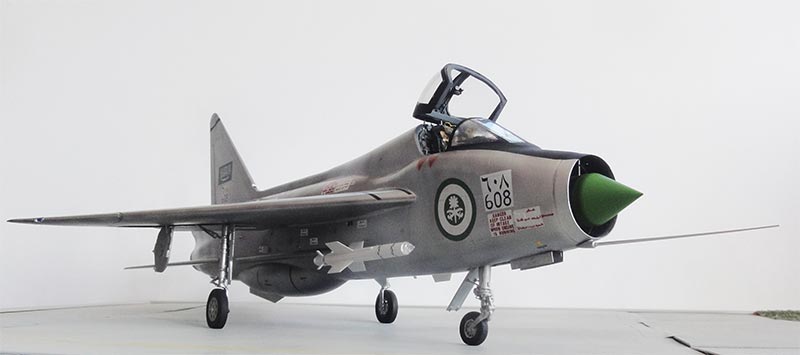
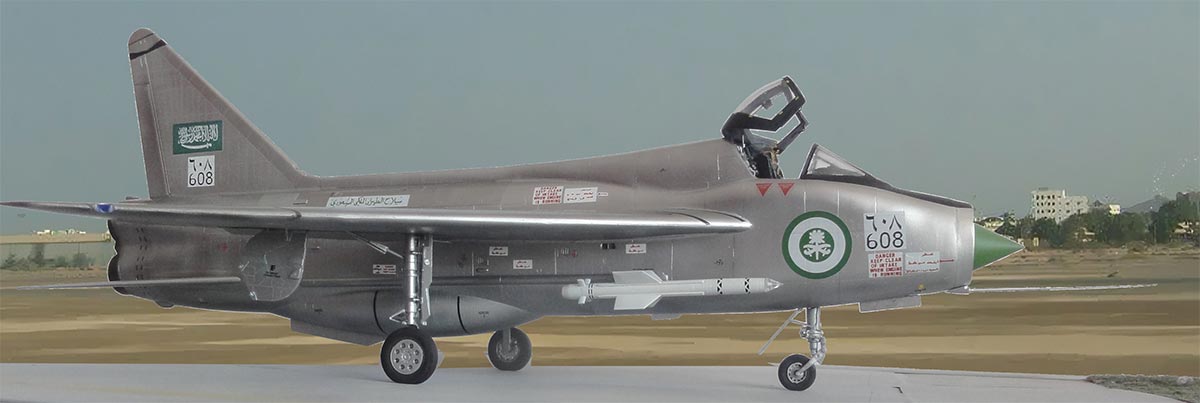
The scheme picked was for a Lightning trainer T4 mk.54 of the Saudi Arabia Air Force. Two Lightning T4 mk.54 and 7 T5 mk.55 two seat trainers were used at Dharan air base. All Lightnings had a natural metal finish.
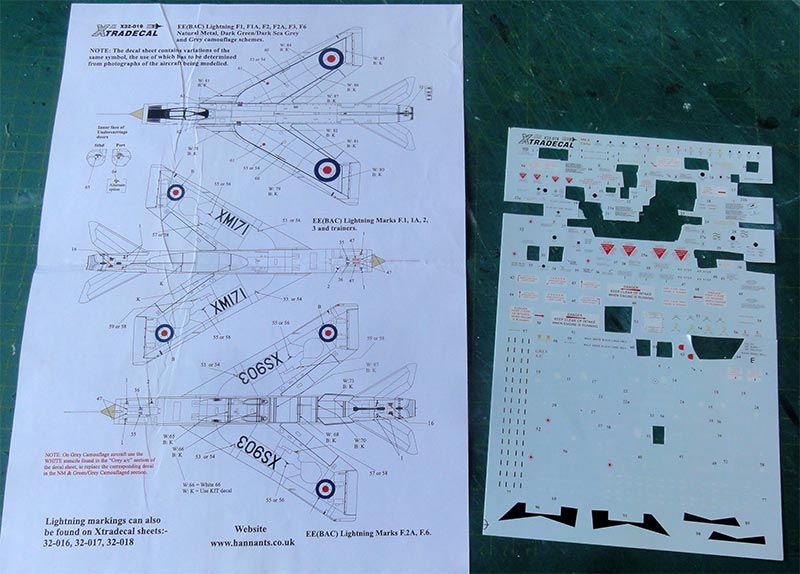
I could not find after market decals in 1/32 so designed and drew the patterns on the PC. Various photos were studied, see references.
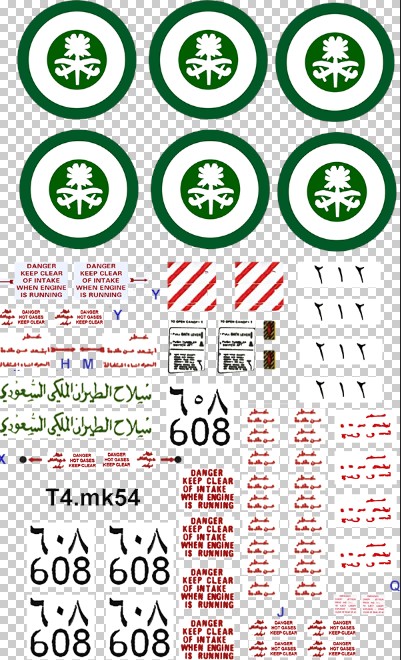
The old style Saudi roundel diameter was estimated to be about 32 mm. Some smaller stencilling like "NO STEP" were also designed and custom printed by a Third Party.
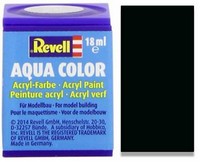
The model was polished with polishing paste and cleaned up. It than got a few NEW thin black coats with my usual good old Revell Aqua gloss Schwartz acrylic paint. This worked fine and dried within 15 minutes. The model was set aside for a few days.
 TIP:
TIP:
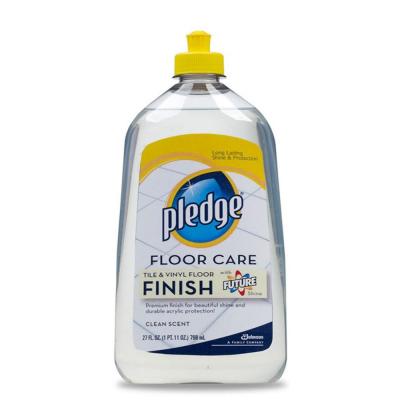
The model would get a natural metal finish. A good way to fill tiny scratches
is to airbrush few thin coats
of Johnson Future / Pledge acrylic floor varnish before setting any metal coats.
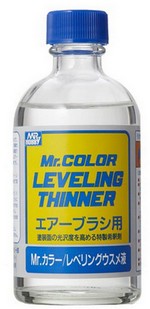
This will fill the tiny scratches. Thin the Future/
Pledge with 25% Gunze Sangyo Levelling Thinner and this will give an
excellent smooth result.
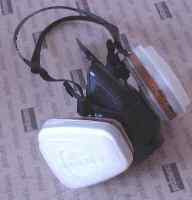
The natural metal finish was accomplished with ALCLAD metallic paints. Ventilate the airbrushing area and wear a face mask! I had a bunch of old ALCLAD bottles. Nowadays, the paints seem to have a different consistency.
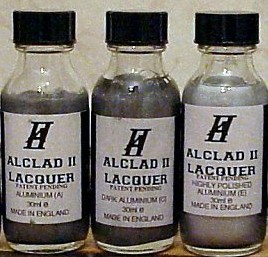

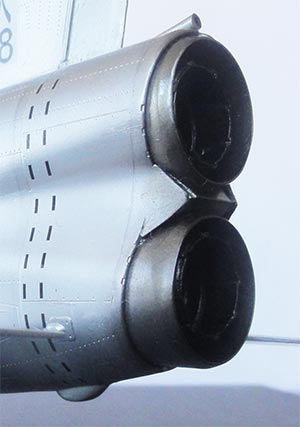
The paint mostly used was ALCLAD ALC-115 polished aluminium, followed by a few panels with ALC-119 airframe aluminium, and at the exhausts ALC-113 jet exhaust.
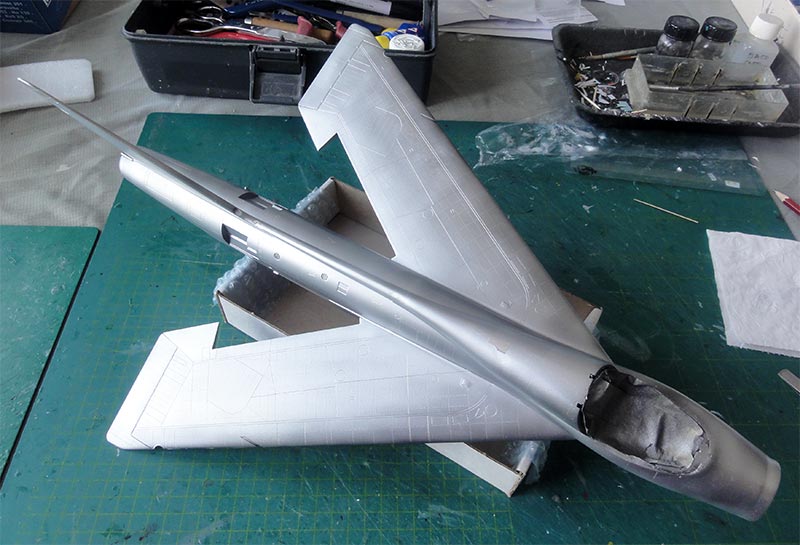
Masking of the panels was done with very very low tack tape or if you have them use "Post IT" papers. The surfaces were lightly polished but avoid new scratches.
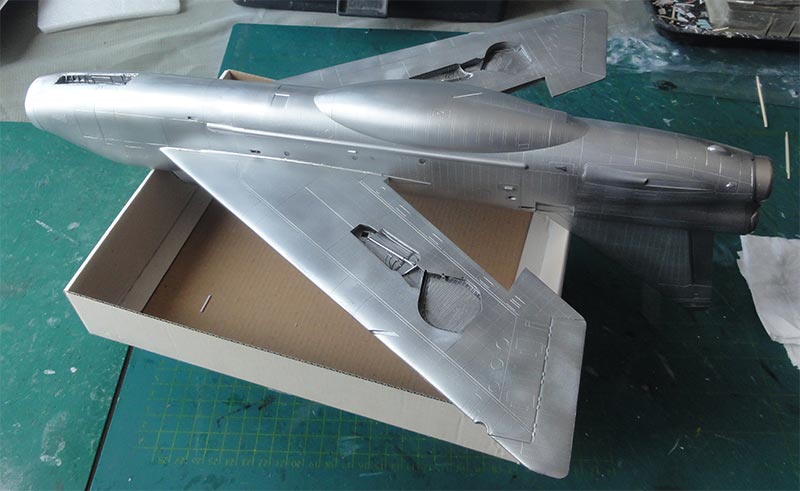
Some panel lines were accentuated with a soft pencil and some lines with painted acrylic metal with a fine brush. At the old fashioned vertical fin, some panels were painted black. The anti-glare panel was also airbrushed mat black with some masking.
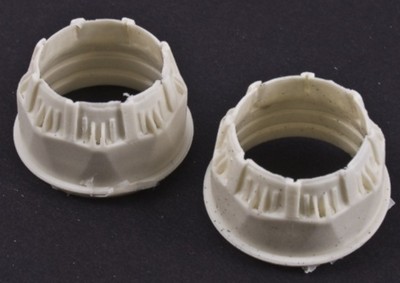
The much better looking resin exhaust parts from a Master Cast set MST32040 had been installed. The rear lot was airbrushed after masking ALCLAD ALC-113 jet exhaust metalizer.
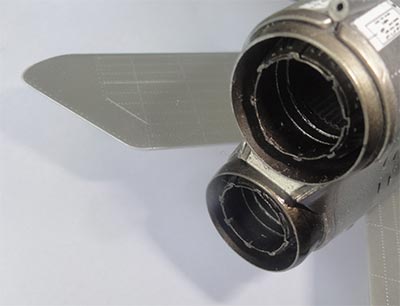
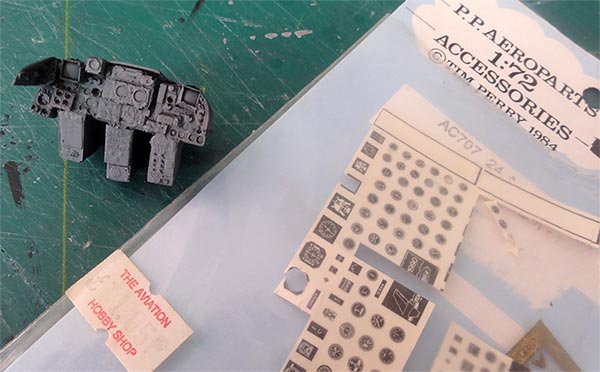
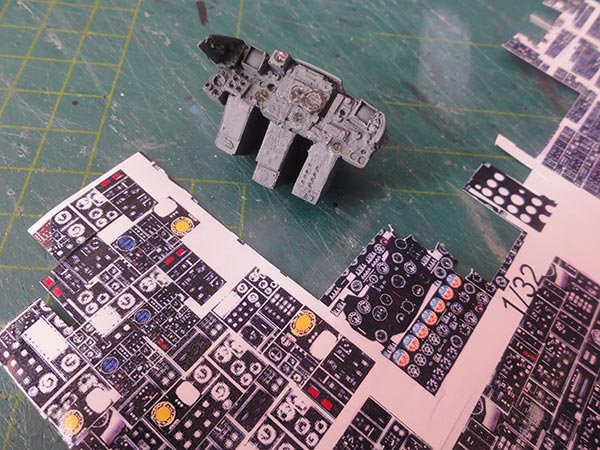
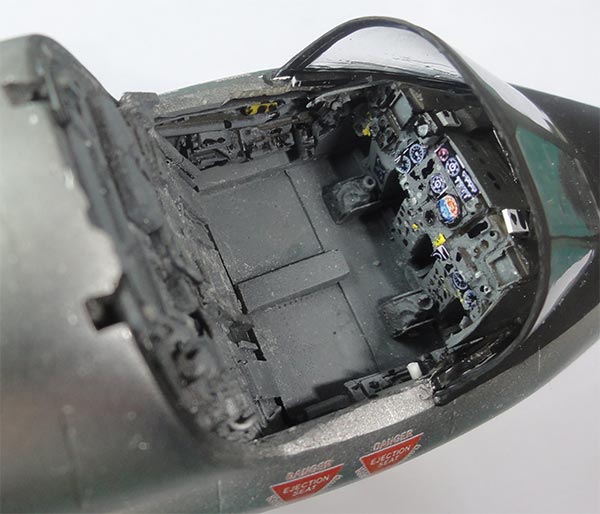
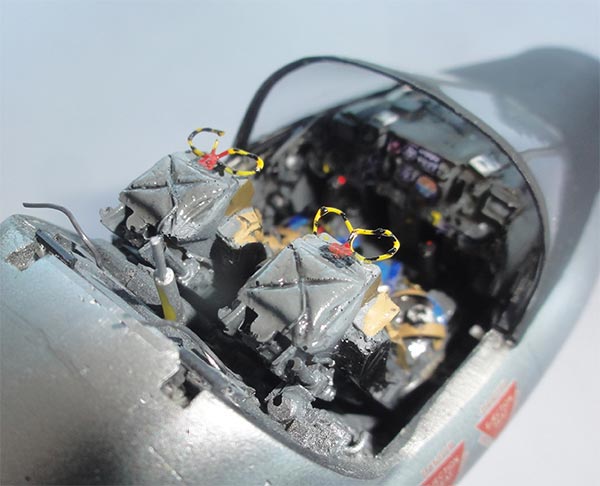
The trainer cockpit was now detailed further. The Whirlybird conversion set has very nice resin details including a nice wide twin instrument panel and a pair of ejection seats.
The resin instrument panel was airbrushed as was the cockpit interior medium sea grey. The instruments were suggested with a mix of decals, home made spare decals and paint.
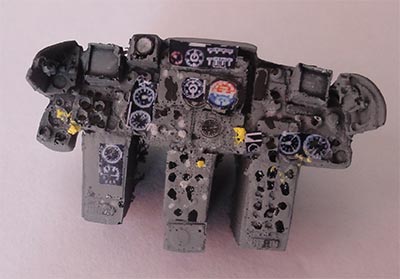
The instrument panel and coaming was installed as were other cockpit detail bits in the cockpit tub. Some gaps needed to be closed between the coaming and the fuselage. The 2 pairs engine control handles were added made from plastic rod.
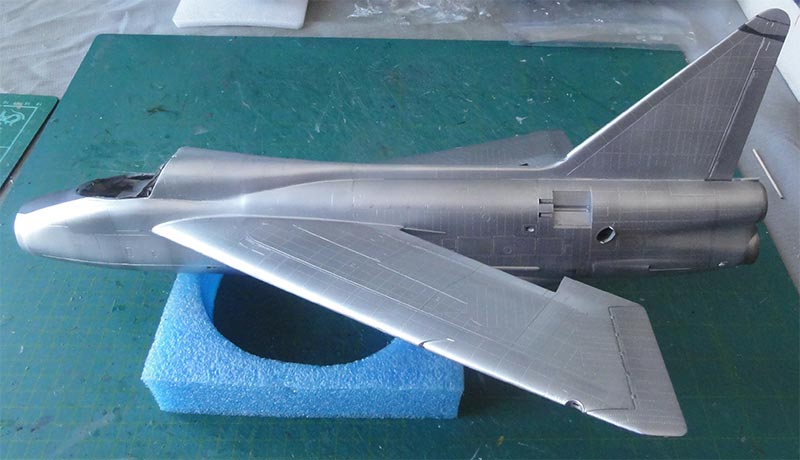
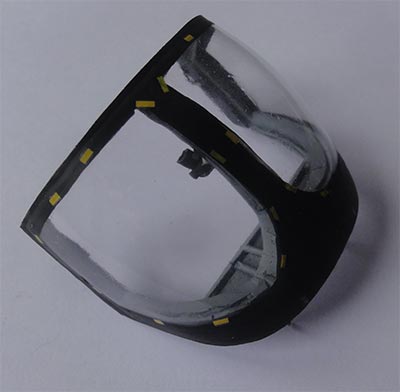
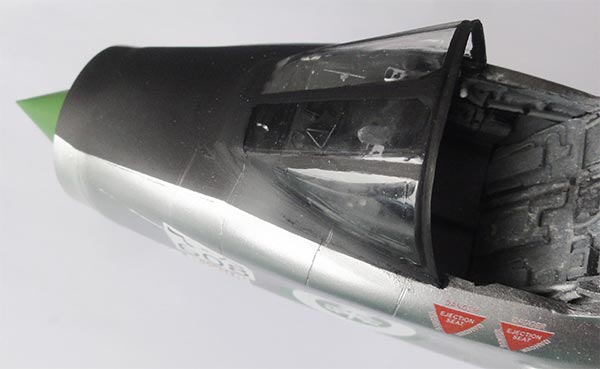
When I purchased the Whirlybird set at the IPMS UK Nationals Telford show I was informed that the vacu canopies were not good enough so a new canopy set would be shipped afterwards.
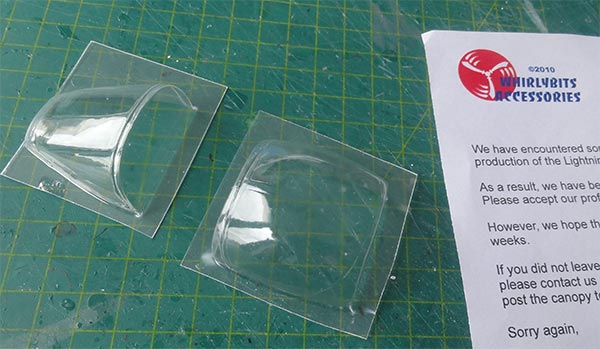
The old ones are seen here...
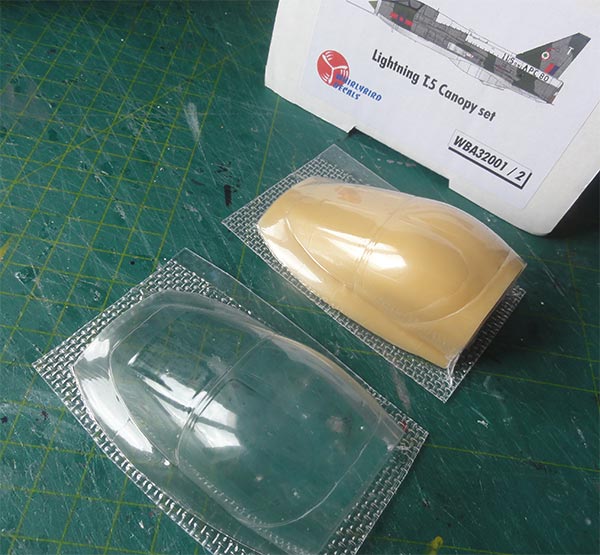
After a month I got per post a new set with 2 transparant vacu parts for wind screen and canopy. Very good service! Here the new set...
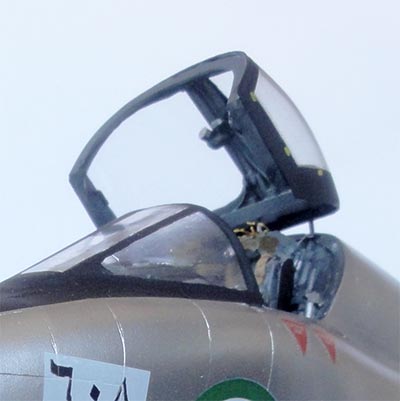
Cutting out these clear parts needs careful study where to cut with fine scissors. The internal frame is a resin part that was airbrushed dark sea grey. A metal rod was installed at the rear to set the canopy tilted open. The rod ends will go into 2 holes drilled in the fuselage edge to fit it. Some details were added inside the canopy from stretched sprue and plastic such as the mid lighting assembly. I could not see any rear view mirrors inside the canopy on photos.
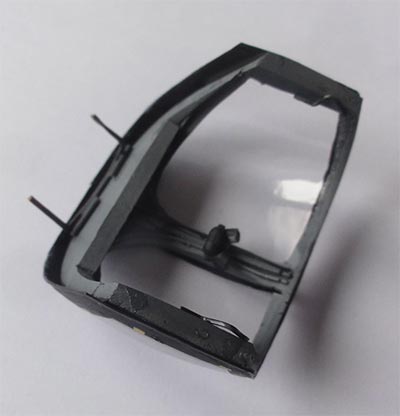
On the outsides, small yellow stripes were added from decal. The big trainer canopy will be kept detachable and a few wires were installed at the rear that will fit in 2 small holes the fuselage spine edge.
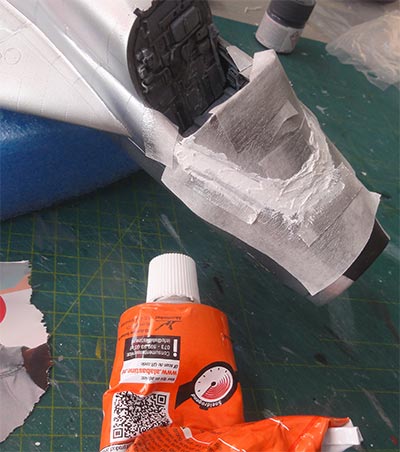
The vacuform wind screen installment is not so easy. Glueing the wind screen is tricky, I only used very tiny drops of superglue to avoid fogging. There will remain gaps and these gaps are too big for white glue. They were closed with strip and putty and also a fairing was built-up. Masking tape protected the surrounding paint surfaces.
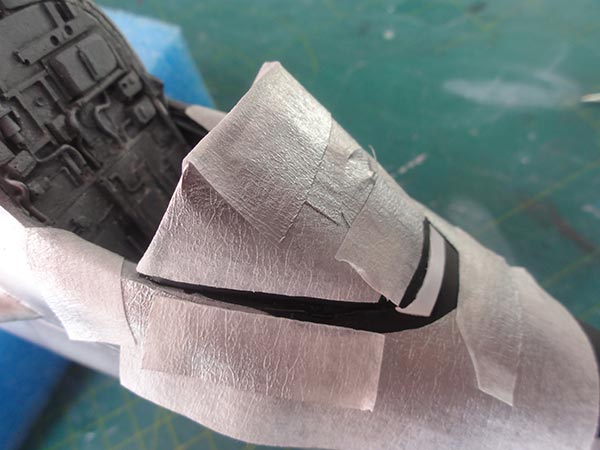
Sanding was done to get a smooth result. The area was airbrushed black, note the kink in the demarcation. The radar nose cone was airbrushed mat green and set in place.
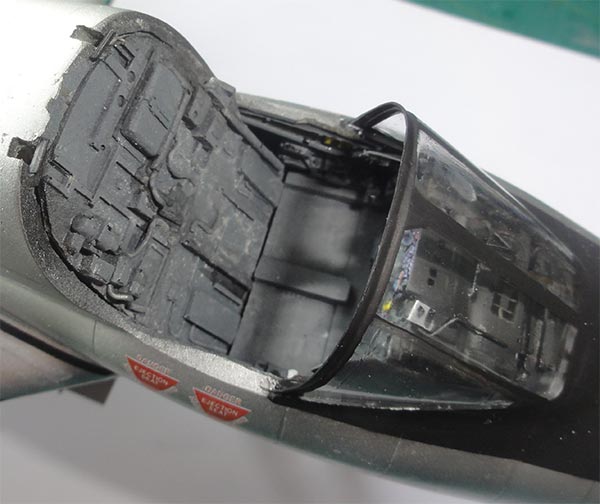
The various details like the pair of display unit screens are seen and the engine control handles.
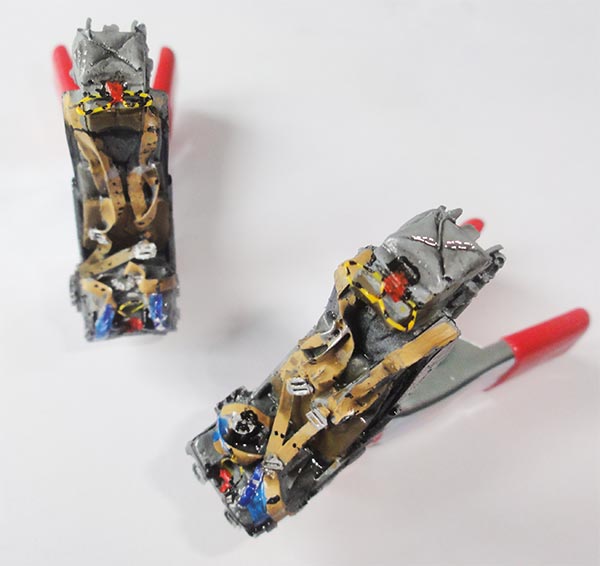
The ejection seats are provided as resin parts in the Whirlybird set and look very good. I could not determine the exact Martin Baker ejection seat type for the T4, but assumed a pair of MB mk.4BS seats were installed. I used the excellent Echelon Lightning seat paint instructions so these were painted: base frame medium sea grey, black upper frame side and cushions of tan, oliver drab and black lower para pack. Upper face screen handle is yellow with black curled stripes as is the lower firing handle. I added a few metal buckles from a spare etched metal fret. The two seats will be installed later.
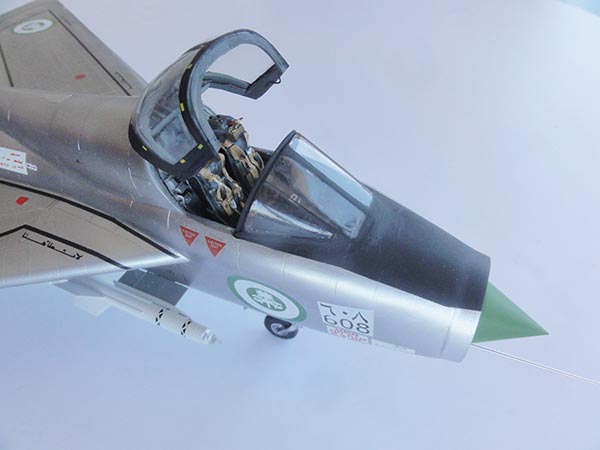
The decals for the desired Saudi paint scheme were applied. These decals had been home designed and custom printed by a Third Party. I had also included the long walk way lines. The model surfaces are glossy so no need for a prior gloss varnish coat here.
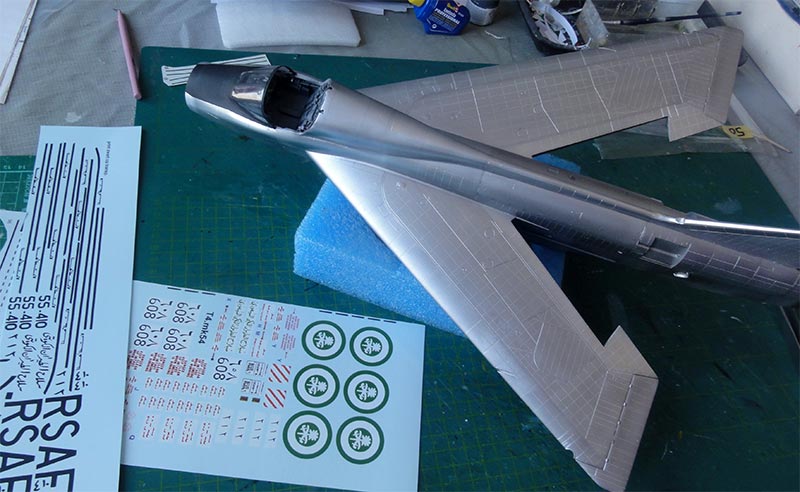
The smaller stencils came from various sources: spares from the Echelon kit, Trumpeter kit decals and Xtradecal stencils set X32-019.
Note the Arabic "no step" markings and old style roundels. Some Saudi Lightning showed texts on white panels, others not, so photos were studied.
NOTE: I have also designed 1/32 decals for SAUDI AIR FORCE single seat Lightnings along with KUWAIT Lightning decals. Look at my decals page.
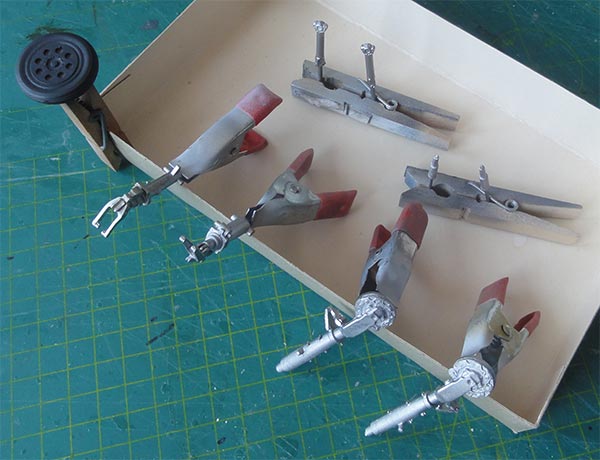
The kit undercarriages were now handled. Check out the excelent ECHELON drawings.
The 1/32 Trumpeter Lightning kit has unfortunately some other inaccuracies:
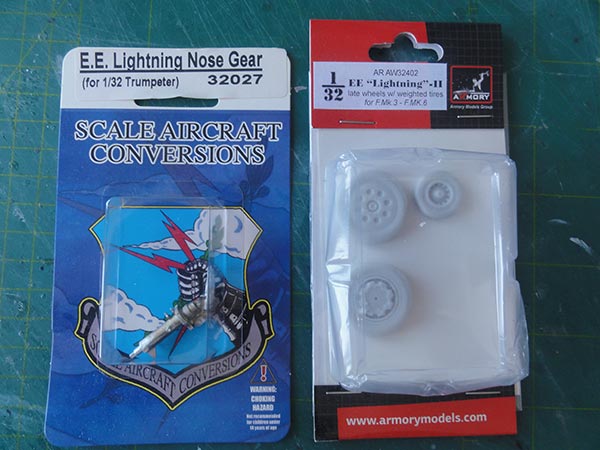
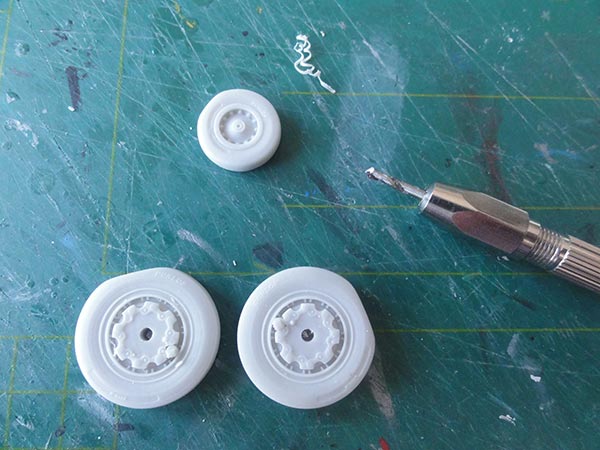
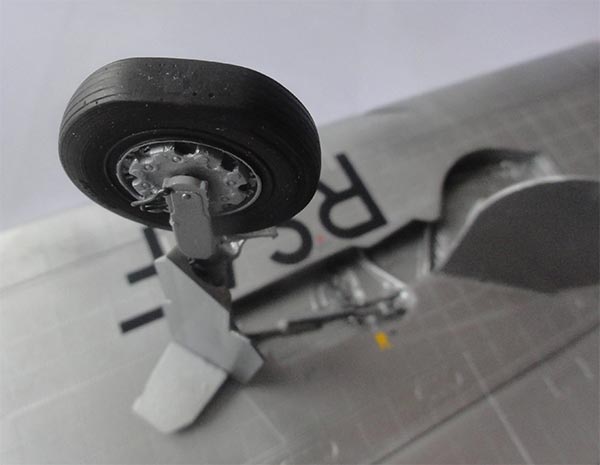
The rubber wheels are 1 1/2 mm too large in diameter. And I don't like rubber vinyl. So I bought an aftermarket set from Armory #AW32402 with new resin wheels from mr. Karabyn of the Ukraine. These look very good and have a correct diameter.
The Armory resin wheel hub holes were drilled a bit wider to fit onto the gear leg stubs.
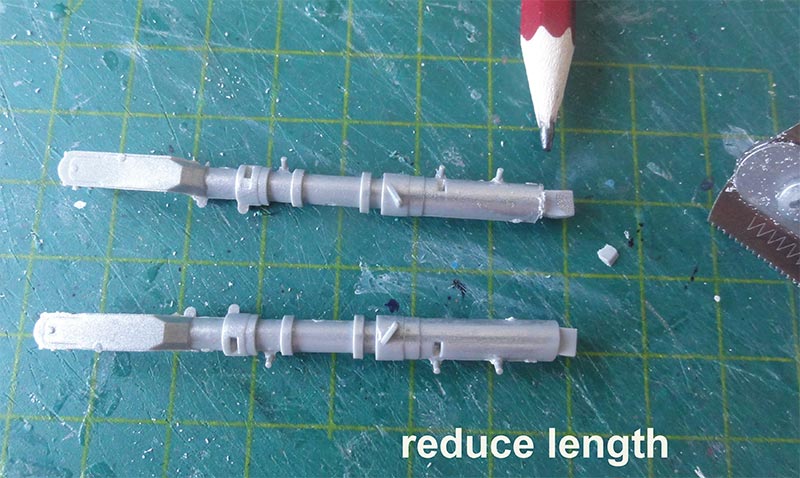
The Trumpeter kit has both plastic and soft metal gear parts in the kit. But the main gear struts #G7 and #G10 of the Trumpeter kit are however 3 mm too long. I used the plastic parts as at the top end 3 mm was removed. Remove from boxed peg shape. Sanding was done to get a new box shape in order to install so the model will "sit a bit lower".
The corrected gear struts and wheel hubs were airbrushed aluminium and the tyres were airbrushed "tyre black".
Now the main gear parts could be installed using the Trumpeter instructions as guide. Inside the bays and on the gear legs hydraulics tubing was added made from JMC Hobby lead wire which is flexible. Look at photos.
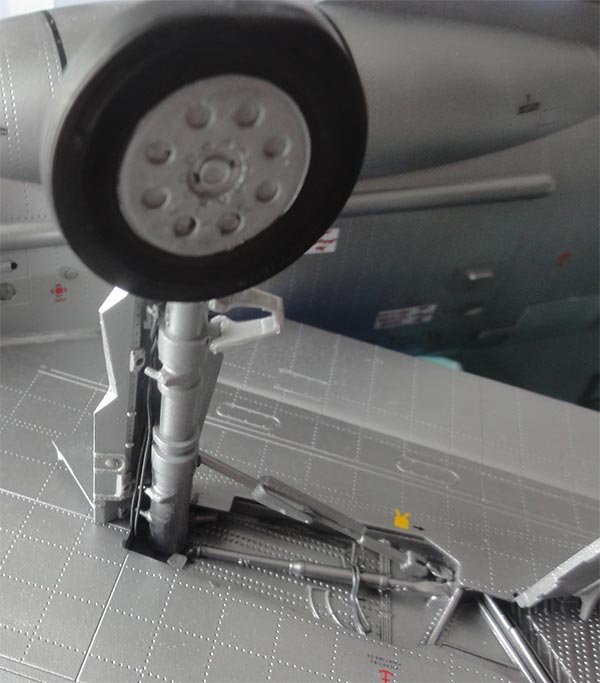
As the trainer model with resin nose is quite heavy, I also bought the Scale Aircraft Conversion (SAC) metal nose gear set #32027 as replacement for the plastic Trumpeter nose strut parts. It took some time to figure out the exact sit in the resin nose gear bay.
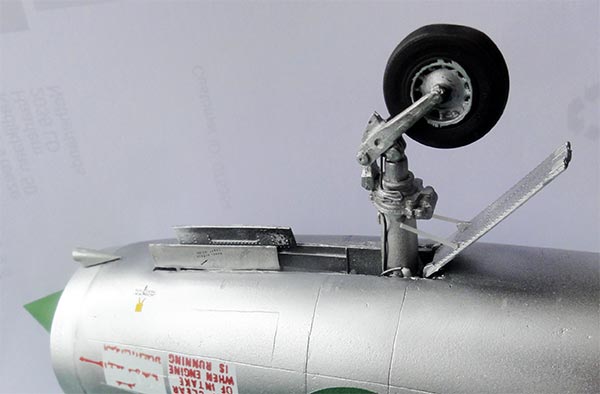
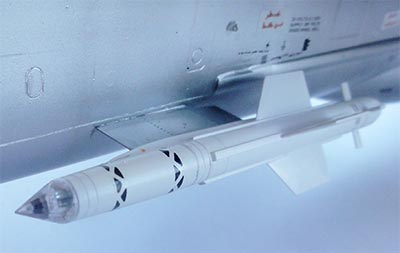
The T4 trainer could also fire Firestreak missiles. These are in the Trumpeter kit and the parts have clear "guidance" lenses and the missile stripes came from the Echelon decal set. The missile stubs have a slight nose up attitude. Some trimming was needed of the kit parts to install these onto the new resin trainer nose. Superglue was used.
The airbrakes were set closed on this model. Aft of the port airbrake, the small starter exhaust looks good.
Fitting the stabilizers was done as per kit but note that their tip shapes were corrected earlier.
The final bits are now installed.
On the front edge of each large main gear door a taxi light is fitted. This was made from metal foil with a disc punched out with a Waldron punch and die set.

The plastic Trumpeter pitot tube #F44 was replaced with a Master #AM-32-057 metal pitot.
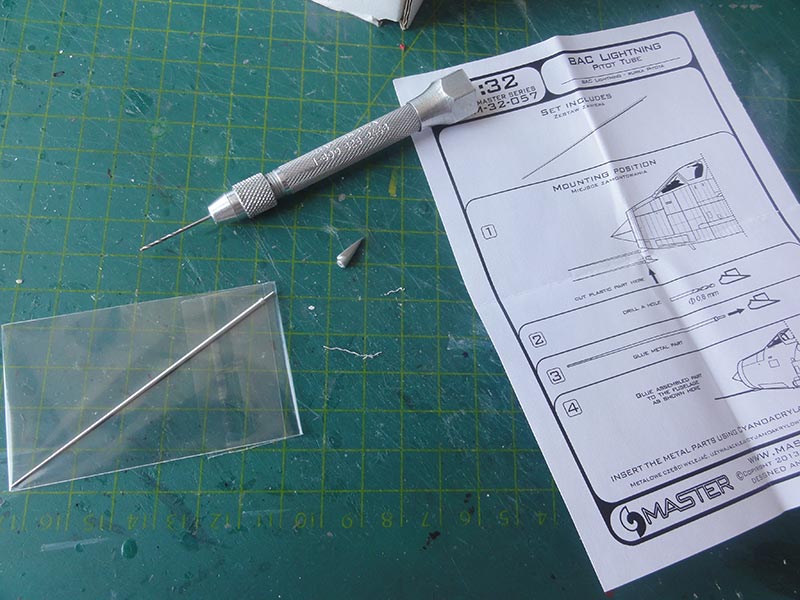
The plastic pitot was cut off from part #F44, a hole was drilled in the nose bit and can be joined with the nice metal pitot.
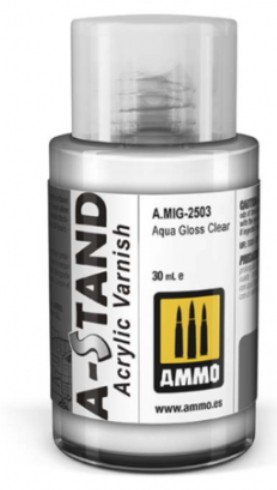
The overall model was cleaned up and got a gloss varnish coat by airbrushing Ammo-Mig A-Stand Aqua Gloss acrylic varnish (which is the new name of ALCLAD Aqua gloss). The varnish looks "white" in the bottle but will dry clear. Do not shake the bottle. Despite the advice on the bottle, I thinned the gloss varnish 25% with a mix of water and IsoPropylAlkohol and added a few drops of AK retarder. It worked out fine. Shield off the big wide wind screen and cockpit interior while airbrushing.


The varnish protects the decals and gives an even sheen on the ALCLAD finish.
The prepared ejection seats were set in place.
The big trainer canopy is detachable and a raising actuator installed and all was set.
That completed this unique model which took about 65 hours to complete.
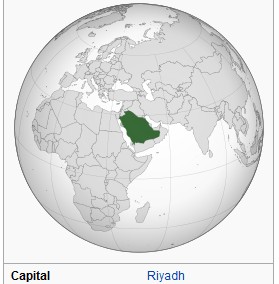
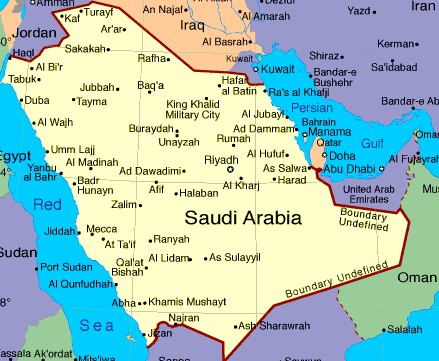

[ Saudi Arabia: area 2,149,600 sq.km mostly desert | capital: Riyadh | population: 33 million | GDP nominal USD 21,000 per capita ]
The Saudi Arabia air force was set up in 1916. After the end of the Second World War oil exports became important bringing a large wealth into the country. The air force flew western types like Avro Ansons and DH Vampire jets and trainers like T-28 and T-33 jets and Strikemasters.
In 1966 Saudi Arabia acquired for its air force E.E. Lightnings. These had like most Royal Air Force aircraft a natural metal scheme. Some 35 mk.53 were acquired which was a F.6 derivative (with thus a larger wing with kinked leading edge and larger belly). The armaments were first the 30mm Aden cannons and Red Top or Firestreak missiles and the typical over wing fuel tanks. Special unique mk.53 features were for its ground attack capability: the unguided rocket carrying retractable doors aft of the nose gear bay, rocket pods on top of the wing (as well as the overwing fuel tank) and Matra rocket pods on outboard wing pylons. Bombs could also be carried on outboard wing pylons.
Two Lightning T4 mk.54 and 7 T5 mk.55 two
seat trainers were used at Dharan air base.
Back to 1/32 Scale models....

(c) Copyright Meindert "designer"/ All rights reserved. Your comments are welcomed by webmaster
Created this page
August 3, 2023