ACADEMY
F35A joint strike fighter in 1/72 scale: : kit review & modelling report of the ACADEMY kit
page 2
The F-35 design
started as part of the Joint Strike Fighter competition in the nineteen-nineties.
Lockheed and Boeing came up with JSF prototypes. Eventually, the Lockheed
design was declared winner of the JSF competition and was designated F-35.
Several versions are developed including a SVTOL aircraft, whereas the
F-35A is a conventional take-off and landing aircraft. The program had
many problems and cost overrusn and is under constant scrutiny by the US
accounting office.
The F-35 is
a multirole fighter with stealth technology to prevent early radar detection.
It has an internal weapons bay but also pylons with stores can be carried.
Still, as of
end 2013, three U.S. services and eight international partners are involved
in the F-35 program. The Netherlands is a member of the international F-35
program as a Level 2 partner. For the US armed forces, over 2,000 F-35
aircraft are in the budget plans. The Netherlands ordered 37 F-35A aircraft
and started end 2013 testing their F-35 aircraft and train the first pilots
at Eglin AFB Florida. First test aircraft arrived end May 2016 at Leeuwarden
for a first evaluation like noise measurements. Operational F-35A aircraft
of the KLu will arrive not earlier than 2019 in The Netherlands.
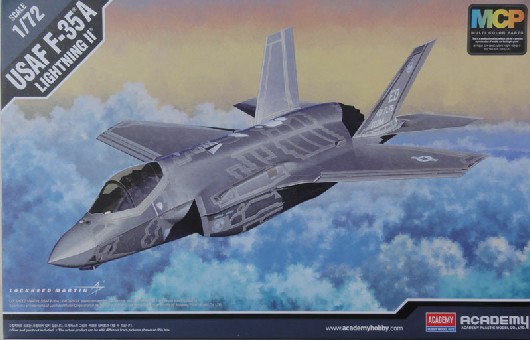
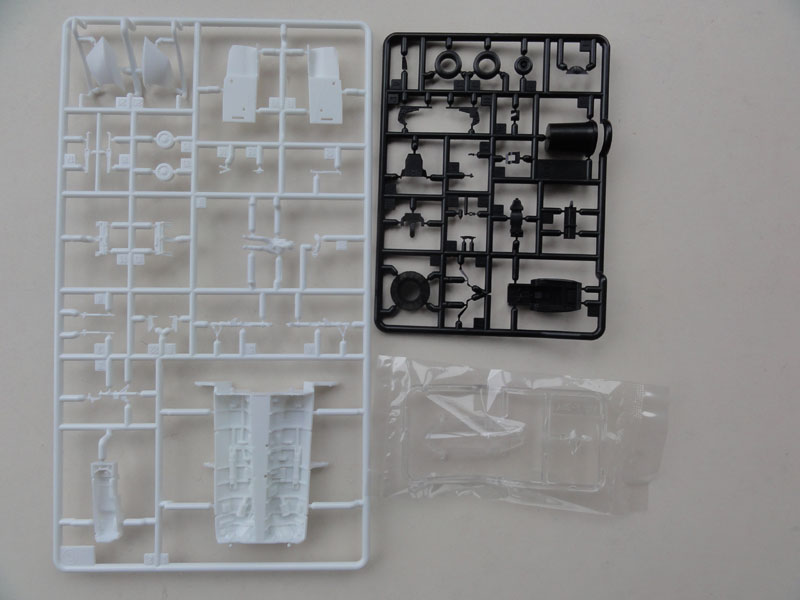
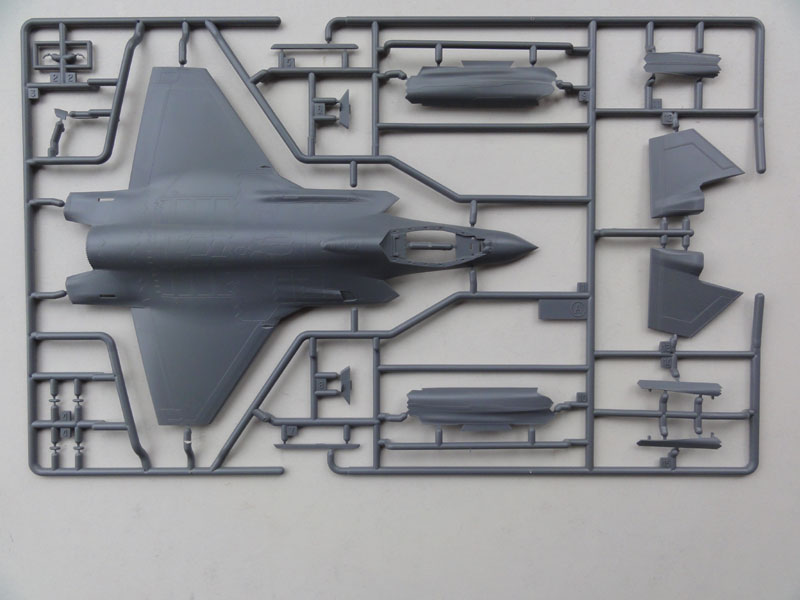
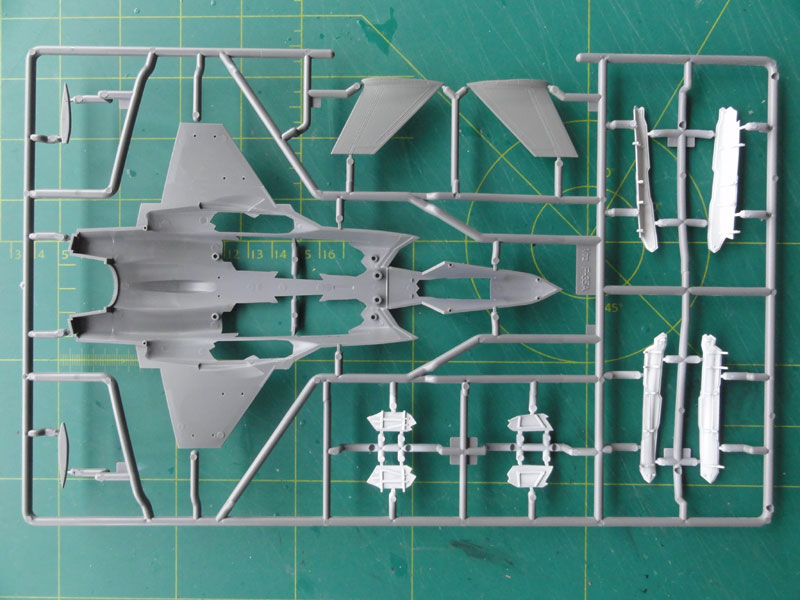
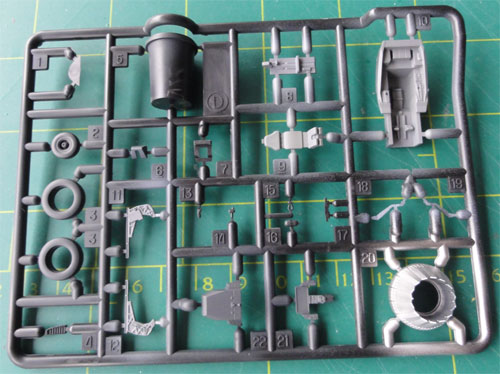
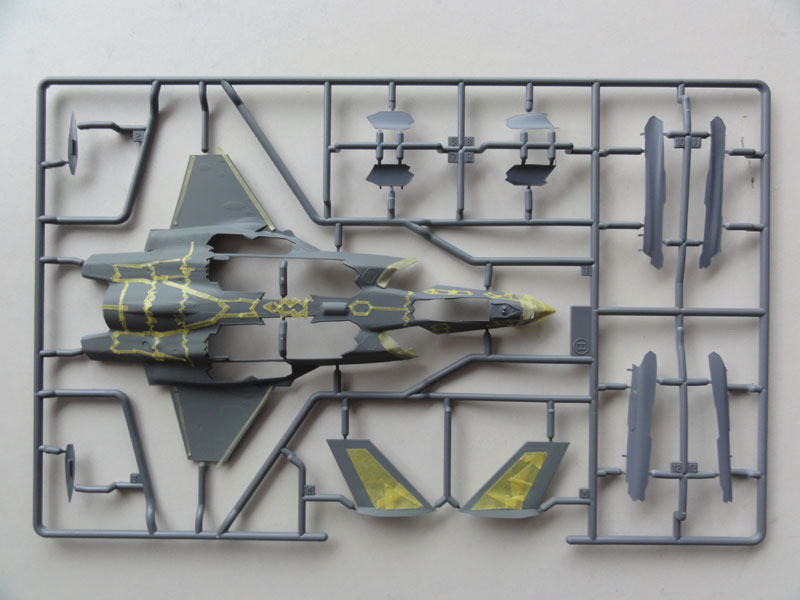
Academy issued a F-35A kit (no.12507) in 1/72 December 2013. It has very nice crisp parts in different colours of plastic: grey, white and black. The idea is that painting is "not really needed". The cockpit canopy is clear. The cockpit is very well detailed and there is a pilot figure (a rare thing nowadays). The weapons bay is well done and the weapons bay doors are there for a closed bay or open bay.
Details inside are nice, but could
not be verified as some stuff is still "undisclosed" for such a new aircraft.
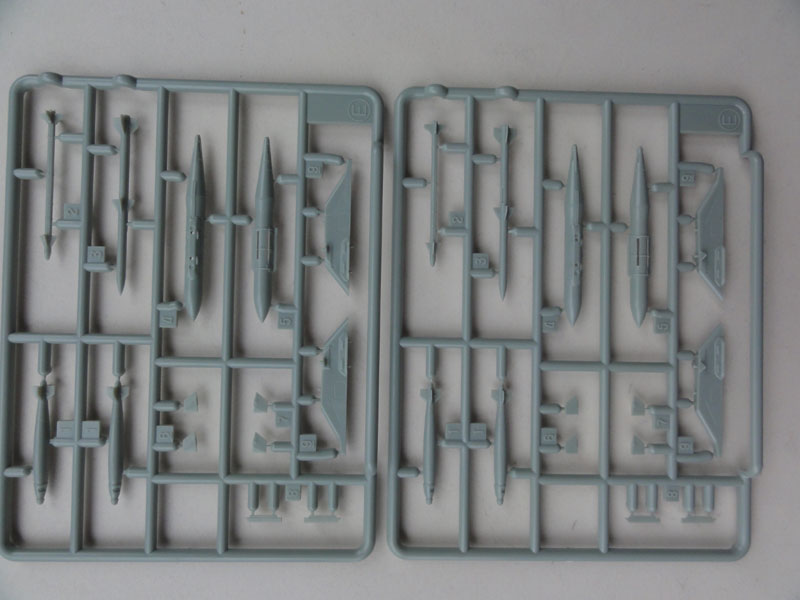
Although the F-35 flies clean on
"stealth" missions with all weapons inside the fuselage, the F-35 can carry
also stores on external pylons. The model has also 6 pylons with these
stores/weapons:
2 x AIM-9X Sidewinder, 2 x AIM-120
AMRAAM, 2 x GBU-31 JDAM, 4 x GBU-38 JDAM. These parts are well detailed
with decals for stencilling.
F-35 decals are only for USAF aircraft
with three grey schemes for 461 TFS at Edwards, 422 TES at Nellis and 58
FS at Eglin AFB. The decals in kit #12507 are nicely done with stencils as well:
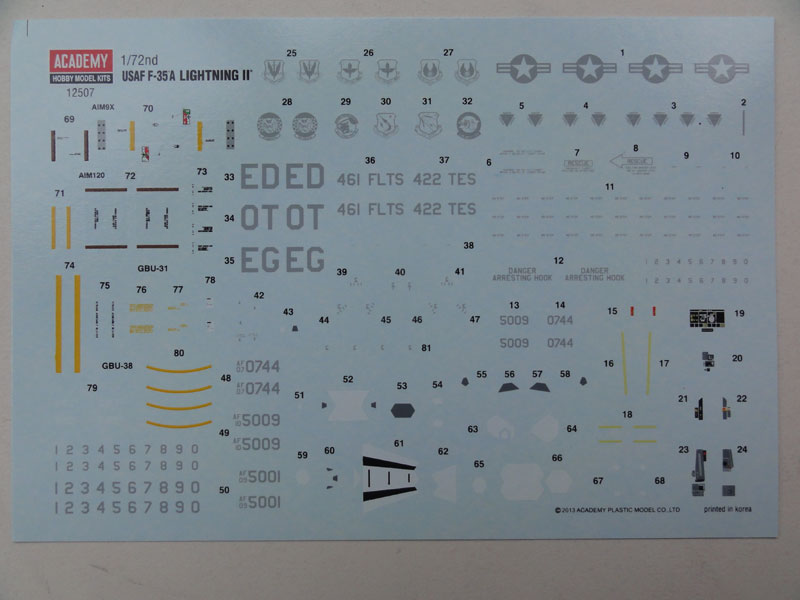
These decals do not provide the "zig-zag" panels in a different grey.
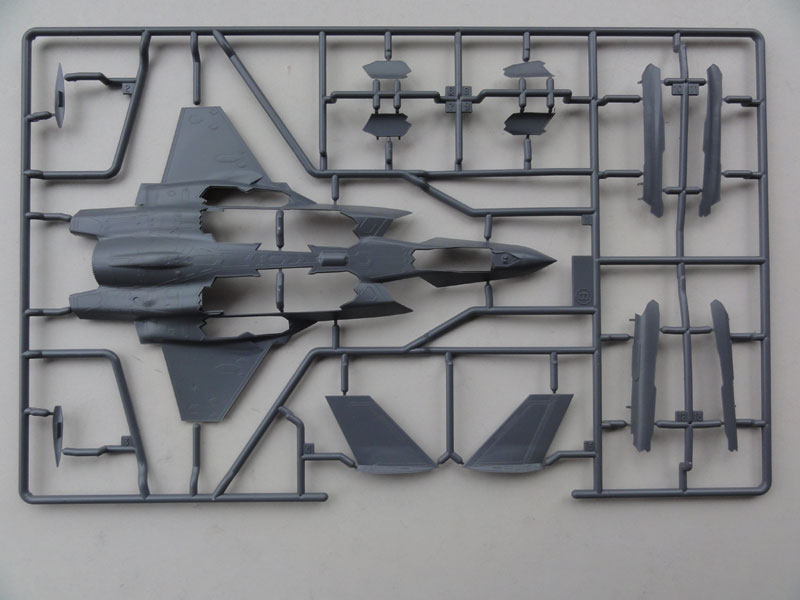
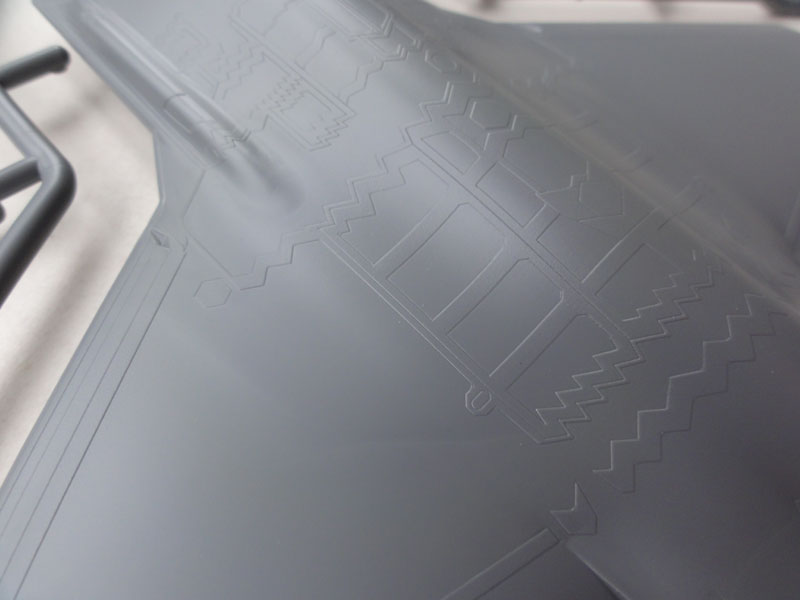
The F-35A kit #12507 will be made almost
straight out the box. It looks accurate but no confirmed real data of the
F-35A is available to me to verify all that. But it looks good with the
panelling of the "stealth zig-zag" panels is nicely done and not too thick:
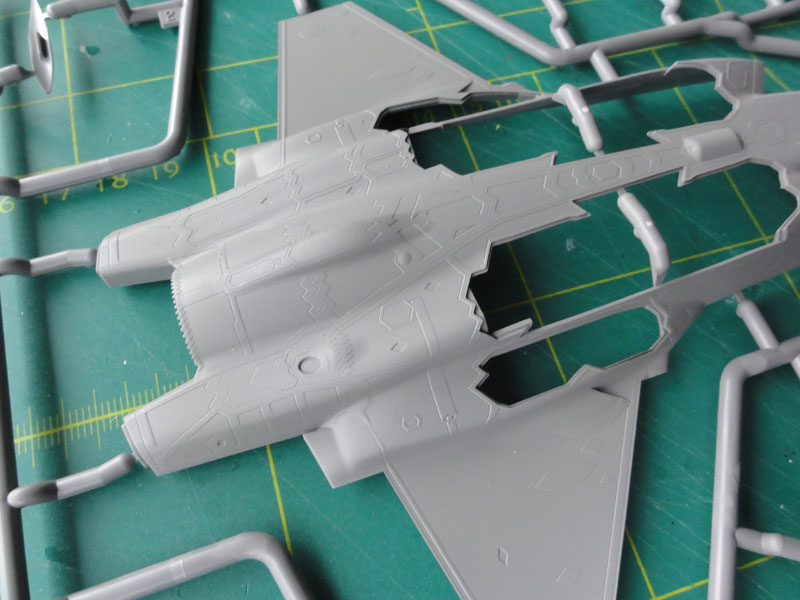
The greatest challenge in this model seems to be the different "greys" seen on a real F-35A. Masking seems needed for the zig-zag panels and many airframe details have a different grey colour. Sometimes large differences between the panels are seen on real photos of the F-35, but also hardly any difference of variation. Probably it depends on lighting conditions and similarly effects are seen on real USAF aircraft such as the F-15 and F-16. Nothing to worry about.
TIP: Academy released in 2019 the same kit with number #12561 for "7 nations" and that kit has the "zig-zag" pattern decals and service markings for these "7" nations F-35A's: USAF, Israel, Norway, Australia, Italy, South Korea and the Royal Netherlands Air Force early F-35 "F-001" or "F-002".
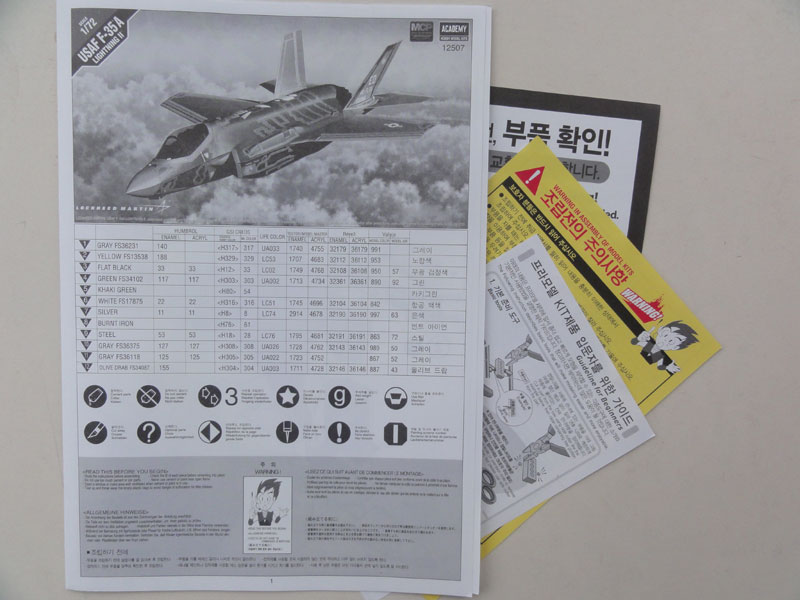
Colour suggested in the instructions for the F-35A are two greys of Fed.Standard: FS 36118 and FS 36231. SEE NOTES BELOW. Academy also suggests to mix in a couple of silver drops of paint to get a "metallic" stealth paint look. I will do it differently, see later on.
As the masking job is quite big for the raised detailed zig-zag panels and other panels, it was decided to have a different build sequence on this model.
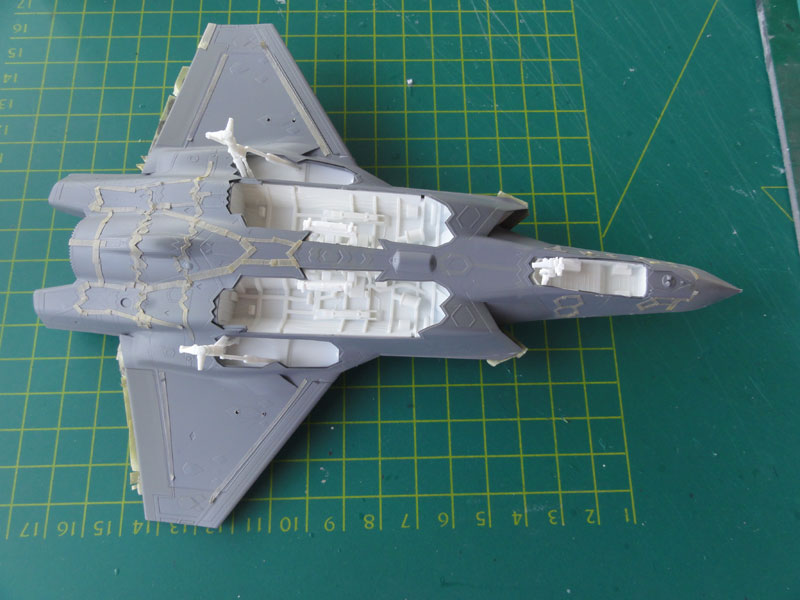
![]()
[1] First, with the Harder
Steenbeck airbrush, white interiors were airbrushed, such as weapons
bay and inside doors. Some ejection pin marks are unfortunatley inside
the doors, so fill and clean these up before airbrushing.
Also, some metallic, interior grey
and black was airbrushed
[2] Now, some areas of the main airframe parts were airbrushed in FS 36231, using Gunze Sangyo 317 acrylic. Areas airbrushed were selected based on pictures were the lighter grey colour was seen of a real aircraft.
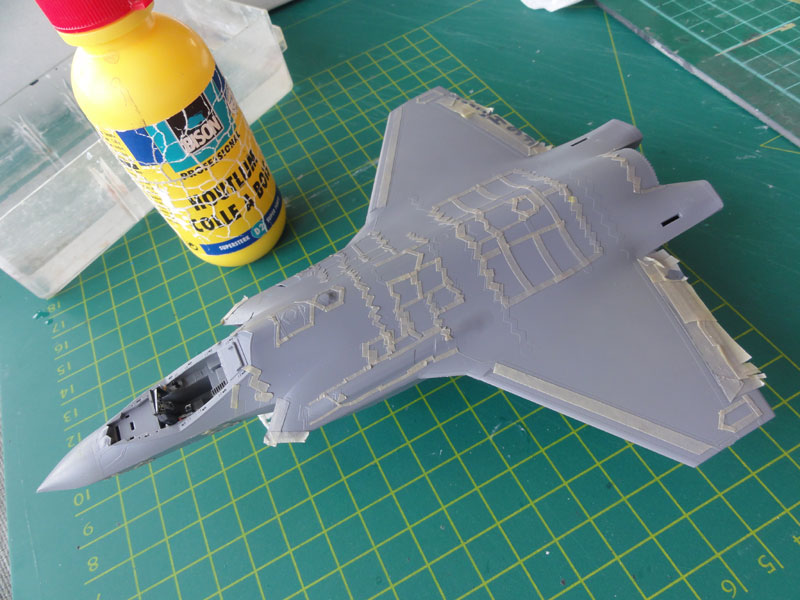
[3] When dry, the main parts were
separated from their sprues. Now the coloured FS 36231 raised zig-zag panels
were masked with masking tape. This takes a lot of time. The advantage
of masking these now is better handling. You can't really do this after
the model is assembled.
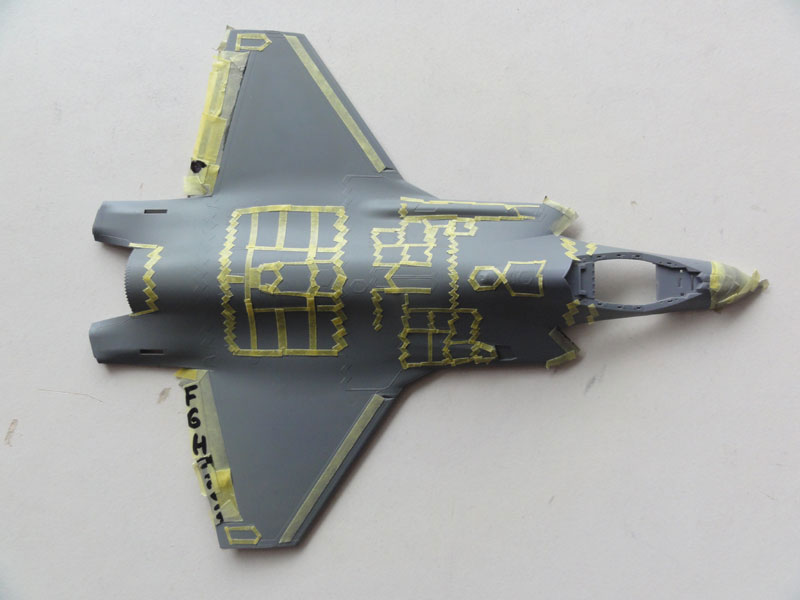
This was done also on the lower areas,
tail and tailplanes.
[4] Next, the darker grey FS 36118 was airbrushed, using Gunze Sangyo 317 acrylic. You don't need to do a 100% coverage as after assembly an extra airbrushed grey layer will be set on.
UPDATE MARCH
2016: not about FS36118 but...
the standard
colour of the F-35 appears to be FS36170 "camouflage grey". Colourcoats
(former WEM) has enamel paint #ACUS41 and AKAN has acrylic paint #72071 and VALLEJO acrylic #71.280.
When not available, looking at the colour a good alternative looks to be
RAL 7012 for when Xtracolor X207 may be used.
This completed the pre-painting work and do NOT remove the masking tape yet.
![]()
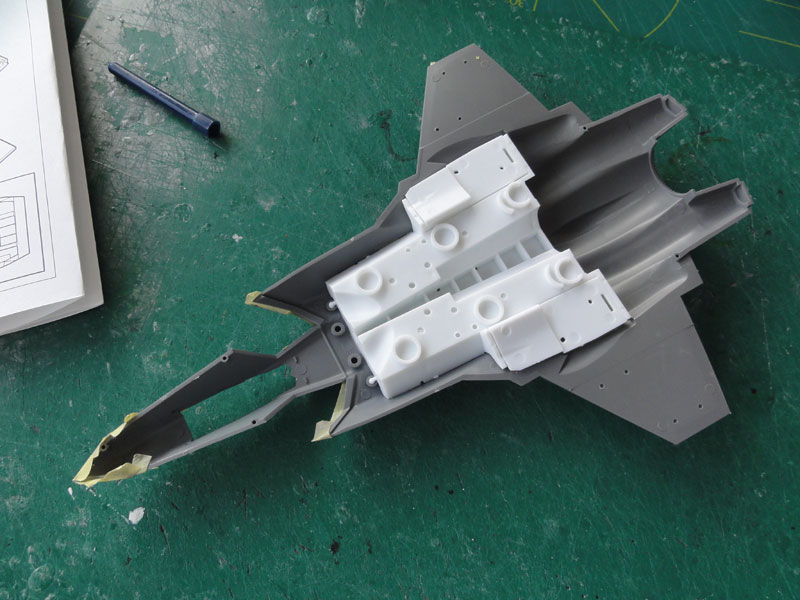
[5] The model was now assembled as
per instructions. The model is a bit clean, so two external pylons will
be used, open up their corresponding holes in the lower wing now as per
instructions.
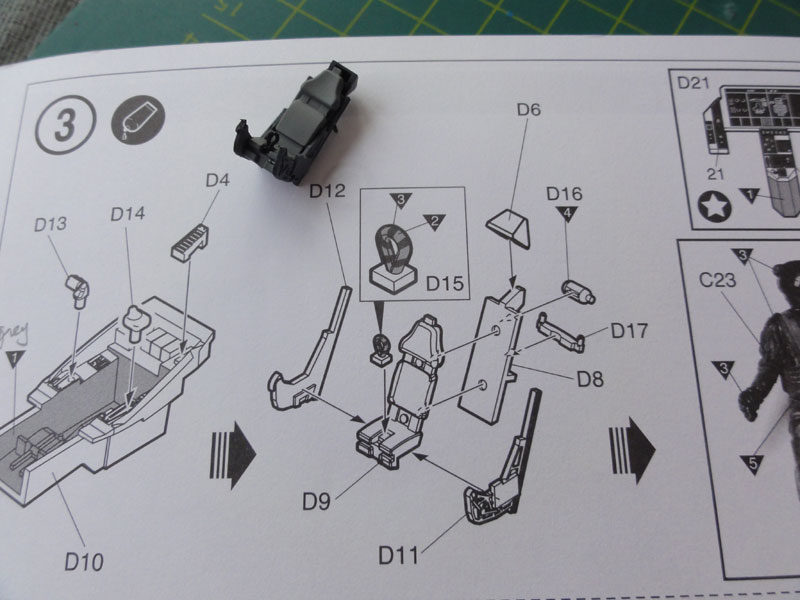
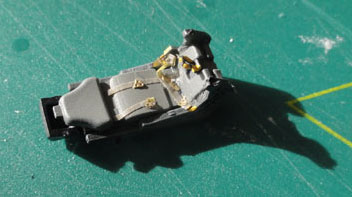
The cockpit is very nice. The seat
got some harnesses made from masking tape and buckles made from thin spare
metal bits. I did not put the seat in yet, will be done later.
No putty is really needed of the overall
assembly, but carefully align the upper and lower fuselage parts, particularly
at the nose/cockpit section. The intakes are fine. The weapons bay shows
some gaps with the surrounding parts, these were filled with white glue
and painted white when dried.
The undercarriage parts were not
yet fitted onto the model and also not yet the vertical tails and tailplanes.
These fit perfectly so can be set on later.
Major assembly needed some clamps
and tape to keep gaps to the minimum. The kit fits good though.

Now fill some tiny gaps were with
white glue, such as at the intake lips and wings.
On to next
[ page 2...]
References:
- J-35A KLu pilot training, Flight International, March 11-17, 2014 (Flight no.5430)
- Air International magazine: Vol.52, pag 78 / Vol.63, pag 28 / Vol.78, 01.32 / Vol.79, 04.50 / Vol.80,05.80
- F-35 Lightning II, E-Forlag
Web:
-IPMS Nederland Walk Around
(this includes some photos of me)
- IPMS Nederland KLu
F-35 information pages here...
Back to 1/72 Models
(c) Copyright "designer"/ All rights reserved. Your comments are welcomed by webmaster
Created March 25, 2014
Updated May 2016 and Dec 2016