Sword
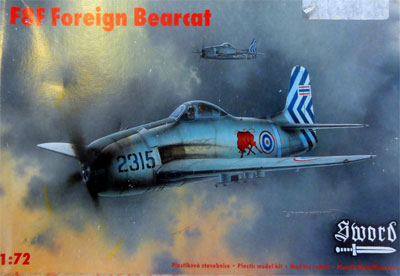
1/72 scale SWORD model of the Grumman Bearcat
For information about the real Bearcat F8F see page 1.
Also, SWORD
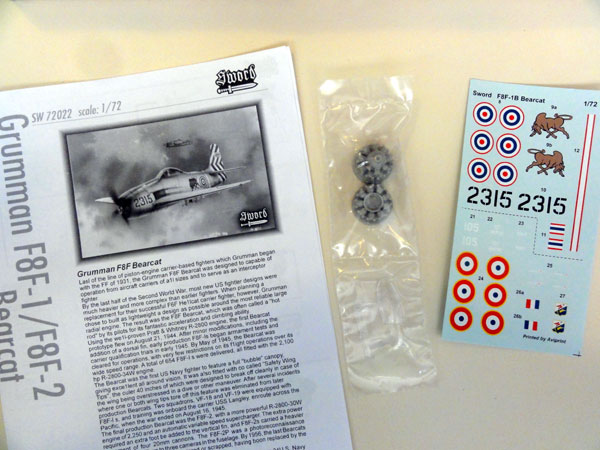
had a 1/72 kit of the F8F Bearcat (kit no SW 72022).
It is a short run kit with about
60 parts in a bit hard grey shiny plastic and also 2 resin engine cylinder
rows. This "Bearcat in foreign service" release is from 2005. Panel lines
are recessed.
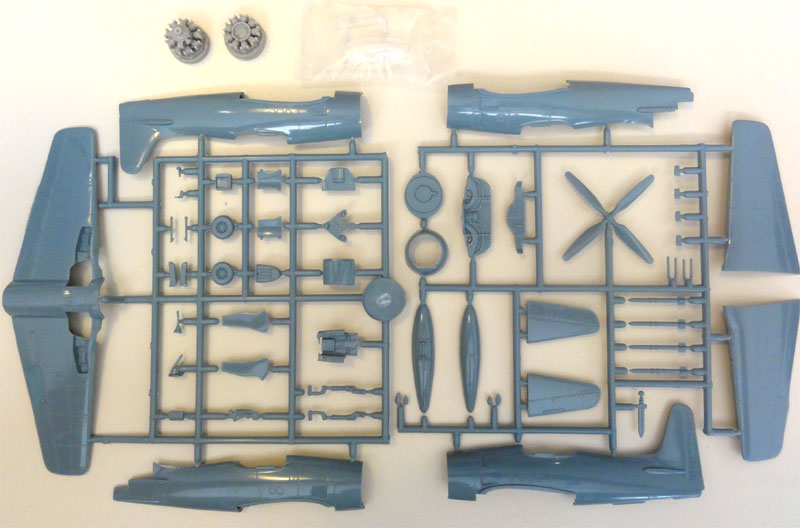
There are 2 sorts of fuselages in
the kit, enabling the F8F-1 (parts 20 + 21) and F8F-2 (parts 1+2) with
the higher tail and slightly different panels and cowl. In the instructions,
these numbers are mixed up.
The cockpit is very small but there are nice details with some raised panels. Not a lot is seen anyway as the main interior colours are black.
There is a central fuel tank and rockets and guns are provided in this kit.
Kit decals are for 2 schemes: a Thailand Air Force F8F-1 in aluminium finish and a blue'ish French Armee de l' Air as used in the Indo China War. More about the decals later on.
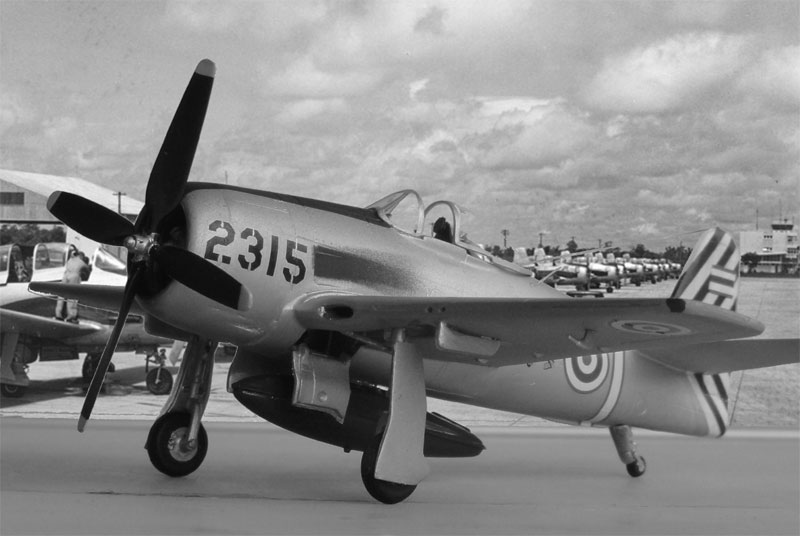
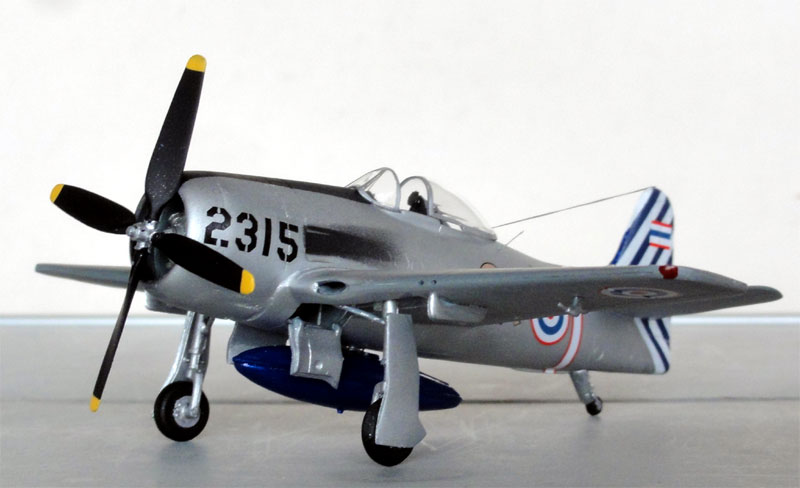
It was decided to make a Thai air force B.Kh.15 as the Bearcat was locally designated.
![]()
OK, let us start modelling the
kit.....
In STEP 1 I drilled a hole in the engine cylinder part U2 to receive the propeller later. The cockpit interior is nice and mainly black.
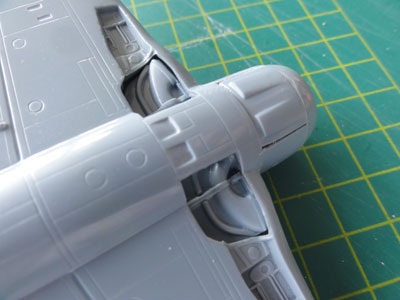
In STEP 3 it is a bit unclear where
the engine bulkhead should go and how deep inside the cowl. But the engine
cowl ring is a separate parts and fits OK.
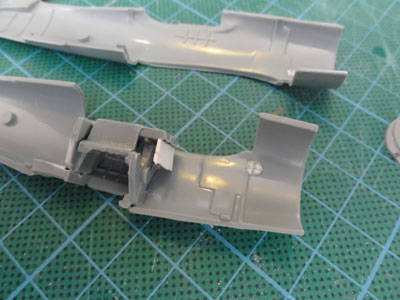
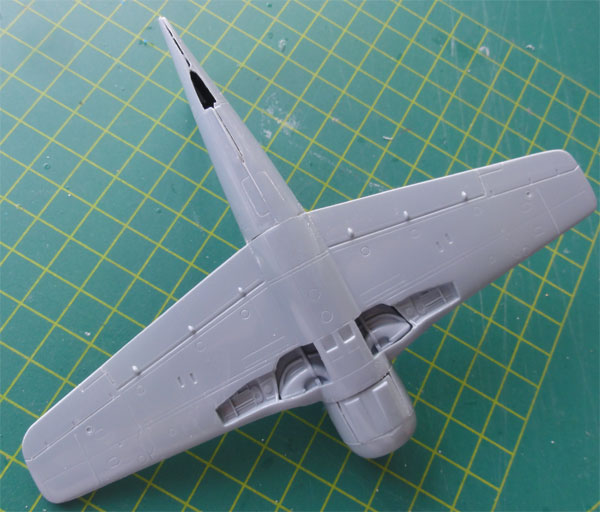
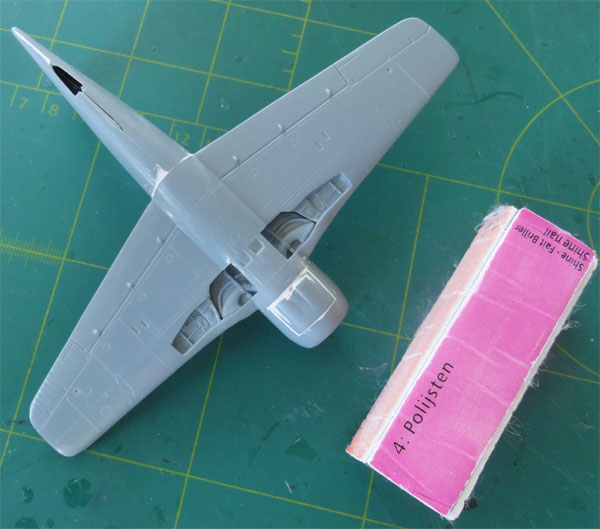
The lower wing is one piece with
2 upper halves to be joined in conjunction with the fuselage side. This
gives a stable assembly and the wheel bay parts fit remarkably good. Remaining
gaps can be closed with white glue and painted later. I engraved
the ailerons a bit more with a scriber.
(SWORD shows a drawing for a folded wing, but if you want this you have to do this yourself).
On the kit parts small bulges (18, 19) are found and nothing is noted in the instructions. Probably these are upper wing gun bulges. I left them out having no information but if you have good photos, they may be required.
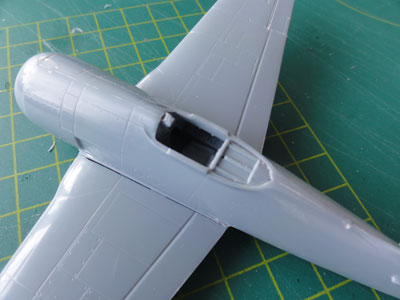
The front of the lower wing needs
some trimming in order to fit inside the fuselage recess. And the lower
cowl area should be adapted with part 43 which is there for the other version.
I needed that for my Bearcat version.
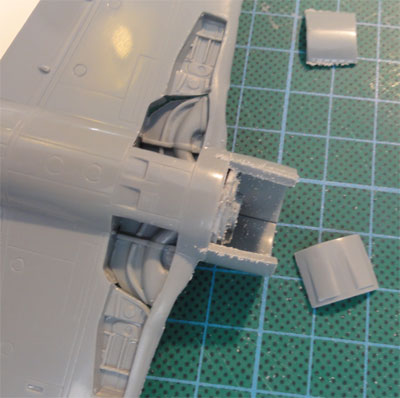
The part 43 seen in place
Some filler is needed to close at
gaps and get a smooth result.
Tiny gaps at the wing roots also
needed a little filler and sanding.
Each main wheel needs a hole to fit into the aixle. The brake disks should be at the front.
Looking at the gear, I found the main gear legs being far too long. I removed no less than 5 mm from the base in order to get a good angle when parked on the ground.
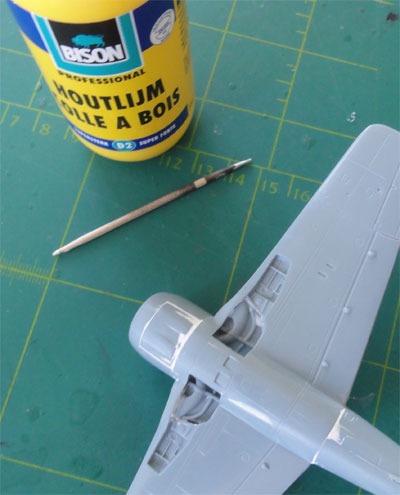
The propeller had some flash so sand here. To fit the propeller a rod was fitted at the back to be received at the engine front.
The amount of filler and sanding was limited overall for the kit. After sanding, the model got a grey primer with the airbrush. After correcting any flaws, the model was ready to get its paint.
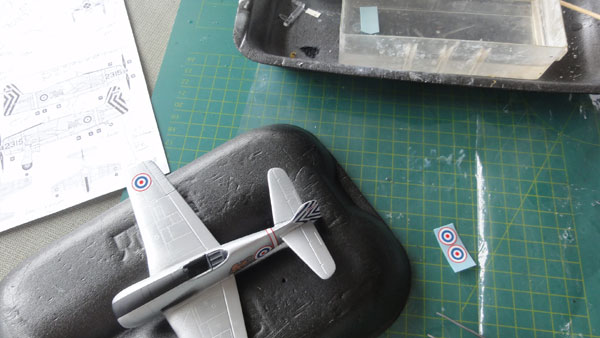
I opted for the nice Thailand Air Force Bearcat F8F-1. It has a dull metallic aluminium scheme. The basic metal colour airbrushed was Revell Aqua 90 "silber" acrylic. This was also applied in the gear bays and so on.
Looking at real photos of these Bearcats,
I found variations in the scheme. The rudder markings seen are often not
white-black but white-dark blue. Also aircraft were seen that have
yellow-black stripes.
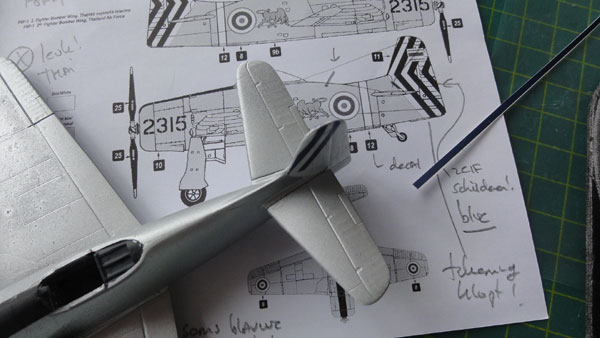
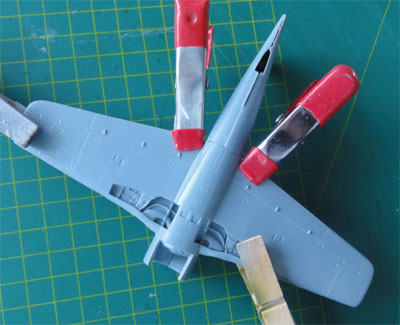
These need hand painting and this
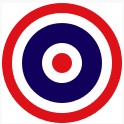
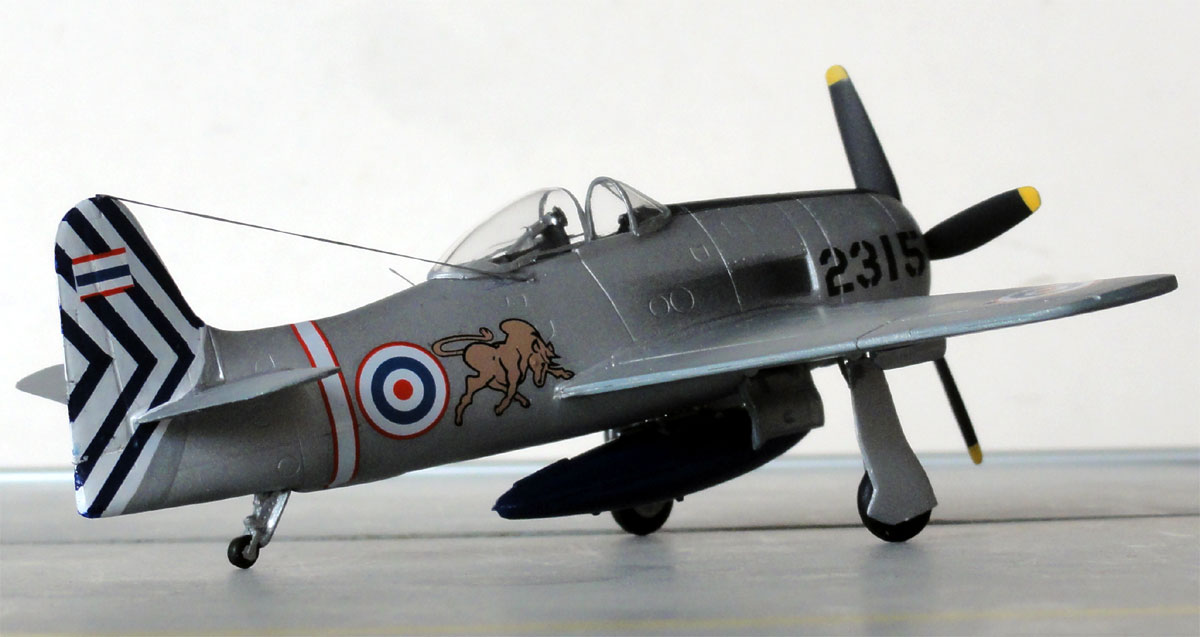
is a lot of work. For the kit scheme it was to be white-dark blue. First
the area was airbrushed white. Than I used dark blue decal from Microscale
cut in equal wide strips.
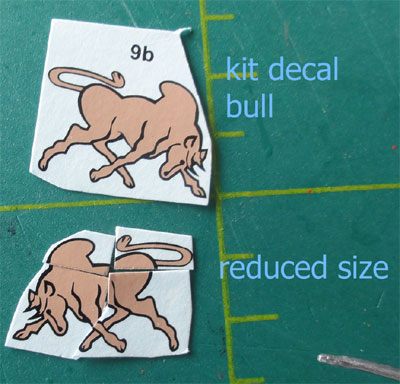
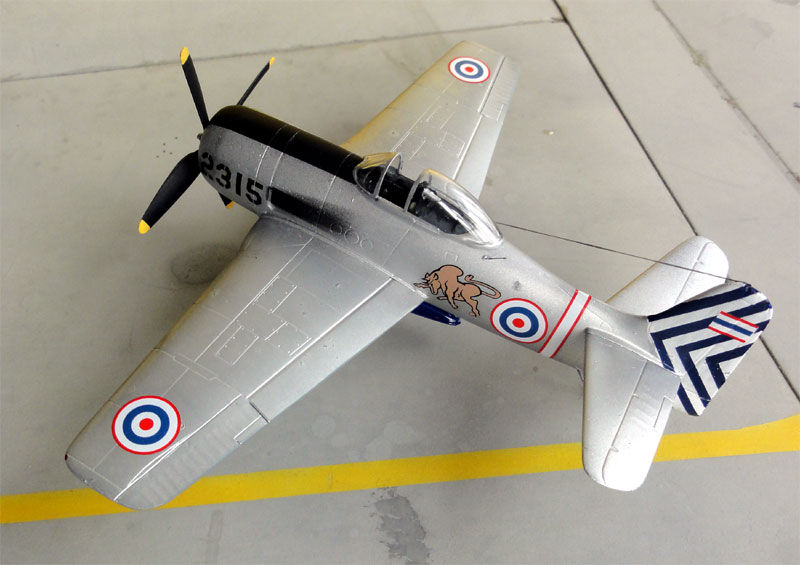
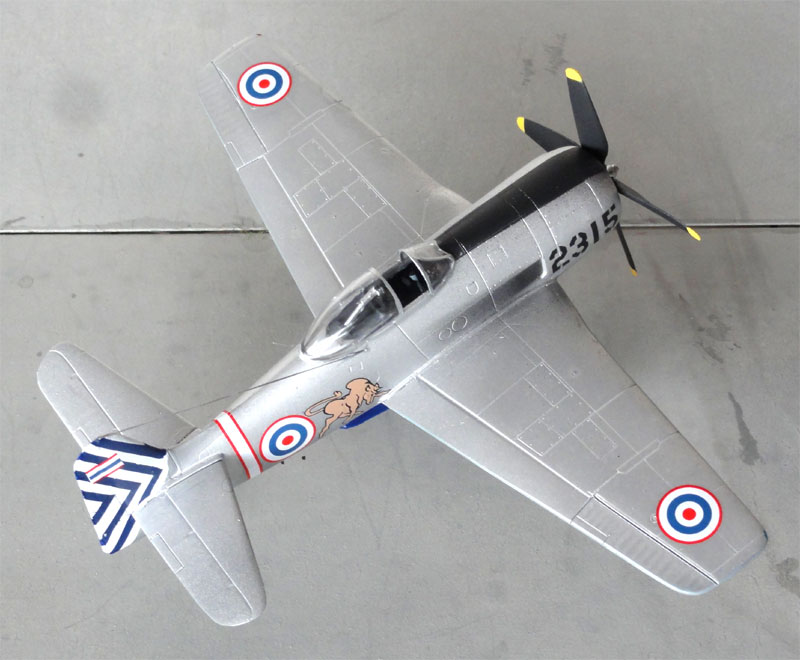
The nose number "2315" is far
too large; a replacement was retrieved from the spares box. Also the bull
emblem is far too large on the decal sheet! I needed to do something here
and it was cut in several parts and "compressed".
The anti-glare panel was airbrushed
dull black. Also aft of the exhaust pipes.
Parts like the canopy and windshield
were set in place. Tiny gaps can be filled with white glue and when dried
out painted.
The wingtip anti-collision lights
were painted on and given a drop of
Microscale
Kristal Kleer.
I also added the central fuel tank which was dark blue. Finally, the propeller was installed fixed with white glue and an wire antenna was added from flexible EZ line.
The overall model was finally given to protect the decals an overall gloss coat with Johnson Future/Pledge. It now looks fine with an even shine.
That completed this kit. I found that the SWORD kit is much better than the more expensive ART MODEL kit described on page 1.
 ....
....
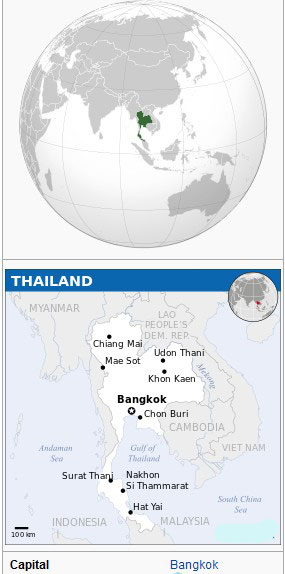
[ 513,000 sq.km | capital: Bangkok | 69 million inhabitants | GDP per capita $7,600 ]
After 1945, dozens of US second-hand aircraft were obtained such as nearly 200 Grumman Bearcats under MDAP but also trainers such as the AT-6, Chipmunk and Tigermoth. In 1957, the jet age began with the Lockheed T-33. Transport aircraft were also received such as the Douglas C-47, C-54 and C-123. Not much later followed 30 F-84 Thunderjets and more than 50 F-86F Sabres.
For more information about the Thailand Air Force, look at the Fantrainer page here...
B.Kh.15 Bearcat
(F8F-1) of the Thailand Air Force ( "Kong Thab Akat Thai" ) of
the 2nd Fighter Bomber Wing used in the nineteen fifties.
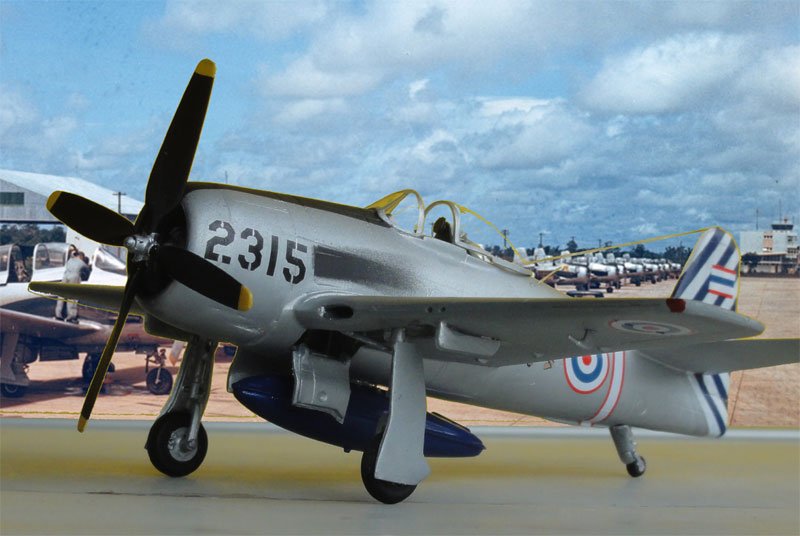
A nice model in the 1/72 fighter
collection.
Back to 1/72 Models.......

(c) Copyright "designer"/ All rights reserved. Your comments are welcomed by webmaster