[Page 1]
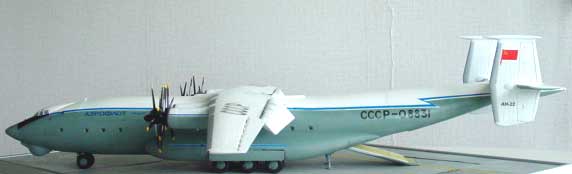
AN-22 Amodel in 1/72 Scale
Also check out
my own
walkaround at the Dutch IPMS NL site here......... .
The Amodel
It was totally unexpected that a
model would come of this plane in 1/72 scale, but Amodel
from
the Ukraine did it. The model is special in a sense that it comes with
fiberglass fuselage and main wing. So it has plenty of strength.
This model is a huge beast and not
cheap. I ordered my model with considerable savings directly from the Ukraine
(see www.hobbyterra.com
) and Yuri of this firm provided excellent service and the model is send
free of postage!.
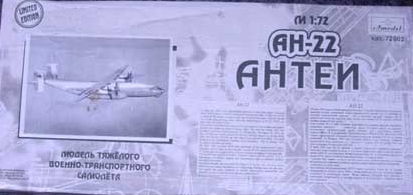
The Amodel comes in a really HUGE
BOX! A pity for the mail delivery guy....
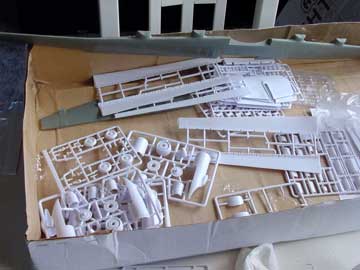
All parts are carefully packed in
separate bags and the main wing is one big part of almost the whole
span! Also, a full interior is provided with vacuform innner side walls
and floor and all the flaps are separate. There are over 650 parts in box,
with the remainder being short run injection moulded white plastic parts
on sprue s of reasonable good quality.
The model is in length 80 cm (32")
and span 84 cm (33") .
So before you order check your shelve
space to accommodate this bird! 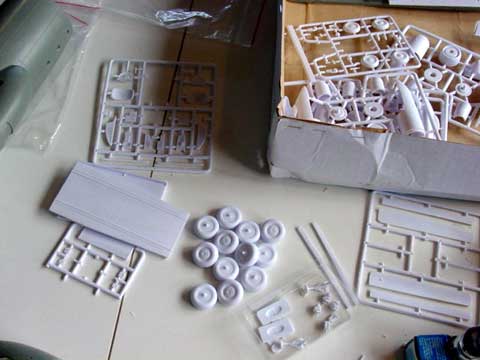
Preparation
You need to clean up the parts and
the model has many of them!. The wing comes with a full set of double slotted
flaps. Start with cleaning up the larger parts, saw out the main
gear bay covers from the fiber fuselage (see step 7).
Also spend some time now to fit the
wing onto the fuselage; it was required at my model to get rid of
thicknesses of fiber through sanding with a rough sanding file to get a
flush fit. Even then, I had to make a fairing at the forward and rear of
the wing joint.
The same was true for the stabilizer
fitting (large part #3).
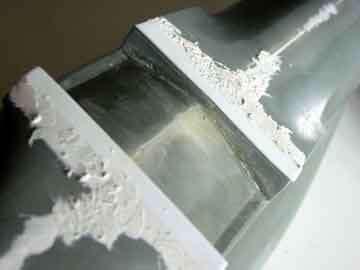
"fairing" to
get a smooth fit of wing and fuselage
WARNING: As all main material is fiber with harmful small glass particles and resin being used. So use a protecting face mask and hand gloves and work outside the house. Use plenty of water. Do not underestimate the risks so take precautions.
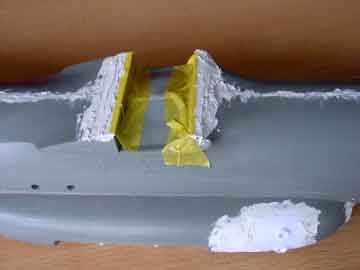
Also, drill / open up all fuselage
windows. Do all the other rough cutting, sawing and sanding as needed.
Do not forget to fill all the small tiny holes in the leading edge of the
wing and the upper fuselage. Fiber leaves some small holes sometimes and
they can be seen of a white model!.
After this first preparation, the
normal model build can begin as usual. Paint small parts as needed as you
go along.
Construction
Assembly order of the instructions
is not so logical, so was changed to:
7/1/2/3/4/5/6 (except for transparent
parts)
/15/16/17/18/19/20/21 (leave off
the wheels)
/9/10/11/13/14
/12 (except struts)
/23/24/25/ put on the main wheels
/26/27/28/29/22/23/12 (struts)
So lets go into detail....
1/2/3/4/5/6
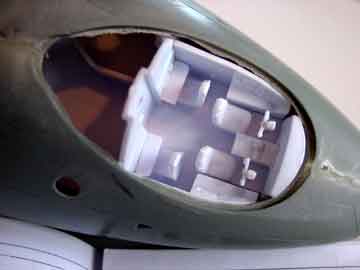
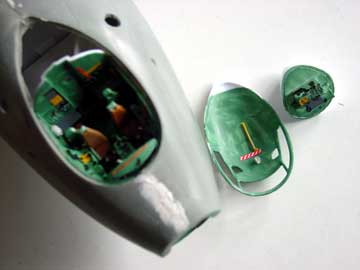
First make sure that the nose cockpit section fits onto the main fuselage so clean up as required.
The cockpit interior is fine and you get a complete interior but little of it will be seen.
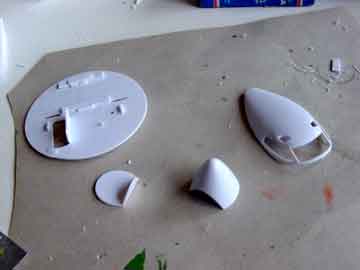
In the bulkhead (#41), a door was opened to allow some light to get through from rear to front. It will add realism when looking in to the large cargo bay. The cockpit section was NOT yet fitted to the main fuselage.
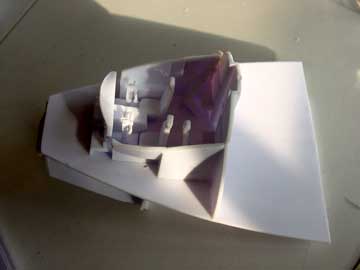
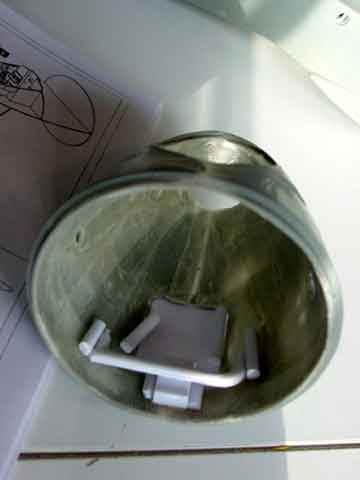
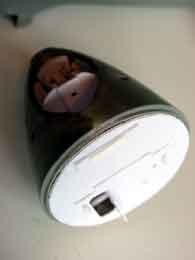
For the nose gear bay it was assured
that is was firmly set in place as seen here...
Interior colour varies but I used
mostly shades of light grey and light blue/green (typical of soviet transport
planes).
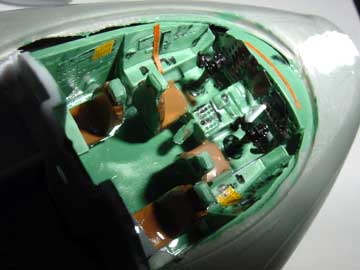
The glass transparent parts were
not yet put in place.
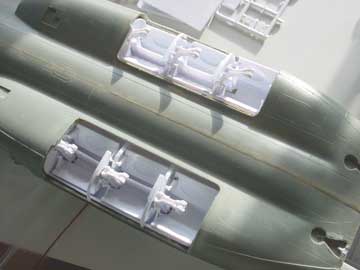
The main gear assembly was now to
be done. The best way on fitting the bays is to do it BEFORE fitting the
vacu interior and parts. Otherwise you can not reach the bay and get it
fixed.
The gear parts are a lot of work
and it is difficult to align the doors, the struts etc. But little of it
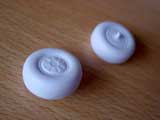
will be seen anyway later on. Leave of the main wheels in step 21 for later,
in order to get them touch all of them the ground ...... The wheels themselves
need some sanding and filling with putty. Assemble the rest as indicated
in the instructions. Be patient but it will be rewarding later on.
 .
. 
On to Next page [2]....

(c) Copyright Meindert "designer"/ All rights reserved. Your comments are welcomed by webmaster