USAF Thunderbirds demonstration team
[ page 2 ]
... continued from Thunderbirds page 1....
Completing the model
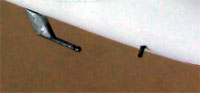
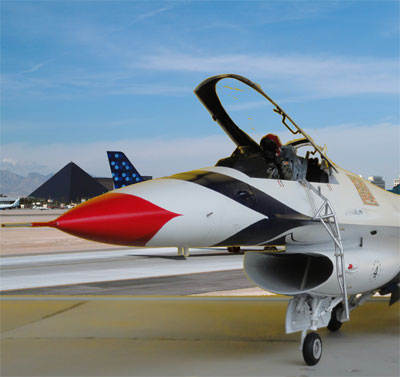
The F-16C has a large pitot tube
on the right nose side. It is on kit sprue D, part #D18. Set on correct
position. Two small temperature probes were also fitted on both sides,
made from rod as these are missing in the kit.
Antenna's and probes #D8, F23, D11 as well as the lights # G14, G8, G9 were also used.
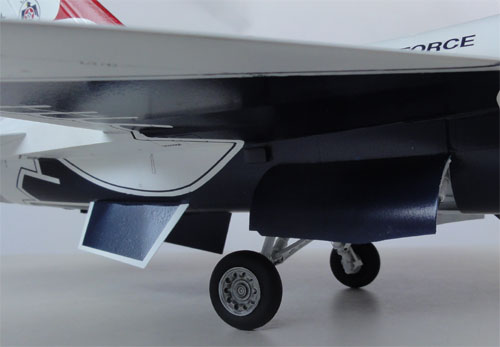
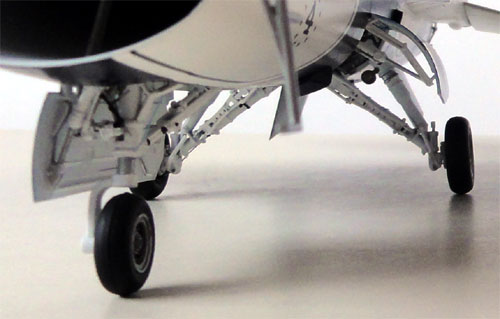
A large heat exchange exhaust fairing is seen right in lower front of the main gear bay. This is absent from the Hasegawa kit. I was lucky to have a spare part from an Academy F-16. Otherwise, make one from plastic card.
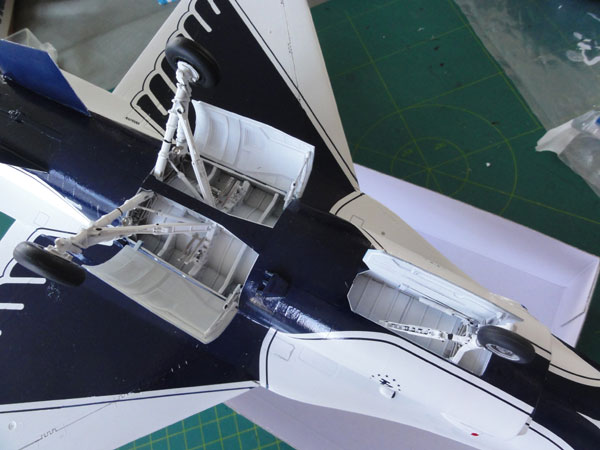
The "thin" main
wheels of the Hasegawa kit and nose wheel together with the doors (that
were previously airbrushed) were set on as well. A few undercarriage hydraulic
tubing was added made from stretch sprue.
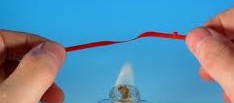
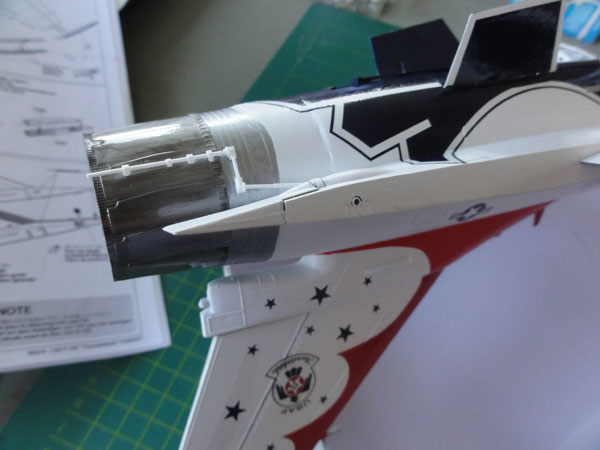
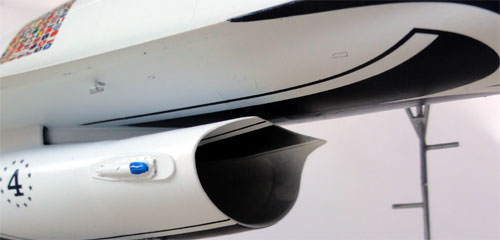
The smoke tube near the exhaust is
seen on a Thunderbirds F-16. I got one from a Tamiya kit, but it is easily
made from white rod. Note the "Z " shape. It will be painted metal.
The main exhaust pipe was given a
couple of gloss metallic coats. On top, Tamiya "smoke" X-19 acrylic colour
was applied to suggest a burned look.
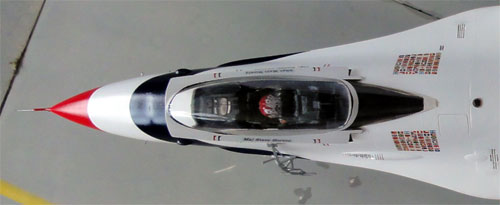
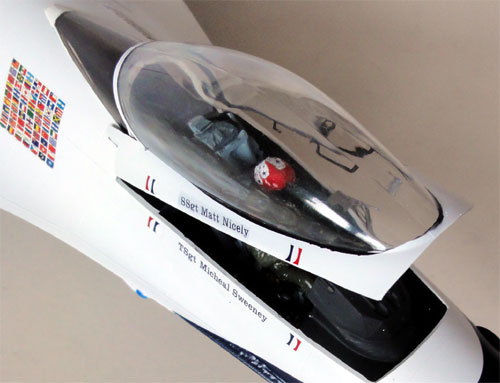
The cockpit was to be fitted with a demo pilot. I got a spare pilot from an Academy F-16 kit. (a portion of the legs needed "removal" in order to fit). It got a green pilot overall that pilots use during training (as seen on photos). Normally a Thunderbirds pilot has a blue overall during display flying. The pilot helmet got a red-white colour with blue stars using the Tamiya supplied decal. Some belts and straps were added made from painted tape.

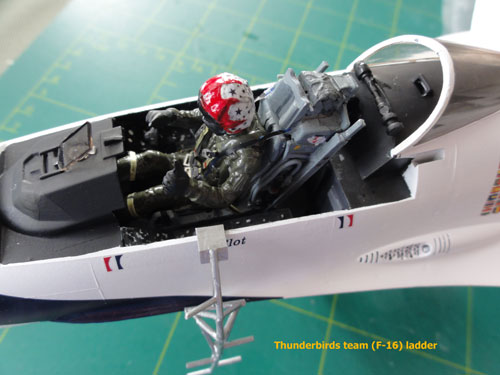
The seat was set into the cockpit.
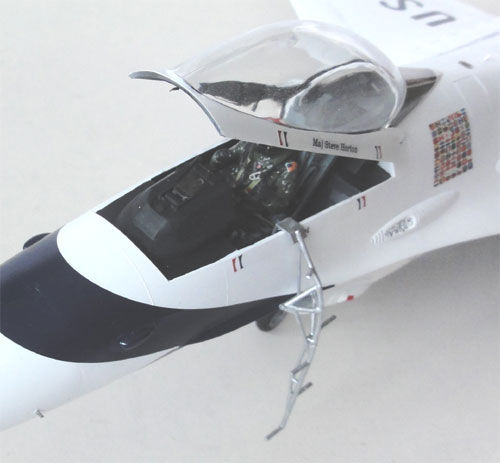
The USAF Thunderbirds team uses a special ladder. I got one from a Tamiya F-16C Thunderbird kit together with the decals. This ladder has a metal colour. It could also be made from plastic rod if you want one.
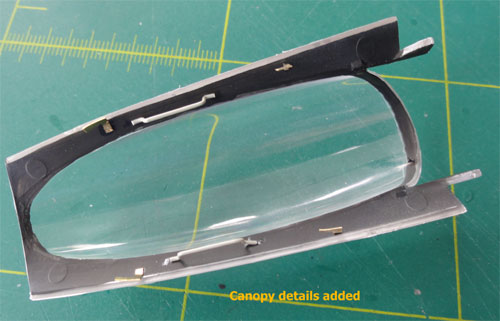
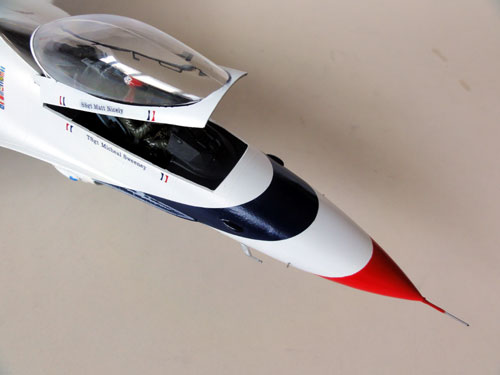
The canopy frame interior is absent
in the Hasegawa kit. Locks and two handles were made from card and stretched
sprue and set inside. The canopy interior is black (not yet seen painted
on the photo). It was decided to keep the canopy removable (for cleaning,
model transport etc), so 2 tiny holes were drilled in the rear fuselage
slots and 2 metal rods set onto the canopy hinges with superglue.
The static dischargers at wing tips,
stabilizer tips and vertical tail were replaced with thin metal fuse wires.
These wires were painted black. A tiny leading edge pitot was also added
to the fin made from a metal needle tip.
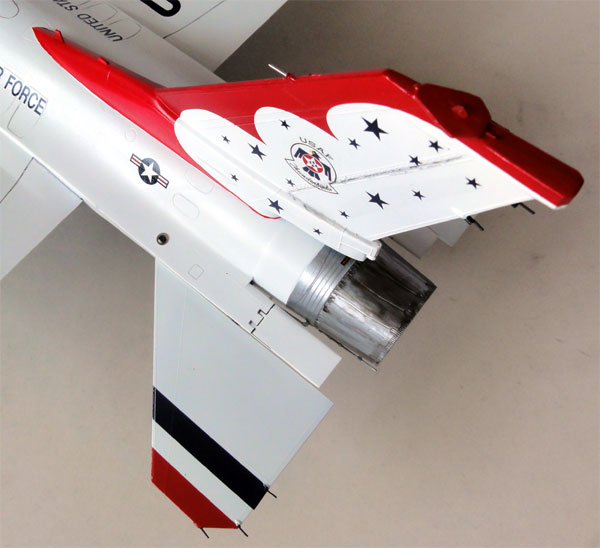
The small anti-collision lights were painted gloss red and blue (at intake sides), the kit lights G8 + G9 set in front of the airbrakes and a clear piece of red plastic was set on top of the vertical fin.
Only very limited weathering was done as the aircraft are kept in very good condition by the Thunderbirds team. Only some wash using PROMODELLER was added in the slat- and flap gaps and the grills and upper access panels.
Finally the model got now a protecting coat of gloss varnish with the airbrush, using GUNZE SANGYO clear acrylic #H30 . (a good alternative is Johnson Future/ Pledge).
Some parts were masked of with a piece of board (like the rear canopy) to prevent gloss covering. And now, the canopy was set on.
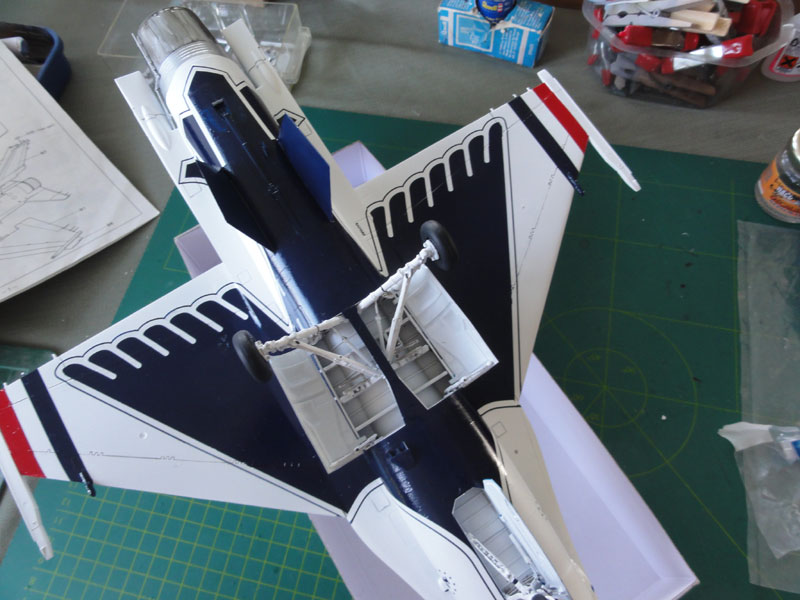
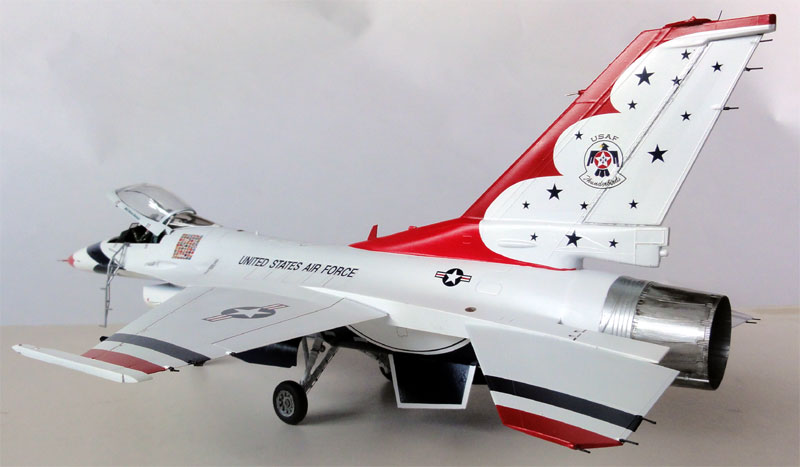
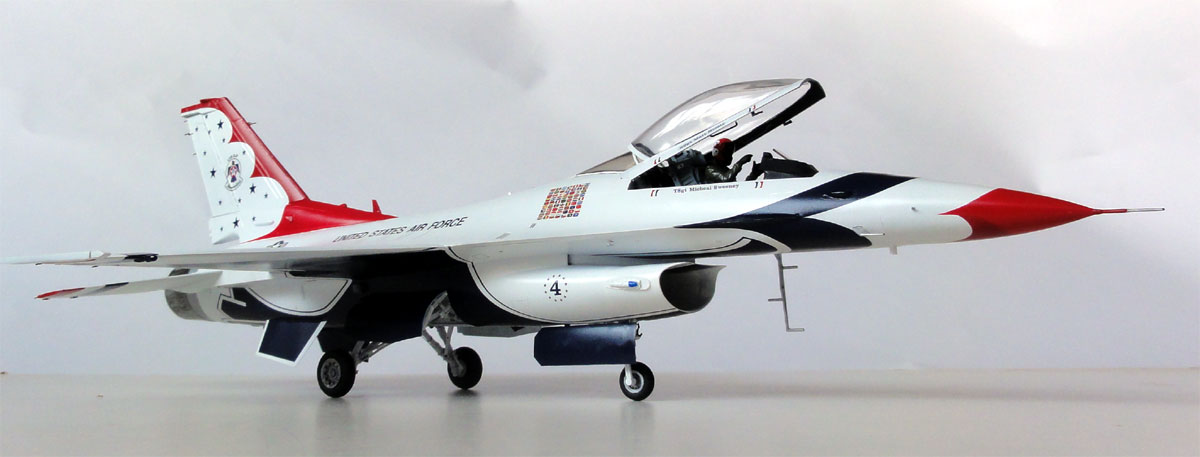
Ready! the result
is a 1/32 F-16C in the USAF THUNDERBIRDS colour scheme.

 .
.
.

Note the special ladder


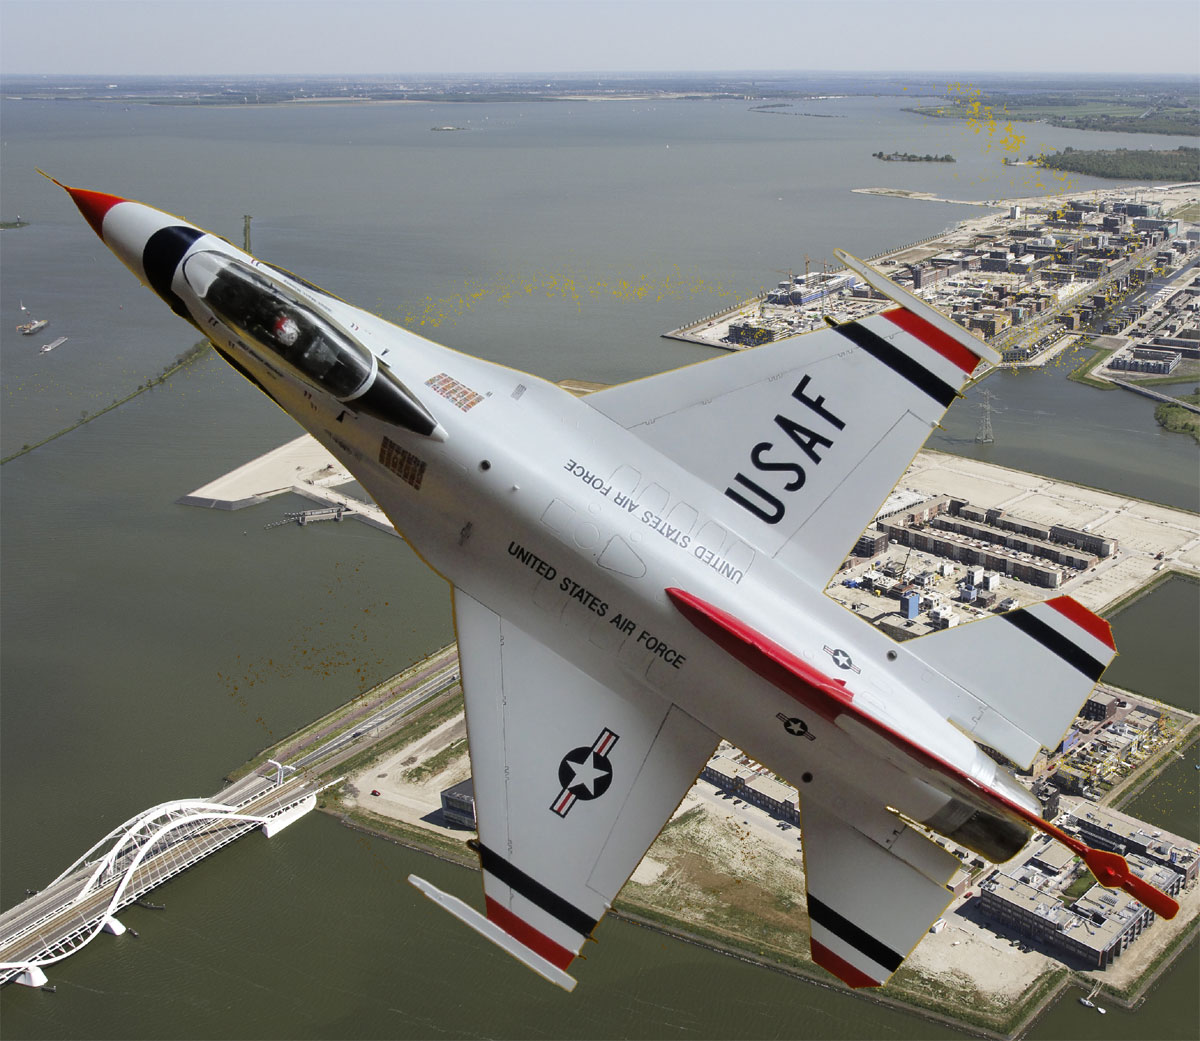
A very nice 1/32 Thunderbirds F-16C
in the large F-16 1/32 model collection.

(c) Copyright "designer"/ All rights reserved. Your comments are welcomed by webmaster
Created this page Sept 6, 2013