Amodel

A-model model in 1/72 scale : kit review and modelling report
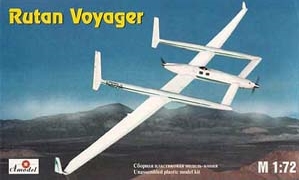
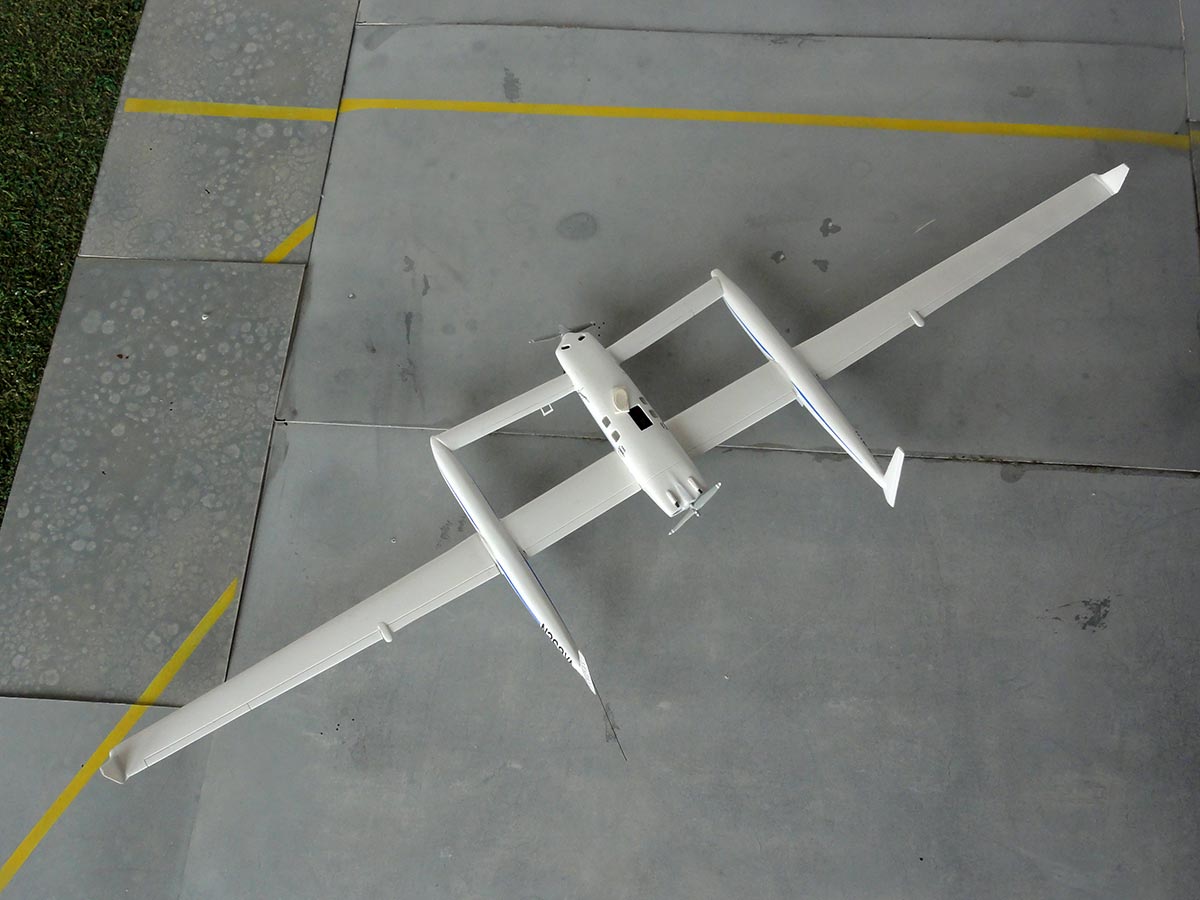
The Burt Rutan Voyager was the record breaking aircraft that flew non-stop without re-fuelling around the world in 1984.
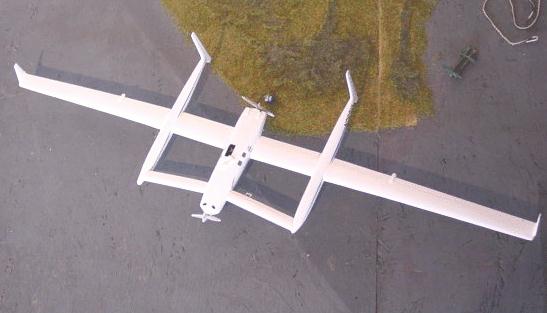
The aircraft is full composite with two engines driving each a pusher and tractor prop. The wing aspect ratio is extremely high to give it low induced drag and also the fuselage is very small to lower parasite drag. The Rutan team succeeded after several start up troubles to get this new record.
As a student at the Delft University of Technology / Aerospace Engineering I remember that Burt Rutan visited the faculty after an invitation from my professor and held a very interesting presentation. I think it was in 1985. The conference hall was fully packed and it was a real inspiration. Rutan told very enthusiastic about not only his rather unconventional aircraft designs but also used as one of the first designers' composite structures. Applied was "the rapid prototyping" approach and his "factory" was in fact a hall with lots of "glue smells"....
![]()
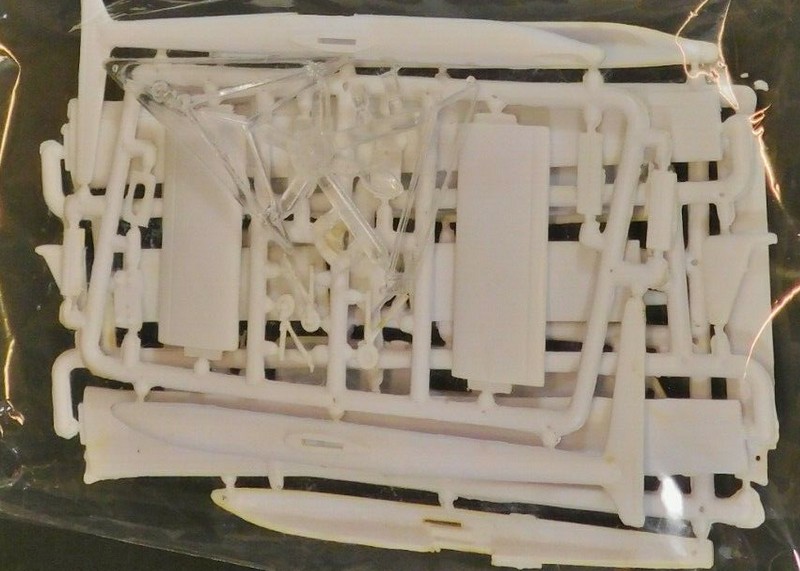
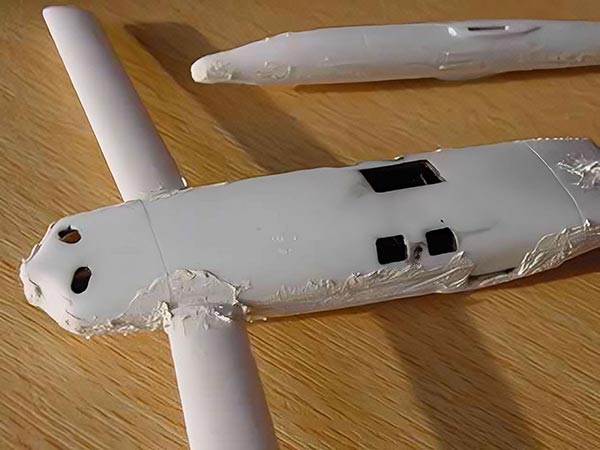
This is an early AModel kit. So you will need first to clean "up" all the parts with sanding paper and a sanding block. Once that is done, you can assemble the kit with some attention needed in the alignment of the parts.
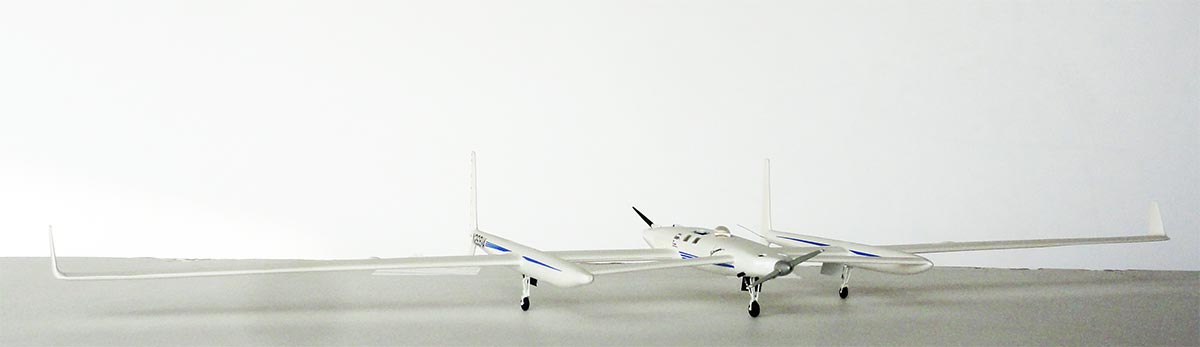
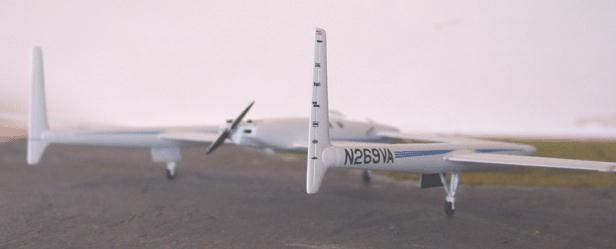
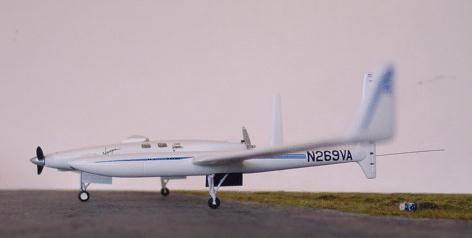
The kit has a very large span even in 1/72 scale: over 42 cm!. At a small chord so a very high aspect ratio wing for low induced drag at low speeds.
Improvements
suggested:
- add some detail in the fuselage
below the clear dome though very little is to be seen;
- add part #9 and fit flush.
- paint the internal fuselage areas
and the booms black to represent the dark composite and to prevent shine
through of the white plastic.
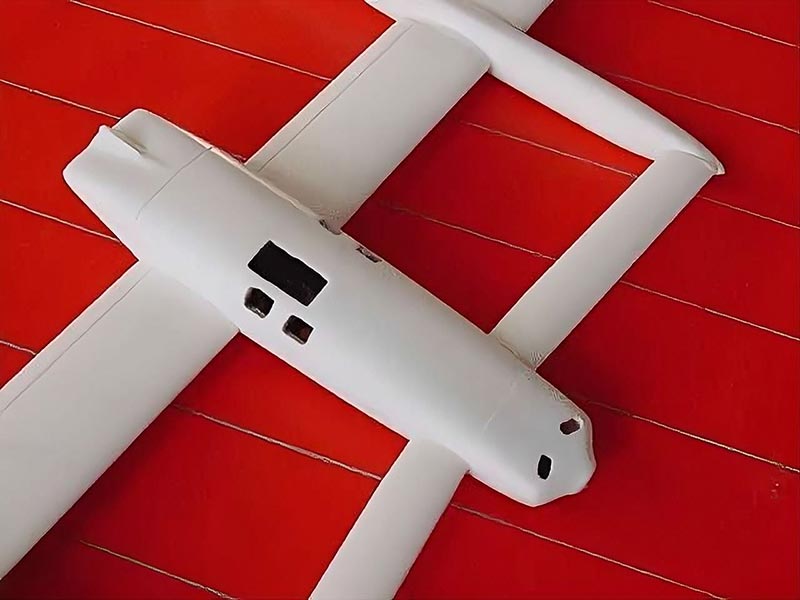
- the fuselage contours are not correct
in the engine areas; you will need to built up the nacelle fairings somewhat
and to improve the shape; study pictures and you will see what I mean.
- fill with putty and sand all areas.
- winglets at the wing tips can also
be added and filled/sanded flush.
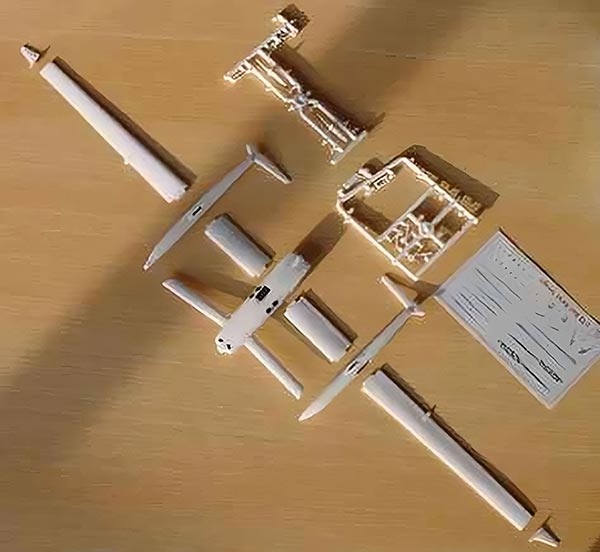
- make fuselage and forward canards; adjust the slots in the forward fuselage to accept them.
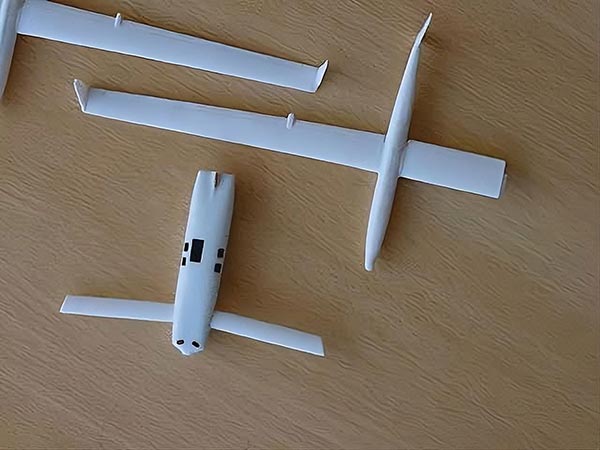
- assemble the wings no. 15-18
- assemble the tail booms including the bays.
Now check the receiving slots and tabs and adjust them by cutting.
Next....
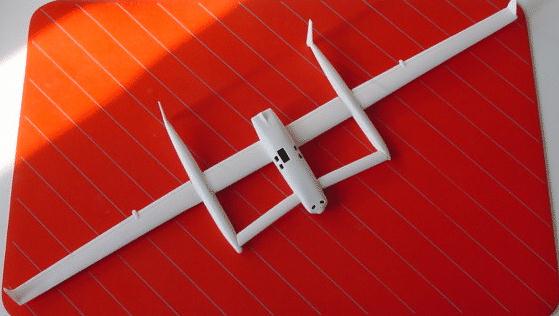
- glue the outer wing to tail boom; check 90 degree angle and let dry
- do the same for the other wing
- glue the inner wing 15-16 to the tail boom assembly with 90 degree angle; let dry
- repeat other wing
- now fix to fuselage/canard and align! Let dry!
This will assure a correct alignment of the various parts.
Completion:
- the exhaust parts no. 8 should
be on top.
- all doors are single parts! Not
double doors.
- detailing will be added later on...
including various missing trim tabs at the flying surfaces.
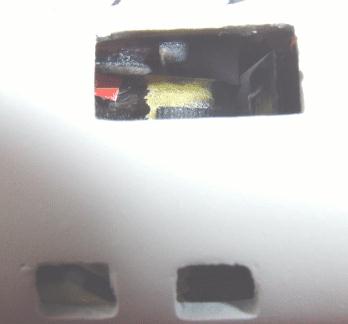
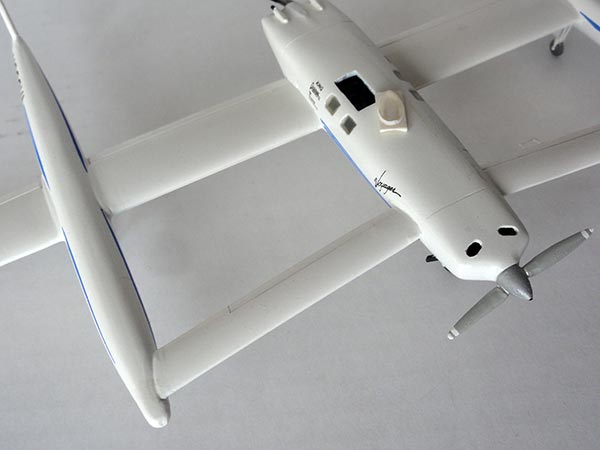
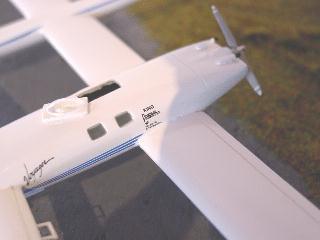
detail of the very small interior. The separate hatch will be left opened
Painting:
Full gloss white overall by using
an airbrush.
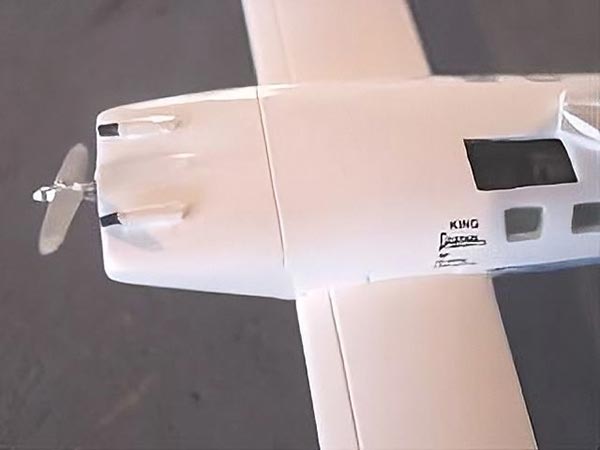
Details:
- props sometimes are tested without
spinners.
- the props need better to be replaced
by others if you have them.
- I will complete the model with
undercarriage etc; also will add a support stand at the outer wings...
- I will use kristal kleer in stead
of the smaller windows on the fuselage.; polish the dome (part 30);
- entry hatch on top is a separate
part and is removable.
The final detailing was done with:
- a trim tab on the left canard
- long wire antenna on the left tail
- the props: these were sanded and
made more fine as they are variable pitch props.
The undercarriage is very delicate, so added were some metal pins to give some extra strength. It was painted white with scratch made single doors. These are black inside as well as the bays as they are unpainted and from fiber composites.
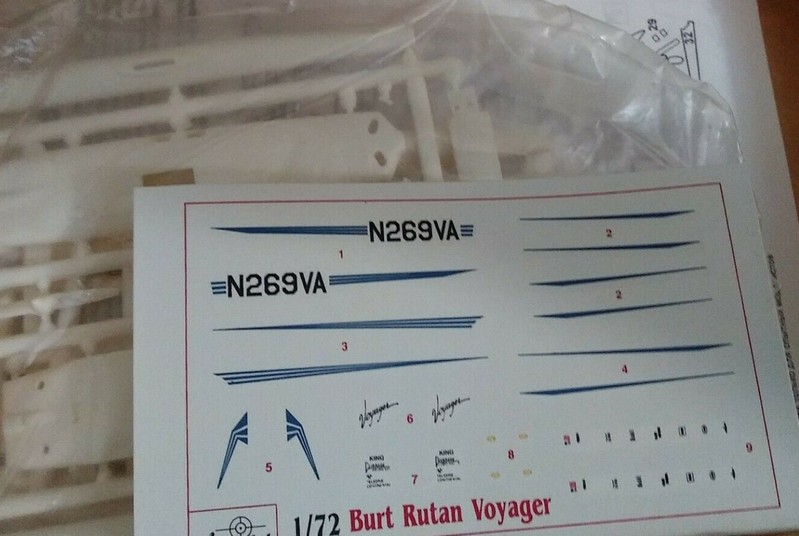
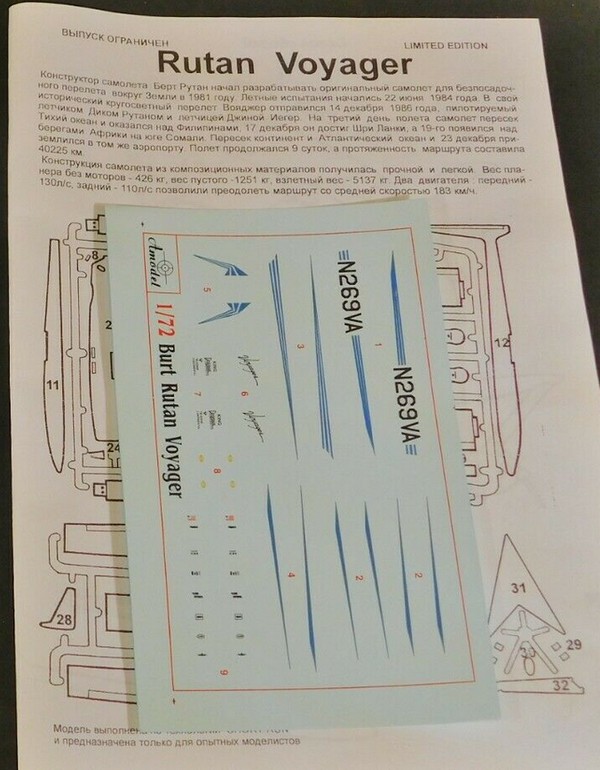
The decals are OK, but the stripes on the fuselage are too long; they should end under the canards. Unfortunately the smaller markings with "experimental " and the smaller registration on the booms are not supplied but are to small to make.
The end-result is a very special model
with a spectacular wing span.
Although it takes quite some work to get a final smooth finish, it can be done with patience and taking care during the handling of the model.


(c) Copyright Meindert "designer"/ All rights reserved. Your comments are welcomed by webmaster
Created September 30, 2001