Special Hobby & Heller
Saab Viggen in 1/72 scale: modelling report
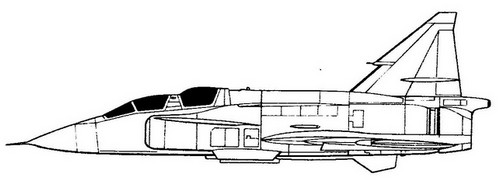
In 1977 Heller from France came with a 1/72 kit that could also be made as a two SK-37 seater and reconnaissance Viggen. I liked the idea of the two seater option.
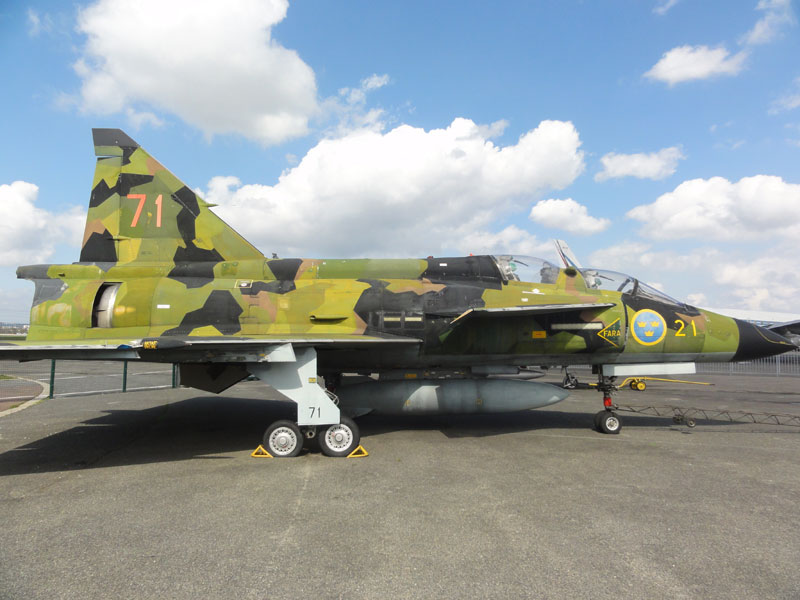
This camouflaged SK-37 Viggen "Skol" (trainer) was photographed by me as preserved at the famous Musee de l'Air en de l'Espace at le Bourget, Paris. It is rather worn but shows details. (see walk around).
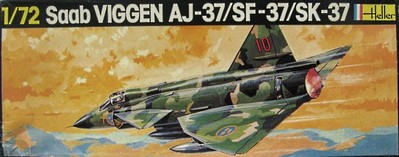
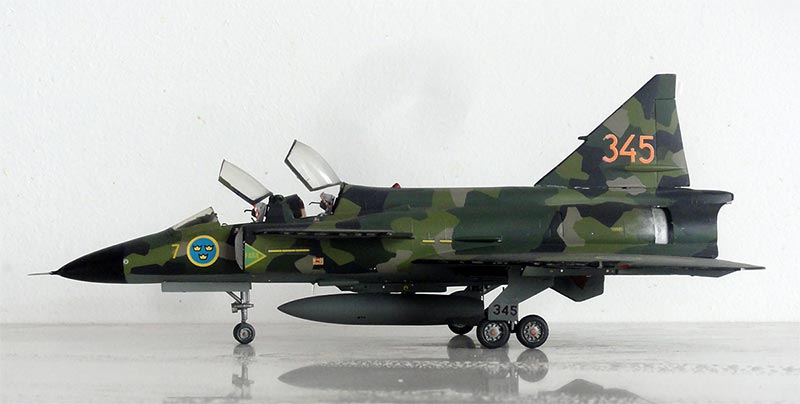
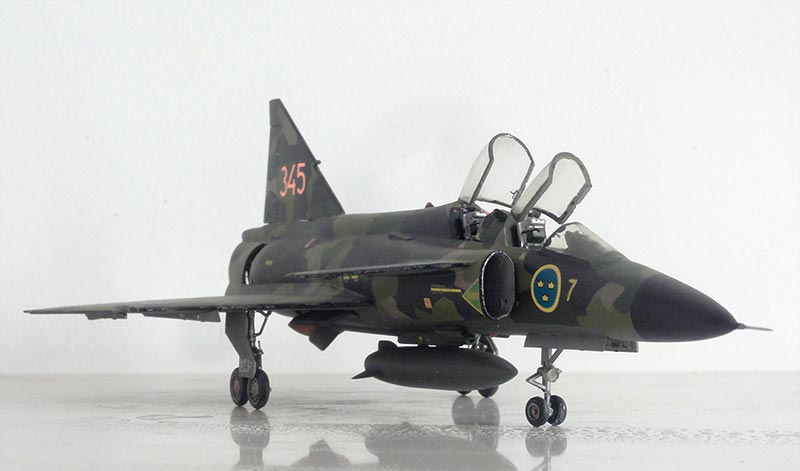
I made this Heller kit decades ago (probably in 1983) as SK-37 but present it here anyway.
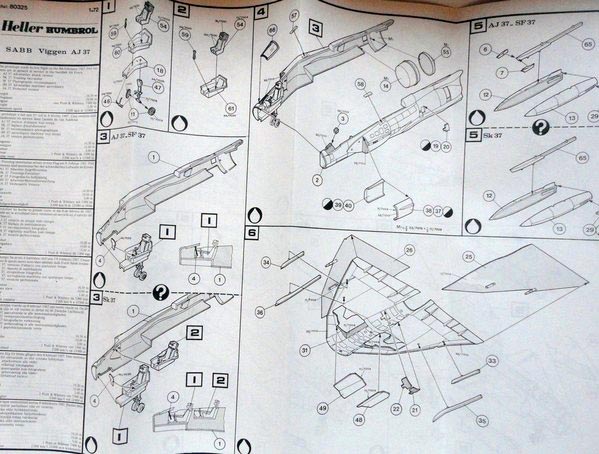
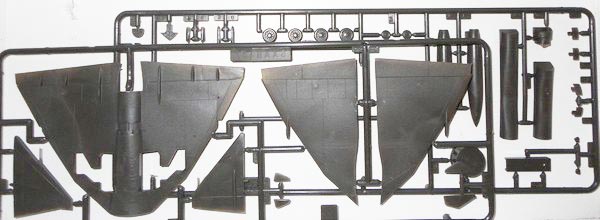
There are about parts in grey/"silverish" soft plastic as far as I remember.
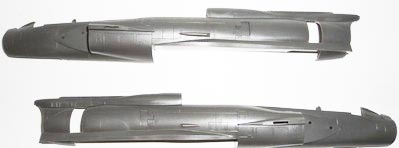
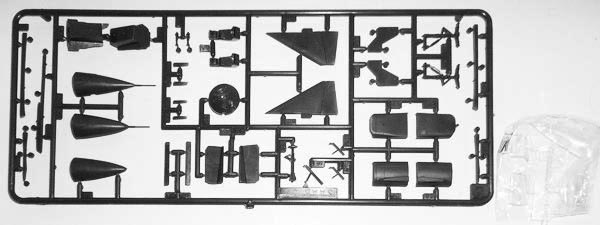
The reconnaissance nose is a full transparant nose bit.

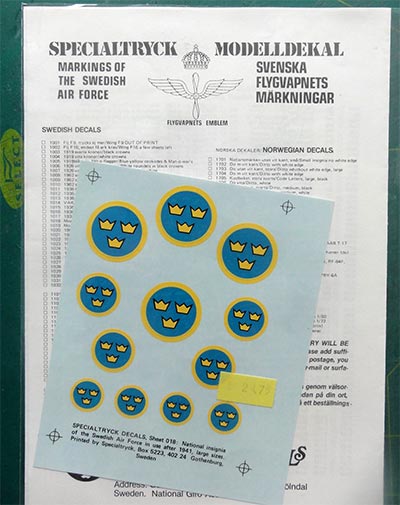
The kit decals were not that bad but I had seen in an IPMS The Netherlands magazine MIP that "SpecialTryck" had very nice decals of both roundels and numbers. I got these at the IPMS Nationals show and was quite excited. (Later on more brands released better Swedish Flygvapnet decals).
I remember the Heller kit assembly was all right but that there were also sink marks in some surfaces, these needed filler/ putty.
I wanted a model with the splitter camouflage. This was a real challenge but once completed, I would get a very special model.
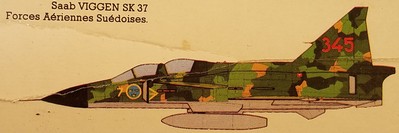
The colours were quite difficult to establish at the time. But HUMBROL came to the rescue with special "authentic colour" tins for the "Swedish Flygvapnet" paint.
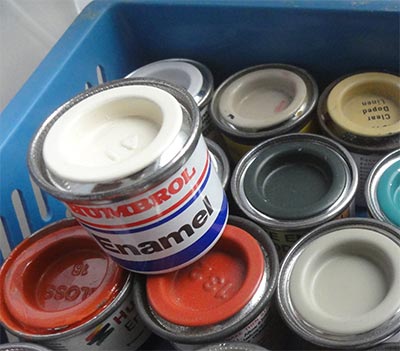
These enamels for the Flygvapnet were coded:
"SW1 Light green 322M",
"SW2 dark olive green 326M or was it 328M?",
"SW3 Black 093M",
"SW4 Pale Brown 507M",
"SW5 blue grey 058M" for the lower surfaces.
(tip: HATAKA provides these colours nowadays; and for the splitter paint scheme DN Models, Bilmodel or Gator have a masking set).
But in 1983 I painted the splitter camouflage by hand with the Humbrol enamels with a fine brush. In those days I did not own a good airbrush and after all the effort the model did not look too bad. My hand painting qualities were at the time good. I even weathered the leading edges a bit with metal paint....
The SpecialTryck and other smaller decals were set.
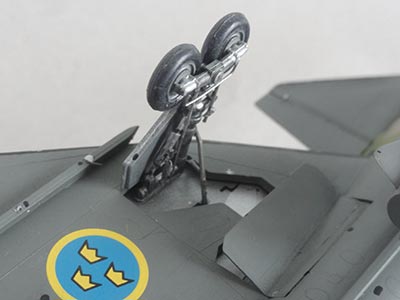
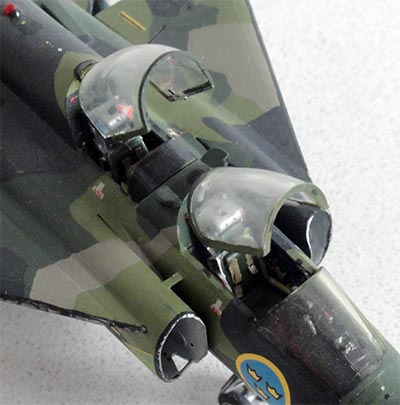
The landing gear and other details added. In the cockpit straps from tape and some handles on the seat tops seen on photos. I also added the braces between intakes and fuselage from thin plastic strip.
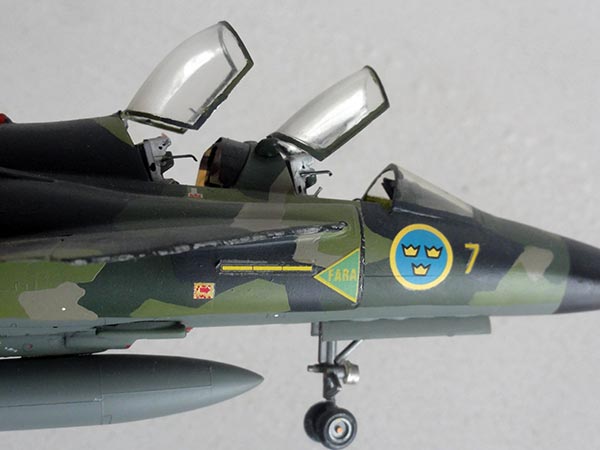
And finally I think a matt varnish coat using a small Humbrol rattling paint can. That was it!

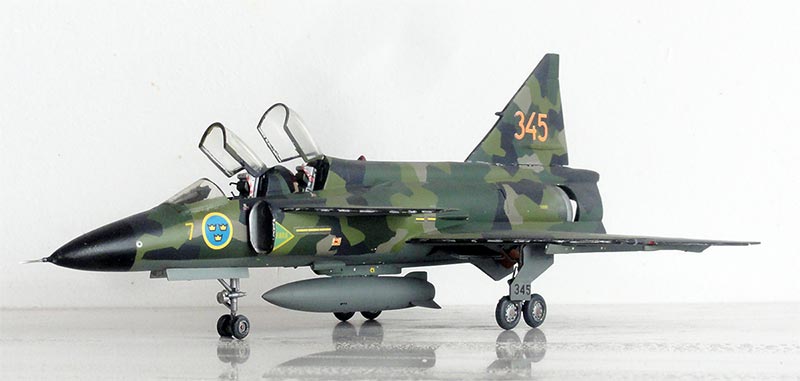
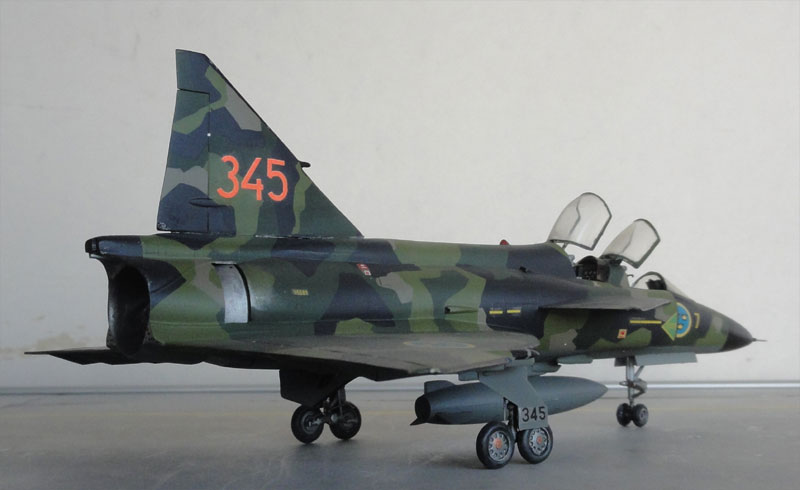
As you can see, no mirrors were set in canopies in my old modelling years.... but I replaced the pitot tube with a needle!
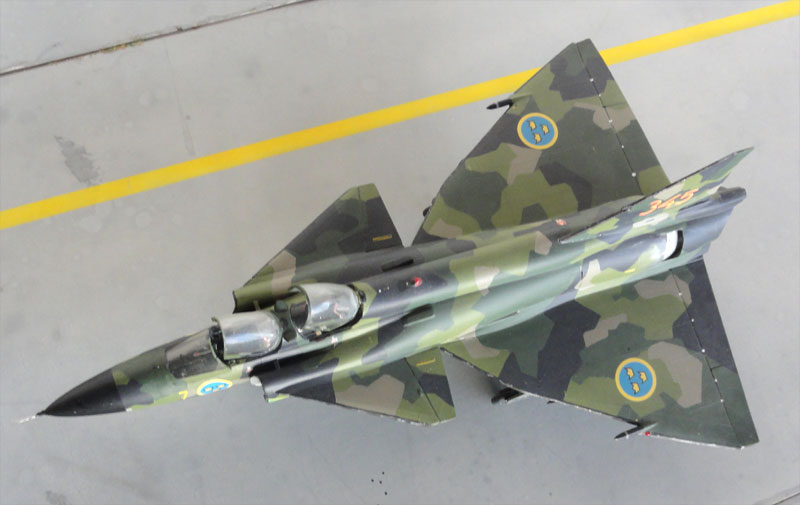
My model in this scheme drew quite some attention at the time at IPMS shows.
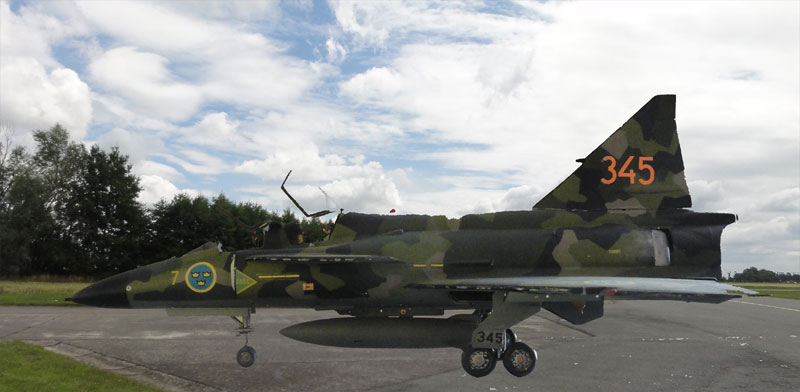
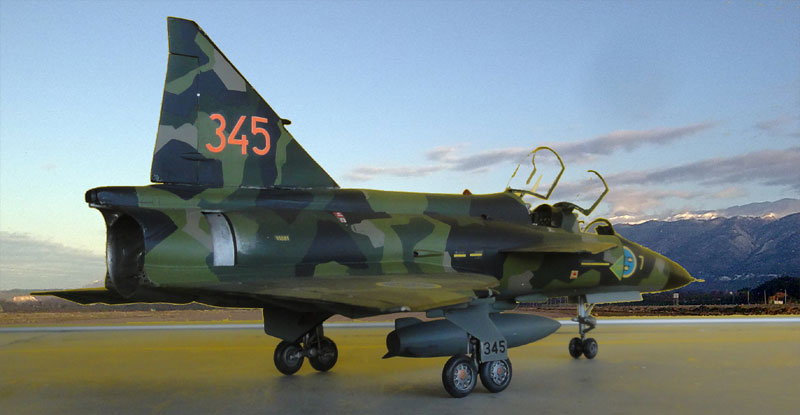
 ... in a land scape....
Back to 1/72 Models

(c) Copyright Meindert "designer"/ All rights reserved. Your comments are welcomed by webmaster
Created this page August 25, 2020