[ page 2 ]
AIRFIX TSR-2 model in 1/72 scale
Some views of model during construction
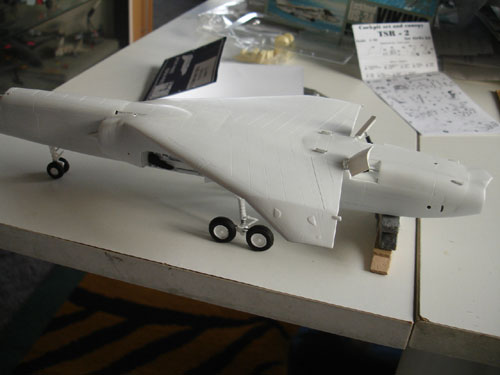
Main gear aligment was tricky, use
a jig to get a symmetrical result.
The rear fuselage was sprayed metallic.
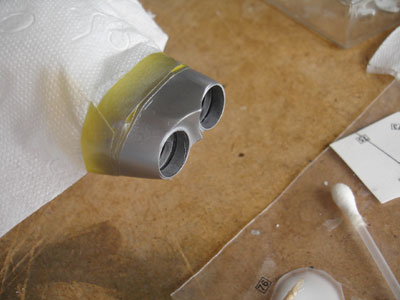
Than....
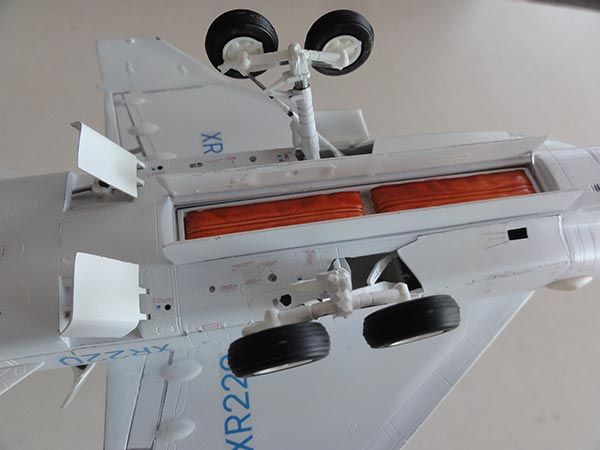
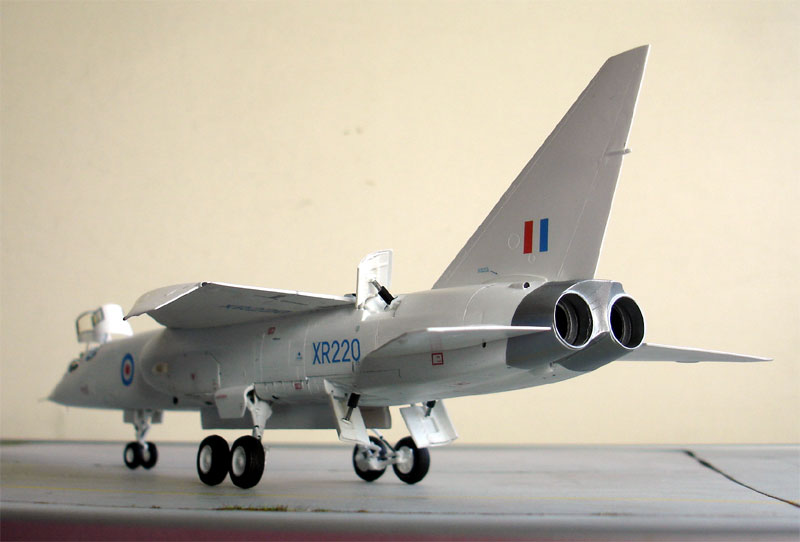
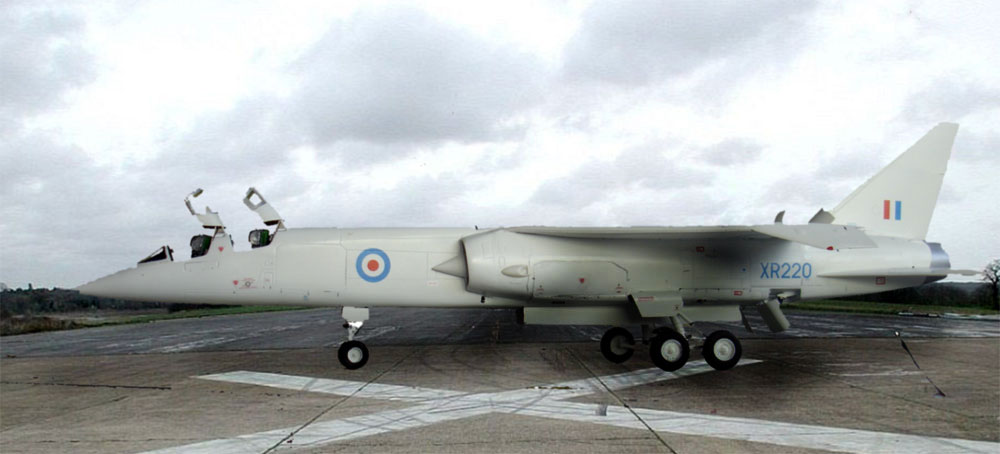
- Step 20: only "XR220" has the boogie strut which is correct.
- Step 25: I had to shorten the struts #51 + #52 about 2 mm in length. The main legs should be fitted now.
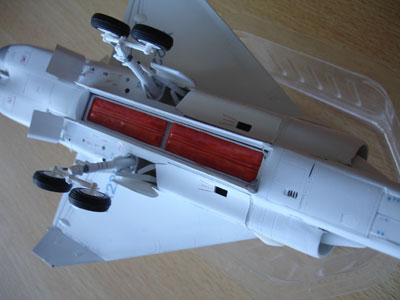
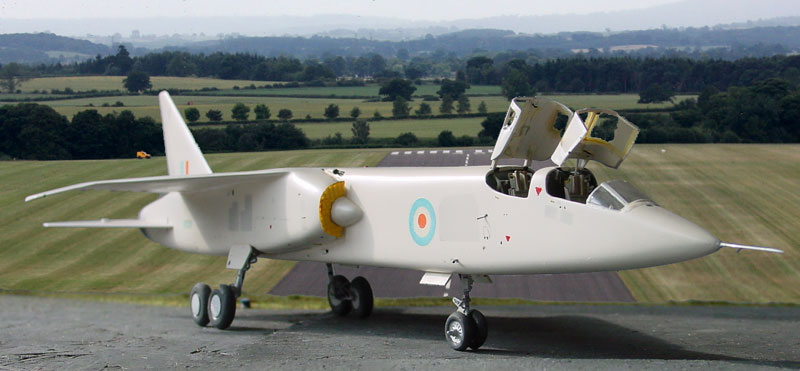
- Step 26: the part #65 suggests a blanking cover for test equipment in bay. It should be painted orange.
- Step 27: the main gear doors and rear nose doors were set "closed" and do not fit perfectly. I found out too late. It would have been better to set the doors in place at an earlier stage and sand them flat.
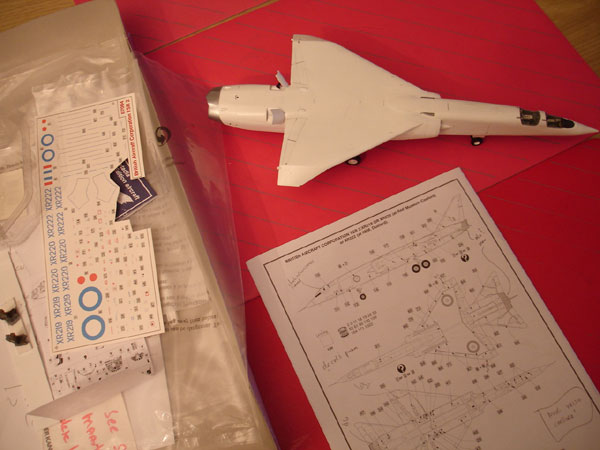
It was now time for the decals.
First, add a gloss finish before
applying the excellent kit decals. I used some coats of Johnson
Future (Klear).
All that is for the decals needed
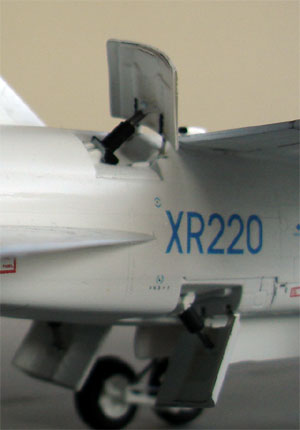
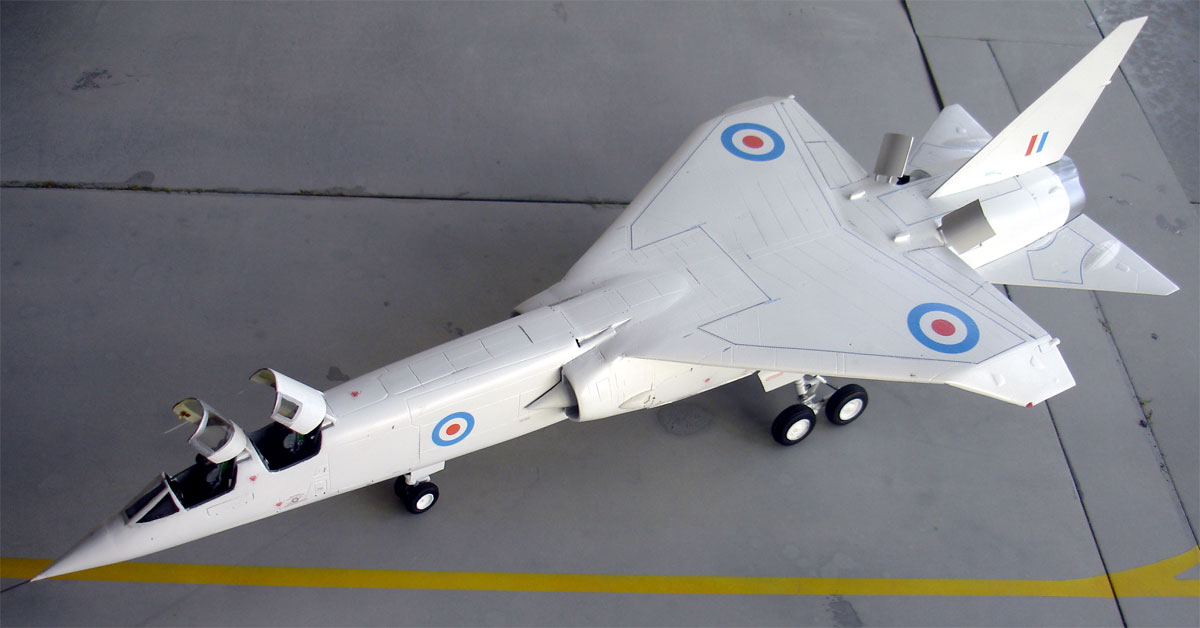
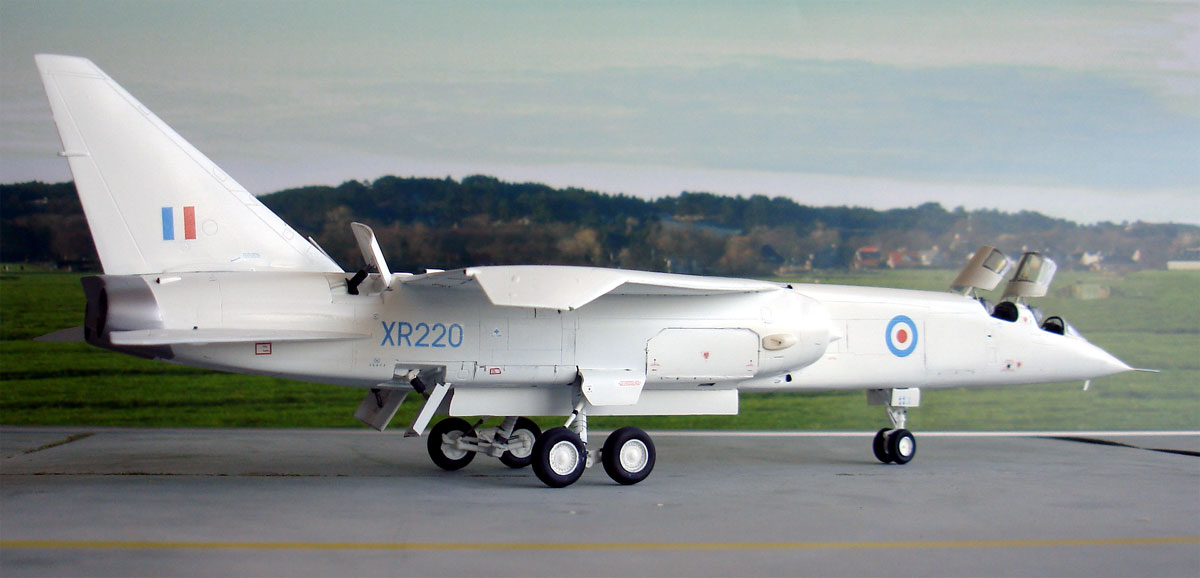
is supplied by Airfix. I opted to make the TSR-2 "XR220" of Cosford.
Finishing:
- set on the air brakes
- add extended raising jacks cylinders
made from metal needles when opening up the canopies

Final touches:
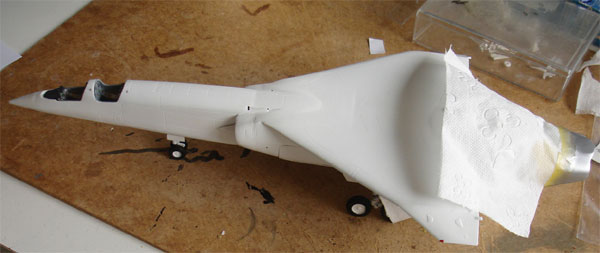
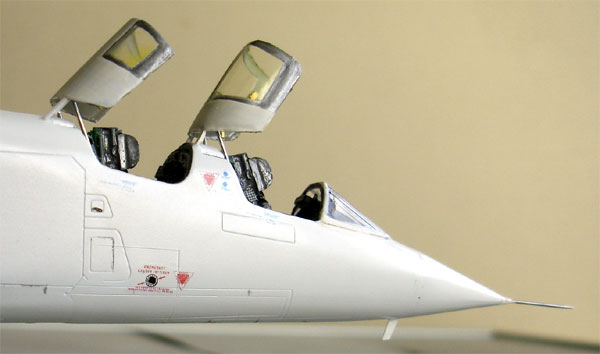
- Around the canopy windows, metallic edges were painted. The inside of the canopies was painted light grey. The canopy windows were given a slight hue of "gold" suggested with very thinned transparant Tamiya Yellow acrylic paint.
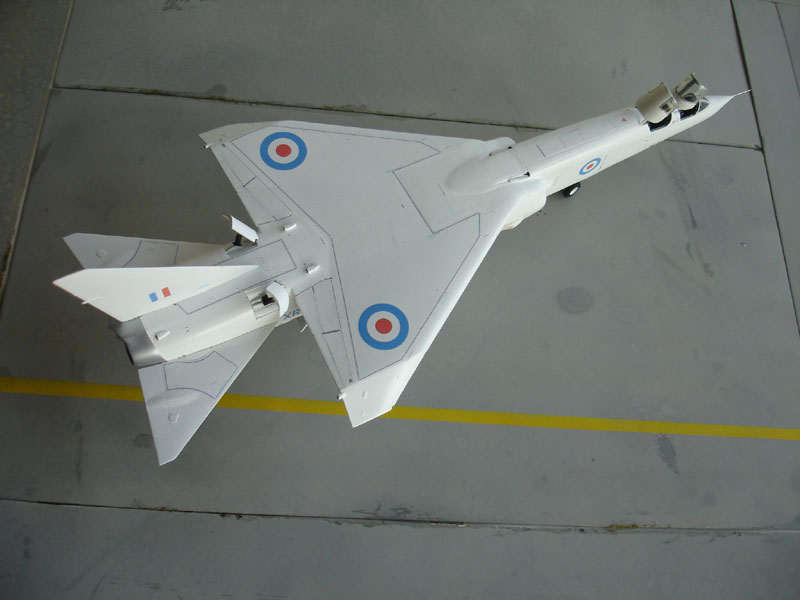
- the vertical and horizontal stabilizer show small gaps with the airframe when fitted, some white glue for gap filling will improve the looks.
- the wingtip anti-collision lights are not mid-chord but at the leading edge tips.
- some panel lines were slightly depicted with a fine brush and rivets shown with a toothpick with "off white" paint.
- you may add red exhaust and intake
cover plates to give some extra colour to your model made from card.
After decalling, the final details
were added.
The "XR220" prototype was picked. Here
is the result....
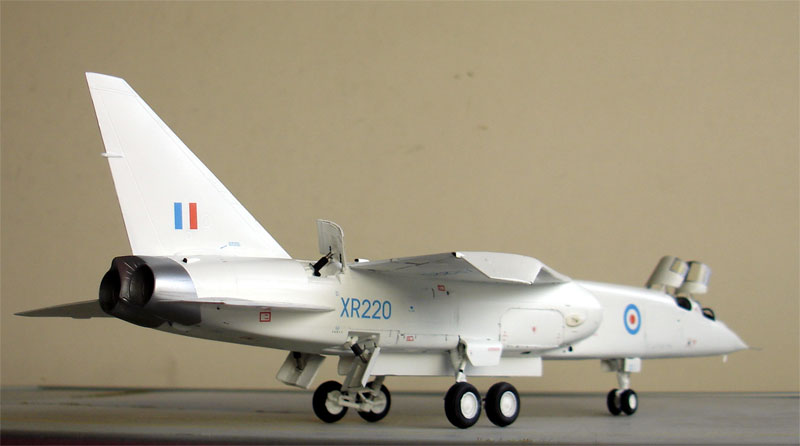
Weathering was only sparsely applied.
Remember these were prototypes with only few flying hours.
 ..
..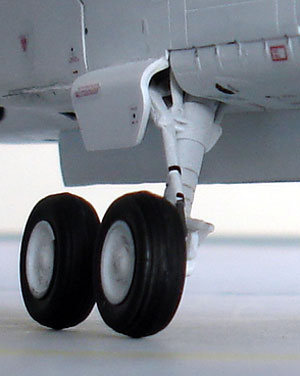
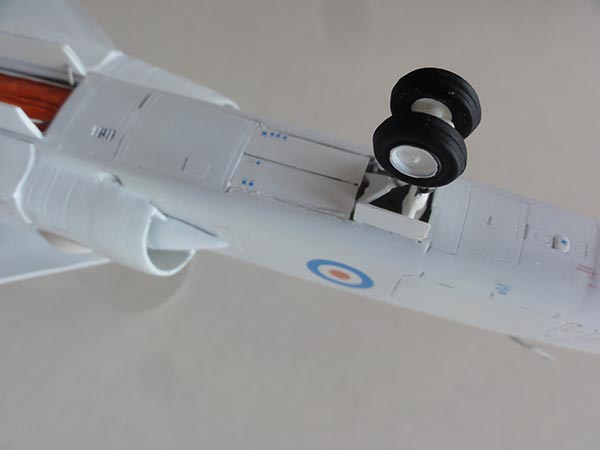
Gear and brakes
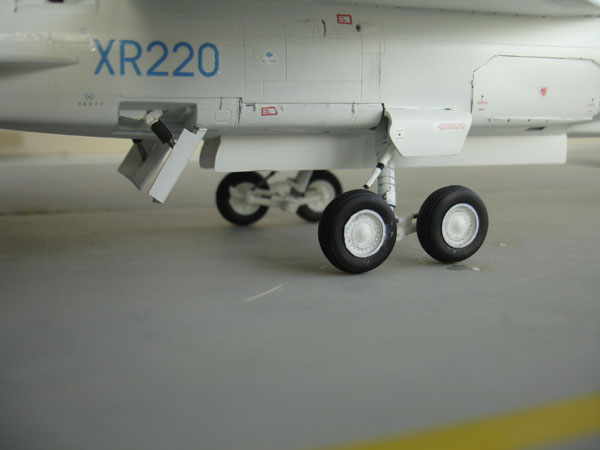
Note closed main gear doors.
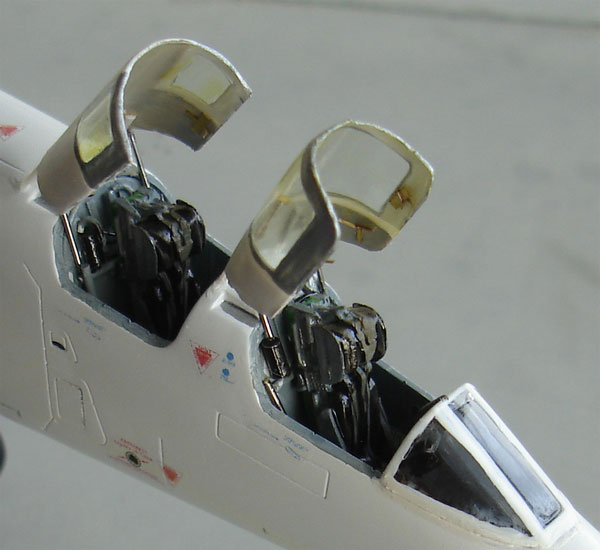
Cockpit with inside canopy details
of the resin Pavla detailset, details made from scrap parts of etched
metal and metal needles for the canopy raising jacks as can be seen here.
These were made from metal pins and quite difficult to set on the model.
But the result is great as there are very prominent
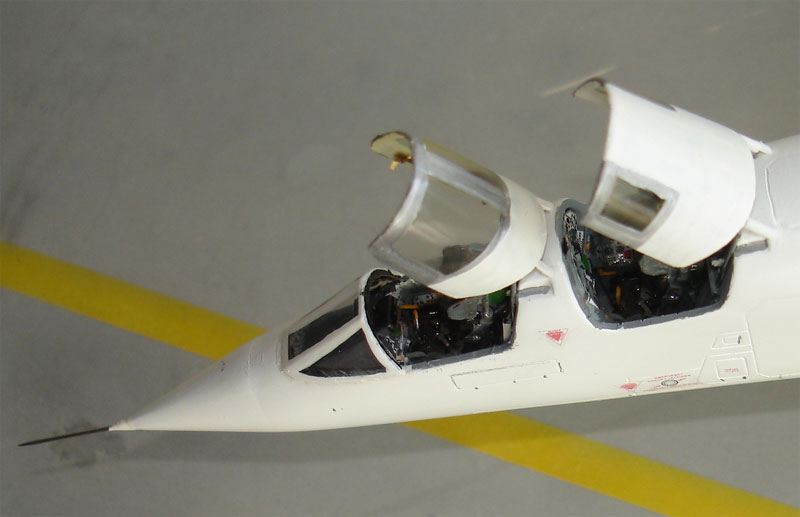
Instrument panels were a combination
of Pavla painted resin parts and kit decals. Add colour details with a
tooth pick.
Note also the "gold" sheen on the
aft canopy. These was achieved with Tamiya Transparant "Yellow" thinned.
The open airbrakes can also be seen
here. On the real aircraft they did not close very well completely in line
with the airframe.

Note the small thin walkway lines
(in blue grey) as provided in the kit
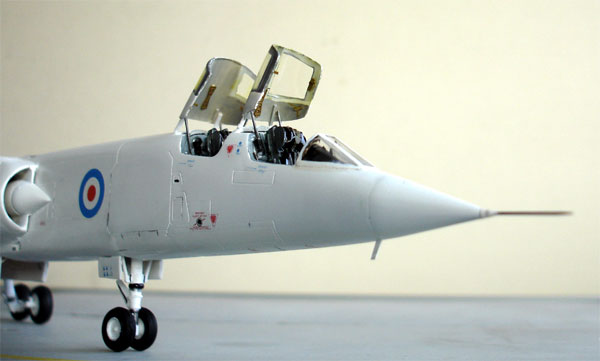
The pitot was made from a metal needle.
The result.
.

Despite some problems, a nice kit and far better than my 25 years old 1/72 Contrail Vacuform kit.
Back to 1/72 Models.......

(c) Copyright Meindert "designer"/ All rights reserved. Your comments are welcomed by webmaster
Created this page January 10, 2009