AModel
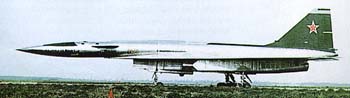
Sukhoi T-4 "Sotka" model in 1/72 scale of Amodel
Early in the
nineteen-sixties, the Soviet VVS commander came up with a requirement for
primarily a Soviet very high speed supersonic attack aircraft. Its envisaged
performance was a top speed of over MACH 3 , range of 6,000 km and a take-off
weight of 100,000 kg . Sukhoi came with a proposal, the T-4 with a delta
wing configuration with small canards, and it was approved that Sukhoi
went ahead, involving many other research organisations in the USSR. During
development, the relations were not very good between the Sukhoi Design
Bureau and the VVS Authorization Committee due to lack of resources, capacity
and many defects in many components.
Design work
continued and the type promised to become leading edge aeronautic technology.
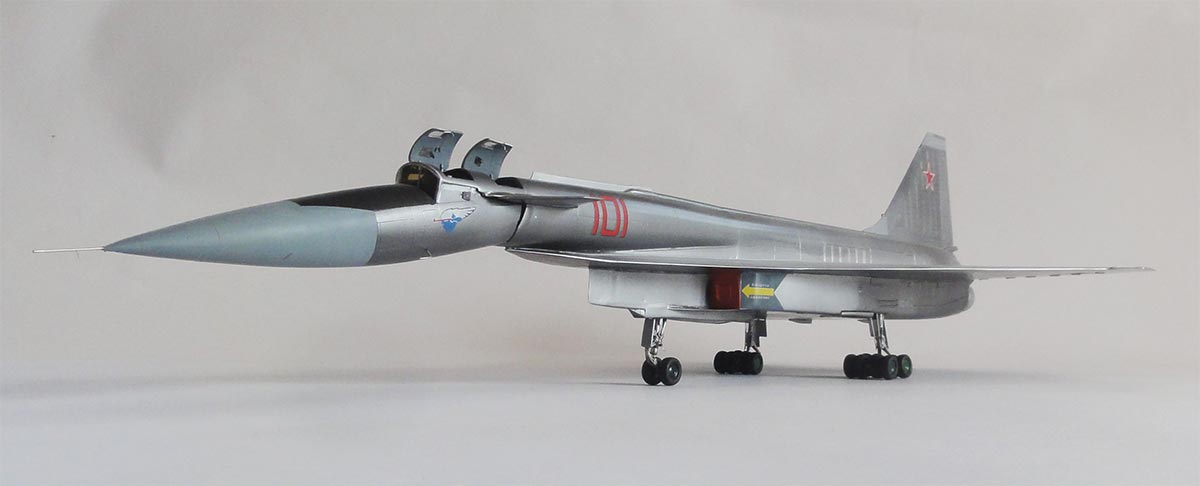
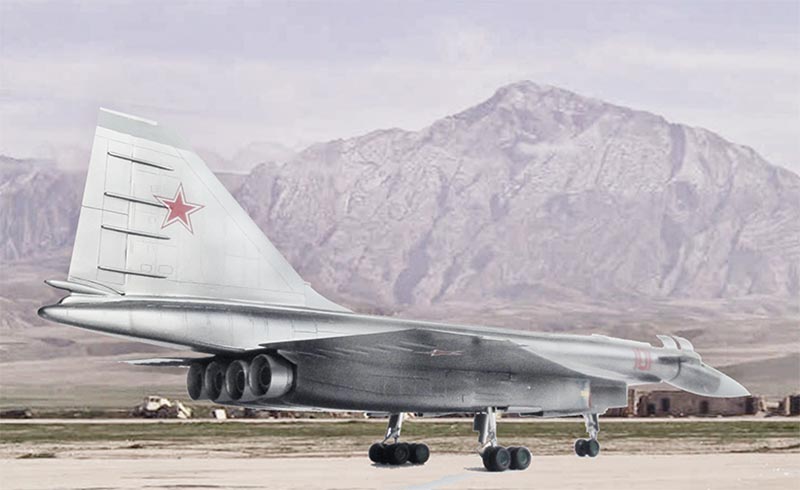
The nose could be drooped down for take-off and landing visibility and
would be straight at high speed supersonic flight. Below the large delta
wing, a massive jet engines installation was present with four RD36-41
turbojets
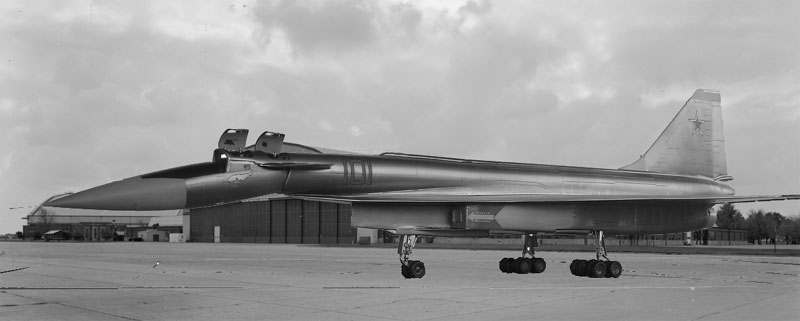
The first "101"
prototype was ready not before the end of 1971 and it flew for the first
time on August 22, 1972. This prototype performed reasonably well and had
acceptable handling qualities. Work was started on some additional test
planes to test various technical components like avionics and weapons systems.
However, the whole project was stopped for very unclear political reasons
by the top of the Communist Party.
The prototype
went to the VVS museum at Monino (where it still is).
Design Top Speed:
over Mach 3
Wingspan
22.7 m
Length
44.5 m
Height
11.2 m
![]()
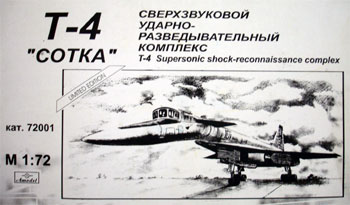
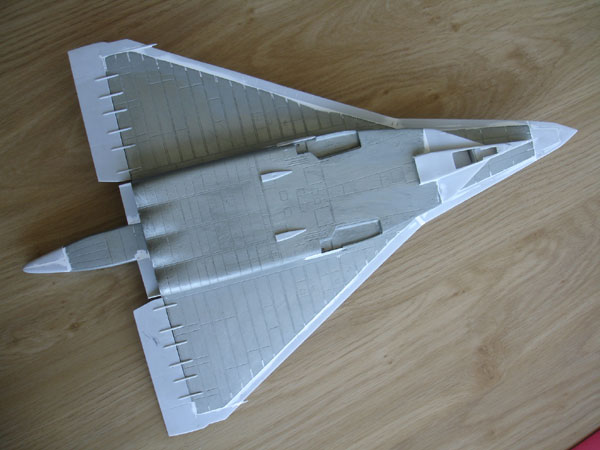
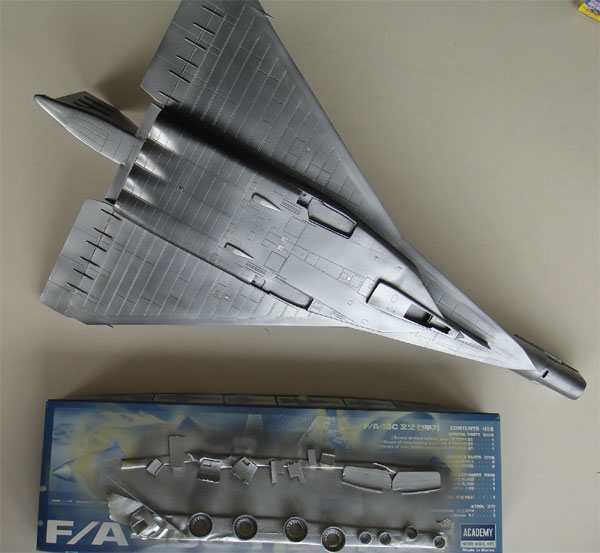
Amodel issued in early 2003 a 1/72 kit of
the T-4 , kit no. 72001.
As usual for many large Amodel kits, it has a fiberglass main fuselage and centre wing with many sprues with about 100 "short run" plastic parts. The leading- and trailing edges are provided in plastic to get sharp edges.
All parts need
significant clean-up, but nothing that can not be done by a modeller with
some experience. Although the parts are not of the high quality of most
current injection moulded kits, you can make a very special and unusual
model. You will need a lot of filler and do sanding however. The panel
lines on most parts are inscribed.
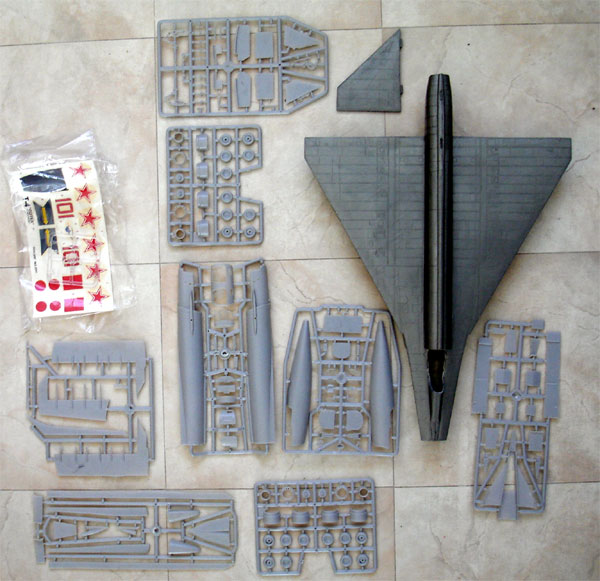
The instruction
sheets have 10 steps with Humbrol colours
indicated, of which I think colour "D" is medium grey. You also get a small
simple but adequate decal sheet for the overall metal finished T-4 as currently
in Monino.
![]()
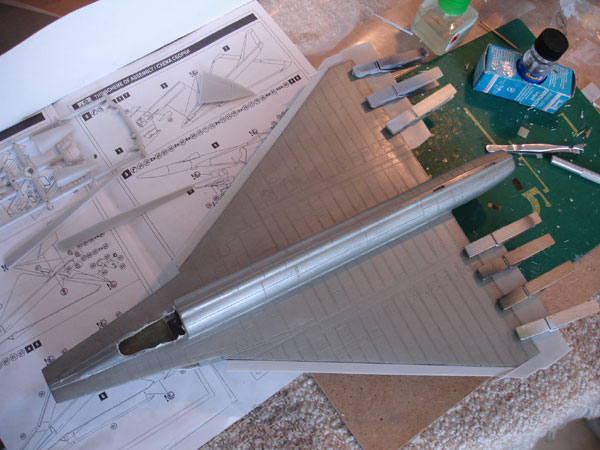
Modelling the
kit
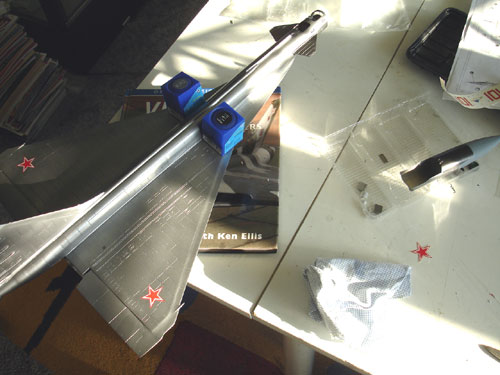
I started making
the kit with cutting out forward fuselage spine and intake area as indicated
in step 6 of the instructions with a razor saw.
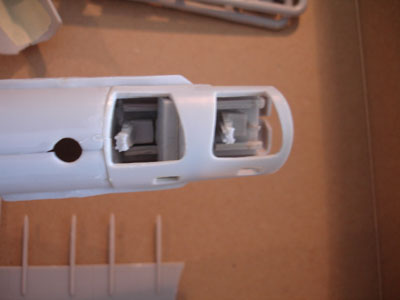
Next, the cockpit
interior may benefit from adding some extra details from sprue and instrument
panels from the spare box as you can set the crew entry hatches open. The
interior was painted the medium grey with red seat cushions.
The windscreen
part # 31 I replaced by bending a piece of acetate clear sheet to get a
better end-result to avoid using the separate unclear windows.
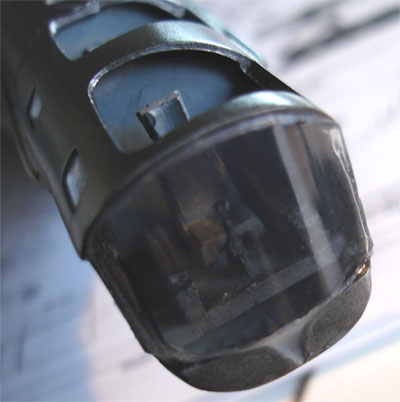
New shield,
the window frames still to be painted on.
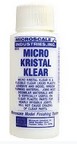
Also, the hatch
windows were not used, but rather Microscale Kristal Klear was used later
on.
The nose wheel bay area has separate
parts.
The side panels #77 + 78 needed considerable sanding to get a smooth result.
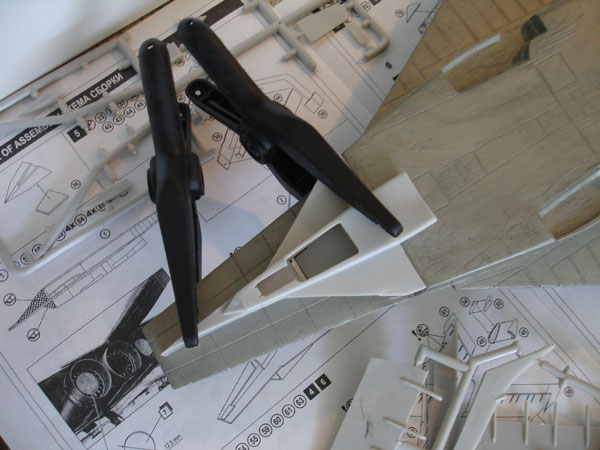
The engine exhaust pipes are a bit crude but can be used.
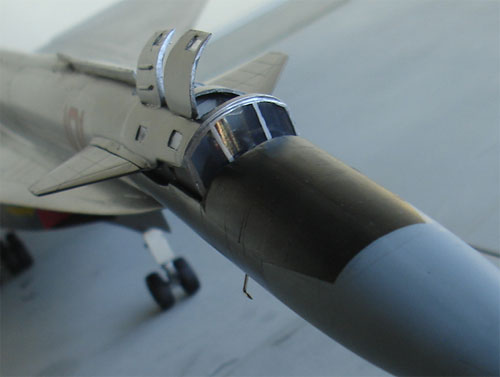
For the intakes,
it was decided to make some intake cover plates from plastic card, painted
bright red.
 .
. .
.
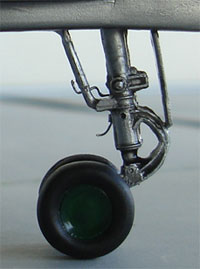
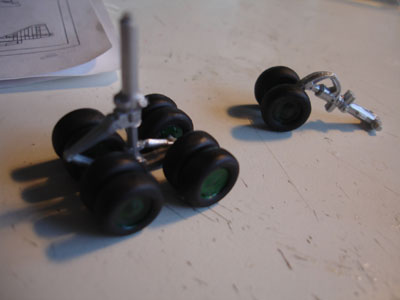
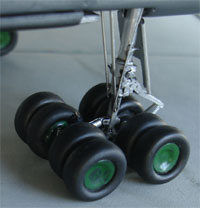
The many wheels
are terribly moulded with holes and shrinkage and need a lot of work to
get reasonable results through filling and sanding.
The canards were assembled at the very last stage, so after the metal finish had been applied.
The vertical
tail and the outboard wing leading edges and trailing edge parts did not
fit very well. Filler and lots of sanding is needed here.
The forward fuselage was added...
no need to put the movable nose at this stage, can be "clicked" in place
at the end.
Assembly of
the kit otherwise went OK.
Finishing
Using a BADGER
150 airbrush, the overall model was first given a light grey primer coat
to check for any flaws. These were corrected with putty and sanding where
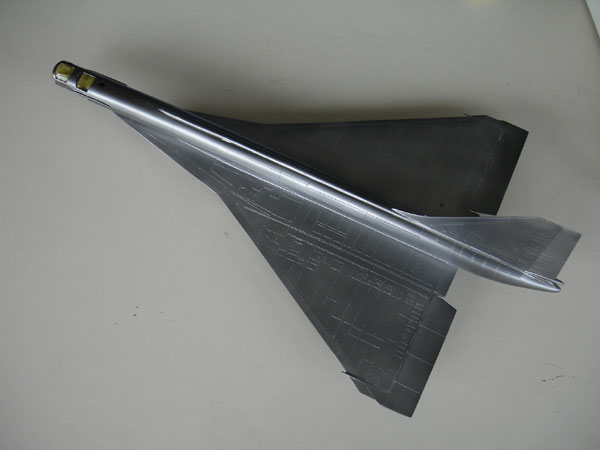
needed. As the real plane was natural metal with several hues, it was decided
to use the ACLAD II
system. So the next base coat was gloss back.
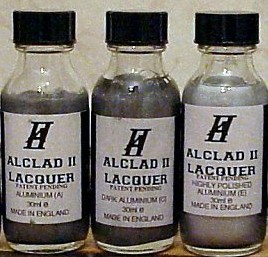
Next, a coat of ALCLAD II titanium was applied with some panels in steel.
.
.
Next, some panels were painted dark grey and black as indicated and after the few decals were applied, the overall model got a protective coat of gloss Johnson Future varnish.
The nose was set in place and fixed down with a drop of superglue
Adding some small details like pitot tubes from metal needles, the landing gear and doors completed the model.

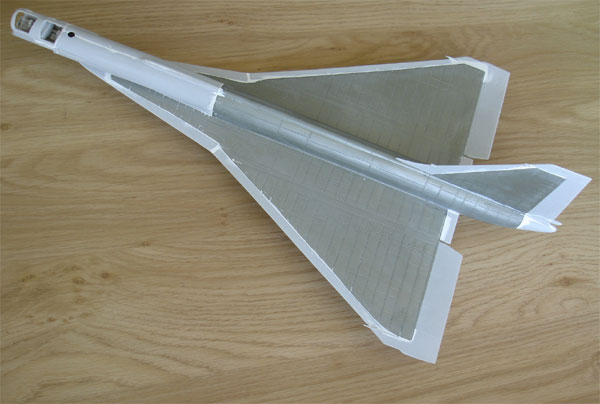
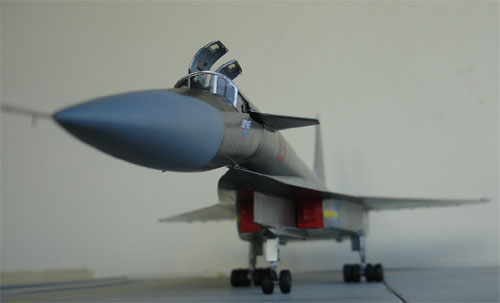
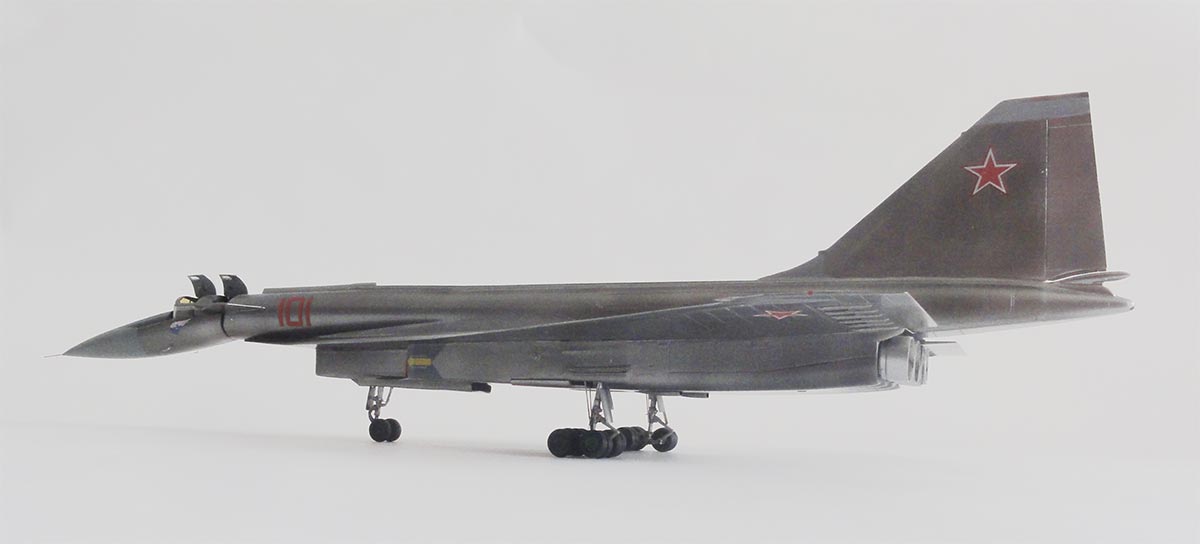
The T-4 "Sotka" ....
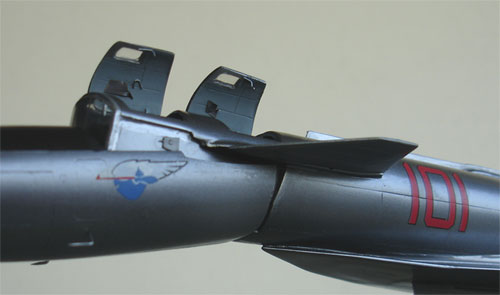
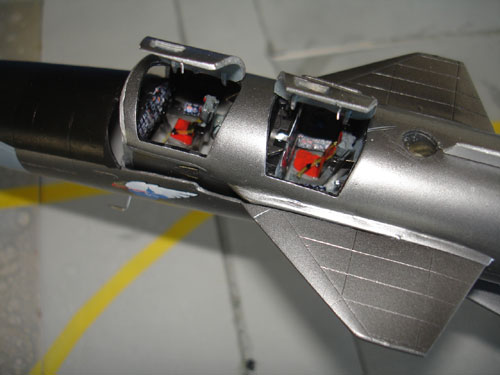
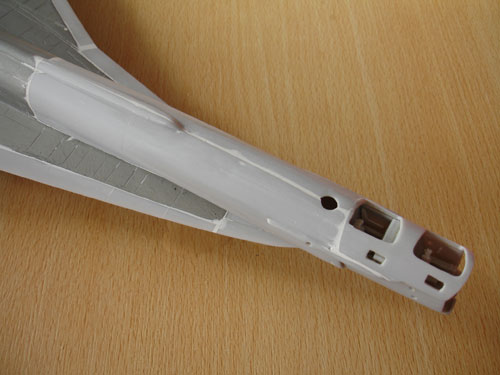
Cockpit area, note the instrument
panels added from spare decals

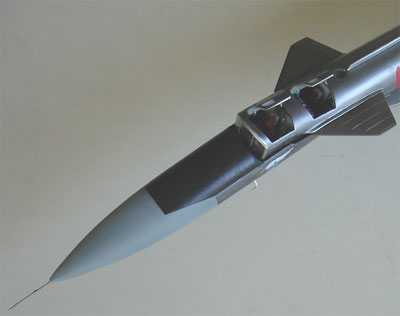
Note the new windshield; pitot tubes
on the nose sides and the nose tip were added made from metal needles.
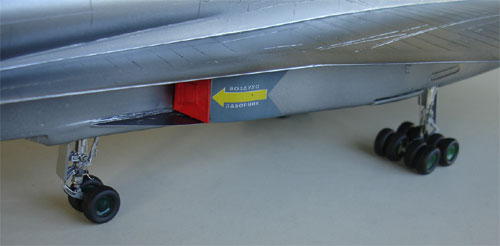
The intake area with the added red
covers.
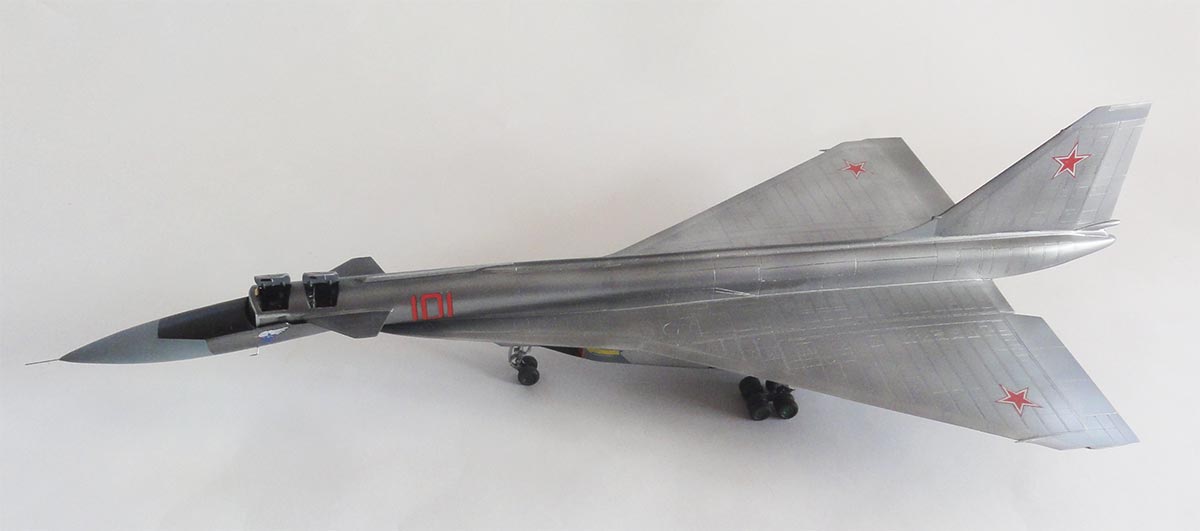
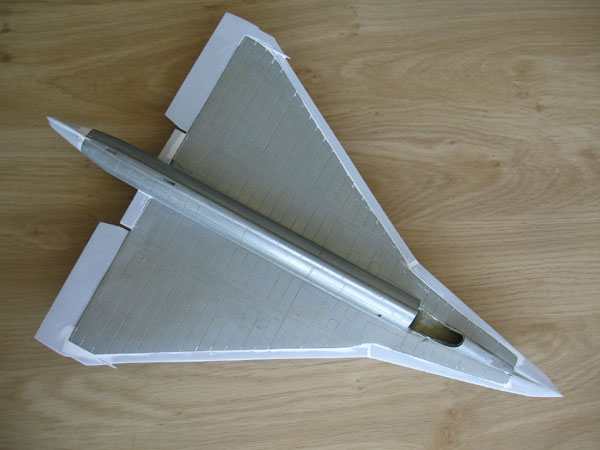
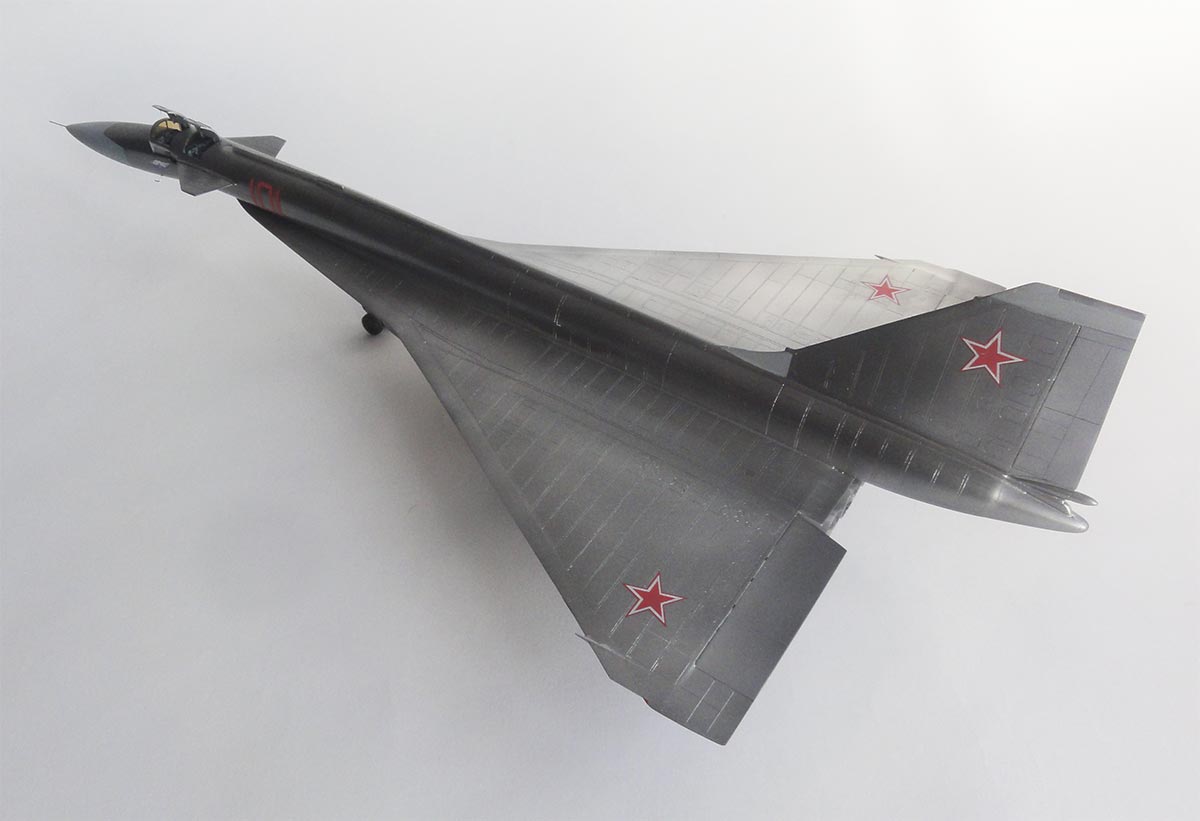
Notice the cranked delta wing for
the high supersonic speeds.
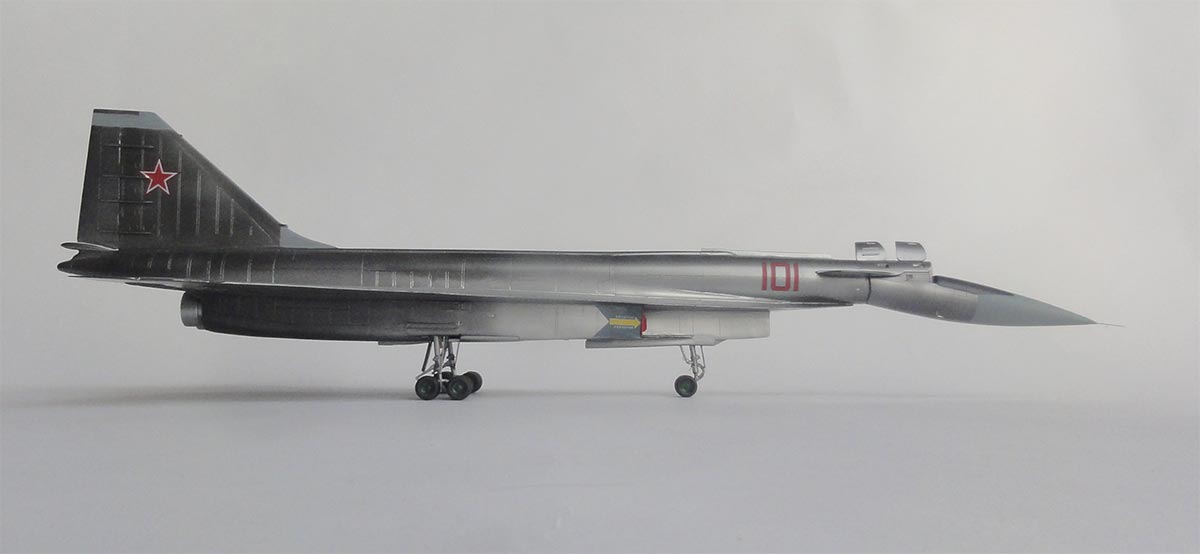
The end-result is a very remarkable model in the 1/72 Soviet collection.
![]()
References:
http://www.aeronautics.ru/sukhoi/t4okbsukhoi01.htm
http://www.testpilot.ru/russia/sukhoi/t/4/t4_e.htm
OKB Sukhoi, about the design buro, Aerofax / Midland publishing, 1996, ISBN 1857800125 , page 2006 >>
Back to 1/72 models.......

(c) Copyright Meindert "designer"/ All rights reserved. Your comments are welcomed by webmaster
created this page
December 27, 2007