KP


SIAI Marchetti S-211 models in 1/72 scale

The Italian aircraft company SIAI Marchetti developed as a private venture a light military basic jet trainer in the 1970s. The idea was that the follow up trainer for the SF260 that was used by many world air forces. The S-211 is a compact 2 seat jet with a shoulder wing and a Pratt & Whitney Canada JT15D-4C turbofan. Fitted with 2 MB mk10 seats and no internal armament. First S-211 flight was April 10, 1981. In 1983 Singapore ordered 10 aircraft for its air force (and that fleet would grow later to 32 aircraft including locally assembled aircraft). Than followed by Haiti which ordered 4 jets that were delivered in 1985. Also the Philippines air force ordered 25 jets and 15 were assembled locally. In 1997 the company became part of Aermacchi. Some 60 jets were manufactured between 1981 - 1994 which is not a lot.
Length 9,31m; span 8,43m; MTOW 2750 kg and Maximum speed MACH 0,8. The type was later developed into the S-311 and M-345.
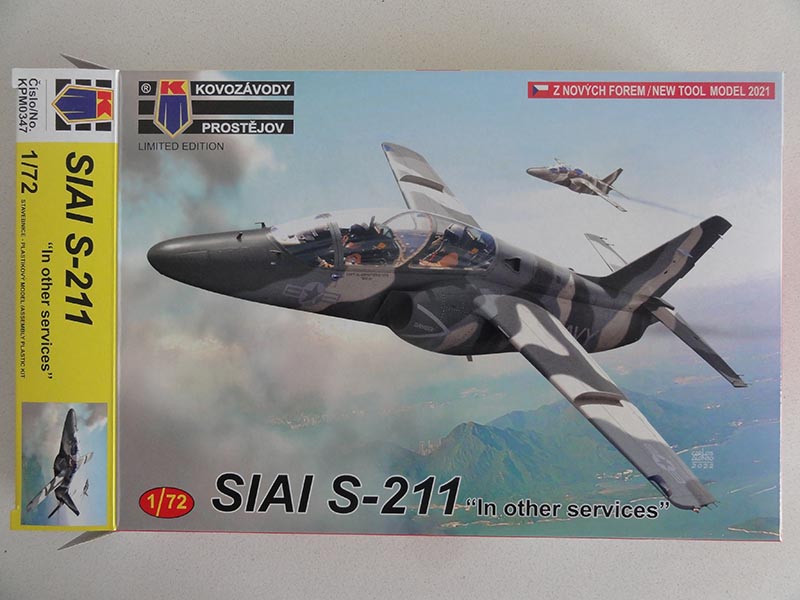
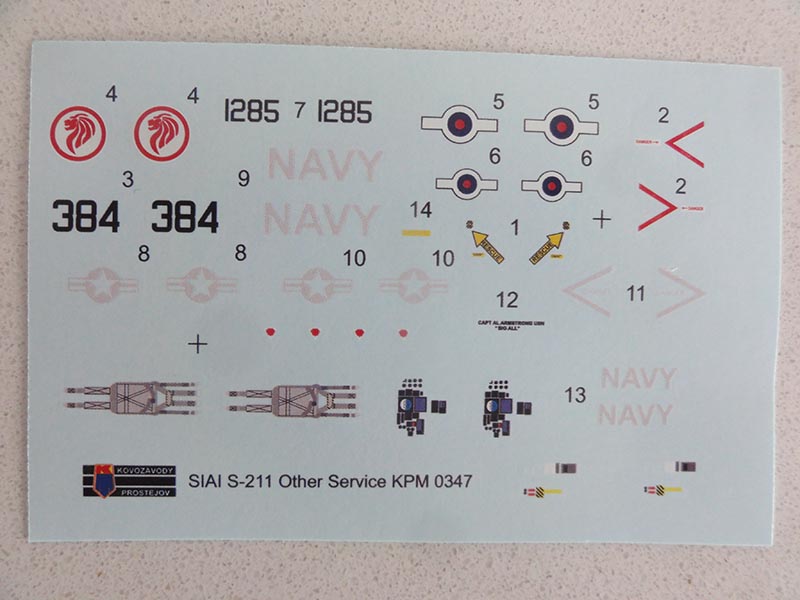
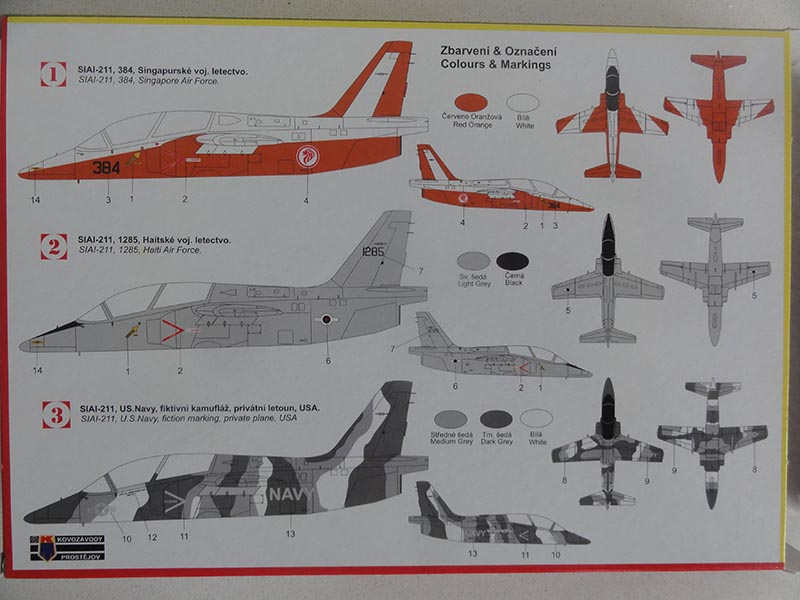
I had KP S-211 kit #KPM0347 "in other services". Nice but few decals are provided for three military schemes:
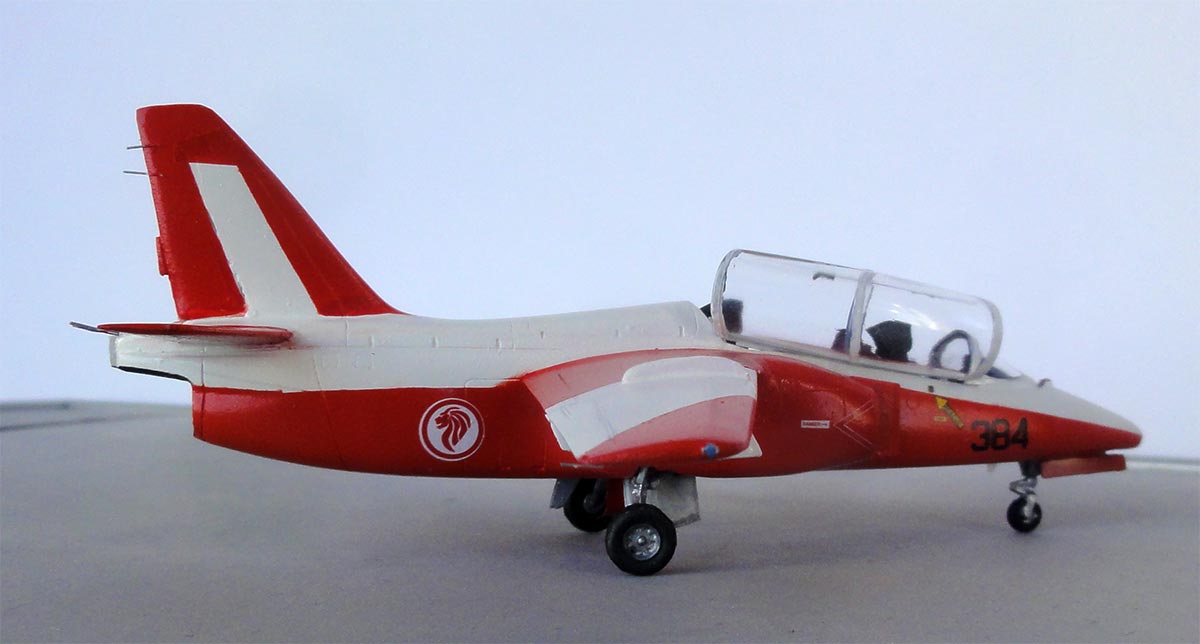
- [1] Singapore Air force, in a red-orange and white scheme
- [2] Haiti air force in a grey scheme
- [3] Private jet in a US Navy scheme
The schemes are shown in colour at the box.
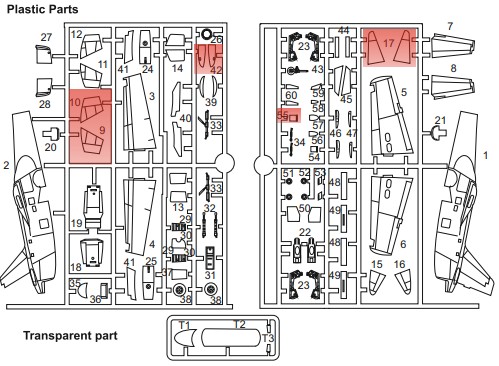
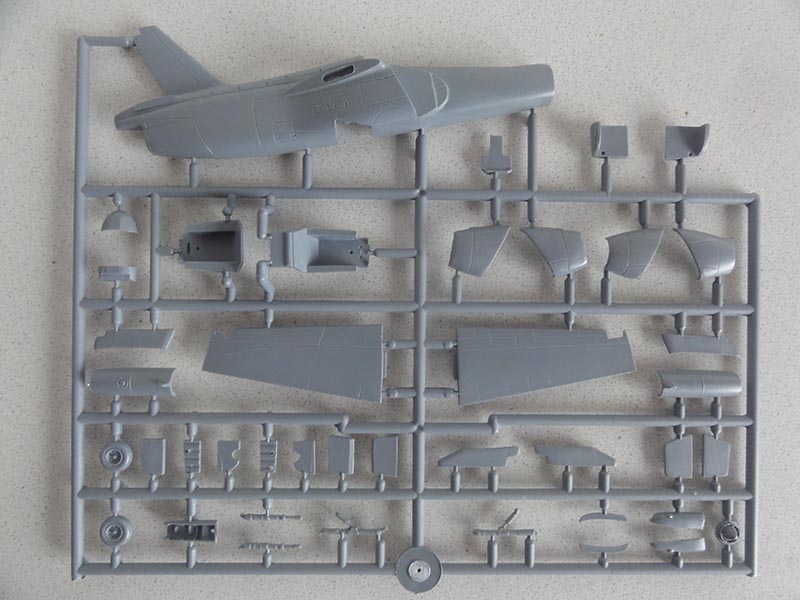
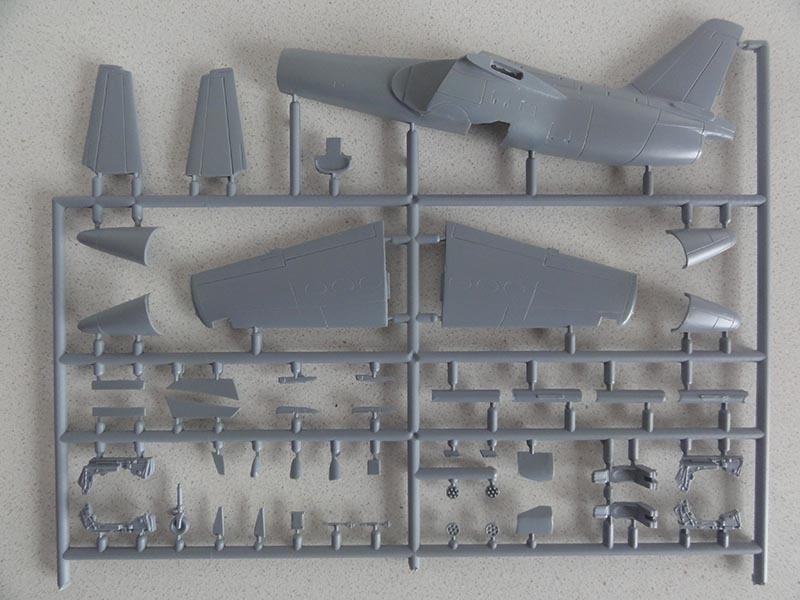
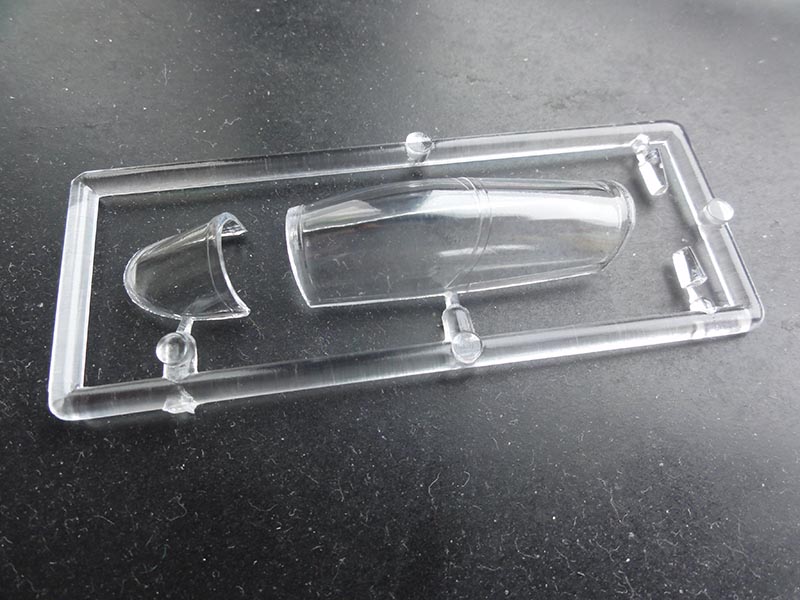
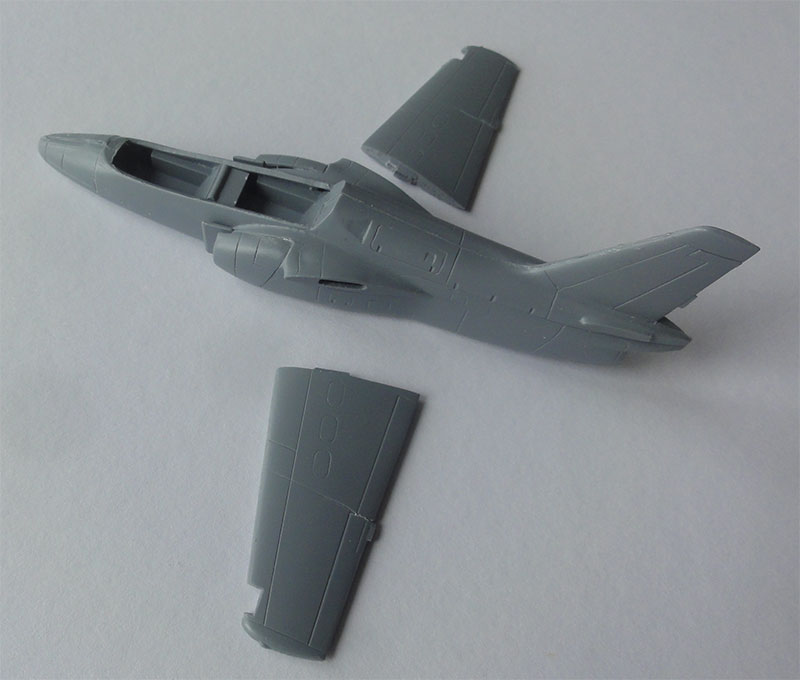
The kit is really short run. There are 2 sprues with some 70 soft grey plastic and a transparent frame with the cockpit canopy and wind shield. There are 2 types of air intakes in the kit and not-used ventral fins.
The instructions with 15 building steps but rather vague and has some errors. But it has paint suggestions for the details. (There is a 3-view drawing that shows also a version with a ventral fin but that is probable for a S-311 kit release).
The parts are really short-run; it is best to separate these from the sprues with a fine razor saw. There are no locator pins and you to do need to sand all glue edges as the sprue gates are also on the mating edges. Engraved panel lines are there but rather vague.
The cockpit interior is adequate with instrument panels with decals and the seats have 3 parts and you get decals for the harnass. The seats can be set at a later stage. You get some small rocket pods used for training ground attack.
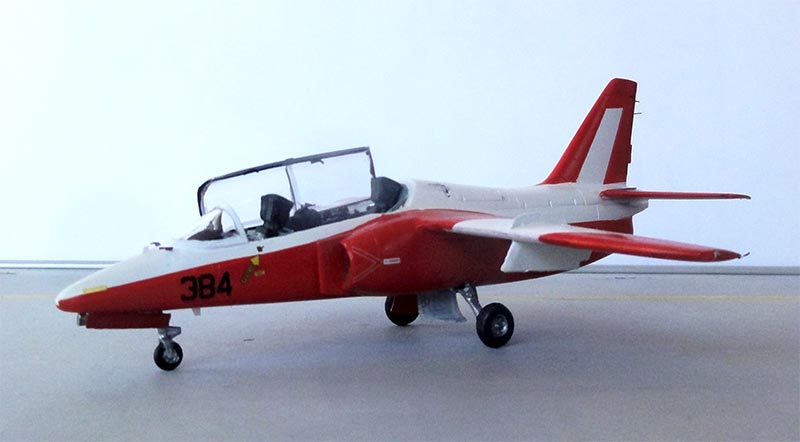
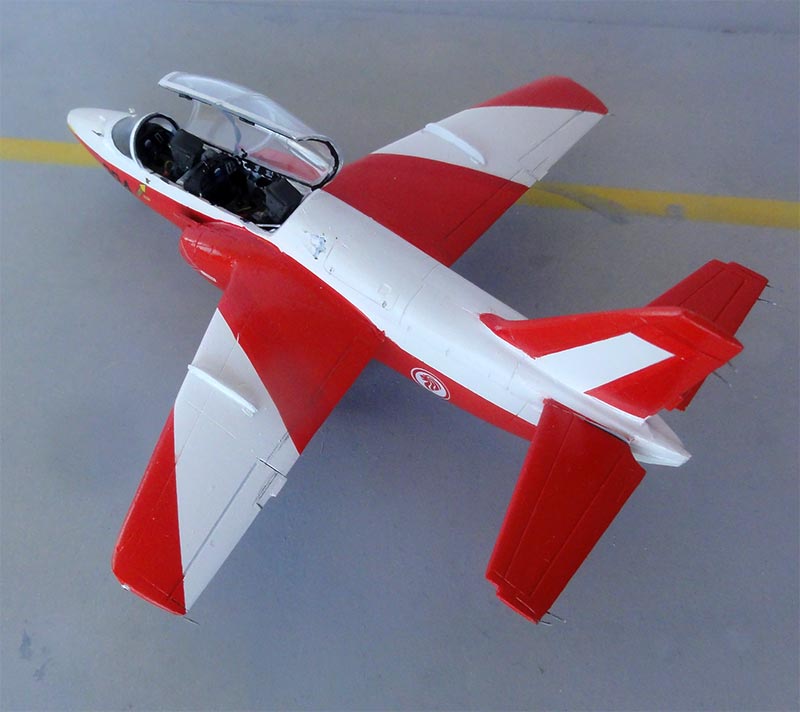
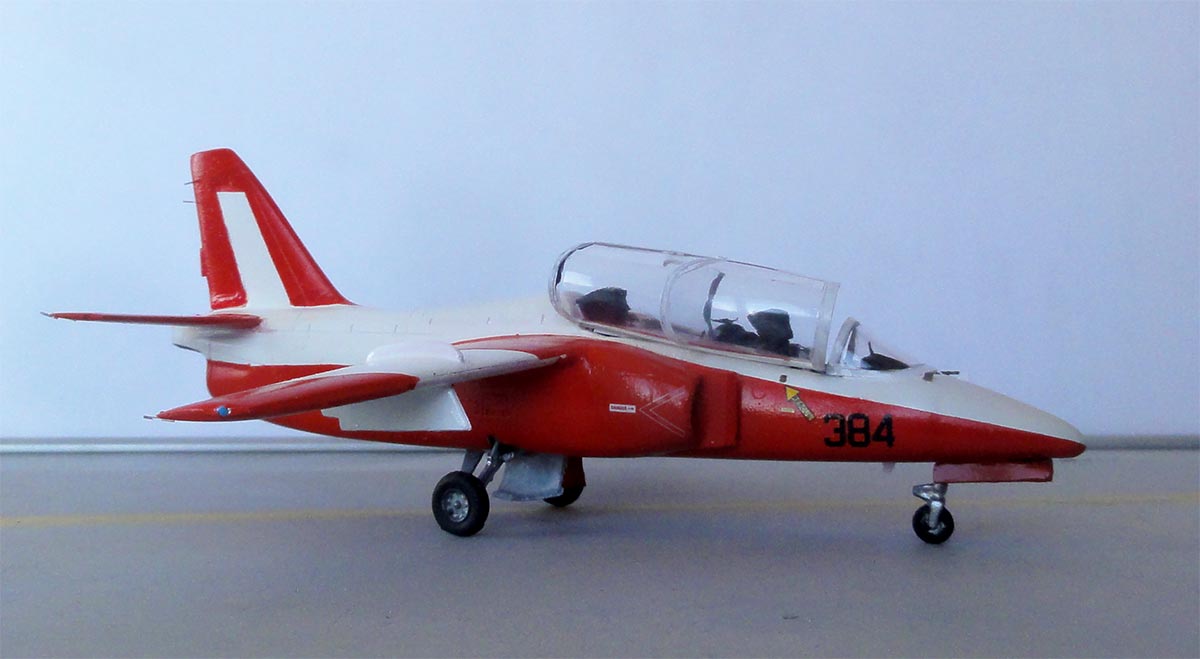
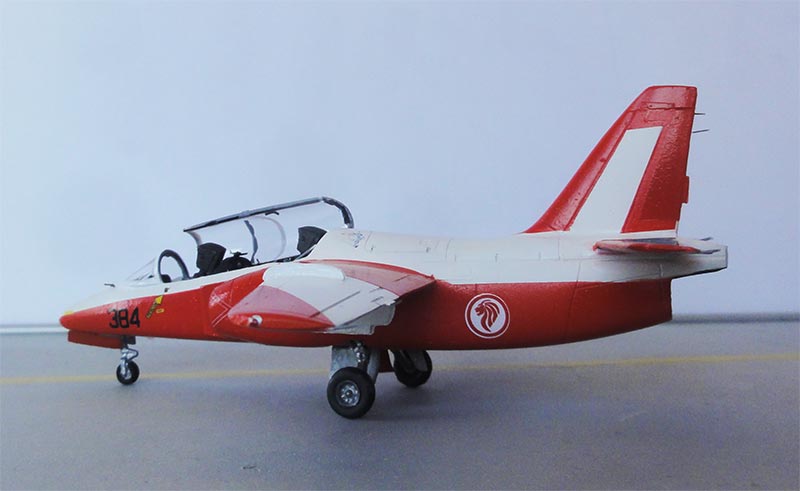
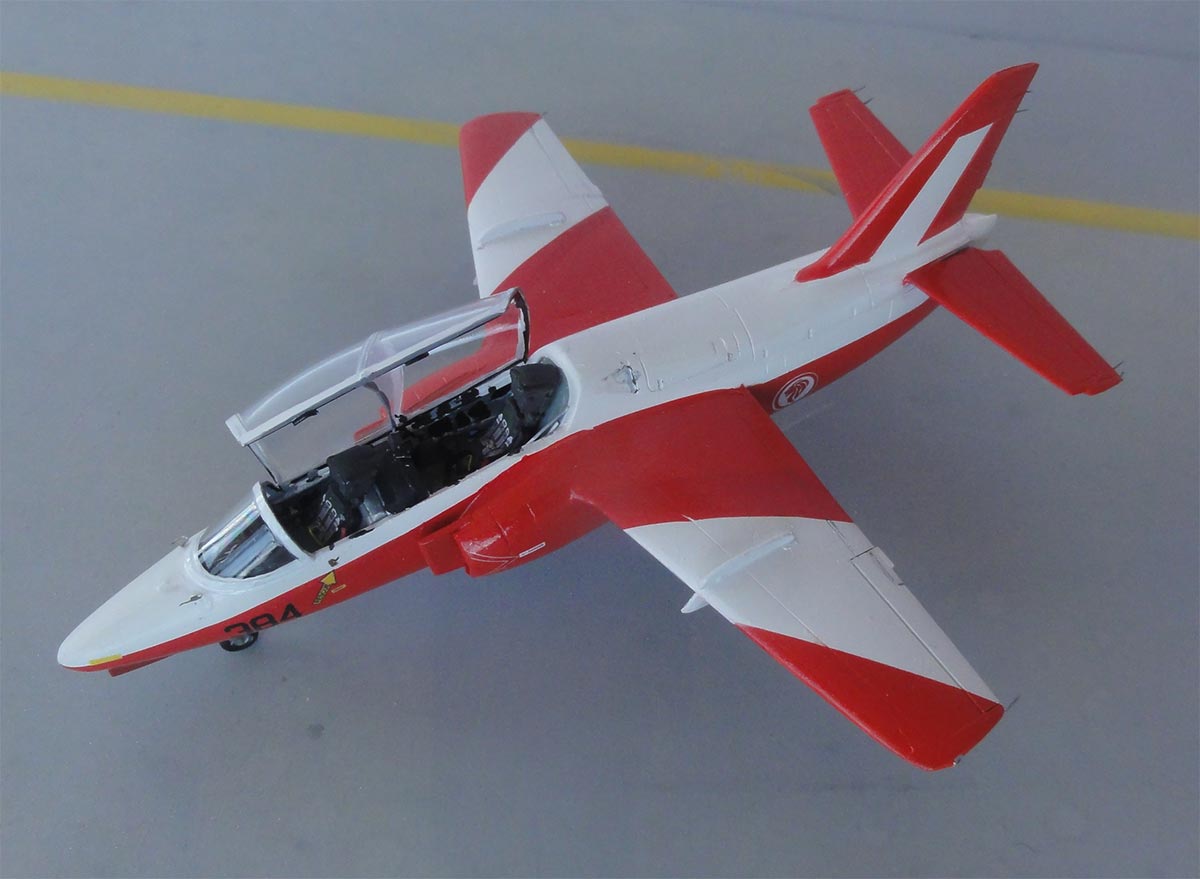
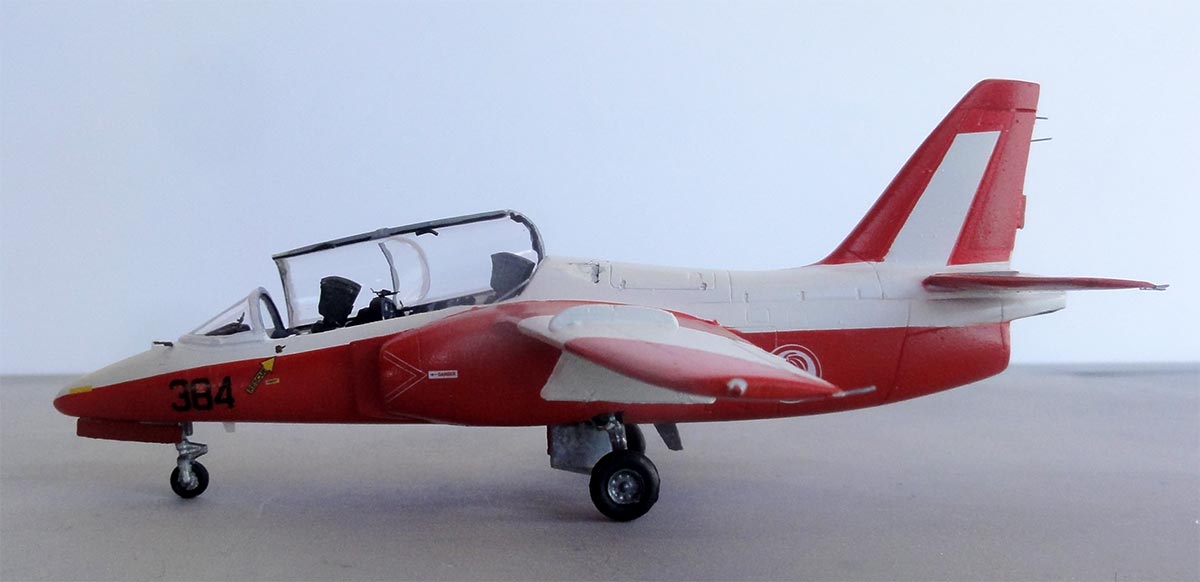
A first kit was made as a Singapore Air Force jet as per kit with the kit decals. It has a nice gloss white with red-orange scheme.
Assembly was done as per kit instructions but you need some guessing. Do not forget the nose weight. Inside the vertical tail a large mould blob needs removal in order to mate the 2 tail halves.
The installment of the landing gear "seen in doubled step 4" is unclear. First set the bays, leave the gear for later. The fuselage halves were joined.
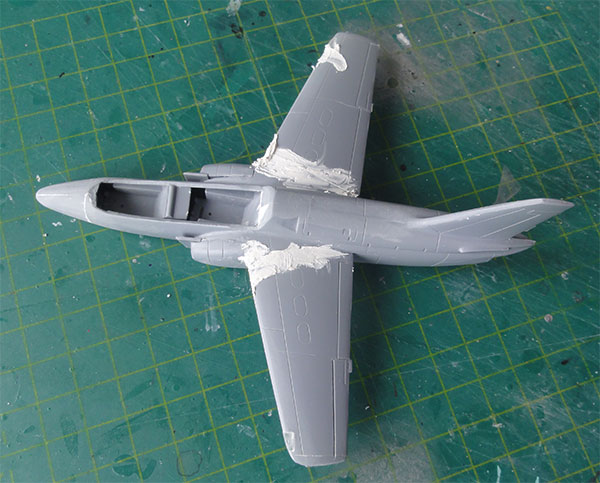
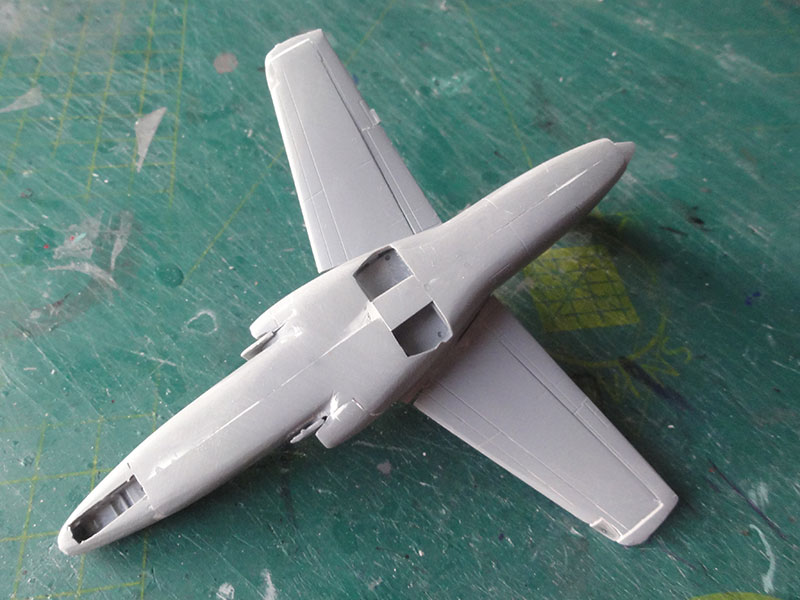
The separate nose has 2 halves and the nose bay, the installment needs extra strips. Add nose weight! The fit of the nose is terrible, needing putting and sanding.
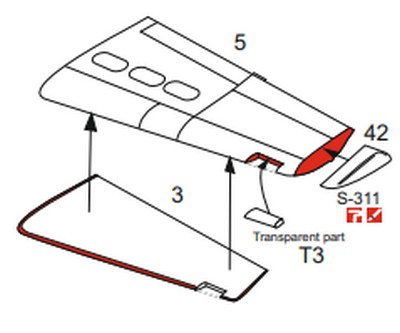
The wing has a 2 port and starboard section which makes it difficult to align symmetrical. Assemble the wing halves, do not change the wing tips. But set the lights at the leading edges and sand flush and polish.
The wing-fuselage setting needs careful alignment.
(The ventral fins were not required).
The landing gear will be set after painting and decalling.
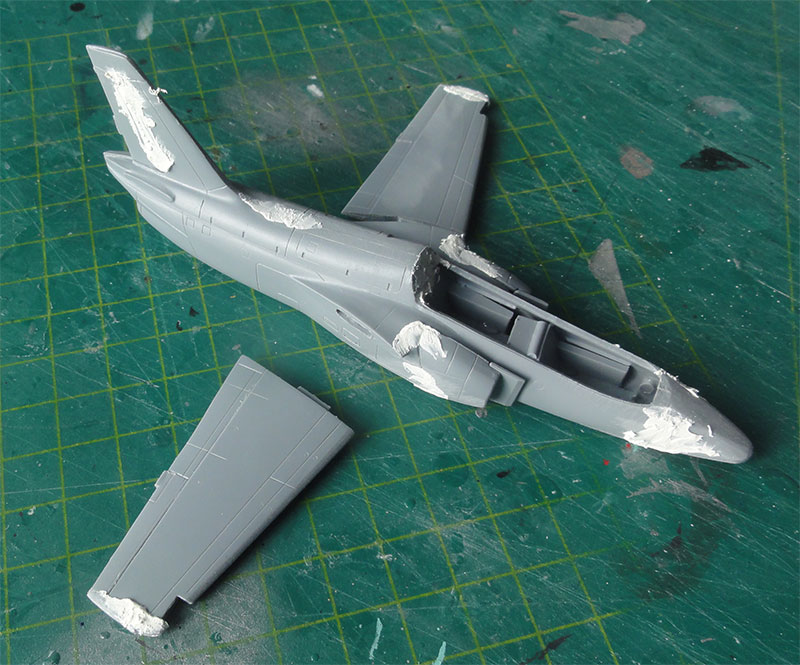
The model needed putty/ filler thus at the nose and at the wing joints and quite some sanding.
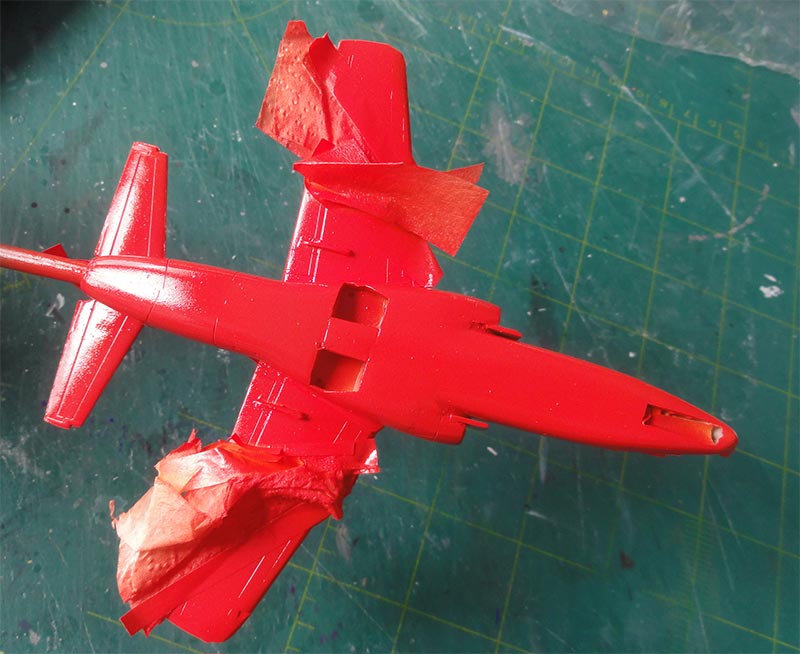
It than got a base grey primer paint airbrushed to check for any flaws. I airbrushed by usual Revell 75 Aqua acrylic paint for this. Repairs with putty were done.

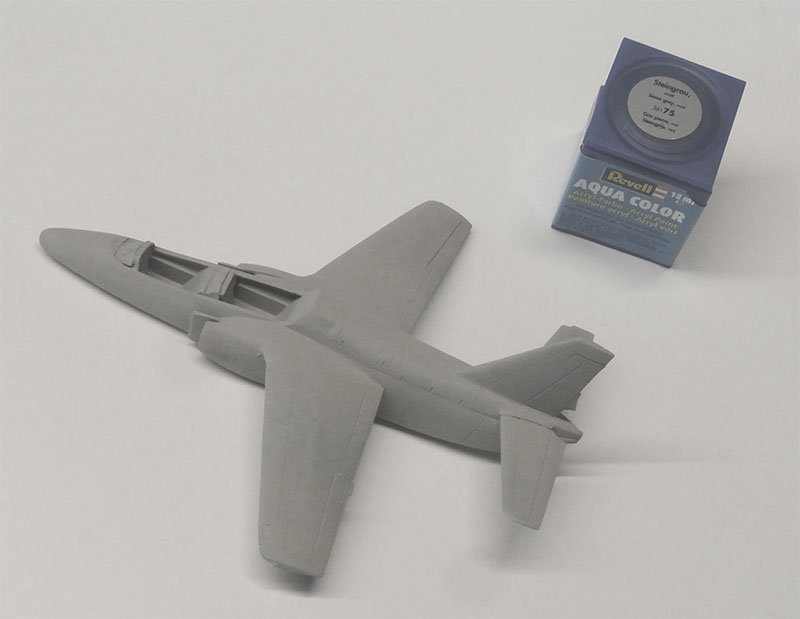
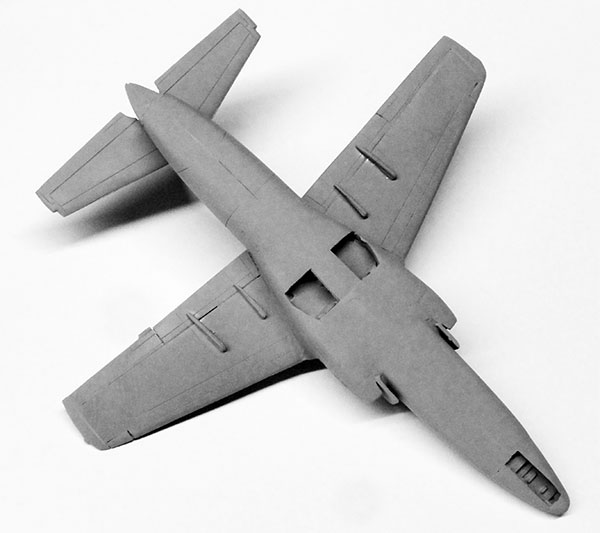
The flap outriggers with hinges and wing fence were set. I will add 2 wing pylons later on but the model will be kept "clean" without stores.
When OK, the next paint scheme colours were airbrushed for the first Singapore Air Force model.
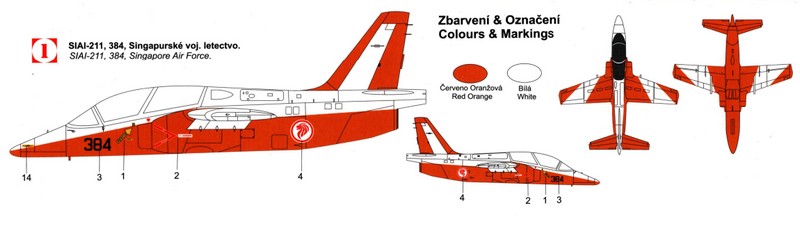
First an overall white colour was airbrushed with first flat white with thinned Revell Aqua 05 acrylic paint followed by acrylic gloss Gunze Sangyo Mr.Hobby H1 white but any white paint will do. Masking was than done for the red panels.
No suggestions are provided in the instructions for the red-orange colour. I picked a mix of Gunze acrylic paints: 60% H23 + 40% H14 red-orange. I also airbrushed a spare plain decal in this colour in case any "repairs" to the paint scheme are needed.
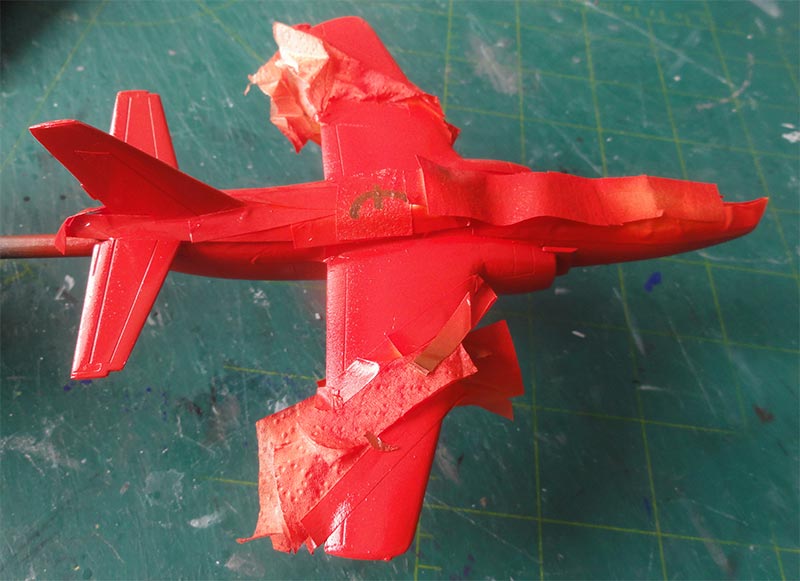
The masking tape was removed after some 30 minutes drying time. Some small paint creeps/ spills were removed with a tooth pick dipped in water. Now the edges looked fine.
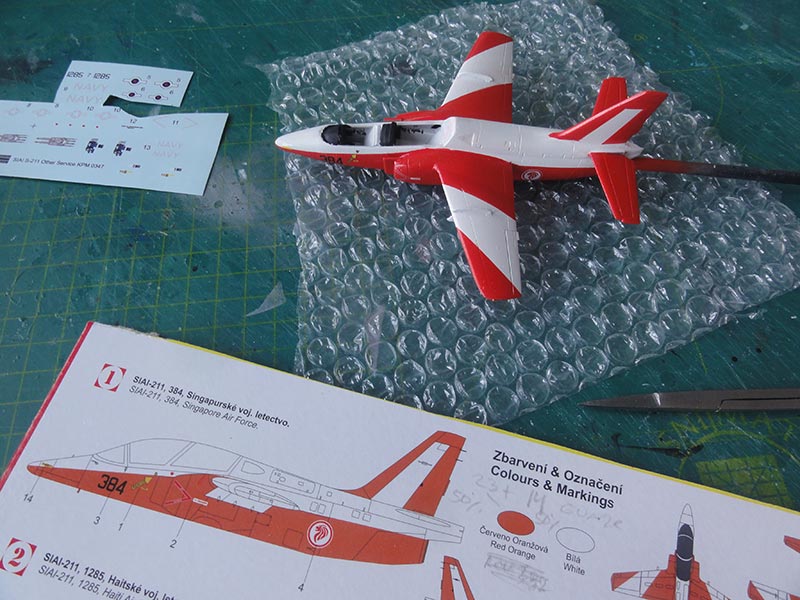
Decalling was done with the kit decals and this was OK. There is hardly any stencilling provided.

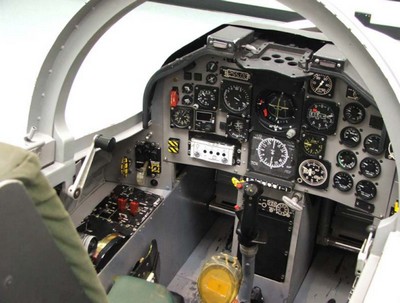
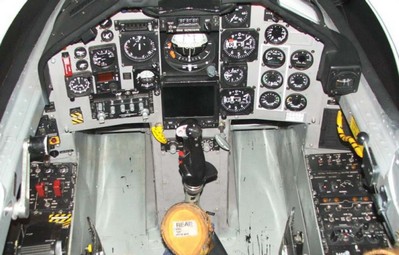
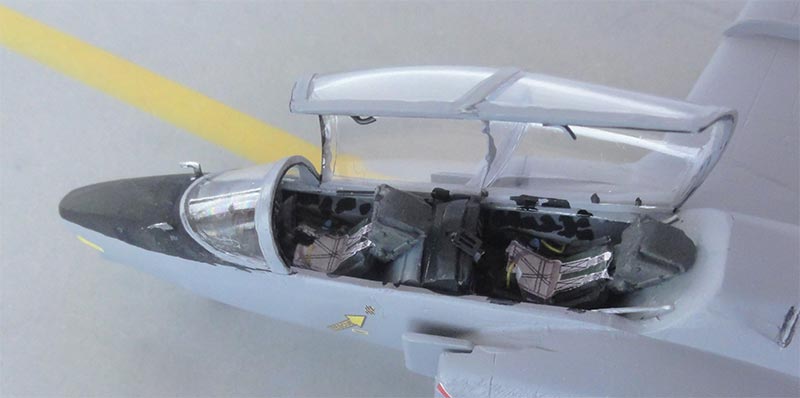
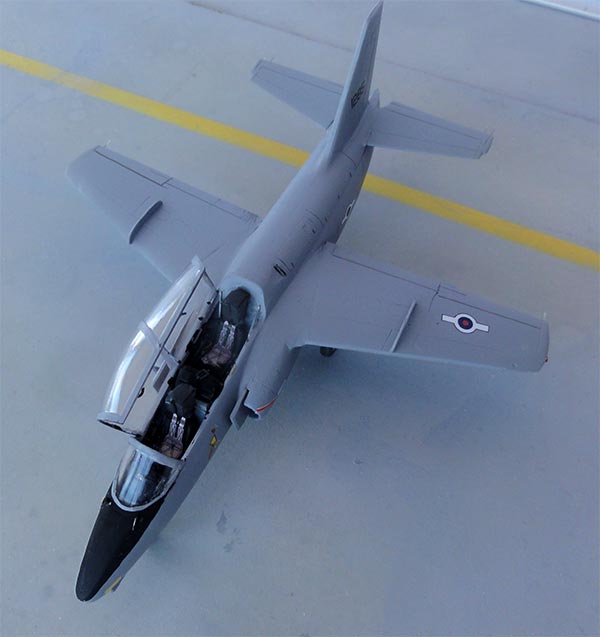
The cockpit got its paints as well. The instrument covers and decals were set. Here the real panels are seen...
The landing gear was installed. The installation is rather vague. I had to reduce the main gear leg #32 by 3 millimeters to get a correct sit. I also had to trim the part #33. The wheels need some sanding. I was unsure about the gear strut colours, painted aluminium and some hydraulics were added with stretched sprue.
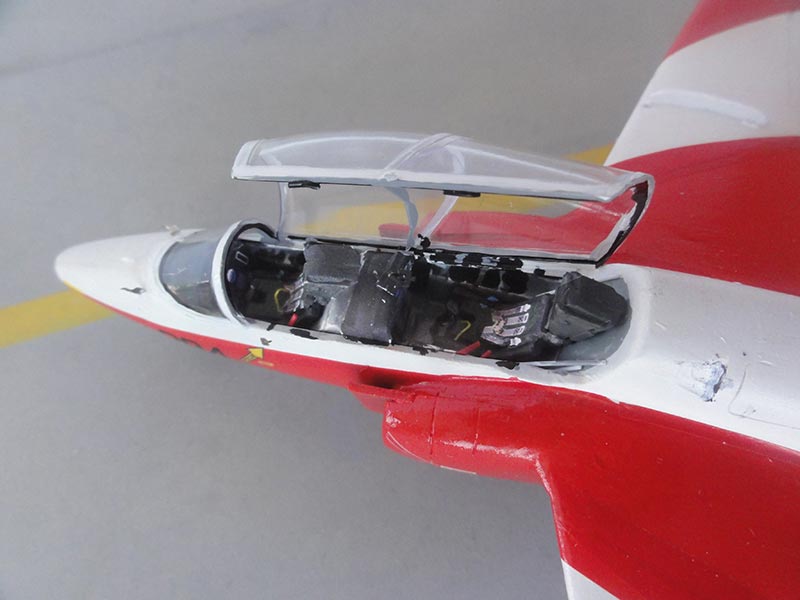
The seats were installed with some small bits to suggest more details like harneses.
The canopy frames were painted by hand and set. Between the student and instructor is a transparent blast screen and this is not provided in the kit. It was made from transparent sheet. Some locks were suggested with stretched sprue.
The windscreen installment needed white glue to fill the gaps. The frame was painted white when dried. A pair of pitot tubes were added from scrap.
Only a bit wash was applied in the gaps of the movable surfaces. Some static dischargers were also set at trailing edges, make from black stretched sprue.
The model got an overall gloss varnish airbrushed with my usual Johnson Future/ Pledge thinned with 10% Gunze Sangyo levelling thinner. The canopy was set and that completed the model.
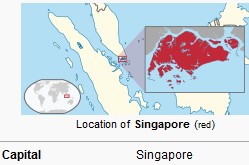


[area: 728 km2 | population: 5,6 million | GDP USD 64,000 per capita nominal ]
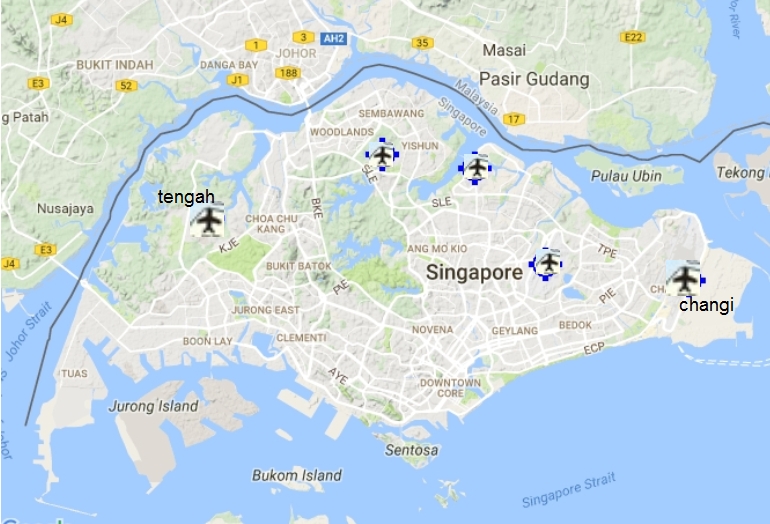
The Singapore Air Force obained first 10 S-211 jets with first delivery in 1984. Later more jets followed and the fleet totalled 32 S-211. Training was important and it proved to be a good trainer.
For more information about the Singapore Air Force, look at the F-16 page here....
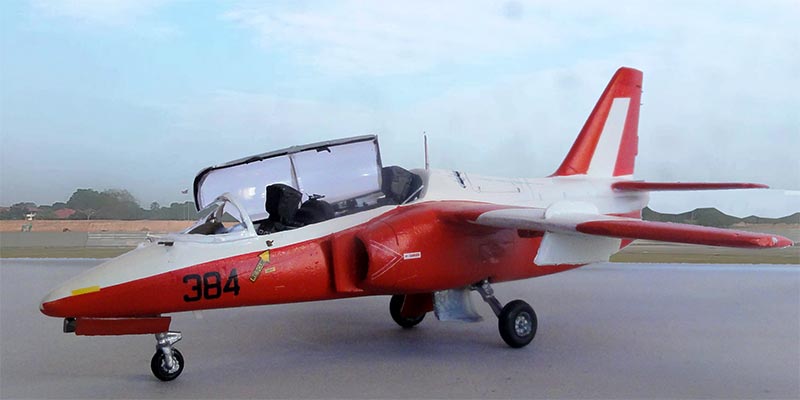
... in a scenery...
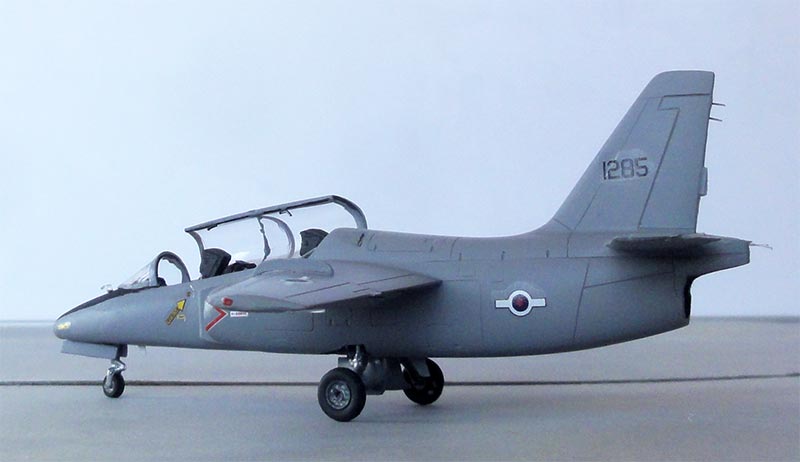
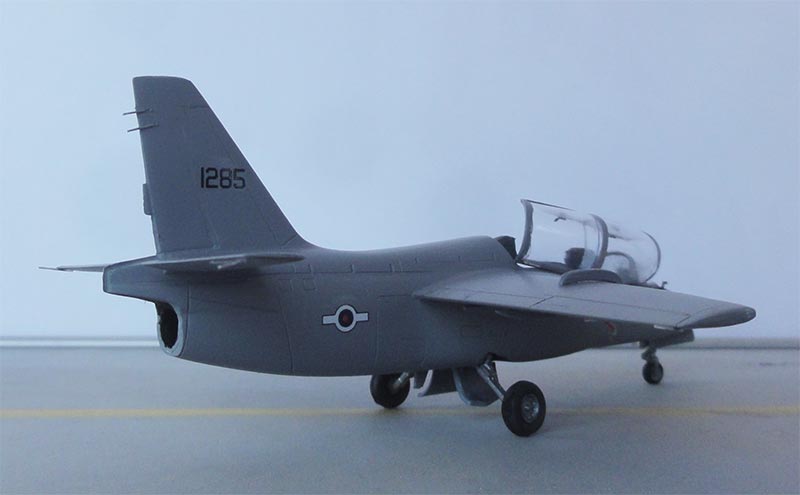
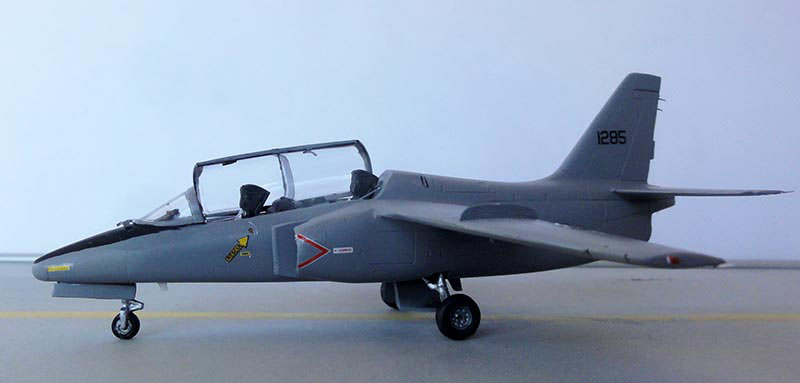
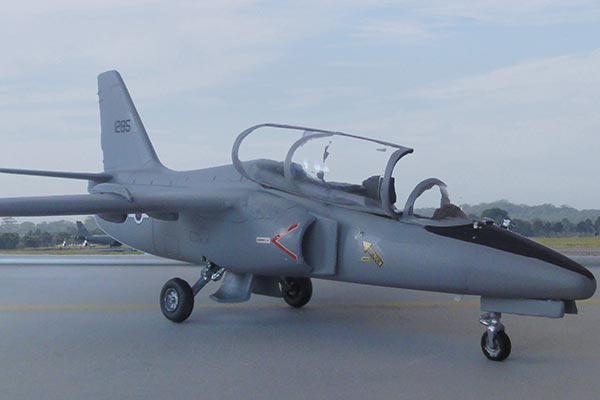
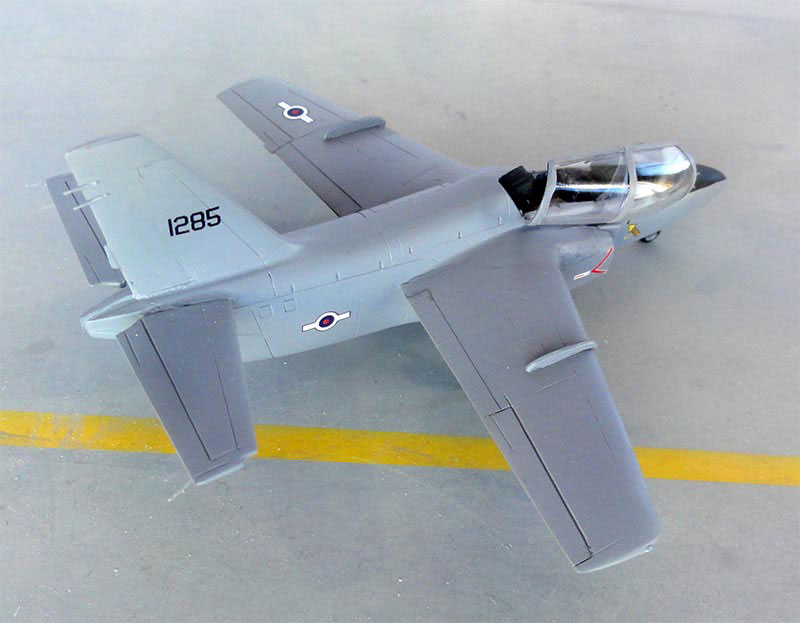
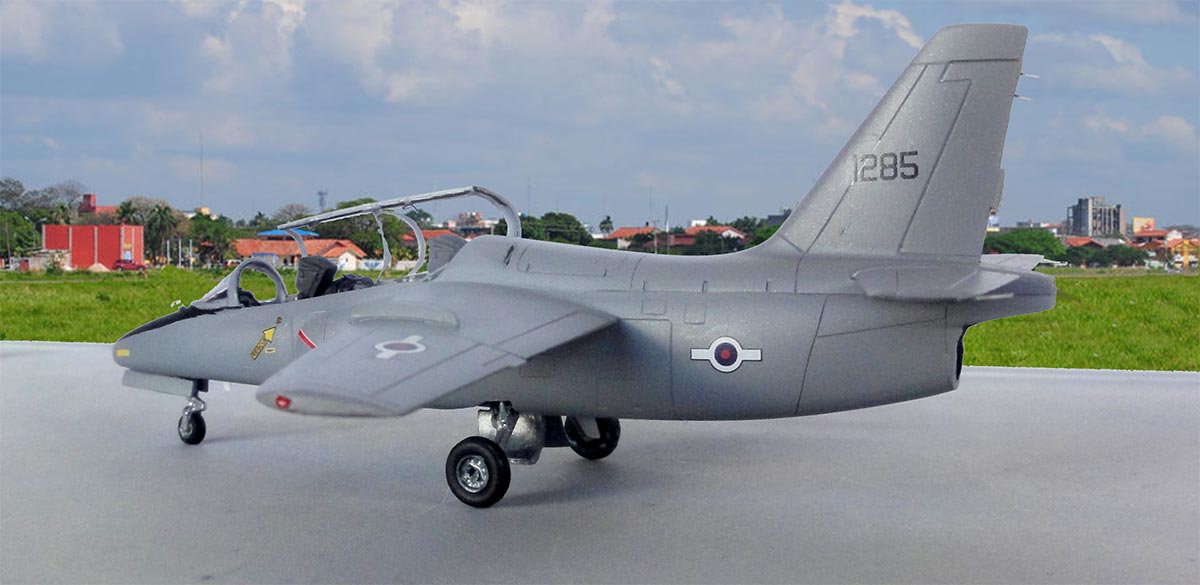
Another S-211 1/72 kit #KPM0347 of the (new) KP "Kovozávody Prostějov" was made and now to be finished in a Haiti Air Force scheme. The few decals are provided in the kit shown as scheme [2].
The assembly was done as described above with the same issues to be tackled.
The basic colour scheme is "light grey" for which I airbrushed FS36270 with Gunze Sangyo H306 grey. There is a small anti-glare painted panel as well.
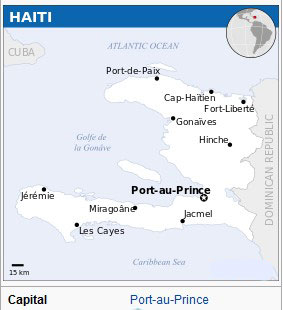


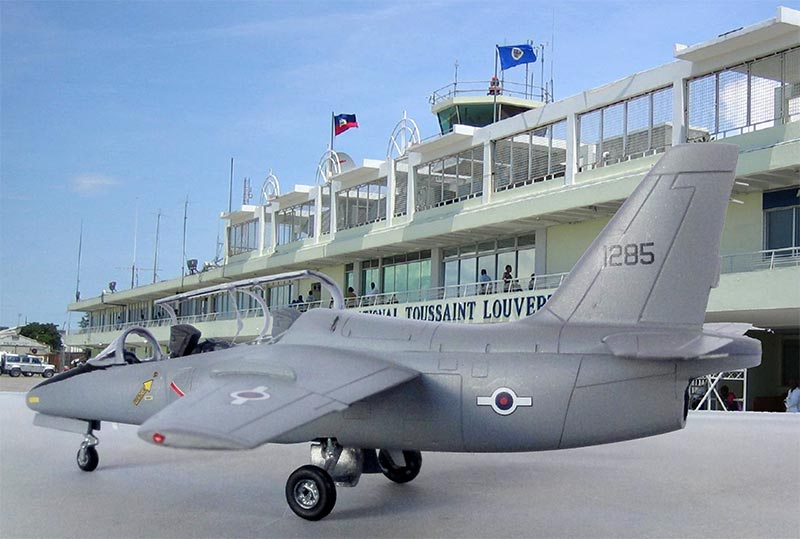
[ area: 27,750 km2 | population: 12 million | capital: Port-au-Prince | GDP per capita nominal 2,600 USD]
For the Haiti Air Force some 4 S-211 were acquired and delivered mid 1985 and probably flown for some 5 years and sold April 1990. Serialed 1284-1287 and coded 3-001 to 3-004.
For more information about the Haiti Air Force, look at the T-28 page here...

.... in a scenery....
- WikiPedia

(c) Copyright Meindert "designer"/ All rights reserved. Your comments are welcomed by webmaster
Created this page
August 11, 2025