Special Hobby
TT-1 Pinto in 1/72 scale: kit modelling report of the Special Hobby kit
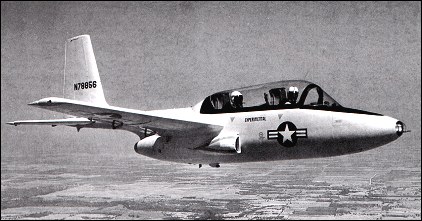
The small American TEMCO company in Dallas issued a design for a small jet trainer in the 1950s. First flight of Model 51 was March 1956 and it had a single J69 engine. It was very underpowered but nevertheless it was ordered as trainer in small numbers. It was known as the "TinkerToy" and in 1960 the TT-1 Pinto's were put out of service. In 1968 a later version was the AJI Super Pinto.
DATA TT-1: length 9,38 m ; span 9,15 m; max speed 555 km/hour
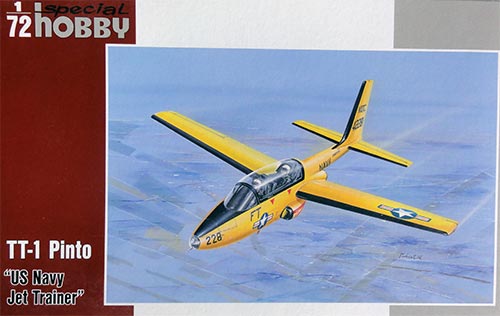
The Special Hobby kit SH72206 released in 2012 is I believe the first injection moulded kit in 1/72 scale after an Eagles Talon vacuform and Proresin resin kit.
The kit has about 40 parts in blue-grey plastic and has the usual short run Special Hobby characteristics though the parts are very fine and particularly the canopy is Cristal Clear!
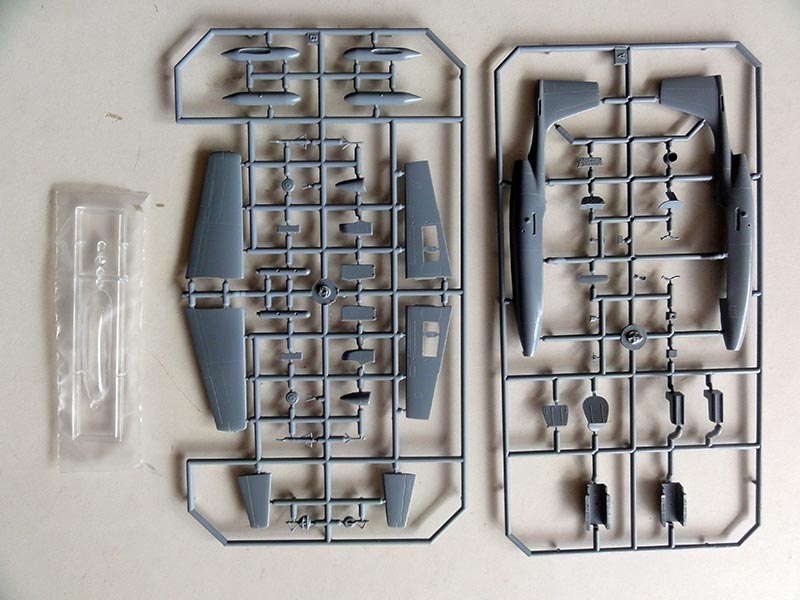
There are some stores provided but these are not mentioned. I assume these are used at non trainer Pinto aircraft.
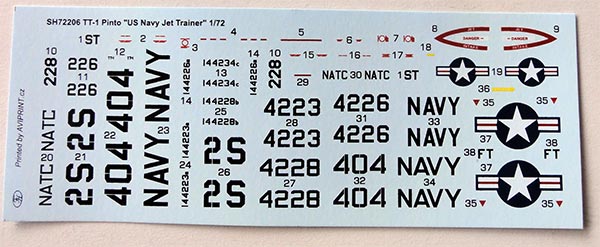
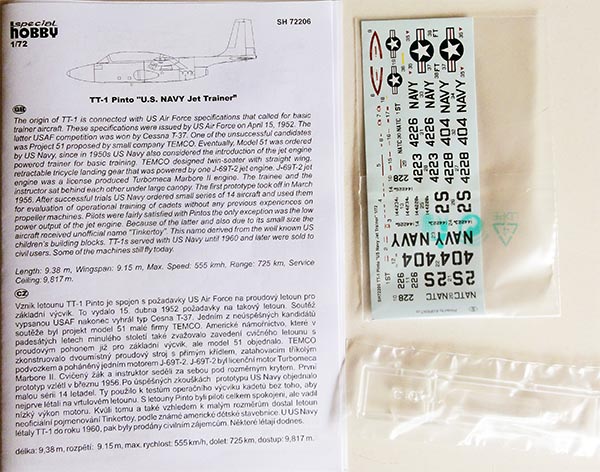
Decals are for 4 slight variations of yellow US Navy TT-1 trainers.
The model was made straight out of the box and nice to make. I added a lot of nose weight to avoid tailsitting. The main nose door is often seen closed for a parked Pinto.
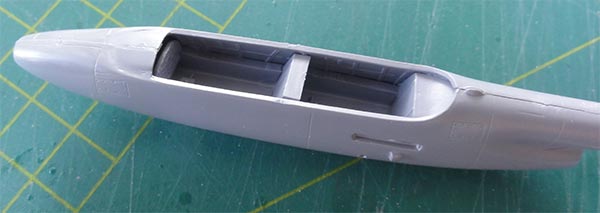
The fuselage and most parts fit pretty well. The cockpit looks good with some nice seats and decals for the instruments. There are some gaps around the consoles, close these up with card and white glue. Behind the nose light CP2 I added a bit of foil to suggest the light reflector.
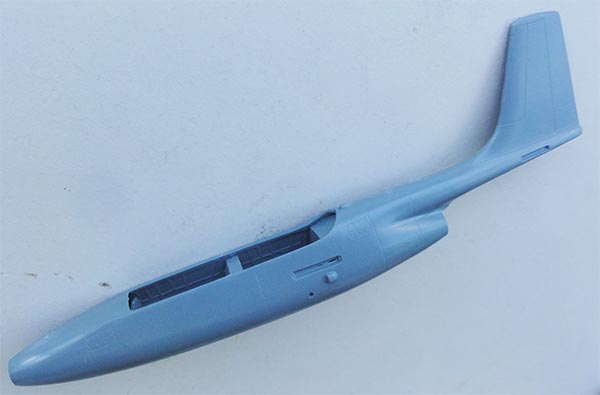
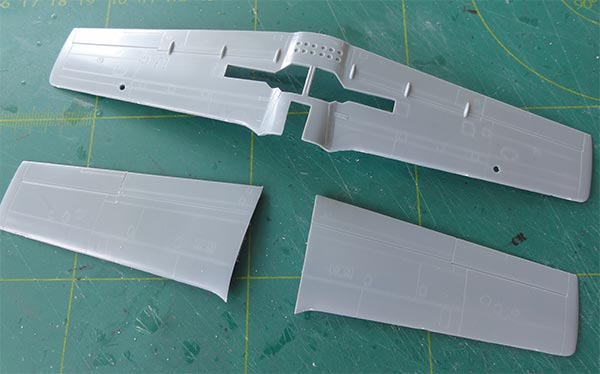
On the upper wing parts, remove a moulding pip with a cutter. I suggested a bit of detail with inscribing the main gear bay roofs.
The wing has quite some dihedral so line the halves up. The horizontal stabilizer is set at 90 degrees. Some white glue filled the tiny gaps.
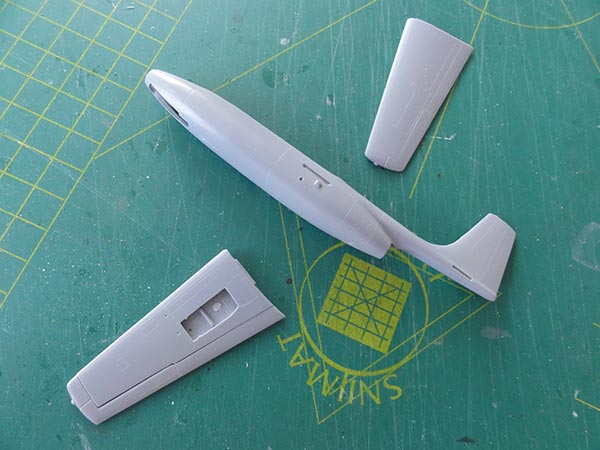
I positioned the intake scoops B7 and B16 a bit different, look at the drawing. I also added a tiny splitter plate from very thin card at each intake which are not in the kit.
Before added the gears and smaller parts, the model was painted. First airbrushed base grey to check for any errors in filling. After a good result, the final colour was applied.
I opted for the kit decals with a bright yellow Pinto trainer "4226" of the US NAVAL test center at Patuxent River, Maryland USA in 1958.
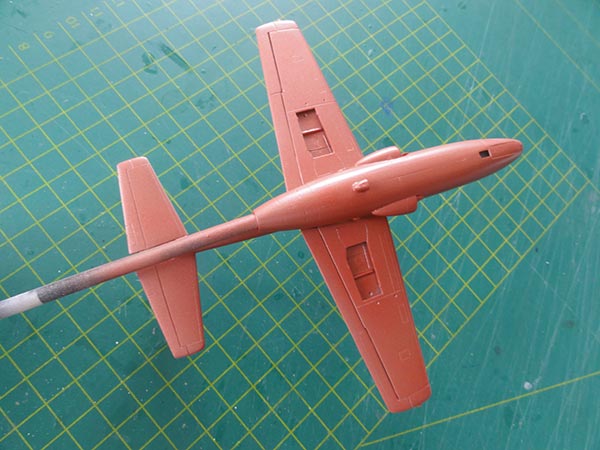
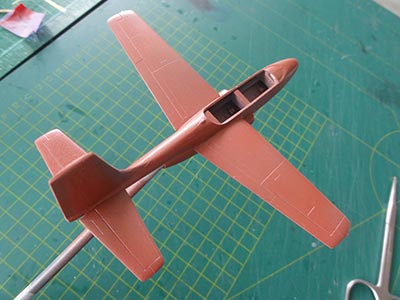
To get a deeper yellow sheen, the base undercoat was airbrushed red! Yes, that's right. After that, the yellow was airbrushed using Gunze Sangyo Trainer Yellow H329 acrylic FS13538.
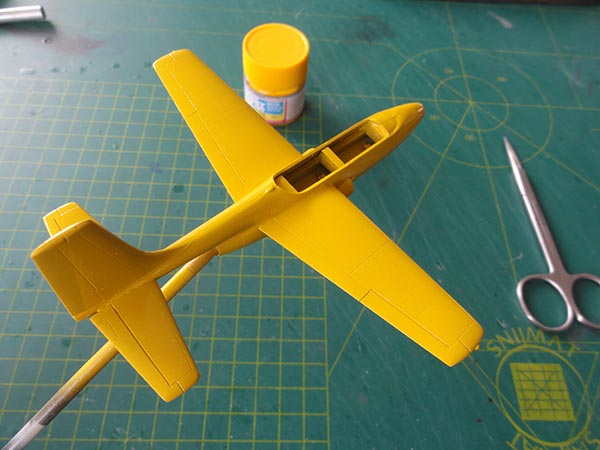
The canopy was to be set closed. After painting the cockpit interior medium grey with seats with red parapacks. I suggested the side console details and added a few bits.
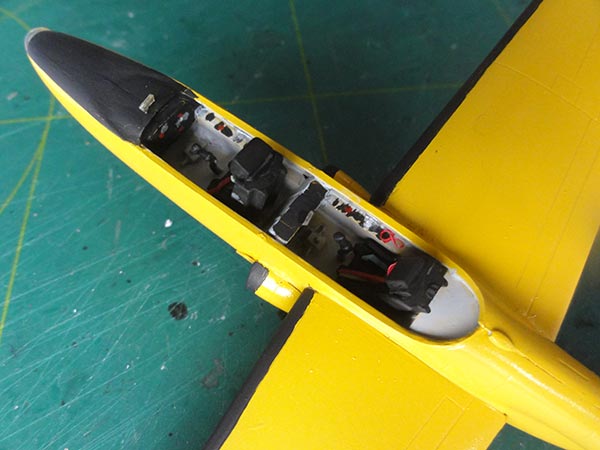
The canopy was set closed closed the gaps with White Glue. When dried the canopy frame and the anti-glare panel were painted black. Also the many thin leading edges were painted black with a brush. Better is to mask them and to airbrush them but I used a hand brush here.
The kit decals are fine BUT VERY THIN! Take care while applying these.
Anti-collision lights were painted (oooops... I forgot the one on the spine... was painted after the photos...). And gear legs were painted aluminium. Finally the landing gears were installed at this Pinto had a mud guard on the nose wheel (part B19)! That's something we saw more on those older aircraft.
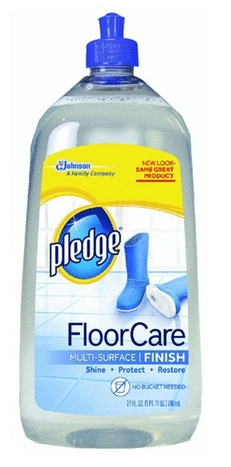
A gloss coat of Johnson Future/Pledge airbrushed completed the model (shield off the clear canopy while applying this coat).
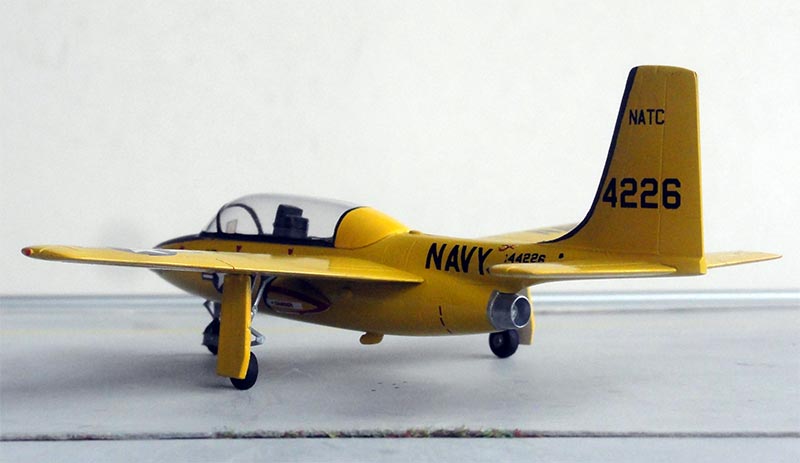
 TT-1 Pinto NATC Patuxent River, Maryland, 1958
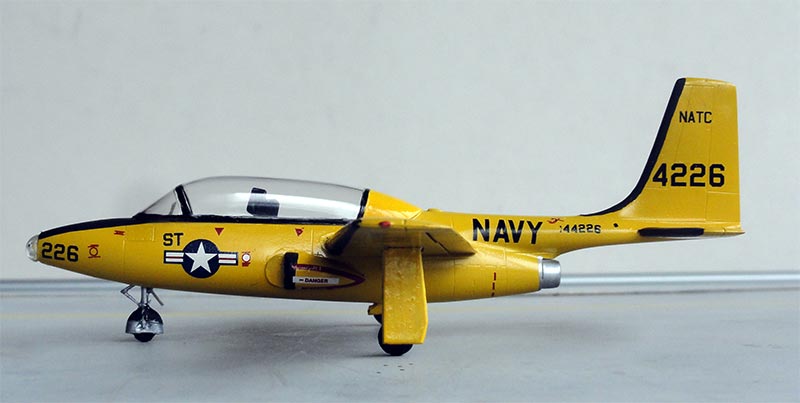
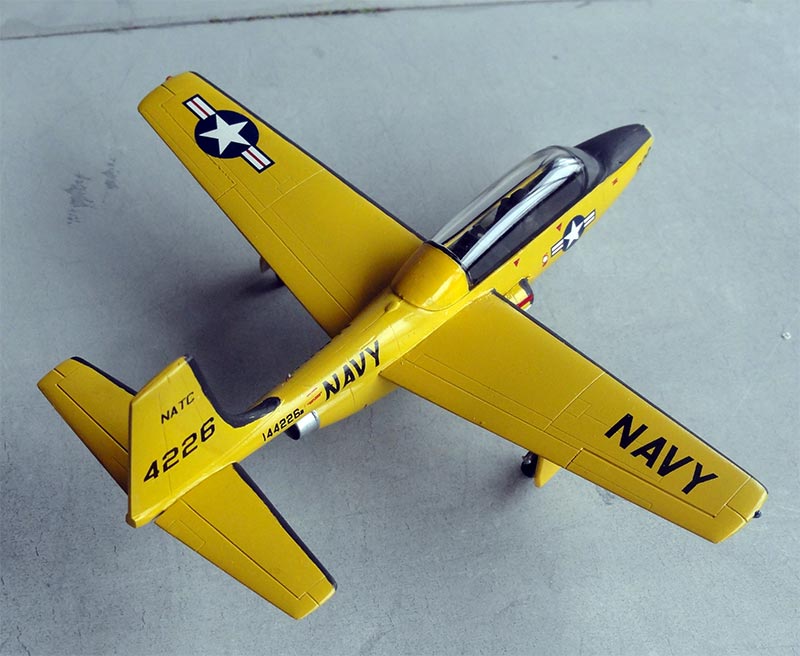
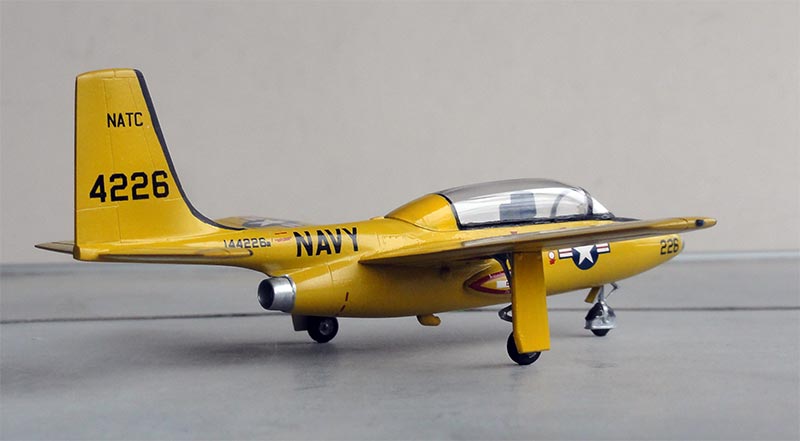
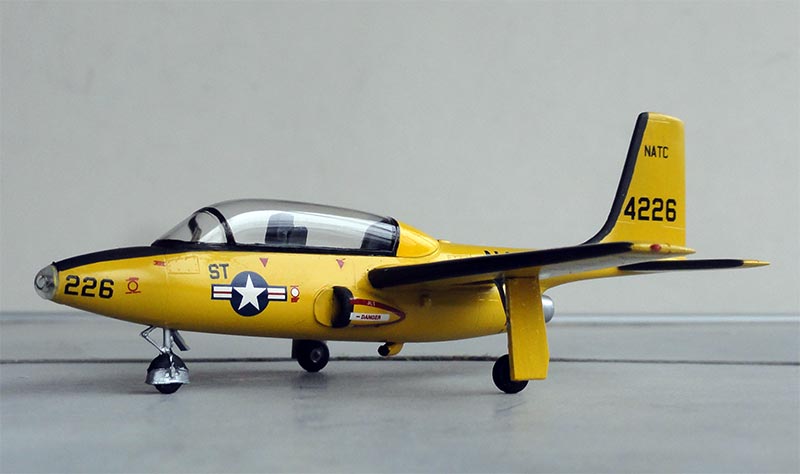
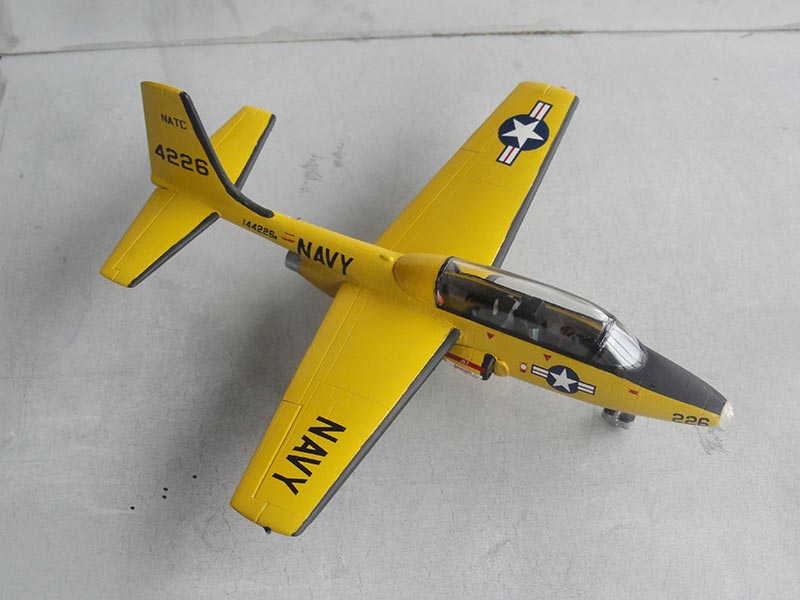
... set in a scenery....
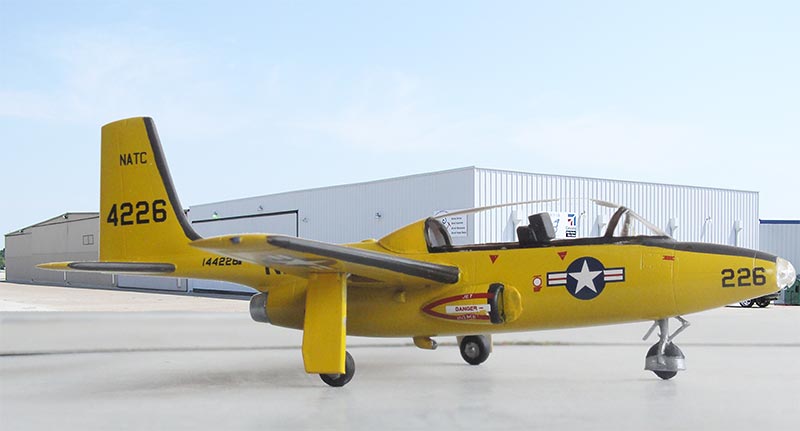
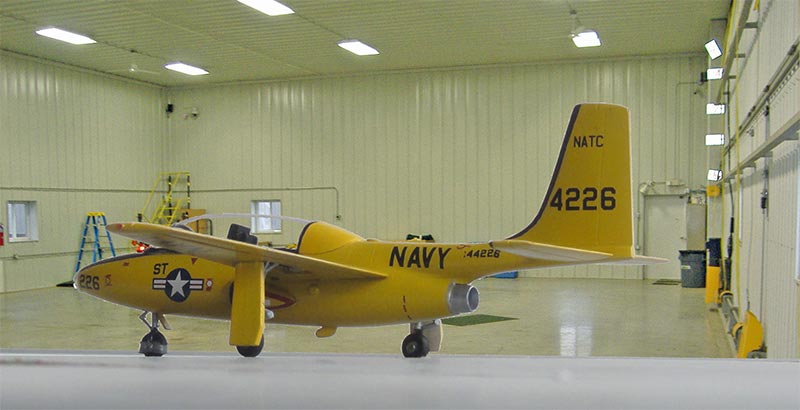
A nice little "Tinker Toy" in the 1/72 collection!
References:
- Air international, Volume 37, page 252
- Flight international, issue 4133, page 76
- https://en.wikipedia.org/wiki/Temco_TT_Pinto
Back to 1/72 Models
(c) Copyright Meindert "designer"/ All rights reserved/ Amsterdam The Netherlands.Your comments are welcomed by webmaster
Created December 19, 2017