[ page 2 ]

Aero L-29 Delfin in 1/72 scale
... continued from page 1...
page 1
page 2
page 3
page 4
page 5
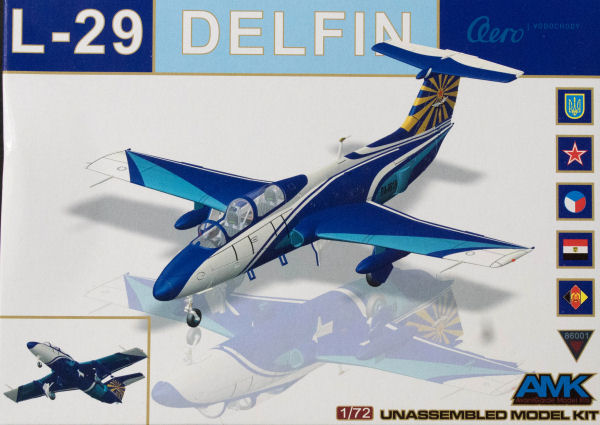
Before that AMK released a 1/48 scale L-29 kit and this seems a scaled down version to 1/72. These are very good scale models.
The engineering is excellent and even better as seen in recent Tamiya kits regarding details, shapes and accuracy.
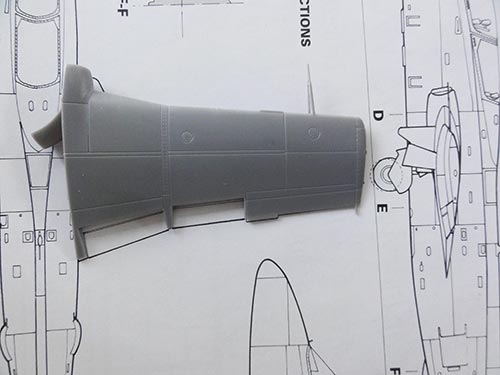
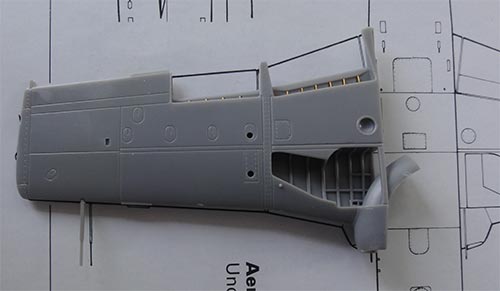
The approx. 90 parts in light grey are in 3 sprues, 1 clear sprue and an etched metal fret is also in the kit.
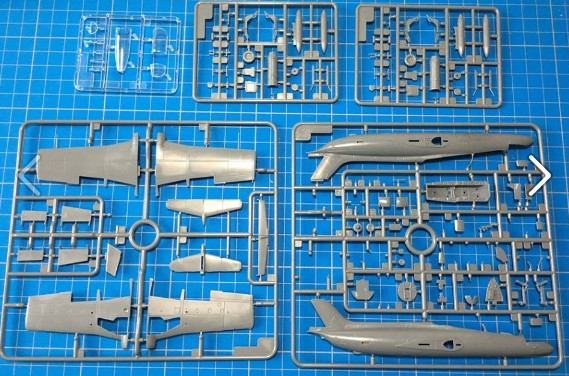
(photo's from AMK)
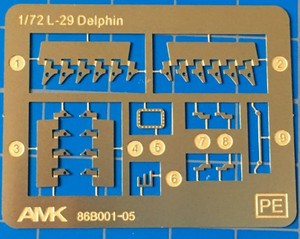
Very good fine panellines are engraved and plenty of detail is in the kit such as...
- very good cockpit
- very good landing gears
- separate control surfaces and flaps with full wing interior
The stores provided are a bit limited, 2 fuel tank parts are in the sprues.
Instructions are computer drawn but a bit small in places. Paint colours are indicated, except for the gear legs: these are light grey.
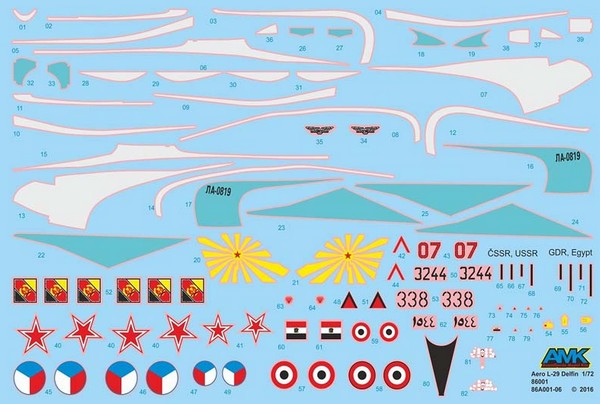
Decals are very nice for 5 schemes:
- L-29, in metal scheme of Soviet Air Force

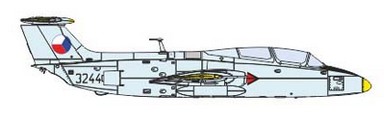
- L-29, in metal scheme for Czechoslovakian AF as based at Kuchyna AB, 1978
- L-29 in camouflage scheme of Egypt AF training college

- L-29 no."338" in camouflage scheme of DDR / East German AF in 1980s (the only one! all other DDR L-29's were natural metal).

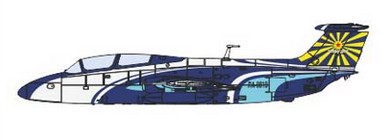
- L-29 of Ukraine Aeroclub: this is a very nice looking scheme but the decals look incorrect as they do not show metallic hues in the coloured decals.
No after market decals are required, except decals if you want other schemes.
NOTE: I plan to make some decals with a printer for some schemes as I would like to make several AMK L-29 models for my World Air Forces in Plastic collection....
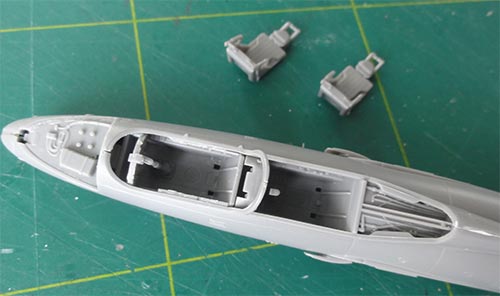
AMK Kit construction is easy and starts with the seats and cockpit. Detail is excellent with nice instrument panels for which also decals are provided.
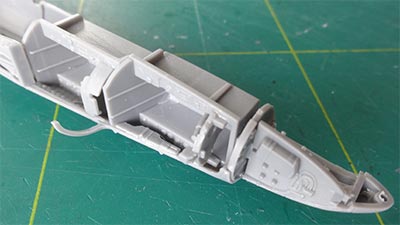
There is also an option to set open the hatch forward of the cockpit with some hydraulics. Even 2 types of hatch parts are provided: opened or closed.
Do not forget to install the jetpipe before closing the fuselage.
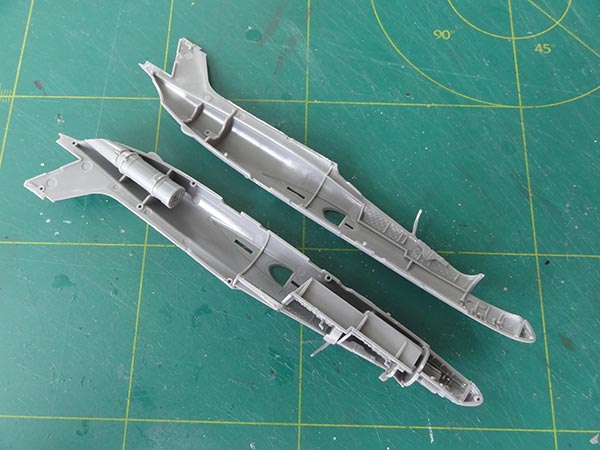
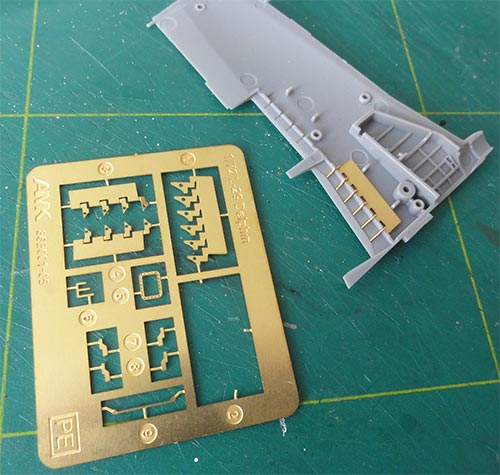
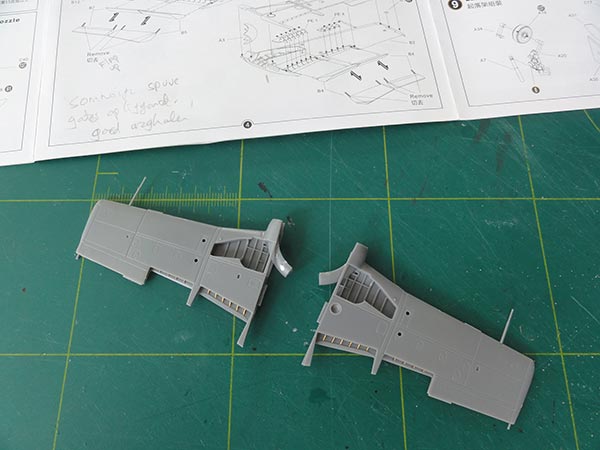
Wing assembly is very nice with full flap interior details in etched metal. Fit is good, no issues what so ever.
(If you want flaps "up" positioned, you don't need to install the etched parts).
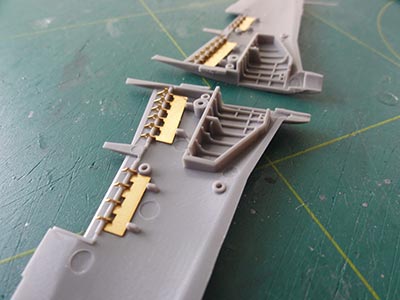
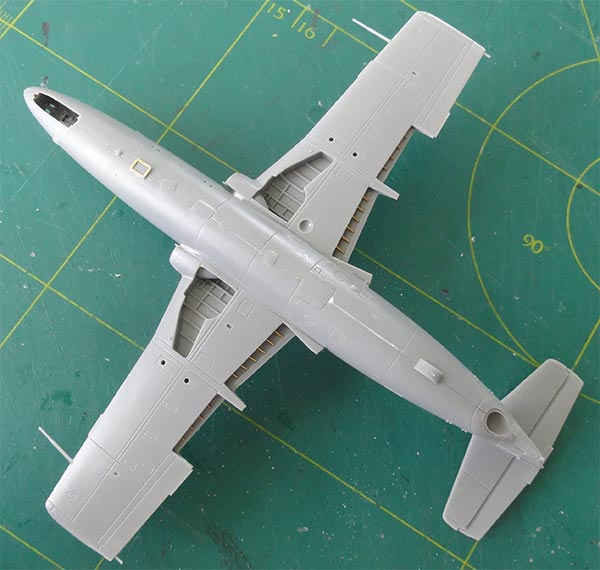
The wing halves fit excellent onto the fuselage.
There is almost no filler / putty needed. I only needed to smooth out a bit the lower mid fuselage joints at STEP 7 of the construction. Some of the lower insert panels are clear sections and etched metal.
The forward nose door is usually seen closed on a L-29. Before installing the part #A28 add nose weight, otherwise the model is a tail sitter.
The rear air brakes can be set open if desired. Do not loose the tiny etched metal brackets when installing! They are at about 70 degrees angle when installed but better do this a the final model assembly stage.
IN STEP 14 with forward hydraulics hatch set can be set open or closed.
When set closed, a little trimming is needed and a bit of white glue to get a smooth joint.
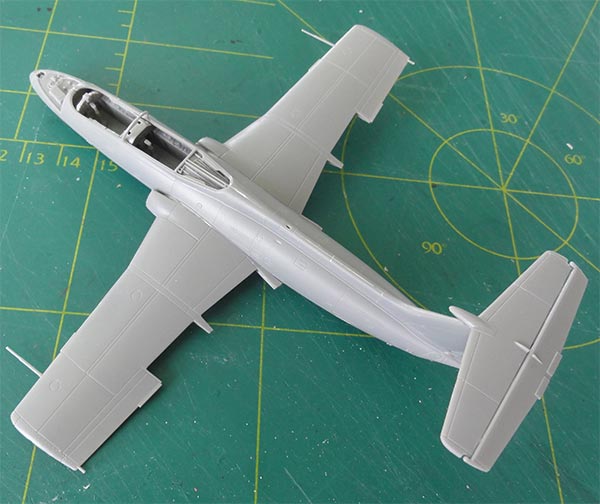
I also installed the flaps when the model would get one (metal) colour, otherwise install the flaps later on.
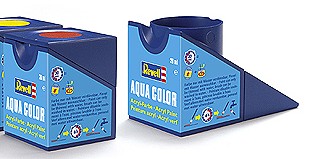
The model at this stage, before adding the gears and so on, got the usual base grey coat to check for any errors. I used Revell aqua light grey that was airbrushed.
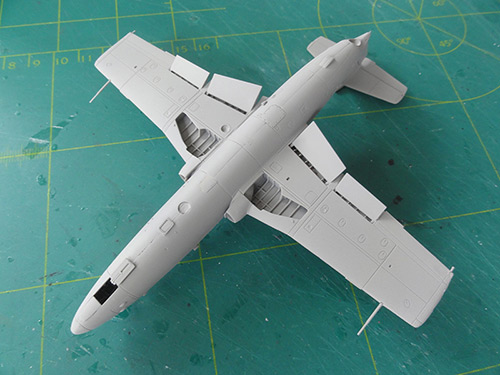
Note the nearly closed forward nose gear door as seen on most parked aircraft. The rear door sits flat against the fuselage.
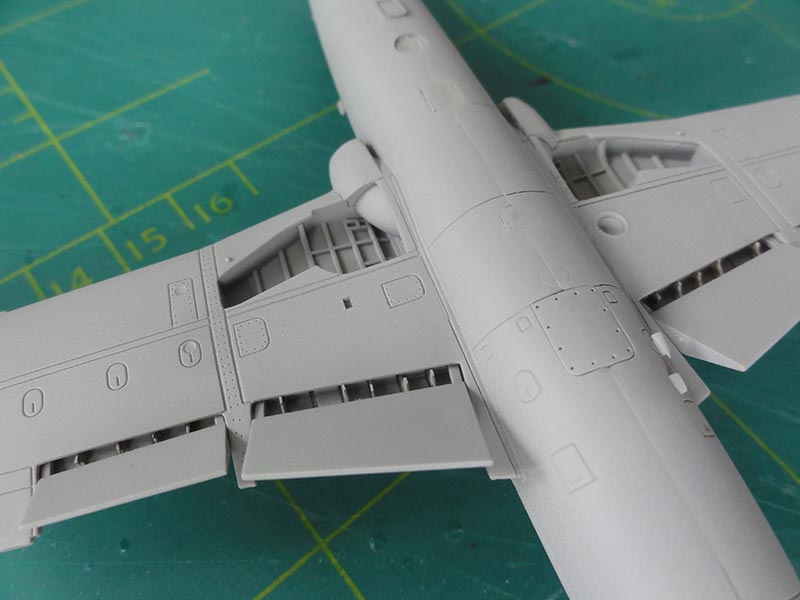
The clear canopy parts can be set open if desired or closed. But when set closed, gaps need to be filled so I choose to set the canopies open. Obviously set in place after airbrushing your desired paint scheme is done.
Several models will be made in this very pleasing build!
On to next [ Page 3...]
(c) Copyright Meindert "designer"/ All rights reserved. Your comments are welcomed by webmaster
this page created
September 10, 2017